week03
Computer-Controlled Cutting
This week assignment is to design, make and document a press-fit construction kit.
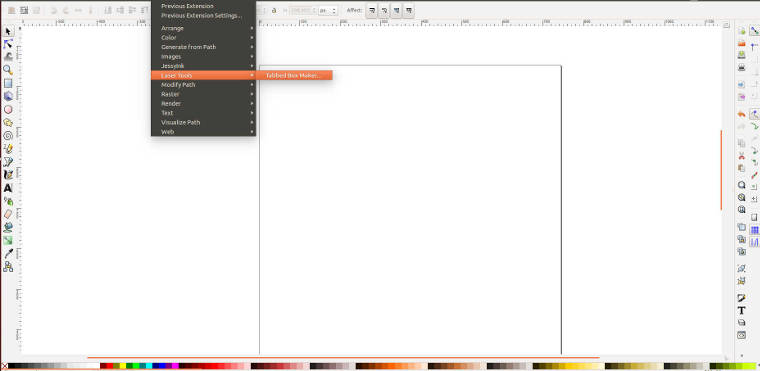
Inkscape:
After we had been introduced to the basics of Inkscape, I started drawing and creating boxes to get more used to it as it was my first time working with Inkscape. We downloaded a plugging from the following website Hackaday that helps create boxes in 2D design:
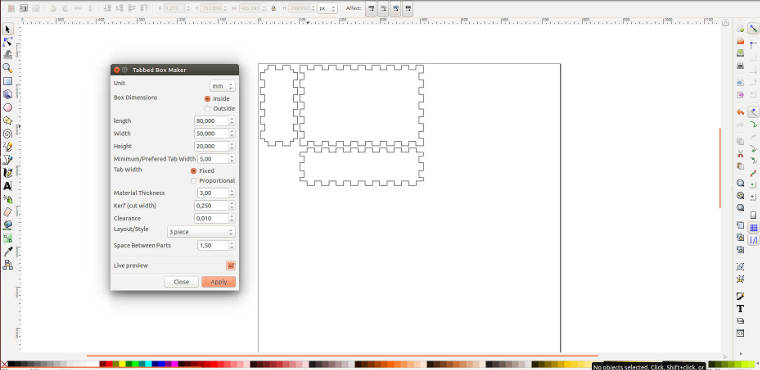
This is a very easy way to create boxes using Inkscape that I found interesting to use and give it a try
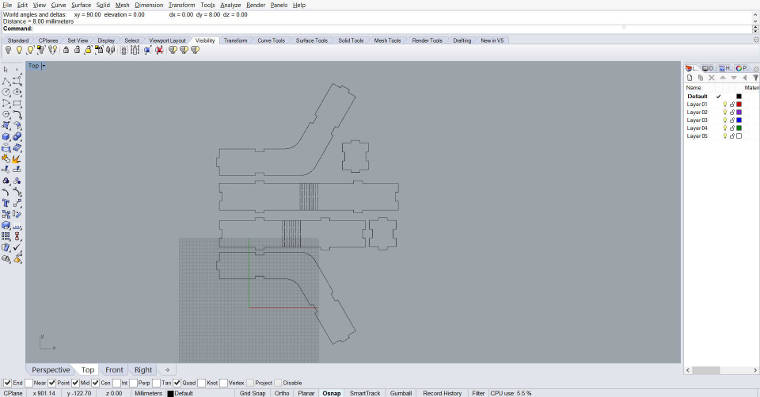
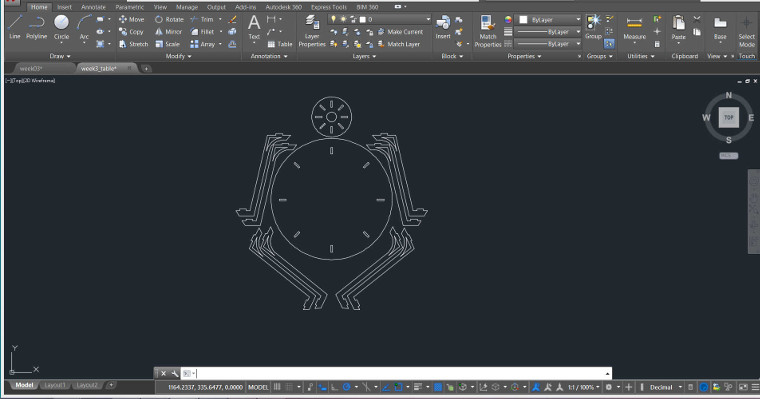
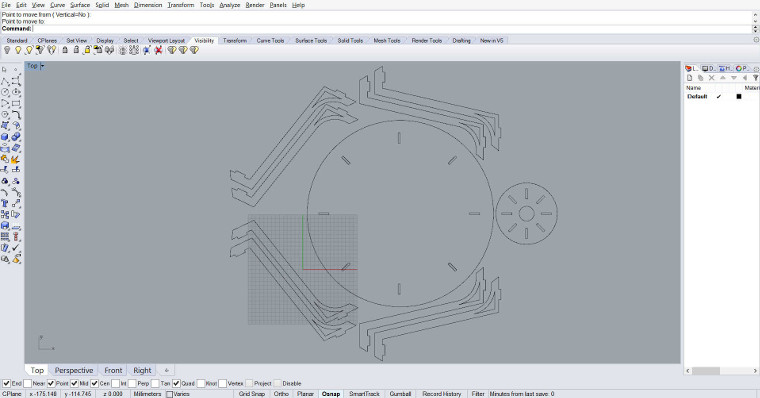
AutoCAD and Rhino:
First press-fit kit:
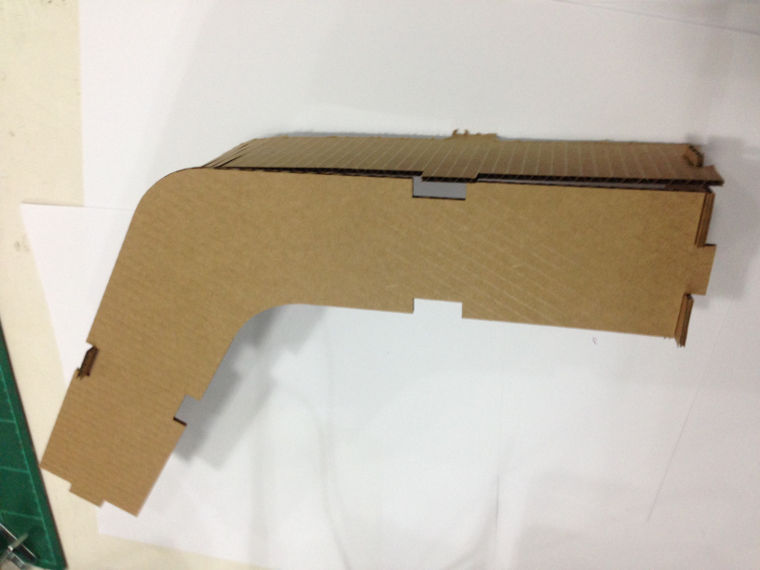
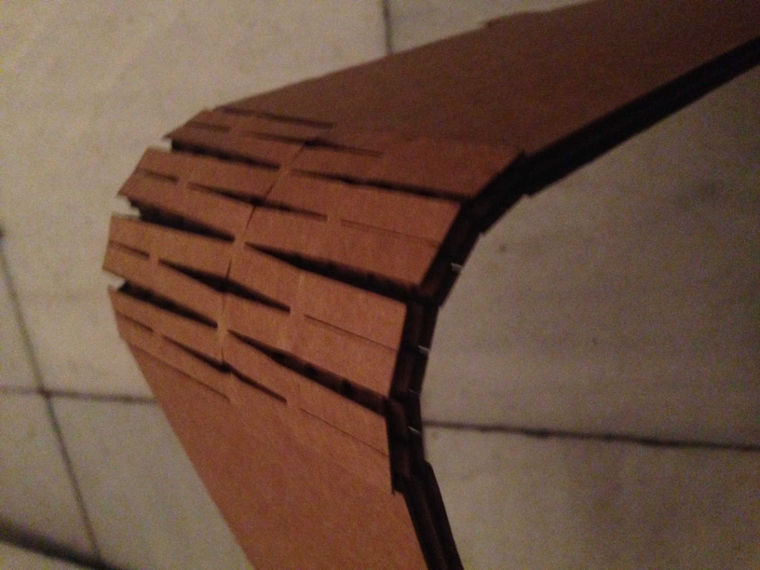
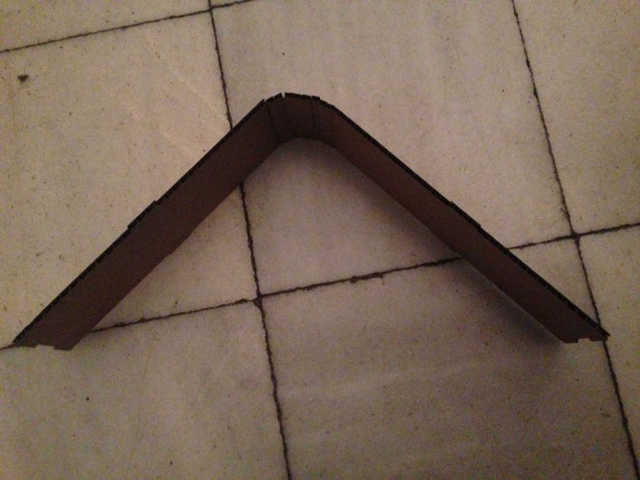
I wanted to try different possibilities to design and laser cut a press-fit kit. I worked with Autocad and Rhino for the second trial. I designed my module and tried to fabricate it with a 3 mm cardboard using the same idea of the boxes. I wanted to test as well the flexibility of the material by choosing the curved shape.
I created a 2D PDF drawing in Autodcad then imported it to rhino and print it in .dxf file on the Epilog Mini 24 Laser Cutter using a speed=50 and a power=45.
I have tried the same thing with a 6 mm cardboard which I had more difficult to cut. Finally, I have used a speed=20 and power=90 and it worked ! 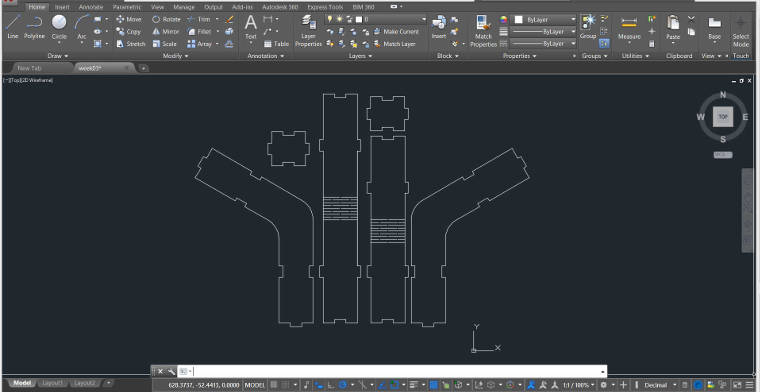
I had a bit difficulties with the measurements at first but after few trials I have managed to fit them together.
The following images show the module box that I have failed because of the bad measurments. I used this module as an experimental exercice. 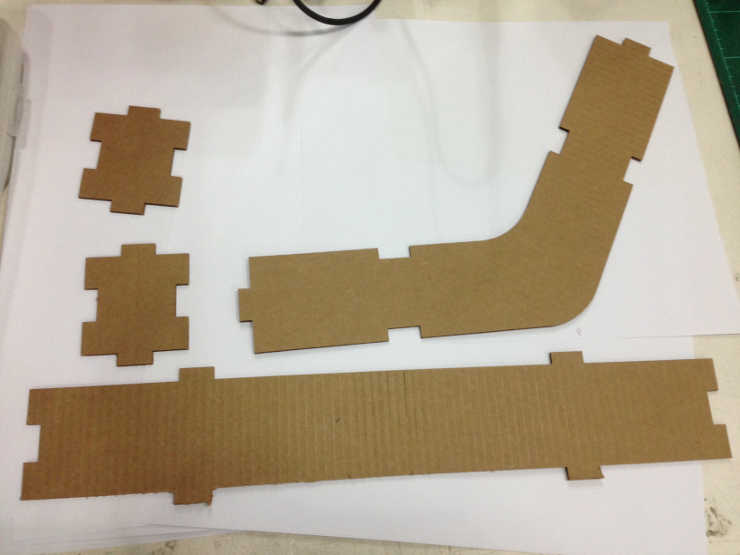
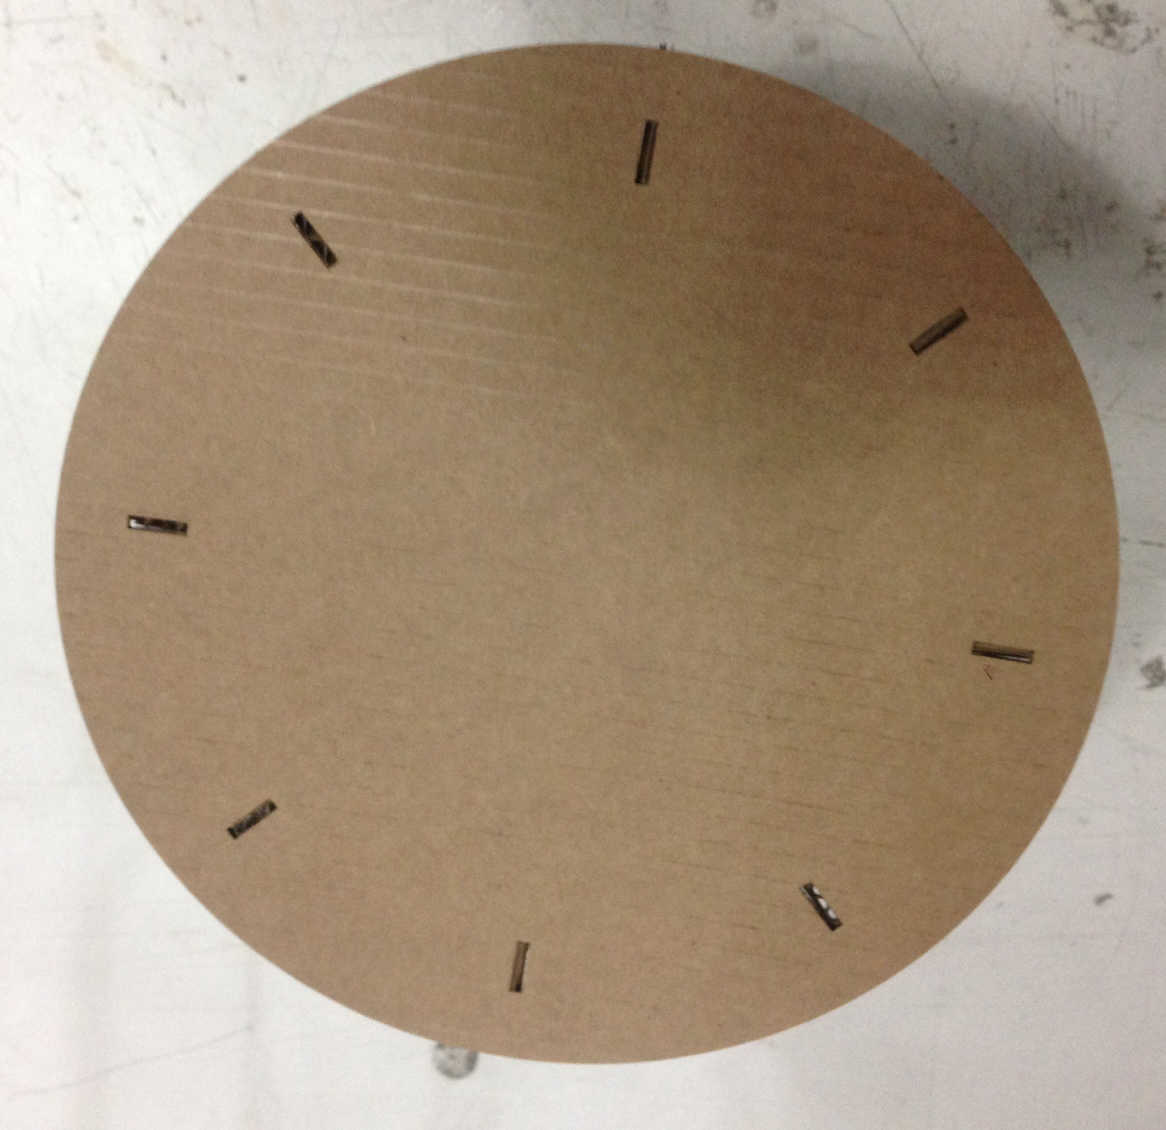
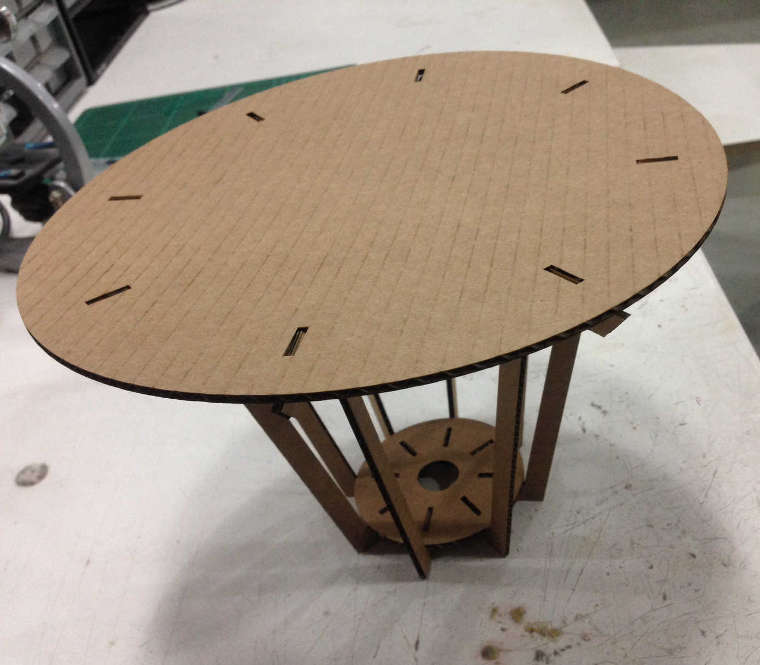
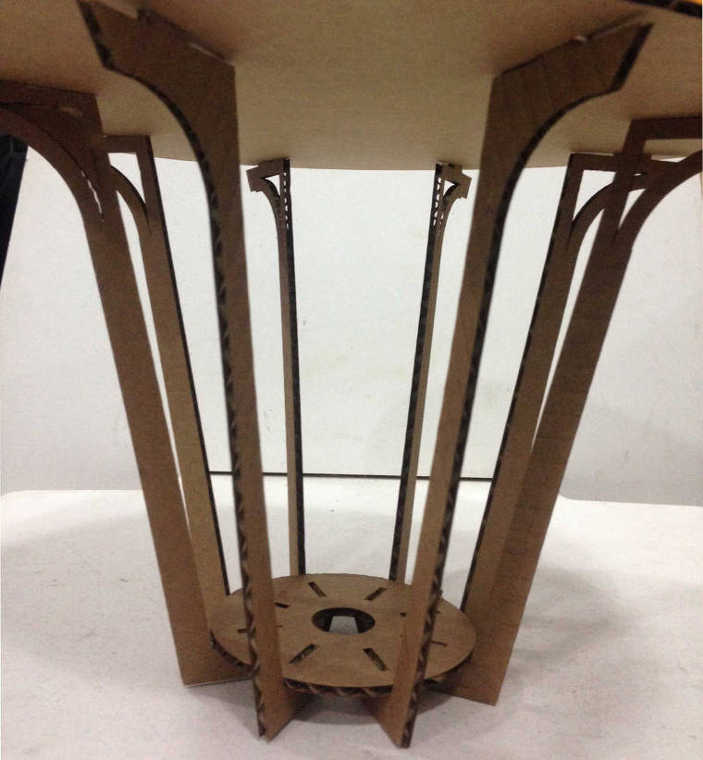
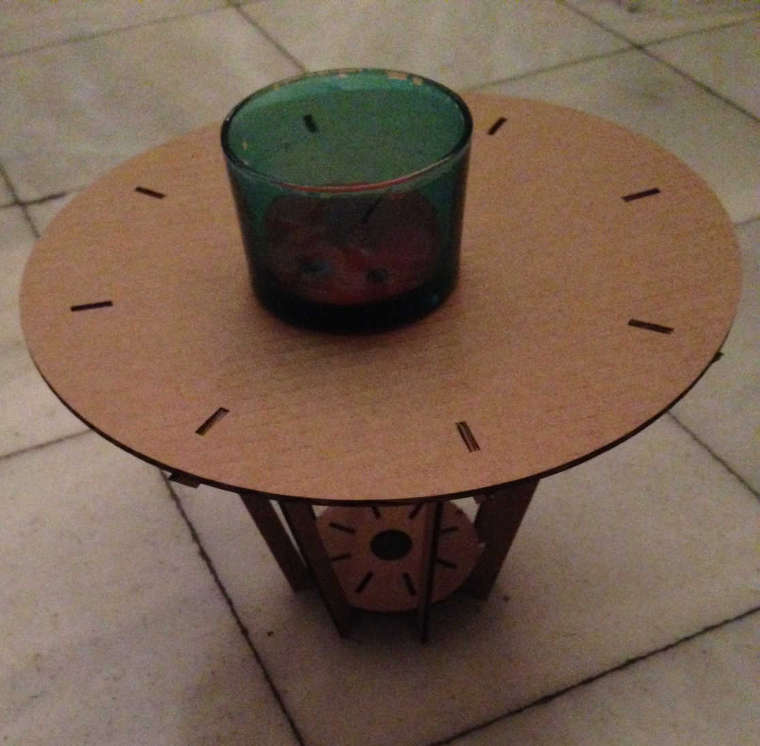
Second press-fit kit:
I also tried to press-fit a coffee table using the same material, cardboard 3 mm cut on the multicam laser cutting machine with a speed=50 and a power=90. I went to the same process to design the coffee table using autoCAD and Rhino.
Here is a great site FabLabBCN Wiki showing a list of configurations used with the machines and materials that was helpful.

Download the files here : cut files