Week 13Assignment: design and build a wired and/or wireless network connecting at least two nodes
Programs/Machines: FabISP, HelloEcho Board
Lessons Learned: Read through the resource page to better understand everything. Make sure each board has the proper node ID and that the baud rate is set to 9600 for serial communication. Also check that the processor is set to 8MHz.
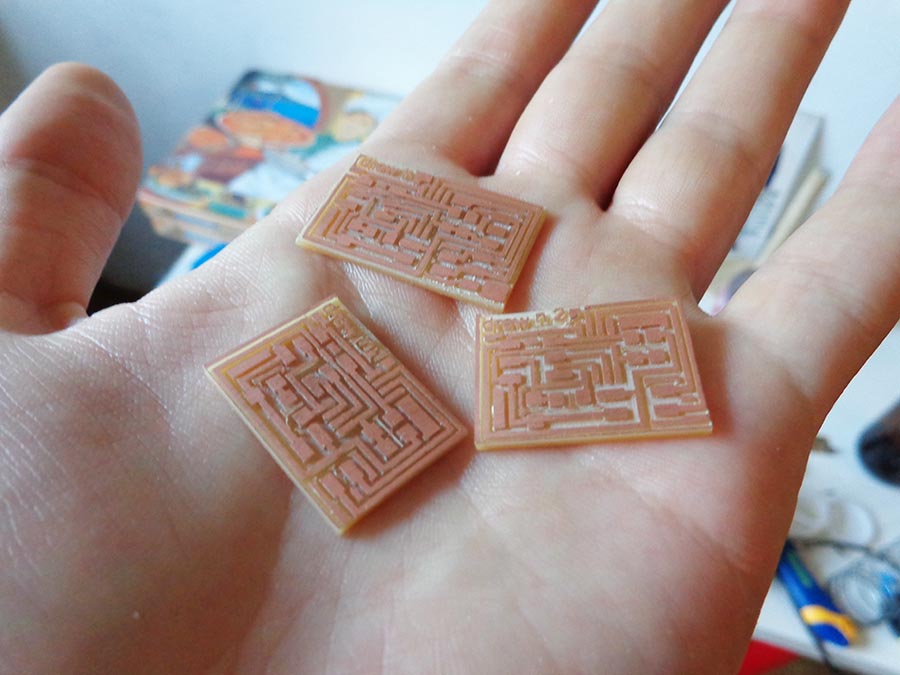
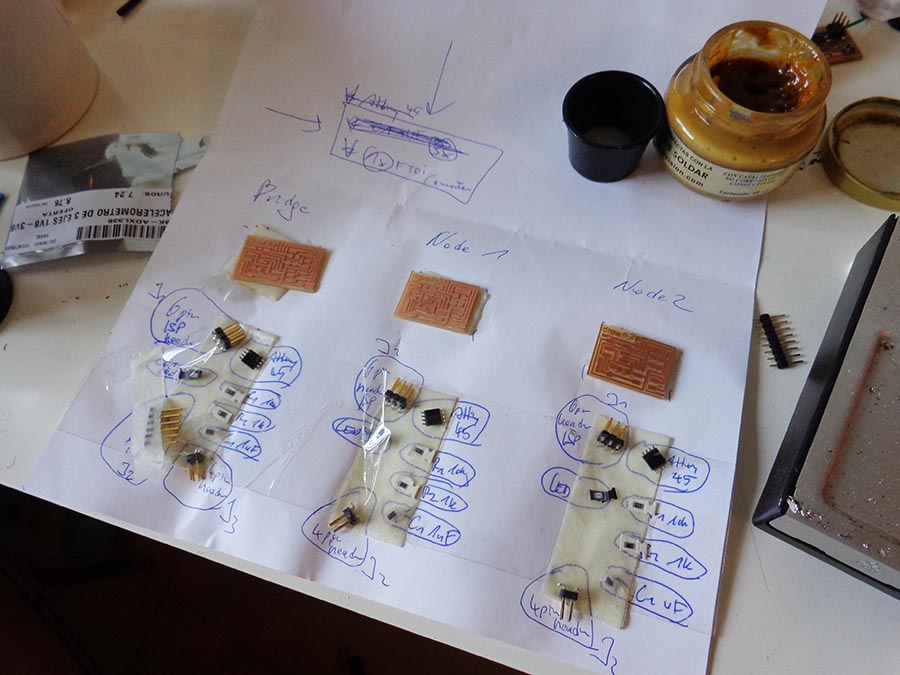
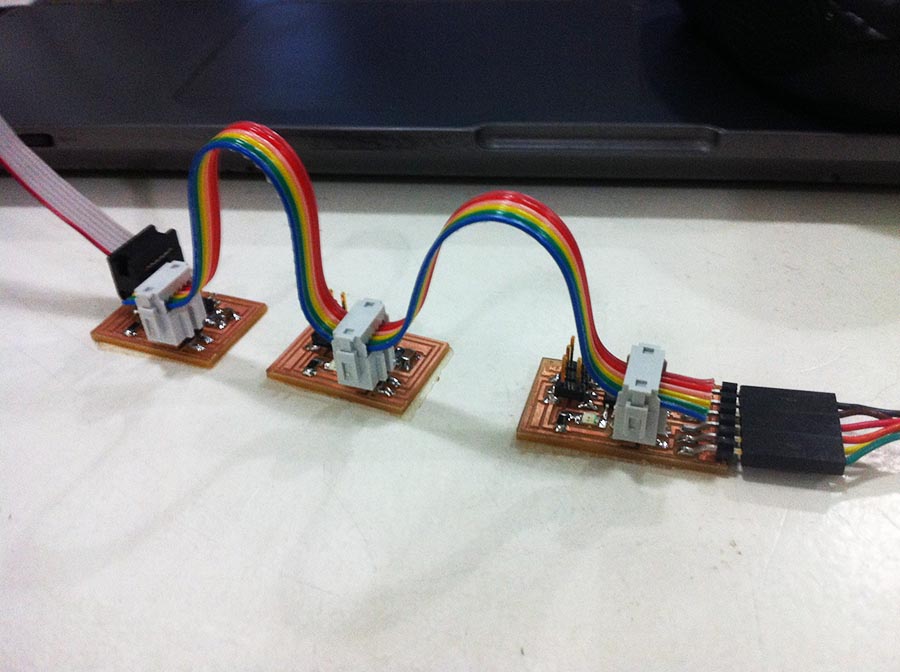
The purpose of this assignment was created a networking between computer and boards using the example of serial bus. I downloaded the files for a bridge and node board from here: (LINK), added a logo, and fabricated 1 hello.bus.45.bridge and 2 hello.bus.45.node boards. It's possible to connect more nodes, but for the following exercise, I decided to start with two.
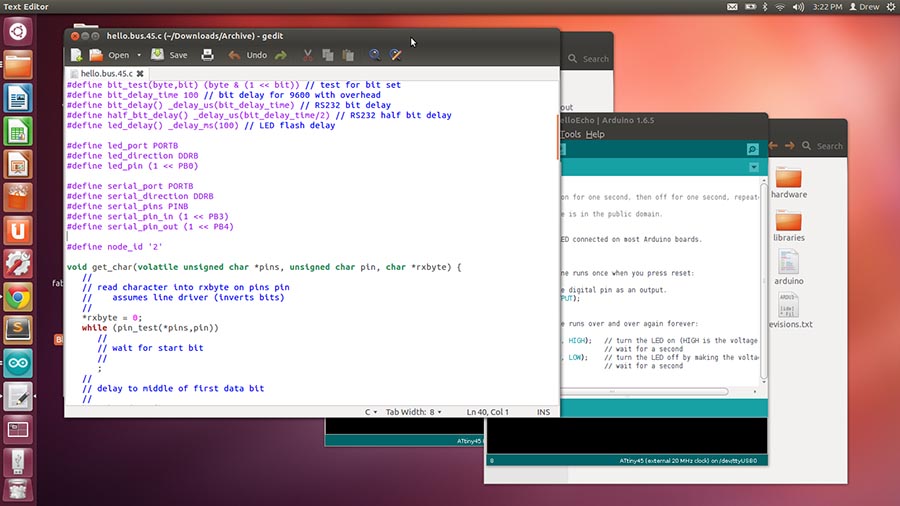
Once the boards were stuffed and ready for programming, I downloaded the make files in order to define the boards according to their appropriate ID in the C files. Starting with the bridge (which is also considered a 'node'), I made sure the following line set node ID as '0'.
#define node_id '0'
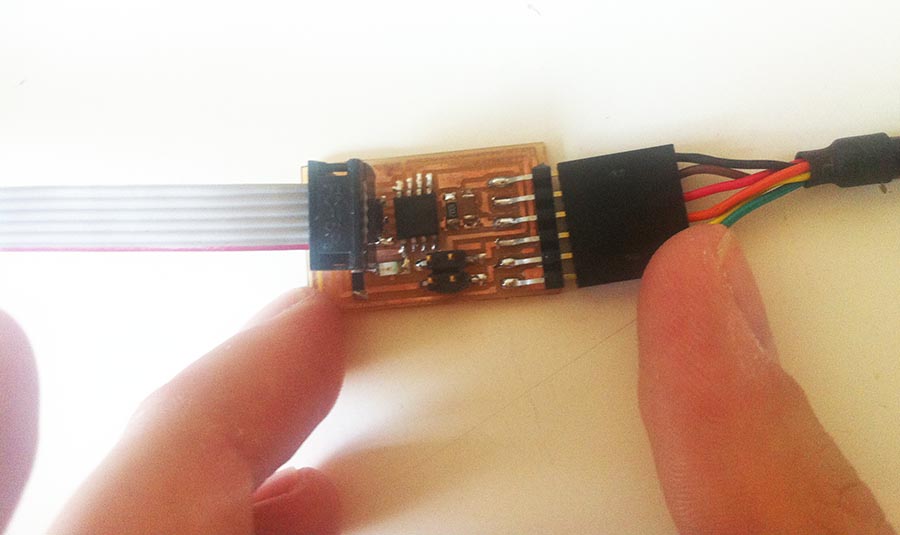
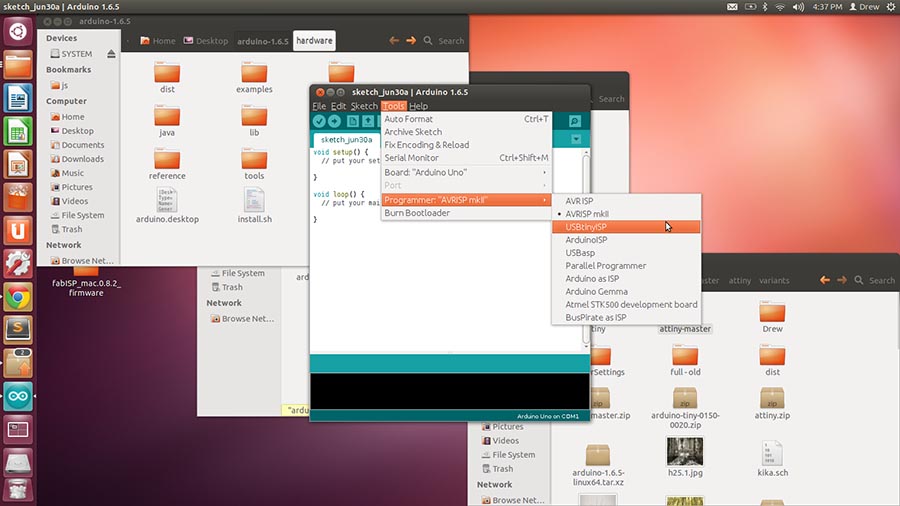
The node_id was already set to 0, so I moved onto the next step. I connected the bridge board to the computer via an FTDI cable and programmed it using the AVRISP. I flashed the board and defined it as node 0 using the following command:.
sudo make -f hello.bus.45.make program-avrisp2
Next, I modified the C code and set the node ID to '1' and saved the file. I used the bridge board to power the node board and connected them to TX and RX. The node board was then flashed and defined as node 1 using the same sudo command. The steps were then repeated for node 2, replacing node ID to '2'.
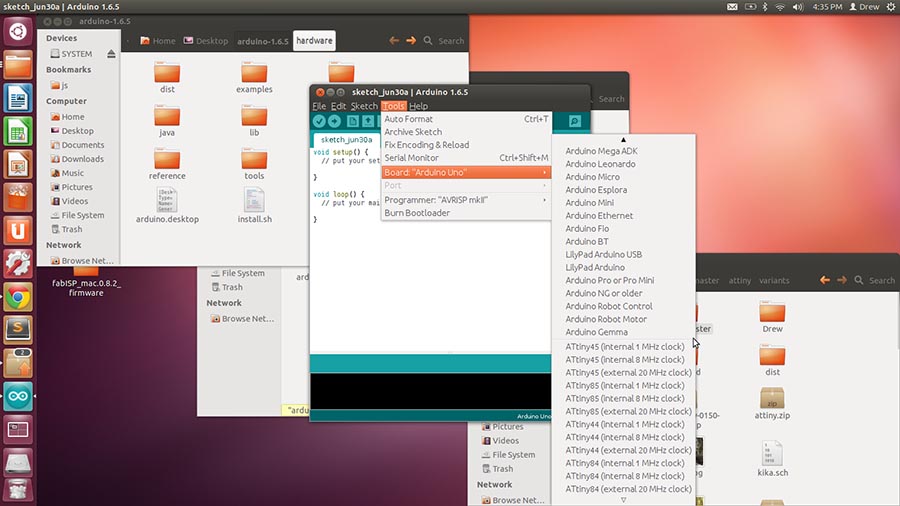
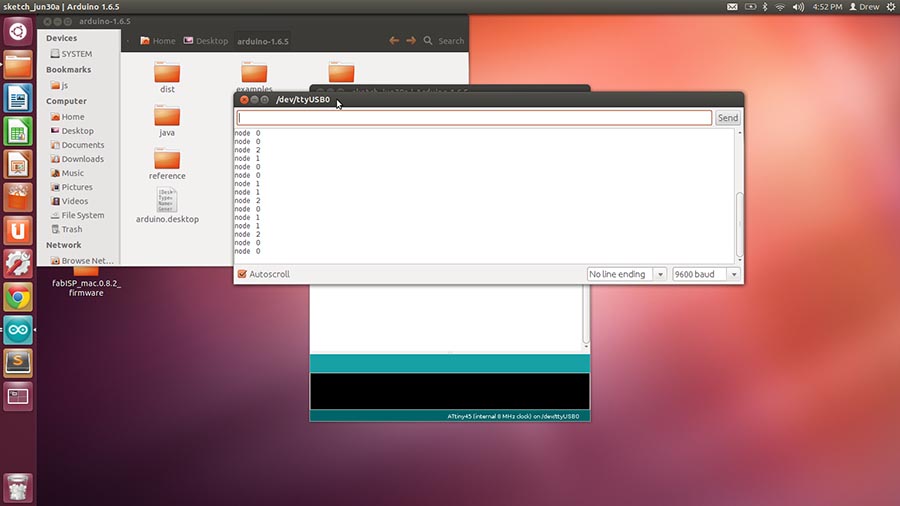
After flashing all three boards with different node ID's, I plugged the Bridge board into the computer using an FTDI cable, and connected the nodes with 4 pin headers (Tx, Rx, Vcc, and GND). Within Arduino ID, I set the board to Attiny45 with 8MHz internal clock processor and opened the serial monitor. Now if I type in the number of the node and press enter, then all the LED's on the board will light up with the LED of the board entered lighting up a second time. The node name of the node selected is also displayed in the serial monitor.
Downloads