Week 3Assignment: design, make, and document a press-fit construction kit
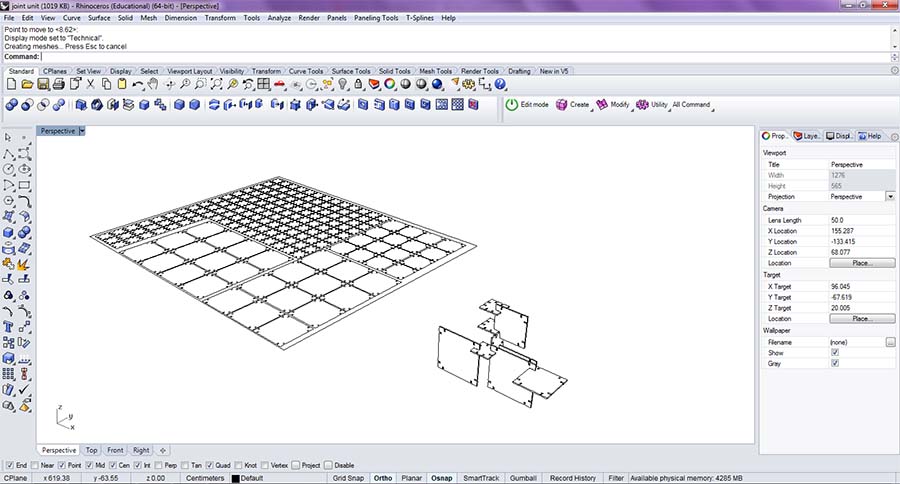
Programs/Machines:Rhinoceros, Epilog XT Legend 36
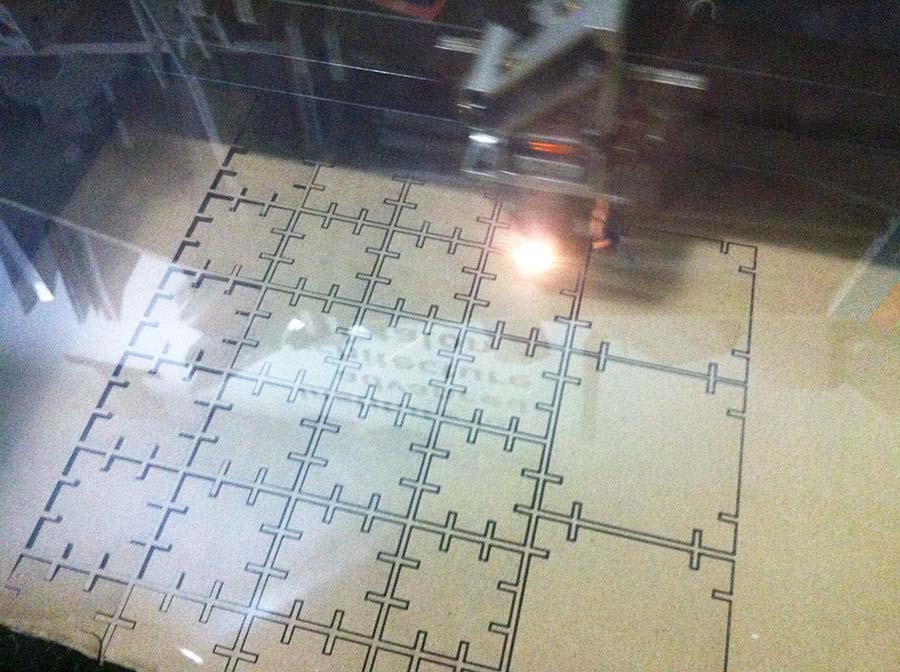
Lessons Learned: Laser cut settings may change from day to day due to lens clearness, but if power/speed are dramatically different, something larger is wrong.
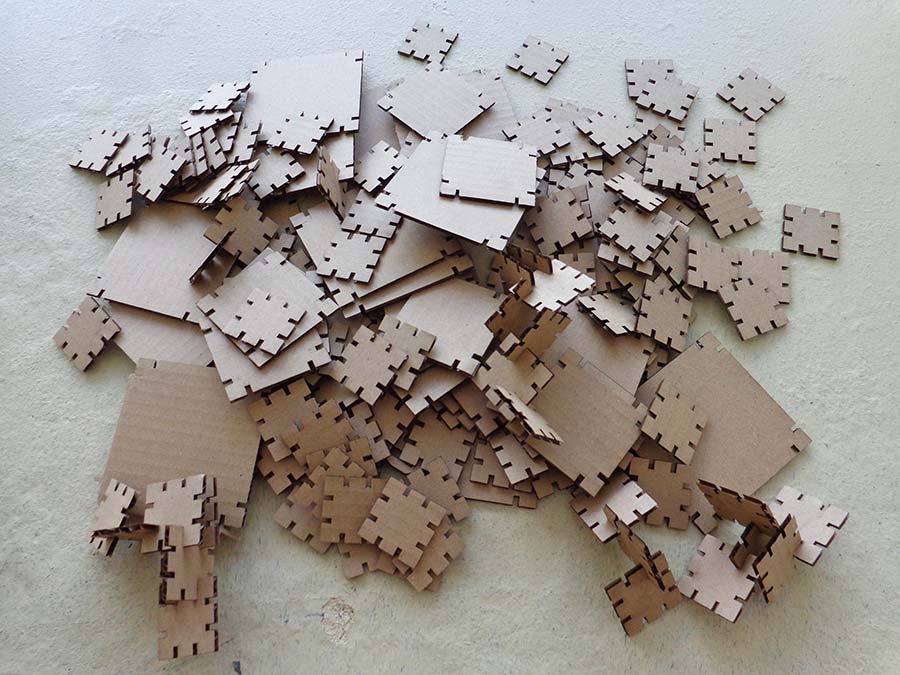
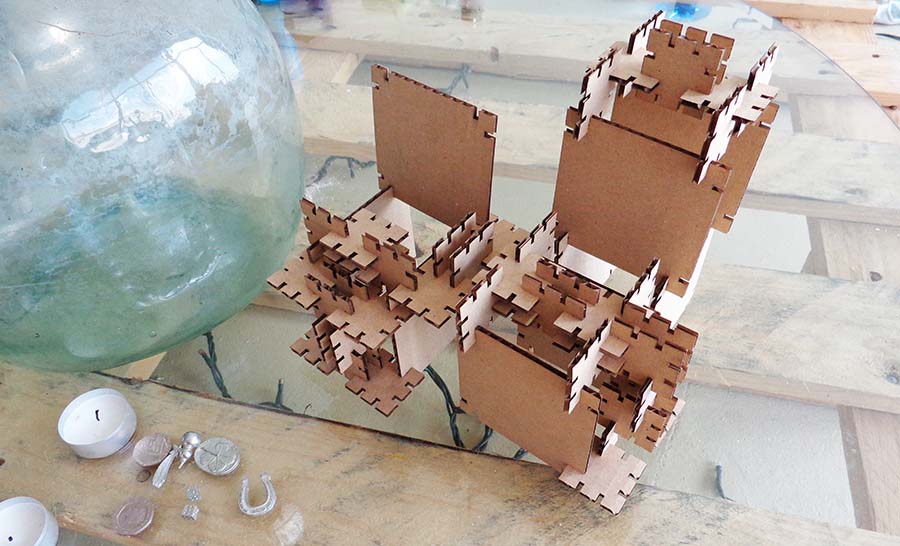
I have to admit; I grew up with tubs and tubs of Legos. I don't want my confession of a Lego frenzied childhood to sound like the beginning of an "AA" meeting, but after building with Legos you see the world in a different light that bounces off the individual blocks that build everything. Deconstructing objects down to its bits and bytes is helpful to observe subtleties in construction, form, or materiality. In my computer-controlled cutting assignment I would like to reexamine the block by block nature of Legos, but work more in the subject of "Focus".
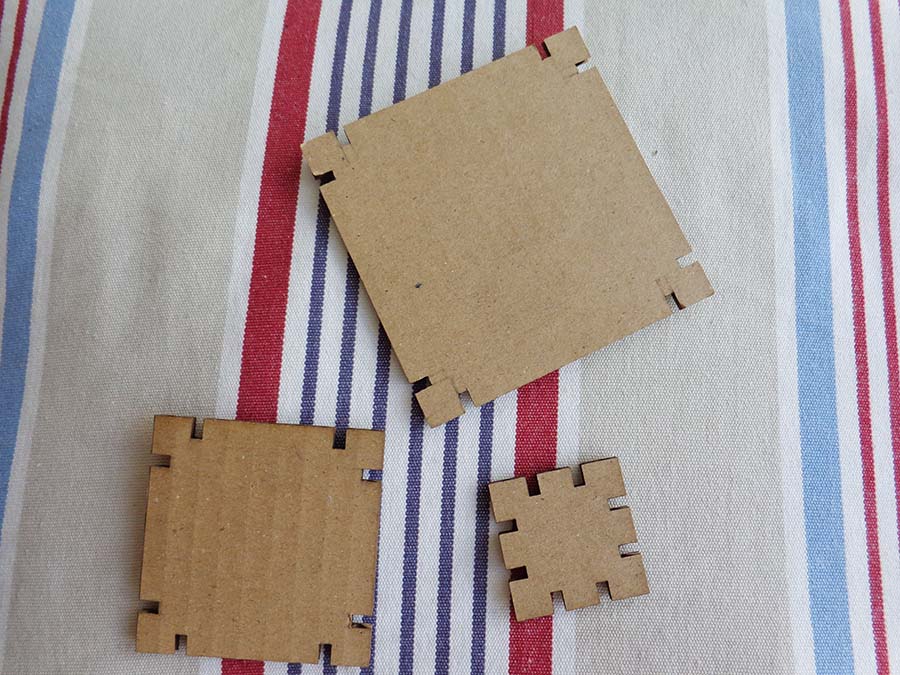
Harkening back to the true basic form of a Lego I started with an uncomplicated square. In terms of edge to edge connections I chose to work with a card-slot press fit union. I had difficulty working with corrugated cardboard because of its irregularity within its interior structure. Within the union of two squares I found that the kerf of the cut by the laser would produce a larger slit, other times a perfect niche. To work towards a focus/unfocused balance, I applied similar methodology to a scaled family of components.
Epilog laser machine work flow:
-Turn on the main fume extractor
-Turn on the air compressor
-Switch the Epilog's toggle switch to "On"
-Make sure your material is on the "cuttable" material list
-From Rhino sending your files is as easy as clicking "Print"
-Select the "Epilog" from the printer list
-For vector work select job type from "General" tab
-Set the size of window or material size
-Within "Color Mapping" you should set power and speed settings in coordination with your layer colors
-Be sure to always engrave before cutting, as cut objects tend to seperate themselves from the cutting plane and settle
Machine settings (en Español):
-Open the door to the machine and place your material, using tape if necessary to secure in place
-Focus the laser's lens by setting the machine head to the origin, pressing "Enfocar" and then next "Entra"
-f the job has already been sent it will show up in the machine display window
-Press "Entra" in order to start your job
-Press "Salir" if the laser starts to burn something or the material moves from its static position
-Never leave when the machine is running
Downloads