MOLDING...
...AND...
Doing clons
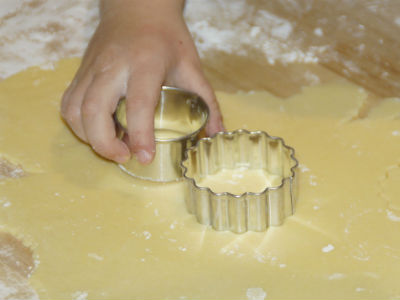
The main utility of molding and casting is to prepare a mold to be able to make many objects quickly. This is very usefull when you don't need to change anything of the object size, weight or material.
Design a 3D object, mill it in positive, mold in negative, cast in positive.
Hands on week.
Content (linked):
Assignment:
TUTORIAL MOLD AND CAST A GRIP.
Downloads:
Download CAD files (BLENDER)

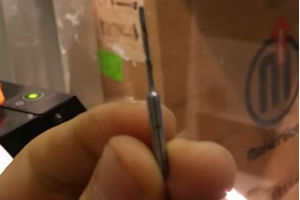
A climbing dam is a hard piece of resin that is used to climb indoor. Usually, a climbing center have a wall full of holes where the dam are screwed.
Open Blender and select with rigth button the initial cube, click on "x"
keyboard to erase it.
On menu: add/mesh/ico sphere, create a sphere on the center of the screen.
The have no a good "sphere shape" it looks a poligon yet. To improve that,
go to "add ico sphere" and grow up the value to 3 or 4. I did it to 3.
On your right side of the screen, click on "object modifiers", add modifier
and look for "multiresolution". Now click on "subdivide" 4 times for get
a rounded shape.
If you look at the top of the screen you will see "61.442 verts"
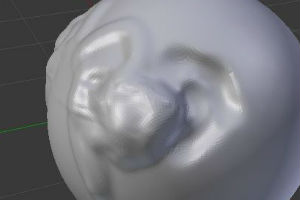
Now, on the button menu, change "object mode" to "Sculpt mode", you will
do crazy changes on the surface adding material with left mouse button,
and substracting material with ctrl+left mouse button. You can change the
size of those adding, changing the radius on the left menu.
Go to edit mode (button menu). Then view/front in order to place the object
in front view. On the button menu change to wireframe. Click on "A" to
deselect everything. Click B, to create a "box selection" and select the
bottom half sphere and delete it with X.
Now on select, verts of the cutted ring. Alt+F, will fill it. Back to
solid mode to see the changes made.
Now, let's make a hole to be able to screw the dam on a wall. On add/mesh/cylinder
make a cylinder. Now it appears a very big cylinder. Put radius to you
screw. Click on "E" you can scale the selected object in any direction.
The screw head is made with extrude and scale options. With boolean
option to substract one from other.
Add a cube, adjust to the dam. with scale and extrude it's easy to make
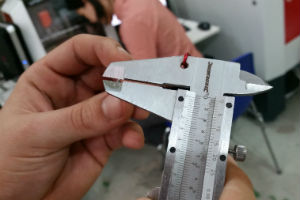
the cube border. That's final dam. After finish it, and before mill, it
is necessary to check the object size (it is a 3MB Blender file, so it's
to big to upload to my website).
Download CAD files here (3MB)

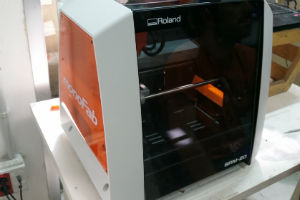
For this purpose, I have used Ronald SRM-20. This is how to do it.
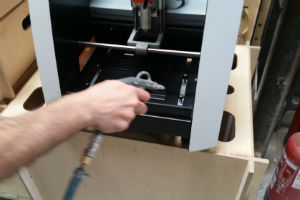
After mill, there are a lot of material in the machine and could be reused. Because of that, it is important to clean up very well the inside and suck the remains of any other material that may have to do not mix them.
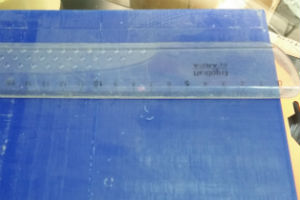
Measuring the material size. Check on Rhino that if design fits on available material size.
Open the dam design with Ronald SRM-20 software.
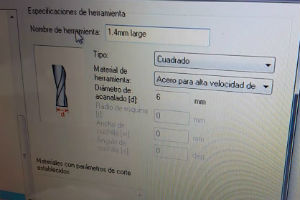
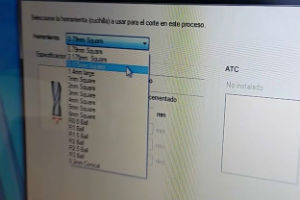
We have to specify material and the tool. We are using a hand made tool,
so I have to create a new tool on settings.
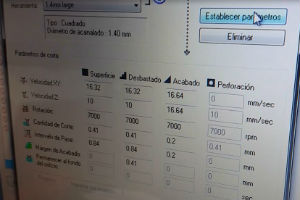
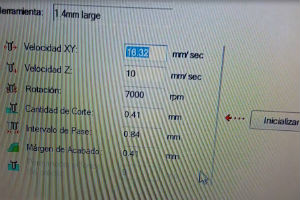
This were my settings (it depens on the tool)
Click on "new".
Tool name: 1.4mm large
Type: Square
Material: Steel
Diameter: 1.4mm
Click o cut parammeters.
Material: "Modeling Wax"
Click on "set parammeters"
This were my settings (it depens on the tool)
Click on "new".
Tool name: 1.4mm large
Type: Square
Material: Steel
Diameter: 1.4mm
Click o cut parammeters.
Material: "Modeling Wax"
Click on "set parammeters"
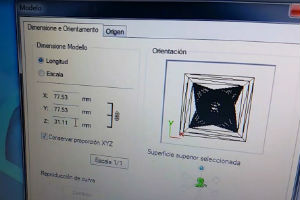
On the top menu, click on "set model" and check dimensions,
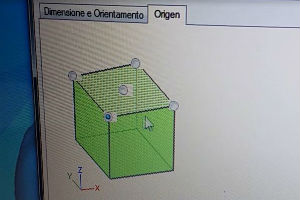
Select "origen" and set it to the upper closed corner.
Create a new process.
First trimmer (because my surface is completely flat, if it wasn't, first
action is to make it flat)
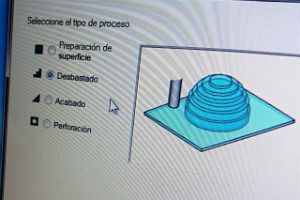
Click on next and select "superior". It means it will start from the upper area.

Click on next and choose the tool that we have set before. (1.4mm large)
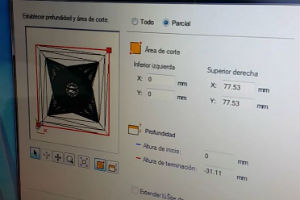
Click on next and set that mill just a parcial part. We have to adjust the area to mill, if we don't do it, the maching will be moving without do anything. That action will save a lot of milling time.
Click on next and set the milling path pattern.

Click next and check all the settings. Click on next, input a process
name and do it!
It takes 1-2 minutes to make it. Just wait.
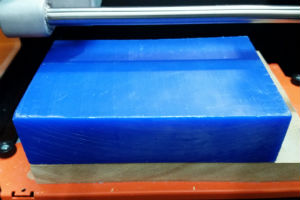
Open the Ronald SRM-20 Window and paste the wax to the board with double side tape.
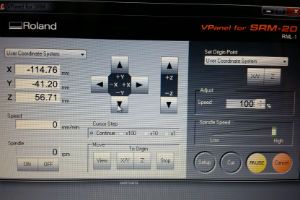
Open the VPanel for Ronald SRM-20. Set the (0,0) moving the tool with
cursor and set the position with "X/Y" button. Spindle on.
Press "Cut" and start milling!!!
(After 8h milling, repeat all process with a smaller tool in order to
improve object resolution).
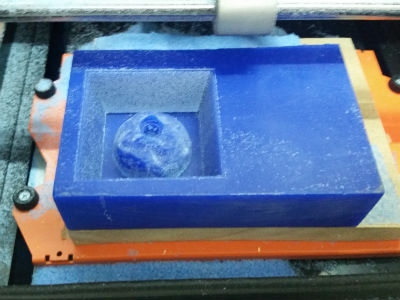
I love this part. Get out of the computer and start to see your creation,
touch it... From virtual to reality
This is when "digital fabrication" really "fabricate". Let's see
the process:
Wash the milled wax to avoid any material that could be in.
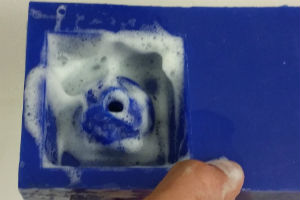
I decided to use silicone to make the mold. This silicone is called "PMC" and have two compounds: urethane and rubber compound. They have to be mixed with ratio 1:1 by weight or volume (that's means both have equal density).

In this video you can see how to make the silicon mold. Enjoy!
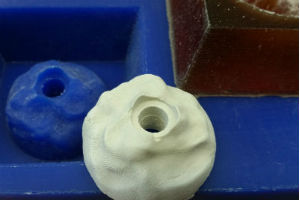
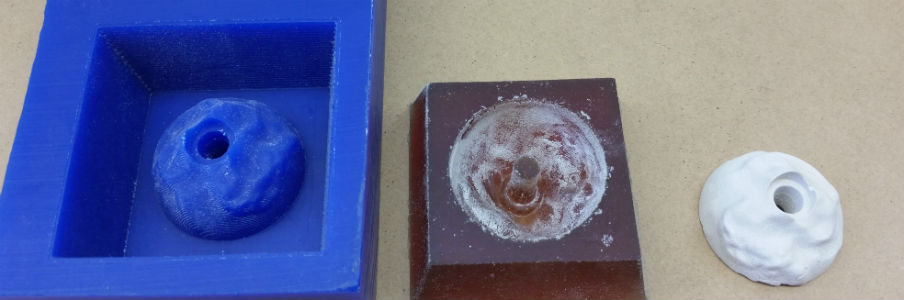
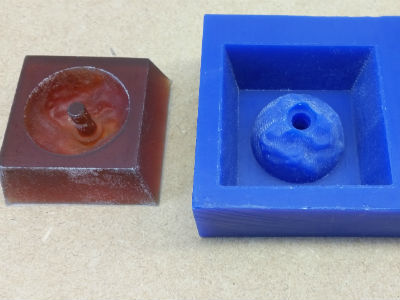
Taking out silicone
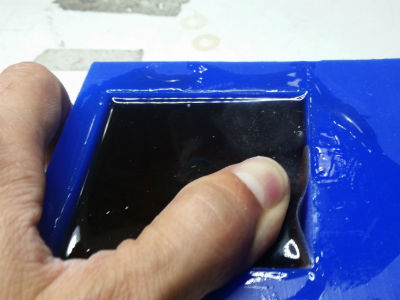
Wax and Silicone molds
This is the final step. Let's do the first dam of many. For this purpouse,
I have choose a material that could hold my weight if a support on it:
cement.
Form X, ultracal30.
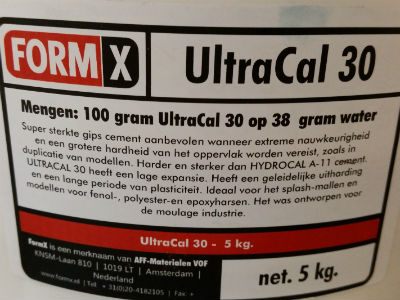
The mixture in this case is Mix ratio 30:38. I put on a plastic cup 40 gr of ultra cal 30 and should be 50,6 grams of water (Impossible to have more than 1 gram resolution, so 50grams).
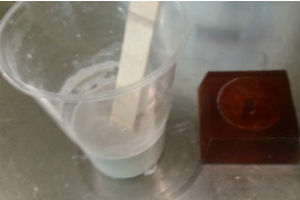
Pour the misture in the silicone mold and leave it all night long.
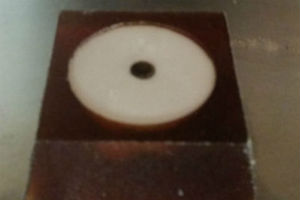
Next morning...Tachaaaaaaan! My first climbing dam!