Heat cutting
To cut, you have to burn
Mechanical cutting
Vinyl Cutter
Fab Modules
All in one
Making Puzzles

The puzzles in three dimensions usually follow a mathematical pattern to build it. The dream of many fan of solving puzzles is to create them easily every day.
Design an object with CAD software, cut in pieces on laser cutter and
assemble it on an object in three dimensions.
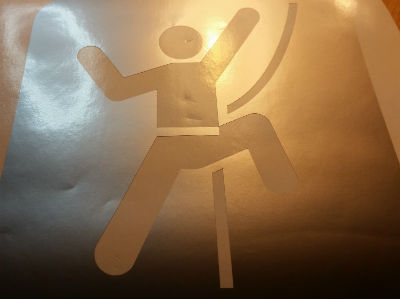
In order to know how it works vinyl cutter, an image (CC0) has been downloaded
and cut.
Content (linked):
Assignment:
TUTORIAL LASER CUTTER CUBE PUZZLE.
Extra:
TUTORIAL VINYL CUTTER.
JOINTS PROJECT
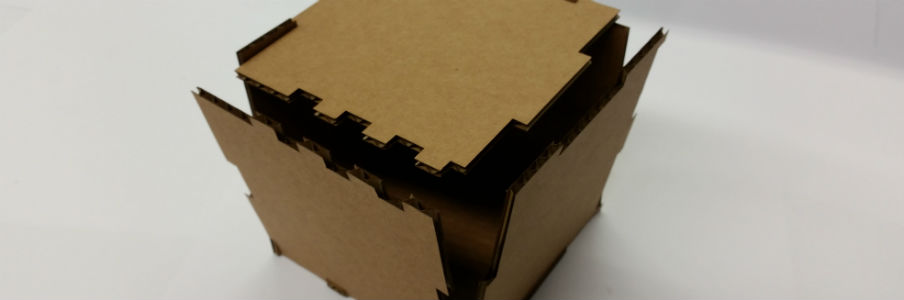
I love puzzles, so this "press-fit construction made on laser" I wish
to make a 3D puzzle. The puzzle it will be a cube which every side will
be different. There is just one way to assamble the cube.
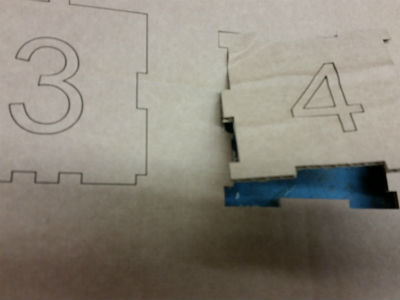
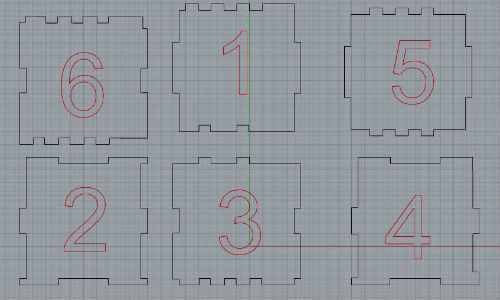
During all process, I will bring them a number to each side of the cube
in order to fix all joint problems. When all joints are tested, the final
cube will not have numbers engraved.
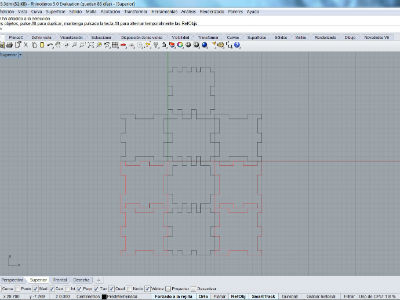
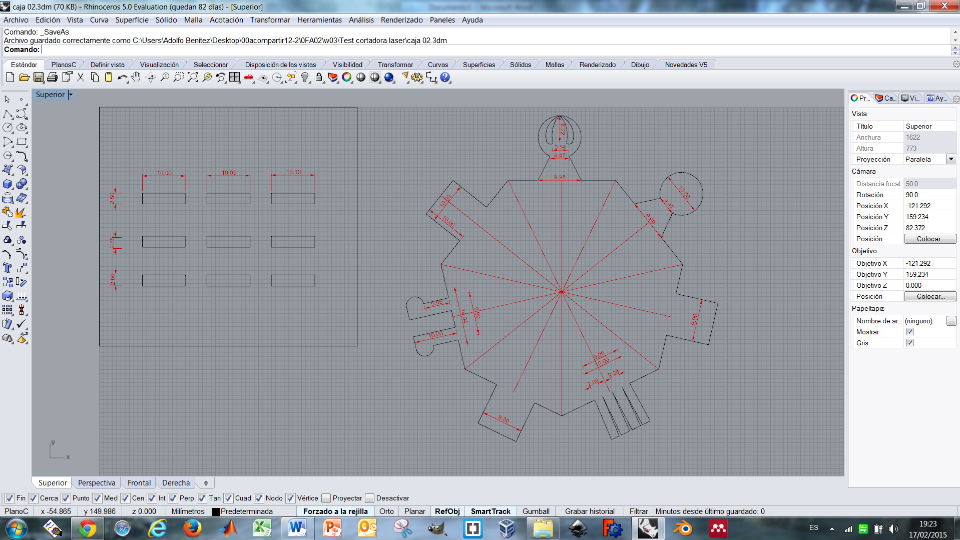
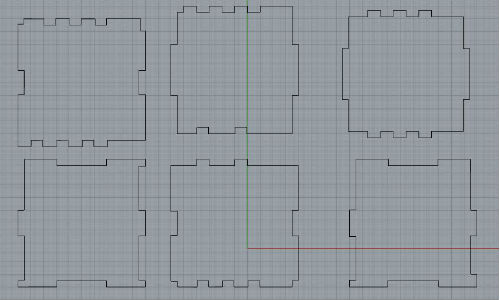
Using Rhino, designing a cube which could be assembled as a puzzle.
One of the most important aspects is the adjustment of the pieces together.
Two layers were done: black layer that will be cut and red layer that
will write without cut. Color red and black will used on laser cutter to
set the tool power.
Download Rhino design with two layers here.
The laser cutter is an Epilog Engraver. All the laser cutter settings
are for a 3mm paperboard.
Those are the steps done before start to cut:
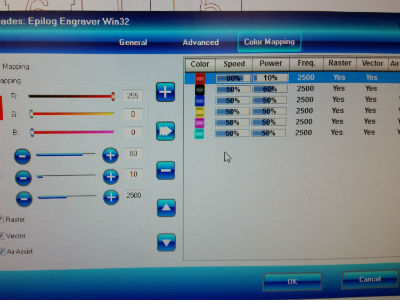
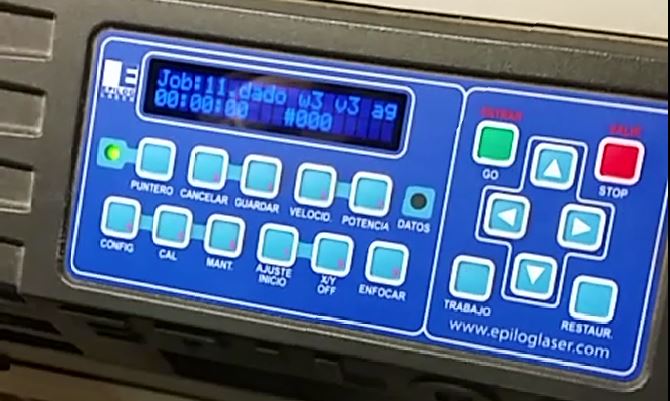
Set the laser cutter:
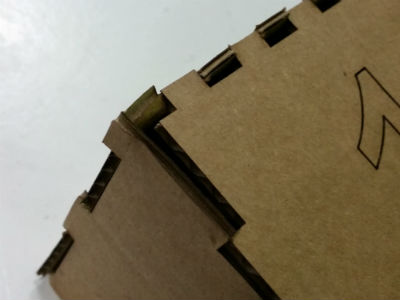
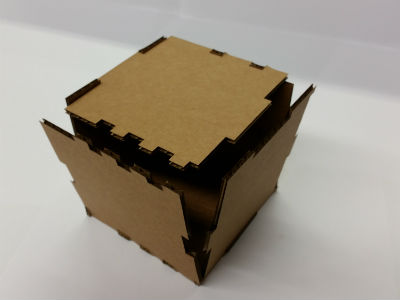
Now, the assembling time. The first time, it doesn't cut or fit the joints well. It was necessary to do three iterations from step 1, redisigning joints size and changing the laser cutter settings.
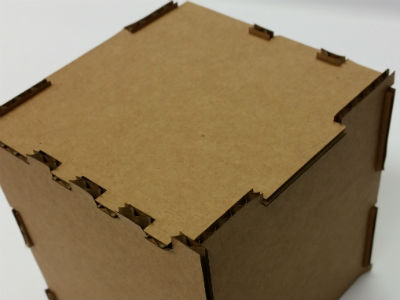
Puzzle finished!!
Notes: If you have a look on the rhino file, you will see numbers for engraving. This numbers are just for the debugging process. After everything was checked and fixed, the final version is a puzzle without numbers.
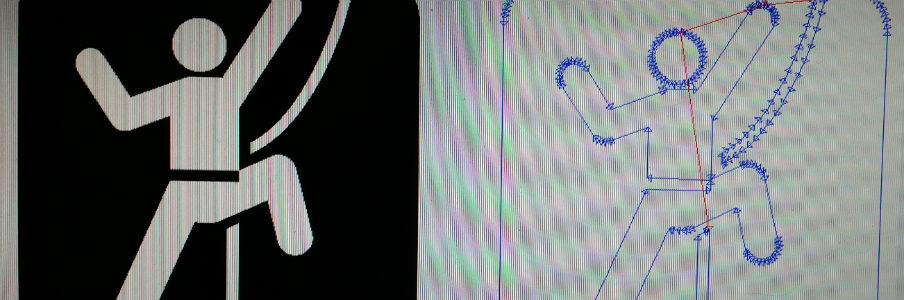
You can design your own image using CAD sofware, in that case I have downloaded
a vectorial image CC0
(see
alia page to know more about CC0).

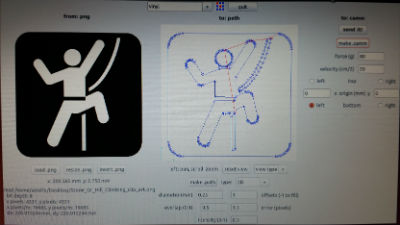
Open Fab Modules in a new terminal typing "fab".
Then select image (.png) and Roland vinylcutter(.camm).
When the GUI is opened, load.png.
Make path (you will see the traces)
Make .camm
1. Prepare the cutting tool, removing it about 2mm out of the holster.
2. Introduce the vinyl paper as you would do with a printer.
3. Set the (0,0), follow instructions on the vinyl dashboard.
Send it!! on Fab Mocules and start cutting.
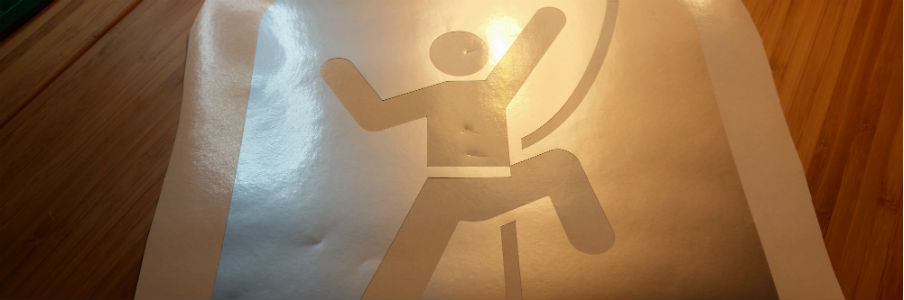
1. Extract all the vinyl that you don't need. Do it carefully.
2. Paste with a big paper tape the whole vinyl. This tape will help us
to extract the final vinyl.
3. Paste the tape with the vinyl where you want it to be.
4. Extract the big paper tape carefully and left the vinyl.
After my experience with the cube puzzle, I realise that joints have to fit and be enough strong to make a proper assembly. For that reason I started to design all kind of joints for paperboard. The project is in progress.