Molding with wax and ciment.
Roland Modela Scanning and RhinoCam G-code
Milling and making composite
Wax, ciment, foam, epoxy resine and cloth.
All the commercial protections for sport use have some sizes and that's
all. Just in professionals you can find all the equipment do it in order
to fit the athelete.
One of the body parts that suffer more injuries in skating is the wrist.
Any protection avoid injury. This is a question still not solved.
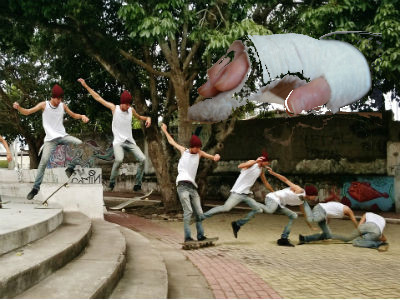
This is my week project. Create a wrist protection that fit to each skater.
Test all possible technics to learn how to fit something to a human body, test wax, ciment, scan modela, vacuum machine and composites.
Content (linked):
Assignment:
TUTORIAL Wrist Protection Composite.
Downloads:
Download zip file with everything (6990kB)

I purposely avoided by scanning photographs. That way to get a 3D model
already realized in the week of 3D Printing and Scanning. This week I will
try something different . I want to try scanning by Ronald Modela.
This way of scan is very, very slow, it takes hours, so it's impossible
to use my own wrist to do it. So, I decided to create mold with wax, then
a ciment wrist. This ciment wrist can be scanned in the Ronald Modela for
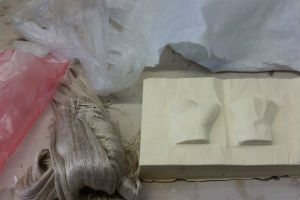
hours. 3D model from Modela, prepared to mill in two pieces (up and down),
milled and finally do the composite over it.
Yes, I know that is going to be long to do, but I want to try as many
technics as I can.
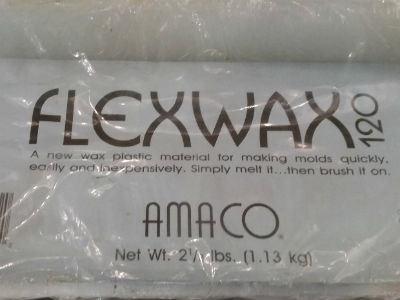
Let's start. First is to choose wich wax could work. According to Santi Fuentemilla, "FLEX WAX" is the best option.
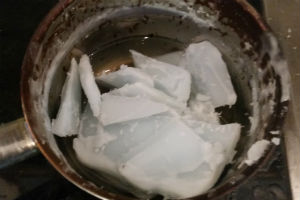
Cut a piece of wax and heat it in a pan. Move it constanly. Do it until the wax is a hot liquid.

It's is hot, but you can bear. haha! Put layer of liquid wax over the
skin with a wide paint brush, let it dry a little bit between layers. If
you put too much hot wax, it will melt prior wax. All this process it was
30 minutes.
Thanks Santi for your help!
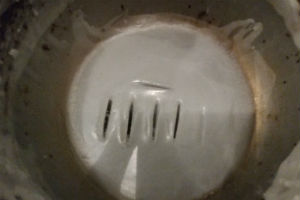
When you finish it, let it hard under cold water. I made some test with the wax residue in the pan. I put wax residue under cold water an make a cut every 30 seconds. After 3 minutes, wax was enough solid to be consistent.
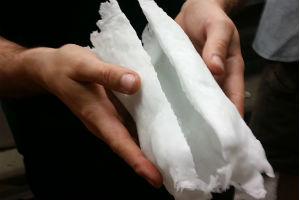
Cut one side and open the mold.
Close again the mold with liquid wax, then cold water again to make it solid. Create a bottom with wax. Now is supose to be closed.
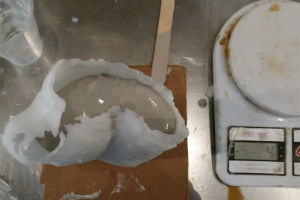
Prepare ciment (see week molding and casting to more information about
preparation). Fill the wax mold with it.
Let it harden 24hours.
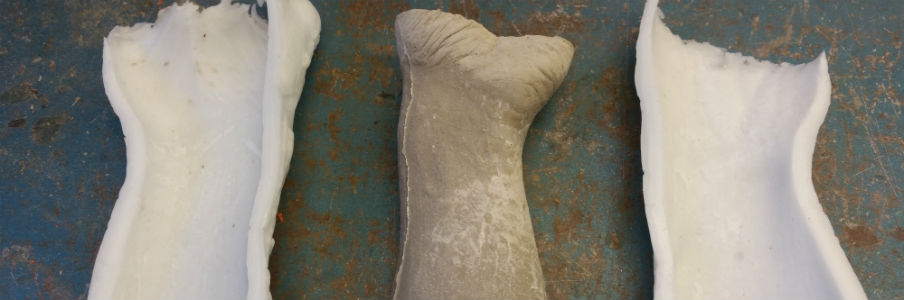
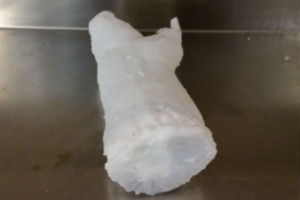
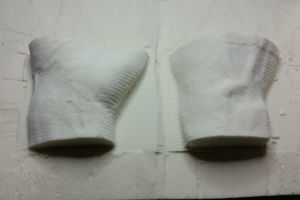
Open the wax mold and take out the ciment wrist.
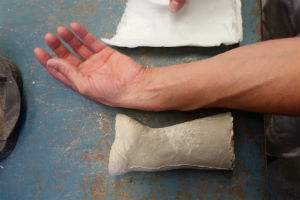
My wrist, wax mold and ciment wrist.
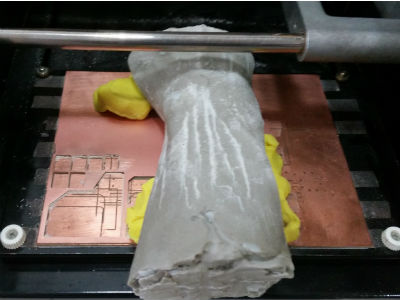
Ronald Modela have some tools and some functions, one of them is scanning.
For scanning, put the object on the Modela board, in my case I put
some clay to fix the ciment wrist.

Open the software "Dr. Picza", is a 3D scanner for Roland Modela. On the
right side menu, click on "scannig area". It will appears a window with
an easy interface to reduce the area to scan.
The final area will be the blue area. You can change it by clicking on
little squares and drag it. Look at the tool every time you change this
in order to check if the area it fits to your object.
Ferdi was helping in all step with Scanning with Ronald Modela
Settings: X-scan pitch=0.5mm, Y-scan pitch=0.5mm, Z-Bottom=13mm
After some strange problems with computer ports, finally Ronald Modela
start to scan. Dr. Picza software estimate that processign time it will
take 11h and 50 minutes.
Repeat it both sides!
Scanning my wrist with Ronald Modela and editing with Blender. This is the final file, it has incredible resolution!
Starting from Blender 3D files, generate G-Code with Rhino.
This video is recorded using Ferdi's Mac because is the only computer
with RhinoCAM (Computer Aided Manufacturing inside Rhino).
Santi Fuentemilla was helping me in all steps to generate G-Code. (10 minutes video with voice explanations)
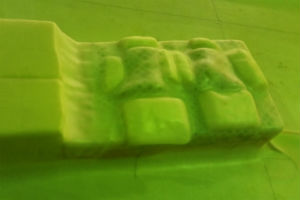
Milling process was described on week 8.
Material: Foam
Tools diameter: 12mm and 6mm
Tools have 12mm and 6mm diameter.
Feed rate was used about 45% of maximum (1352). This is a very low value,
but the machine it doesn't work very well, so it is needed to reduce speed.
Spindle Speed is not working by software, you have to use a potentiometer
without any value that I could write down here. It war at 50% of maximum
threabout.
I've recorded when I was setting the CNC machine, please have a look the
video.

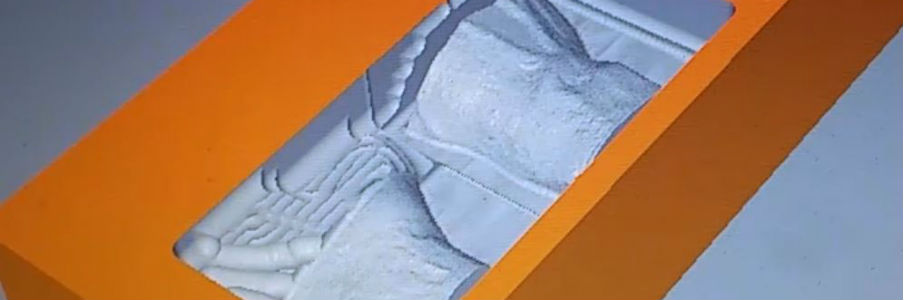
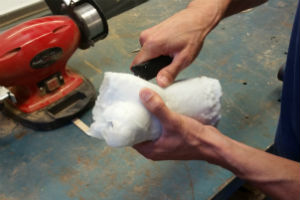
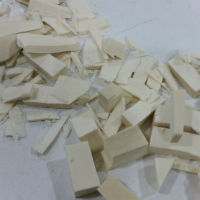
Remove all the excess material around the mold.
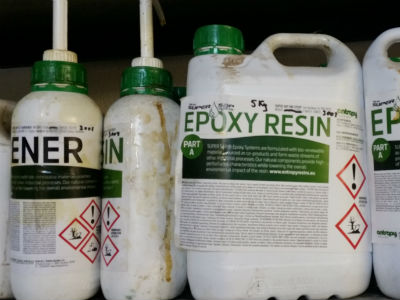
In order to make the wrist protection, I have choosen Epoxy Resin. To
make it you need two compounds: Epoxy Resin and Hardener, with a mix ratio=
2:1.
Total grams are: Epoxy Resin=200g, Hardener=100g
Thanks to Ferdi, he was helping and guiding along the process.
Prepare all layers, cut them:
-two plastic transparent protections (machine and foam)
- base material (In this tutorial is used a piece of cloth)
- Red film with holes
- Breathing layer (white)
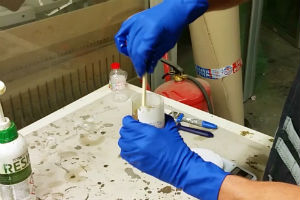
Prepare the Epoxy Resine. Mix Ratio: 2:1 (Epoxy Resine:Hardener). Mix it for 5 minutes.
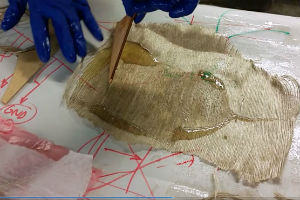
Spread the Epoxy on the layer cloth and prepare everylayer, one by one.
Put over the sharp areas pieces to help hardener process. Introduce it into the vacuum machine for 12h.
Epoxy, layers and vacuum machine tutorial (Ferdi is the cameraman!):
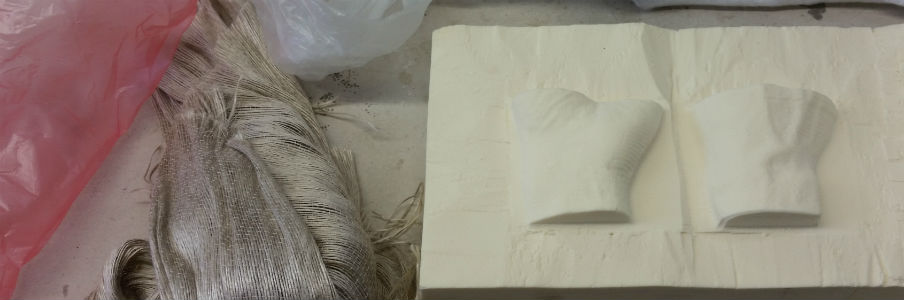
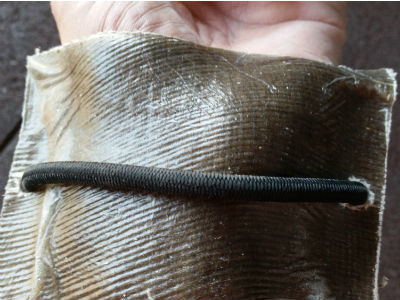
This is the final part. Now, take out the composite from vacuum machine.
Cut it, and let only the part that you need.
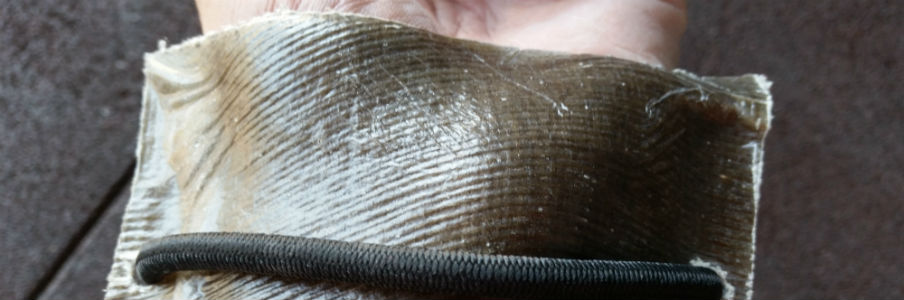
Assemble it. I did it with a elastic band.
Done!!! :-D
In this video you can see all assembly process. Thanks for watching!