3D scanning and printing
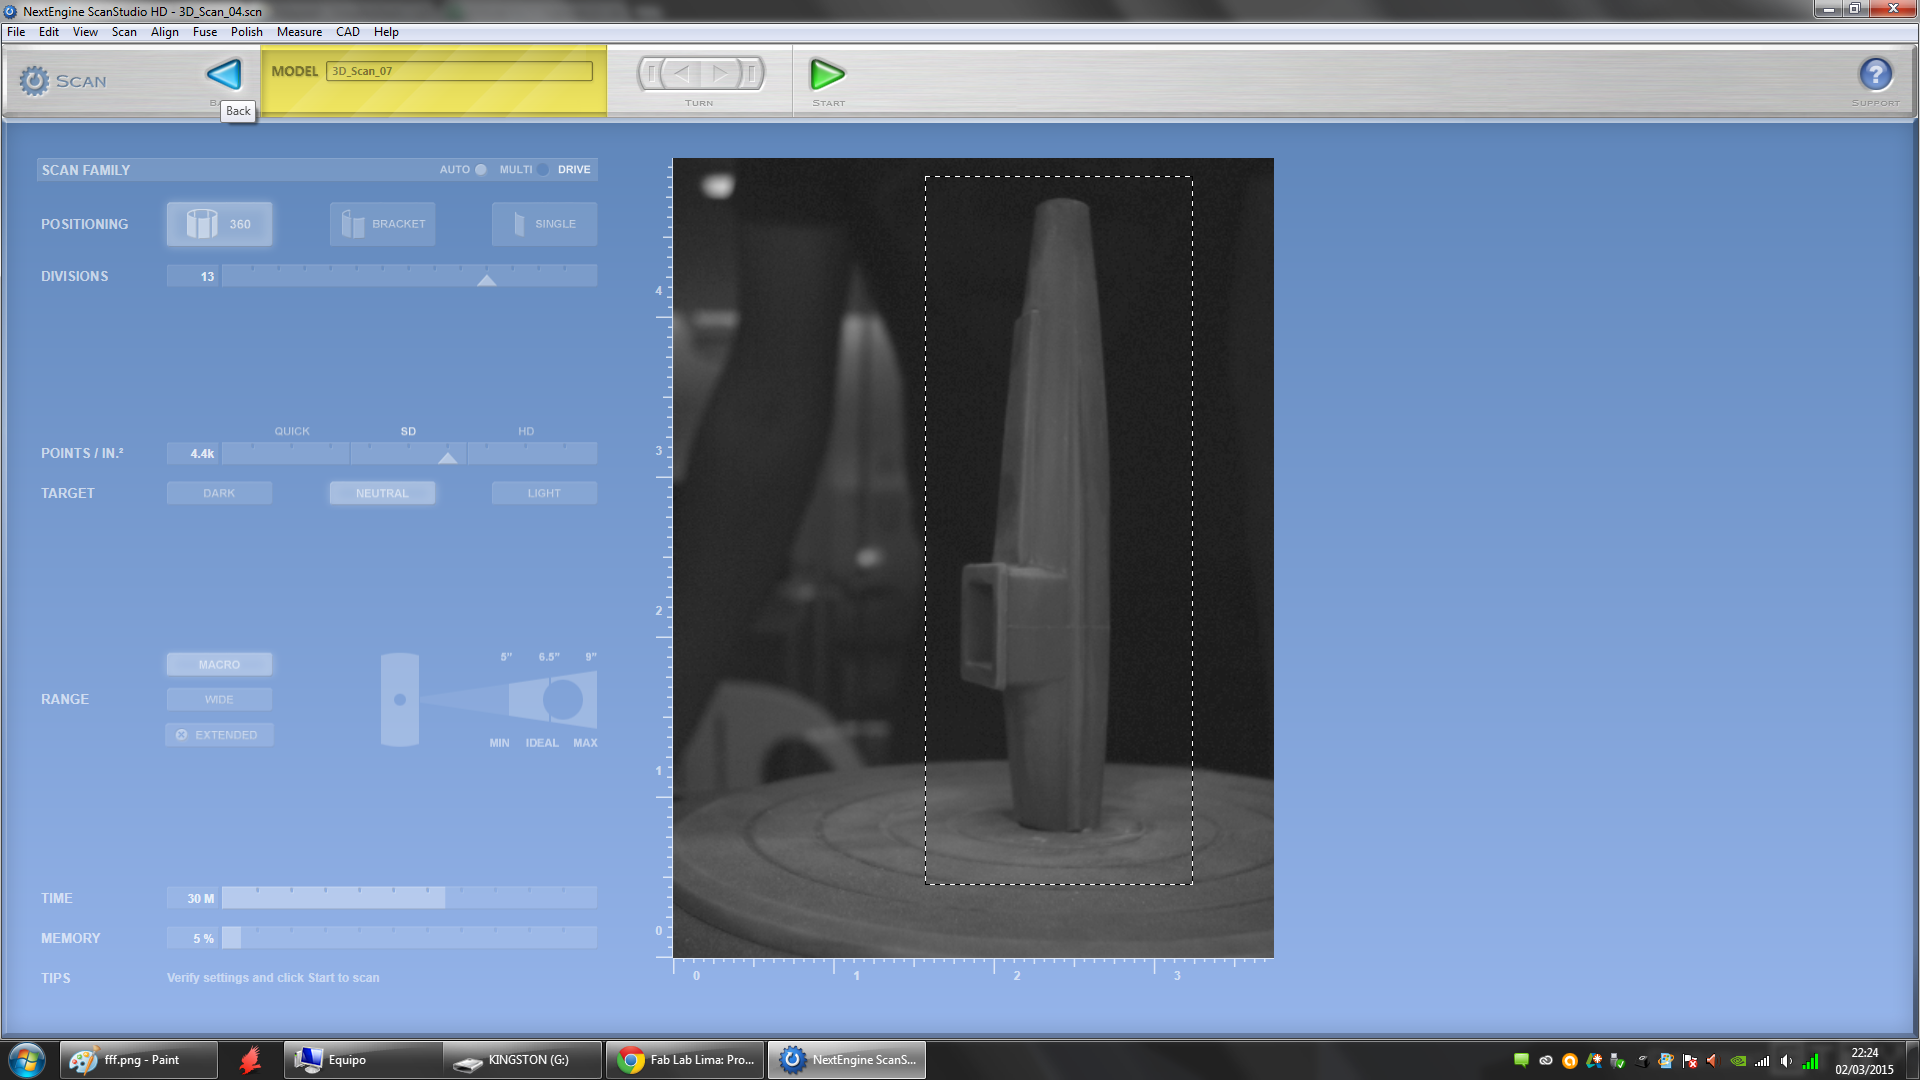
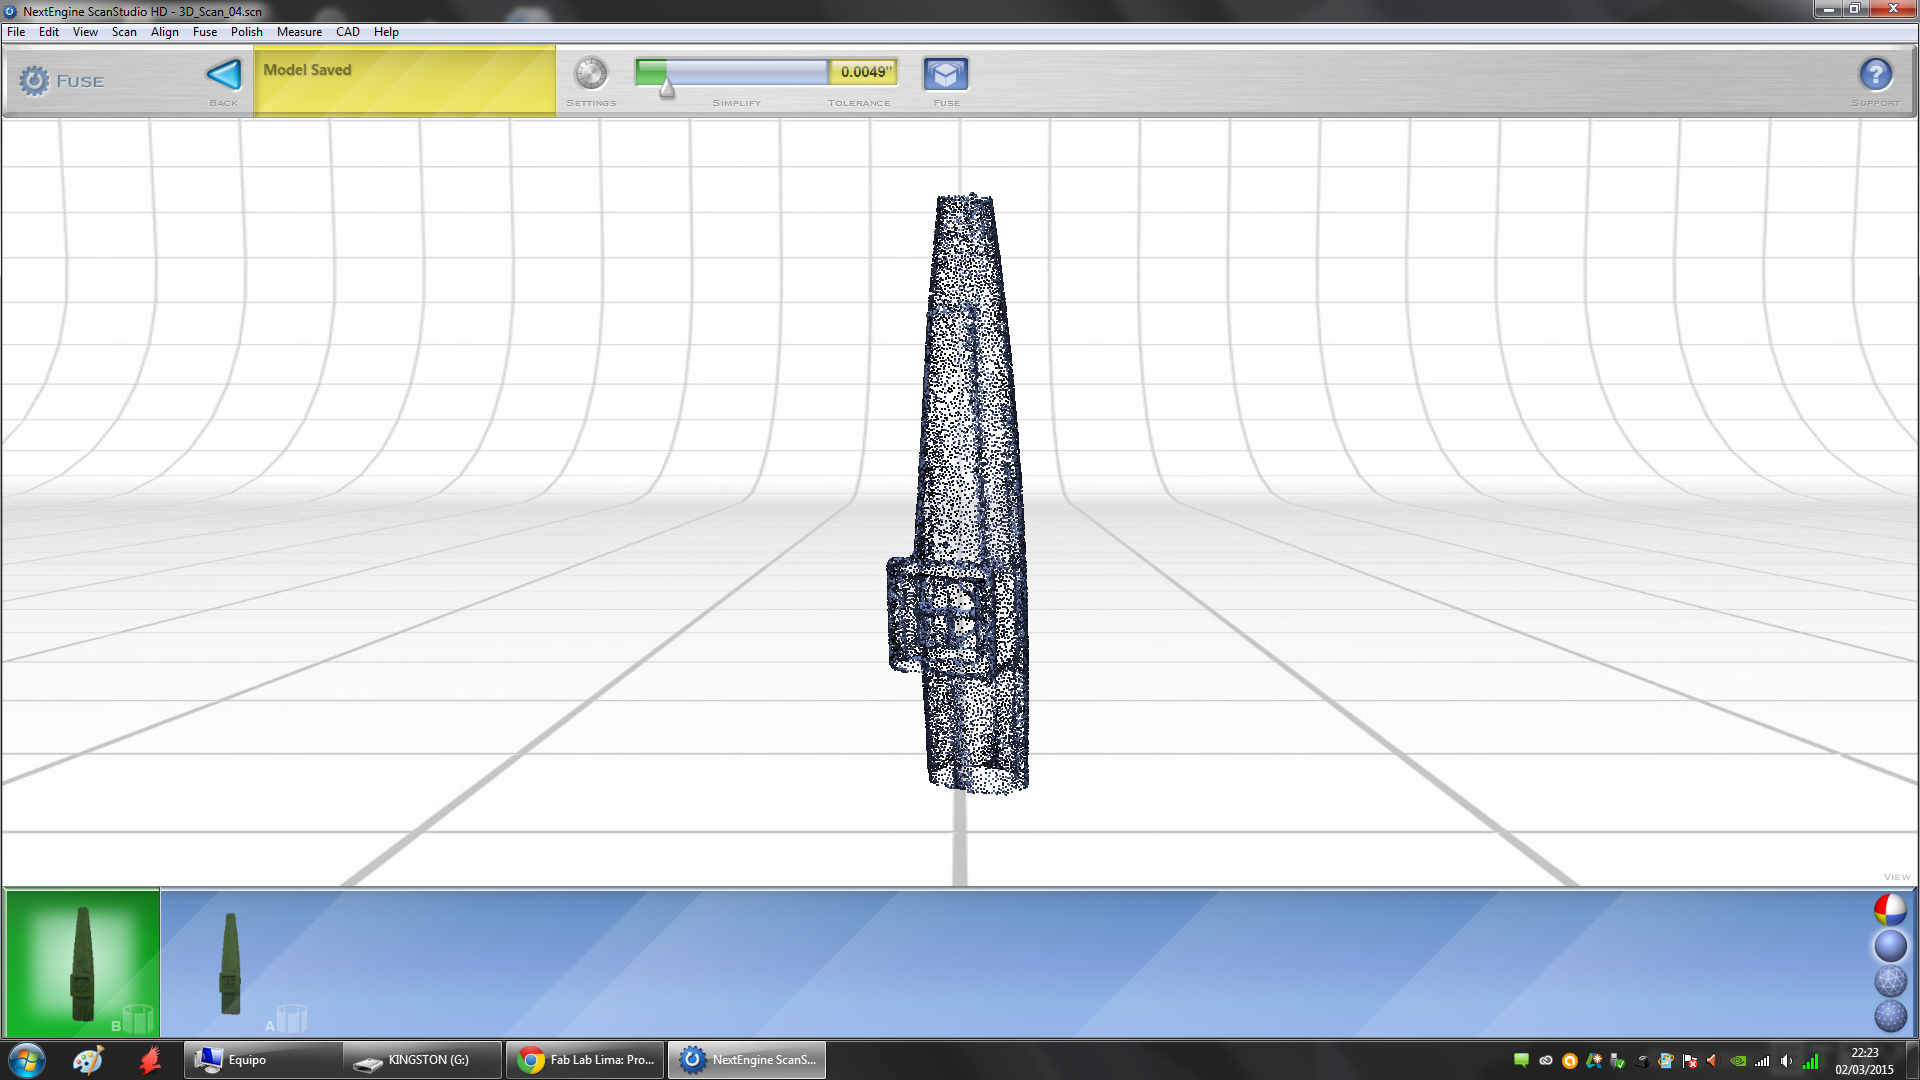
This week´s goal was to design and make something that can´t be built on a subtractive way, using the 3D printer, also we had to 3d scan any object to learn the principles of 3d scanning
I´ll start describing the printing part of the assignment:
I didn´t want to design something for my final project on this assignment because I’m sure now that I want to do something different from my first proposal, I want to do something more "fun-interactive-musical", since I wasn't sure yet , I decided to do something I can use, something useful. I wanted to explore some properties of the process, for example I wanted to try designing mechanisms for fixing the 3d printed pieces to other material like acrylic I also wanted to explore the 3D printing's ability to print mechanical objects in 1 print with no assembly required testing the tolerances.
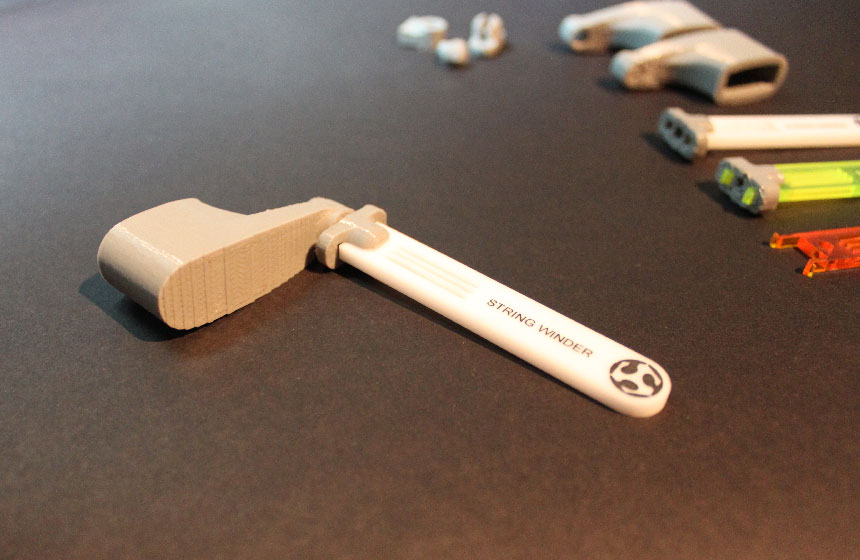
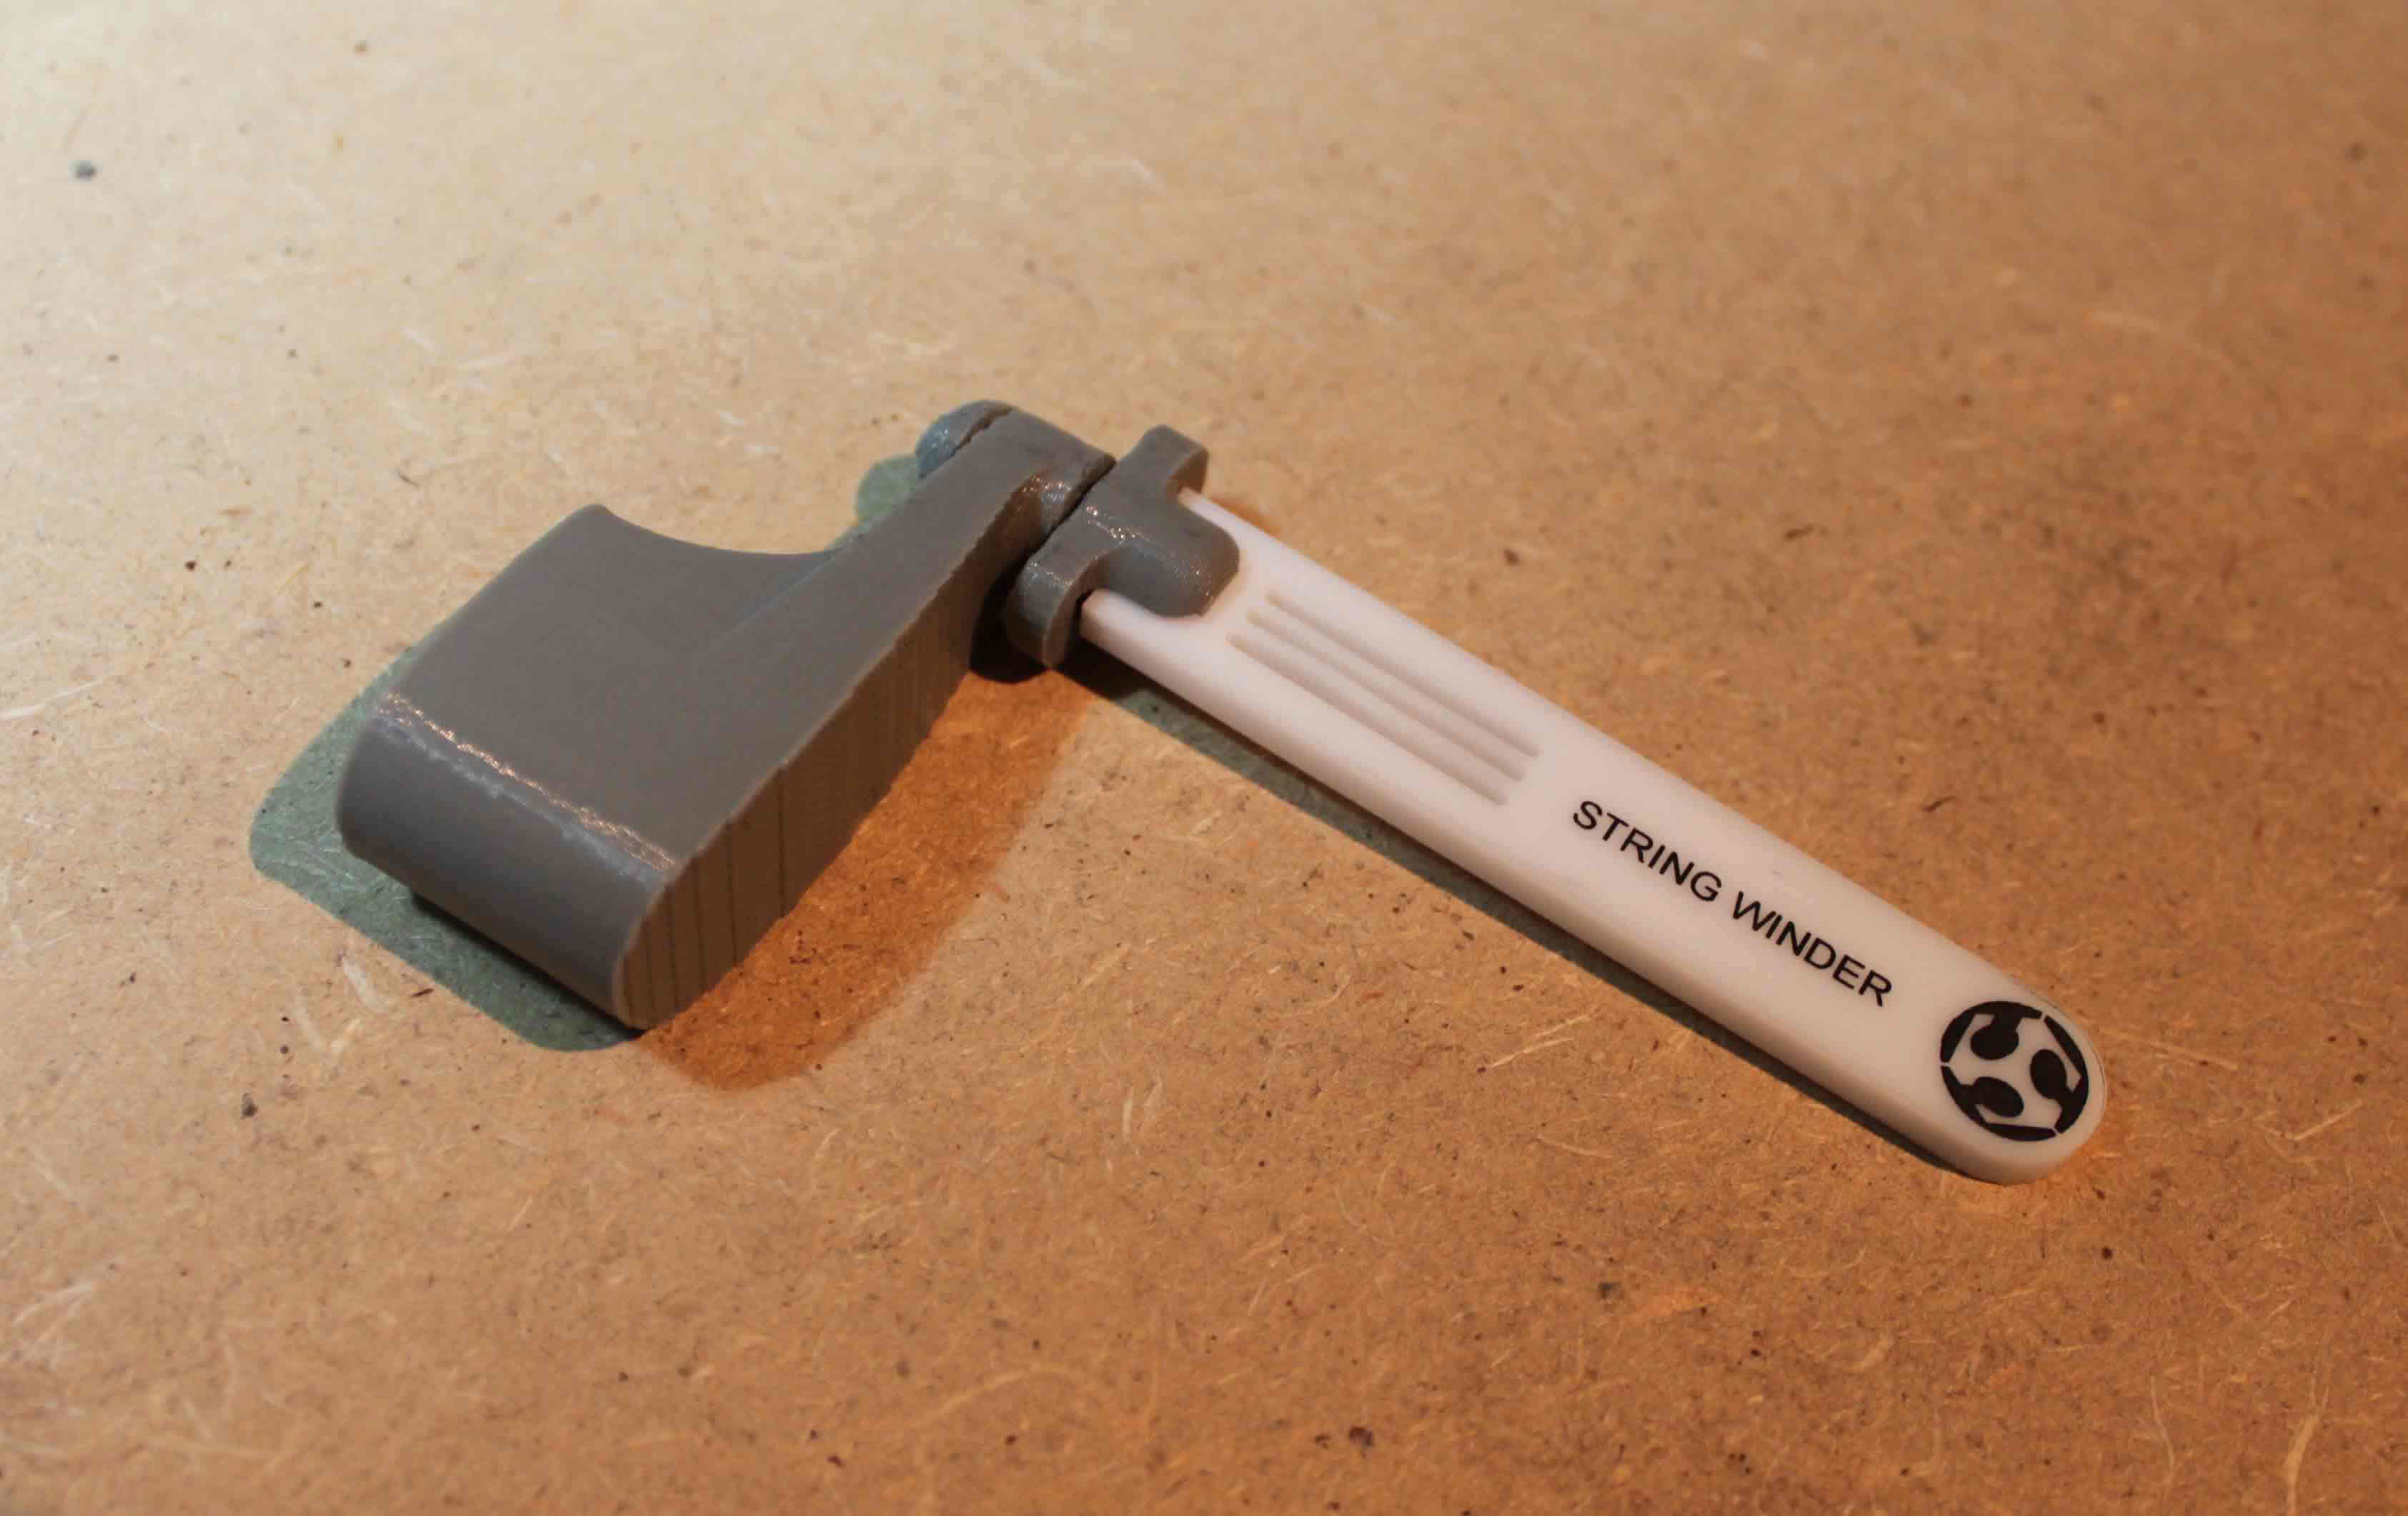
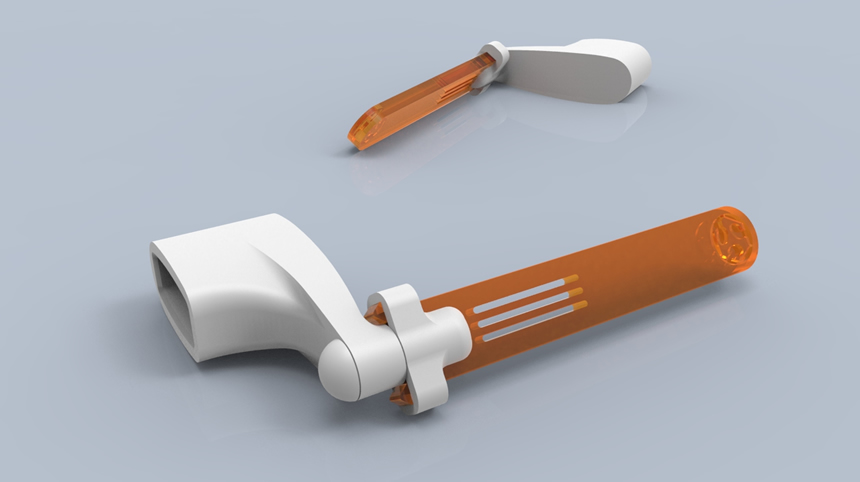
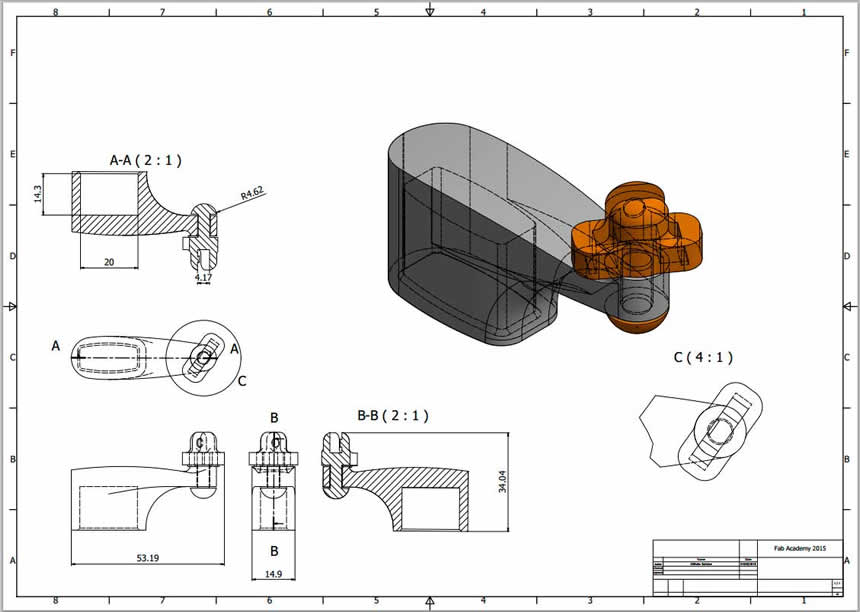
I decided to design a guitar string winder, it was small enough (fast print), useful and also was a good exercise for experimentinrtg with tolerances and moving parts. I decided not printing the handle, and laser cut that part for saving some printing time on the machine. I used Inventor for modeling the piece and exporting it to STL format. This was mi final design.
FILES HERE
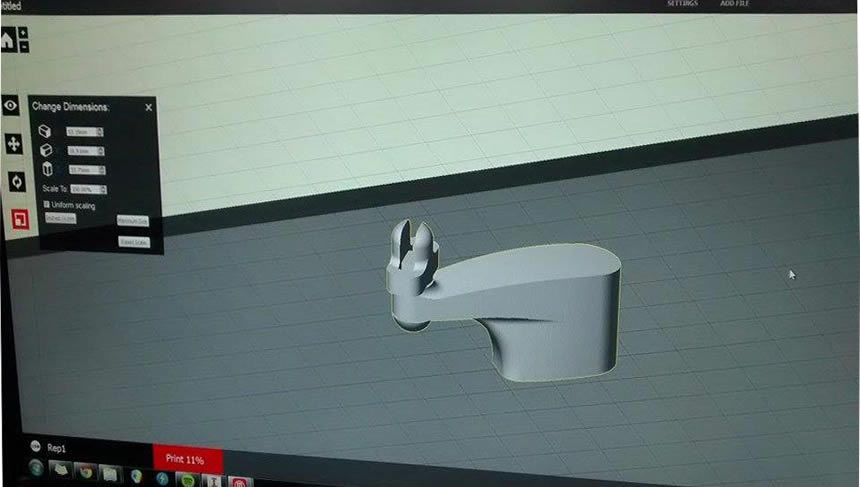
Once I was happy with my design I used a Makerbot for printing the object, my first attempt failed because the clearance was to small 0.25 and the support was getting stucked between the pieces, in the second attempt I used a 0.5mm clearance but it failed to because the axis was to thin and it broke, finally at the third attempt I got a successful print, I removed the support material and there was motion between the two pieces.
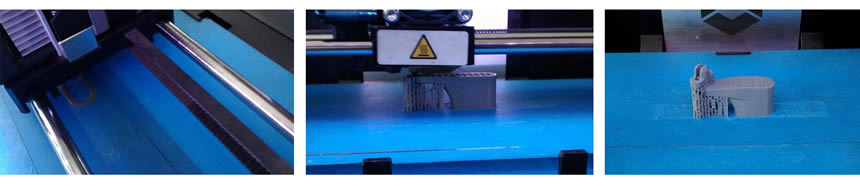
I noticed that depending on the orientation of the piece, the machine can have some problems building curves, and the faces in contact with the support material won’t have a good and smooth finish likethe other faces
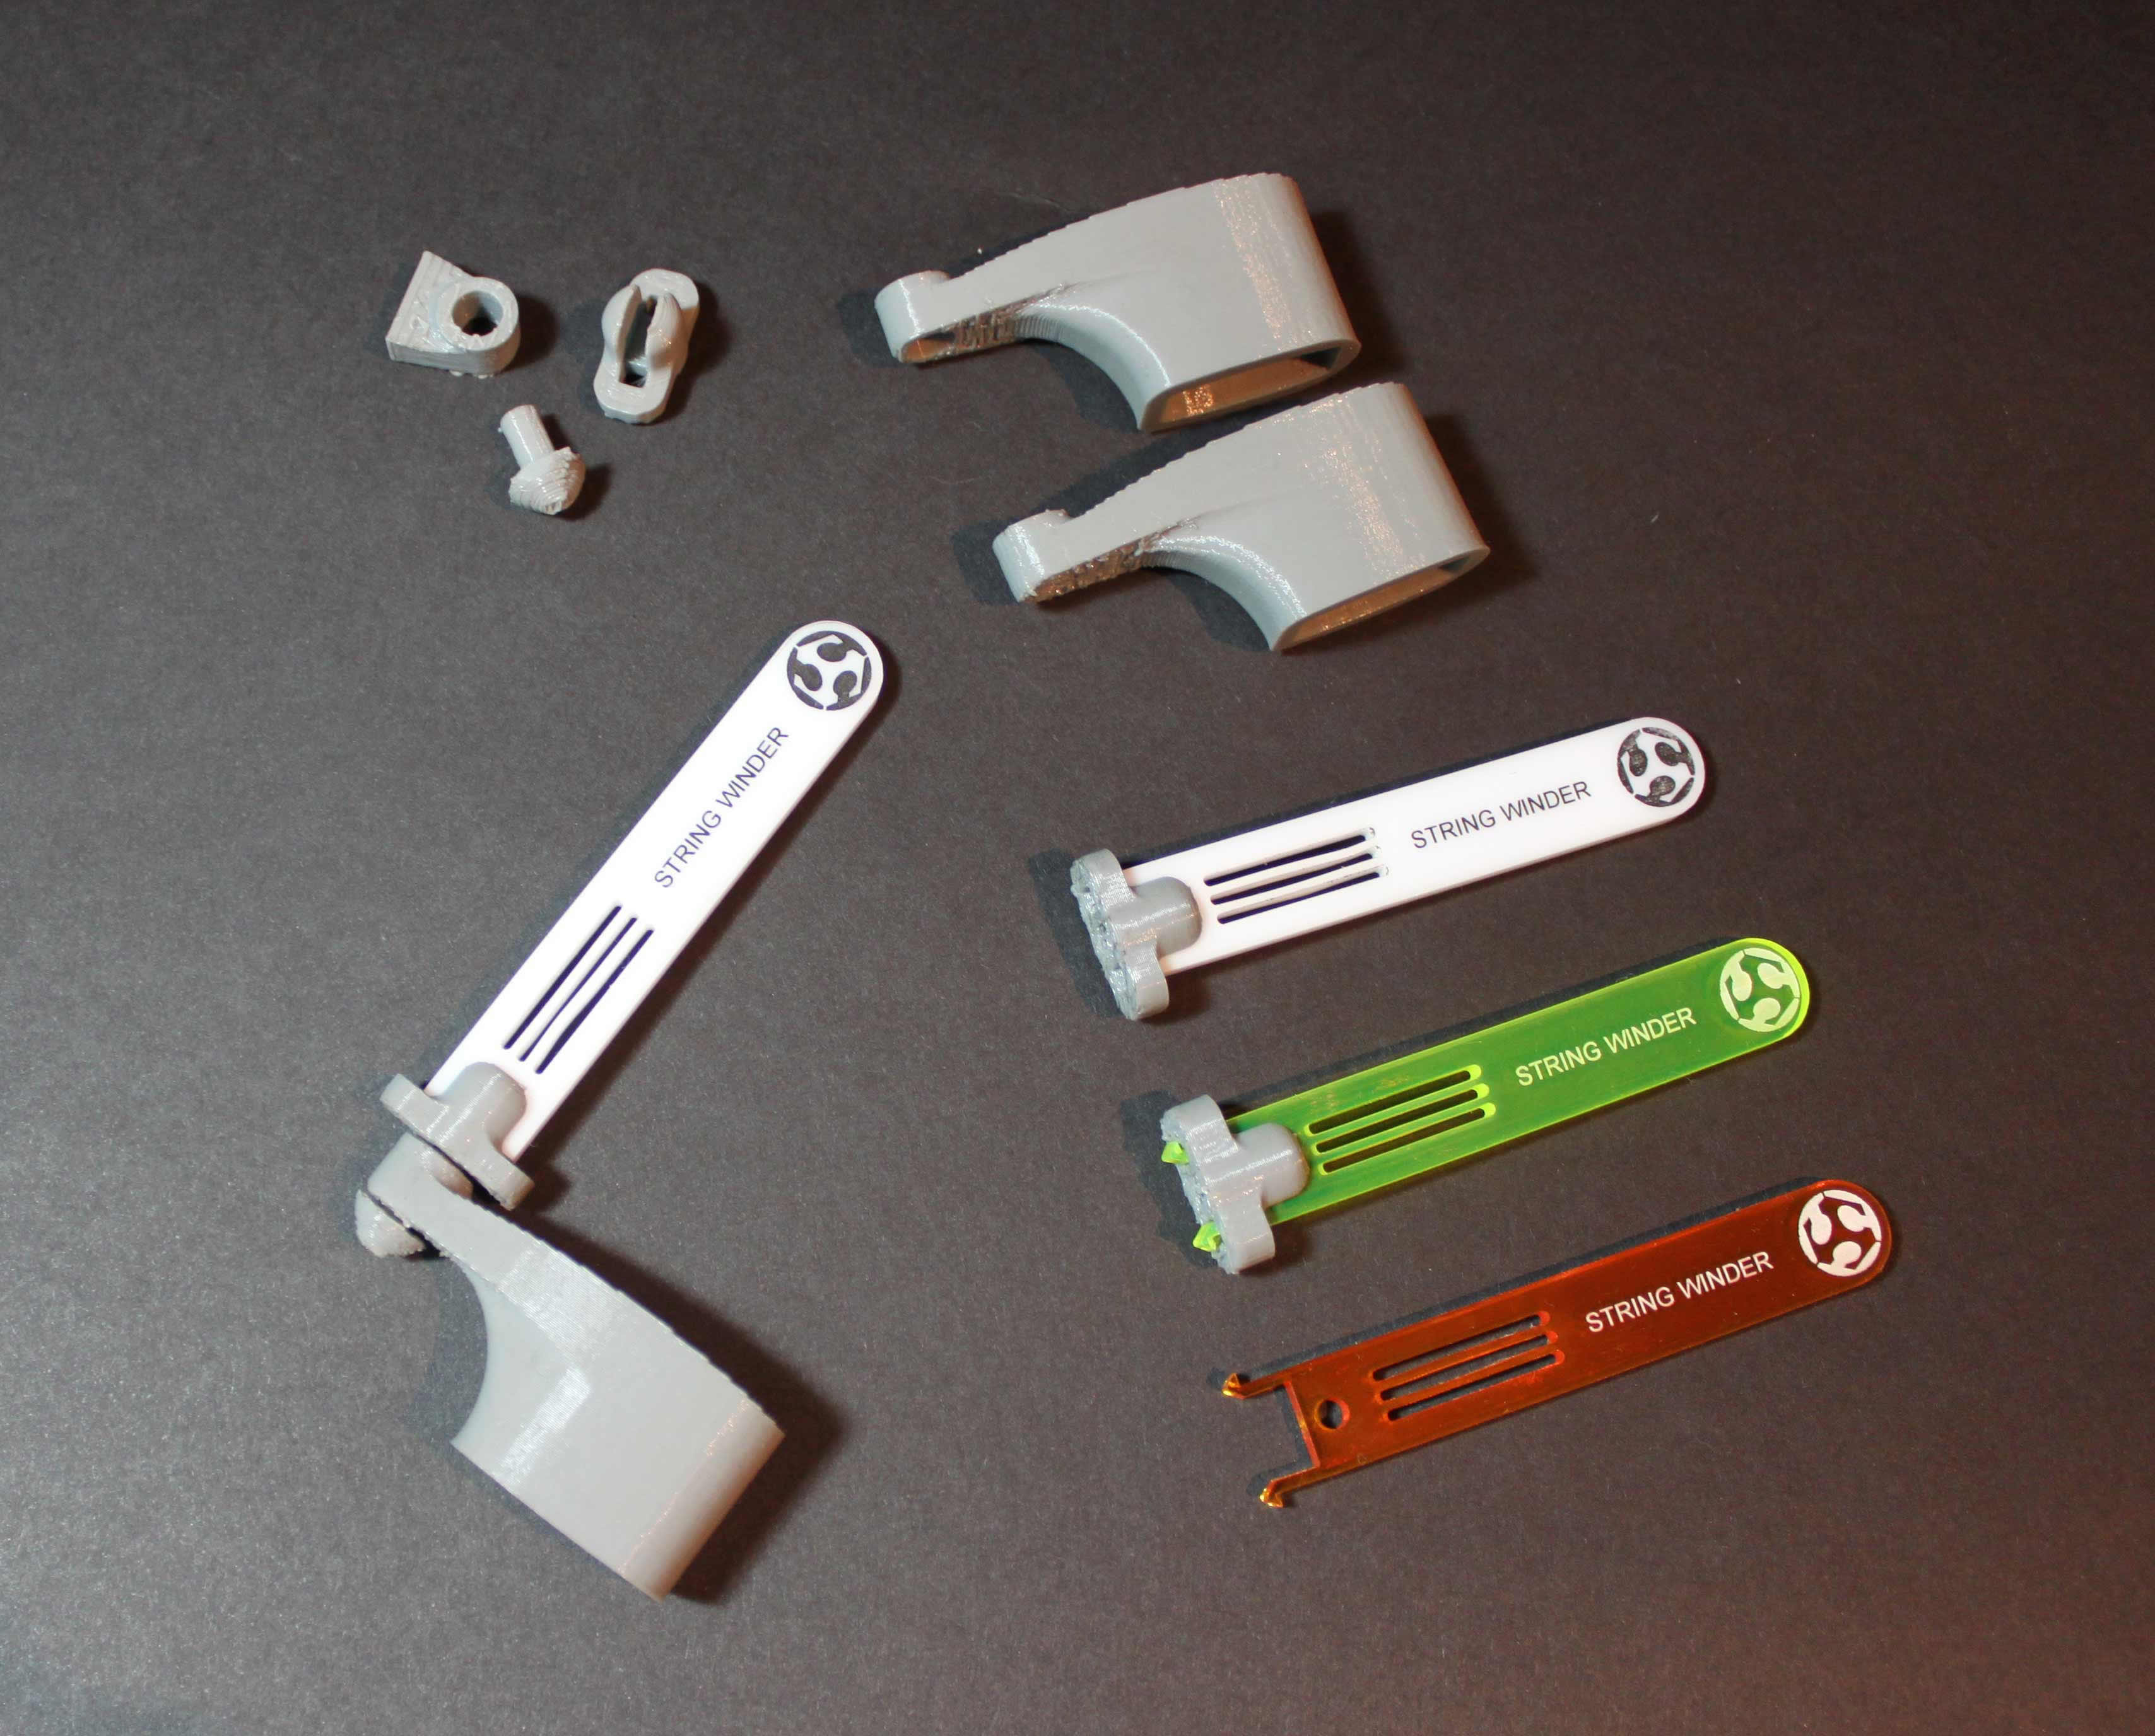
I removed the small clips of the acrylic because they were too fragile and finally they weren’t necessary. This is the finished product: