Computer-Controlled Cutting
Vinyl and Laser cutting
This week´s assigment was centered on building an object using the press-fit method for assembling it and computer controlled tools for cutting it.
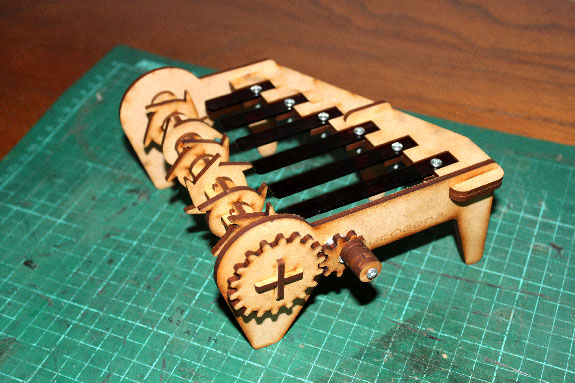
I started by the idea of making a musical or sounding toy using 3mm MDF and the laser cutter. At the biggining I desided to do something fully analog so i strated designing a mecanical toy "Kalimba" inpired, the idea was to hit thin sheets of acrylic of diferent lengths to obtain different sounds using a sort of spinning pointy gears and varing the number of teeth for generating irregular sound patterns.
Assignment 3 by Wilhelm Schütze on Sketchfab
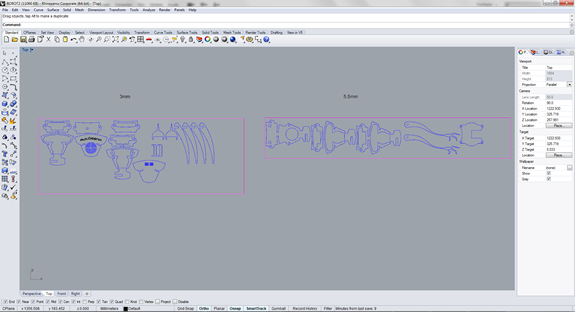
I modeled the toy on Inventor, and then i imported the file into rhinoceros where i got the contours, next i cutted some little pieces of MDF for trying the press-fit on the joints, it tourned out that the perfect adjustment was -0.2 of the original measure on the joints a parametric way to correct all is using the "equal" constraint of inventor, it worked realy good for me. the parameters i used for cutting were 85% power and 1.8% speed.
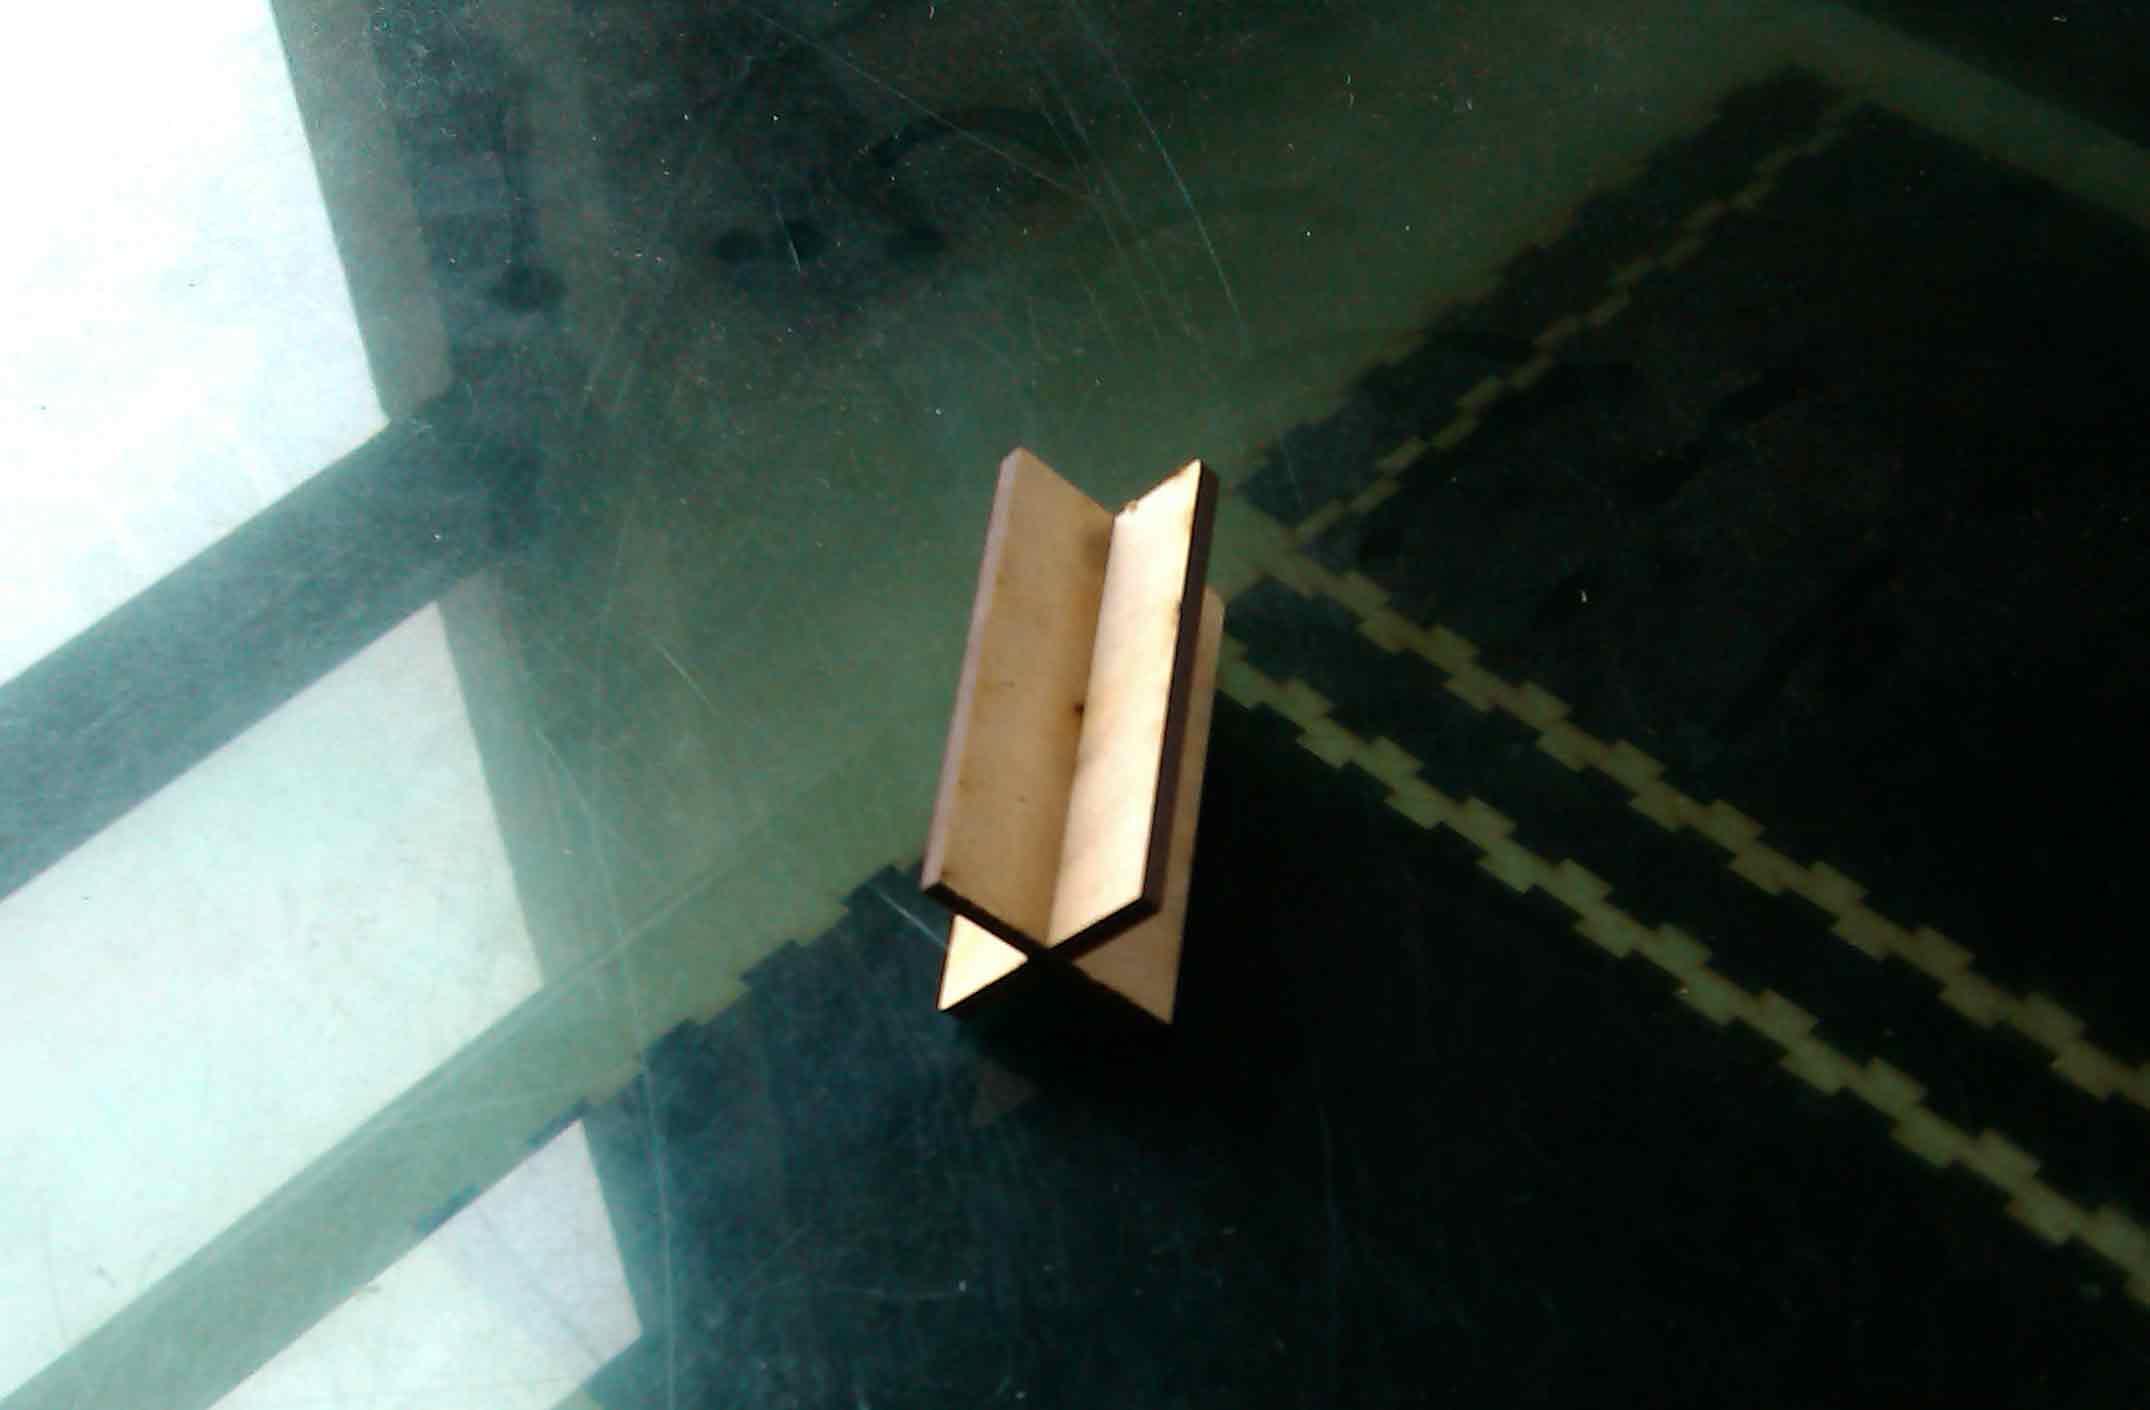
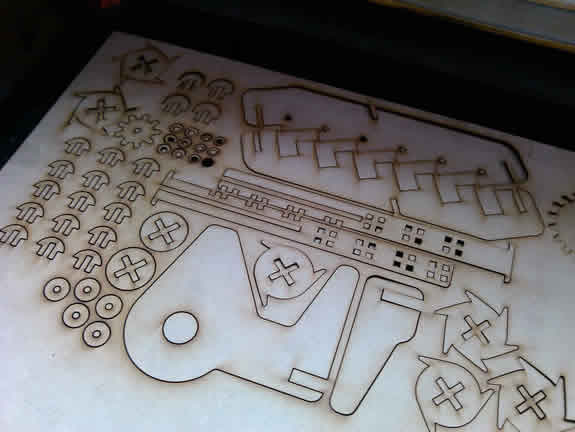
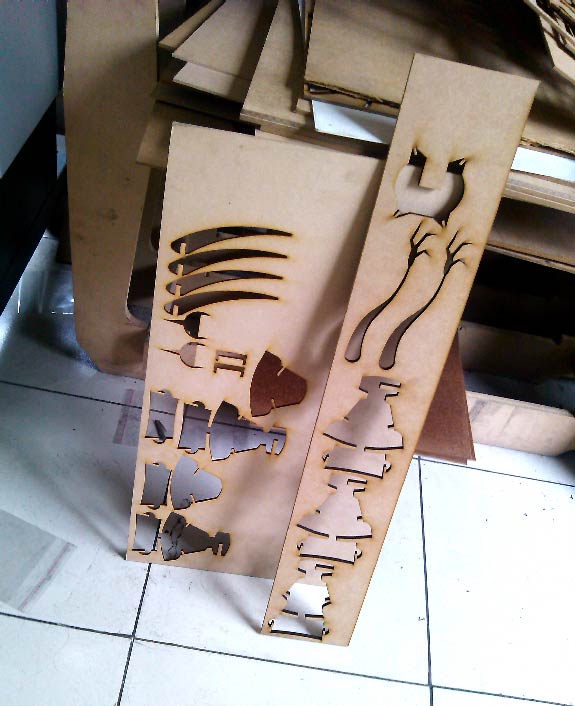
After cheking the adjustment on the joints i cutted all the pieces of the toy on the laser cutter.
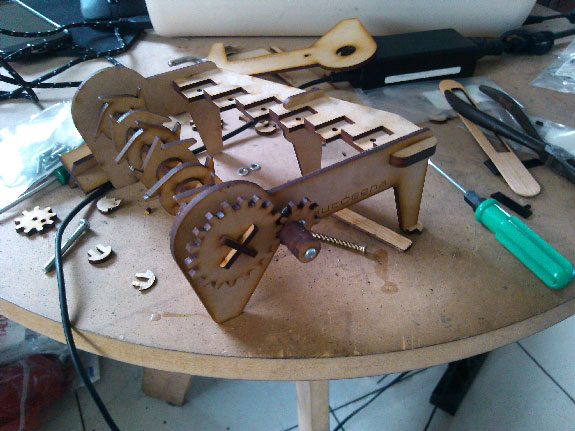
Finaly i assembled all the pieces, the mechanism worked but the sound was super pour, very diferent than the one i imagined, it was a fail :( acrylic was not good for acomplishing the sound i wanted. this was the final result.
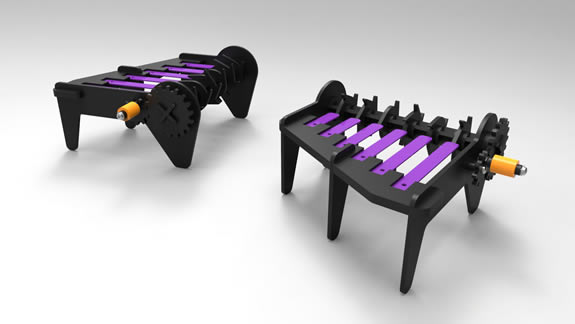
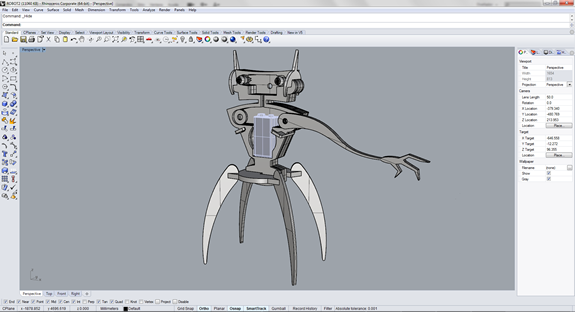
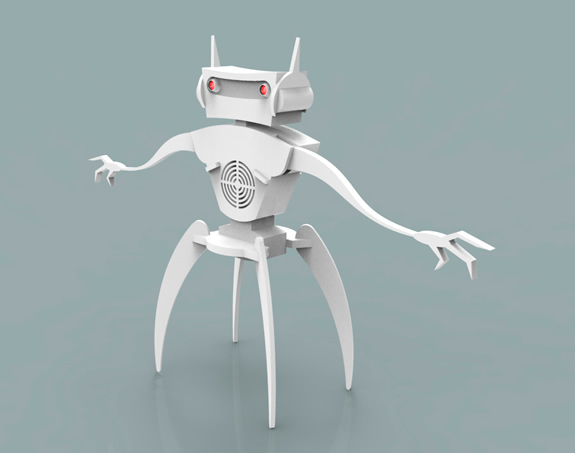
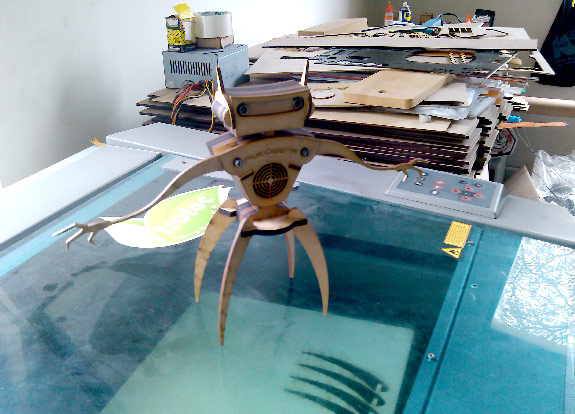
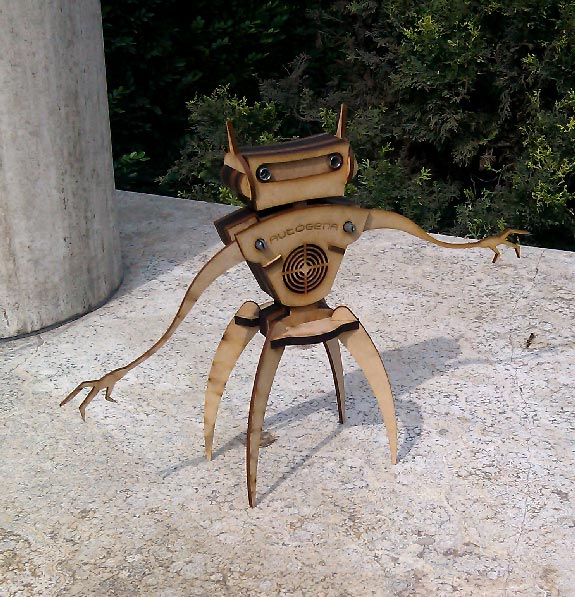
Disappointed with my failure, i decided to make somthing else, it was kind of risky because i had a super short time, but I was determined to make a funtional product for the assignment, i wanted fo follow the same line of he original idea, "A Sounding Toy" this time i decided to try some basic electronics for accomplishing the sound, I turned out whith the idea of making an easy to build square wave oscillator (Atari Punk Console) and putting it into an robot/alien enclousure with moving parts to control the frequency and the pulse. i started to medel the new idea this time directly on rhinoceros, taking in consideration all the parts i needed: speaker, battery, PCB, potentiometers, LEDs, Wiring, etc., I used the potentiometer's pivot for the arms, no screws or glue were used, this was the final result.
Assignment 3.2 by Wilhelm Schütze on Sketchfab
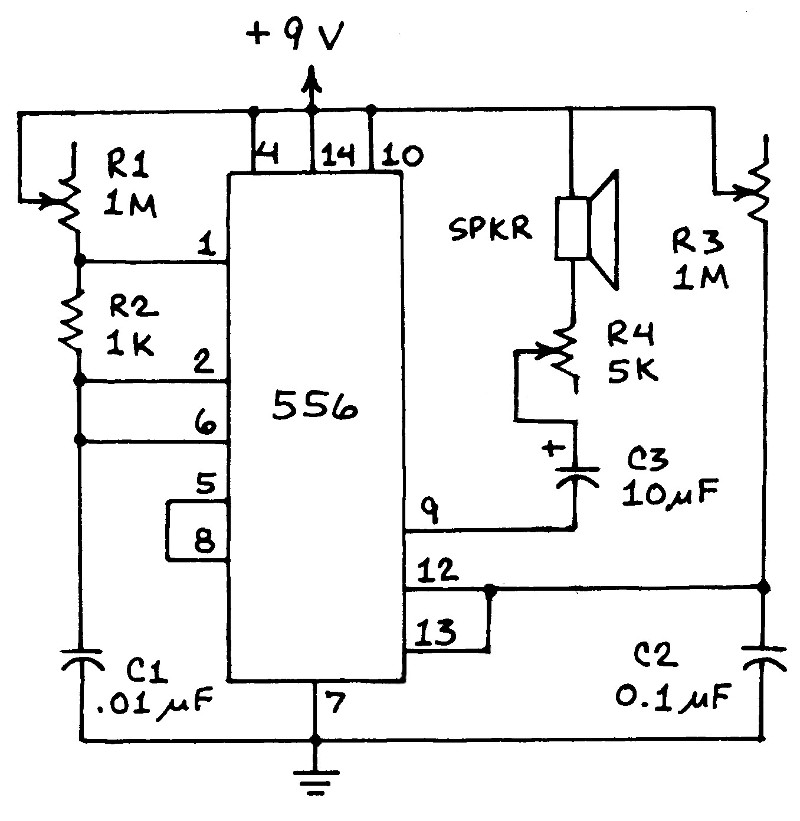
This is the schematic i used for the circuit , but i removed the potentiometer for volume.
I already learned the ajustment factor of the press-fit with the material and the cutting parameters from the other toy (i also used new parameters for cutting 5.5mm MDF 95% power and 0.9% speed), so this time was a little easier to accomplish a good press-fit on each joint, i got the cut pattern, laser-cut it and finaly assembled it.
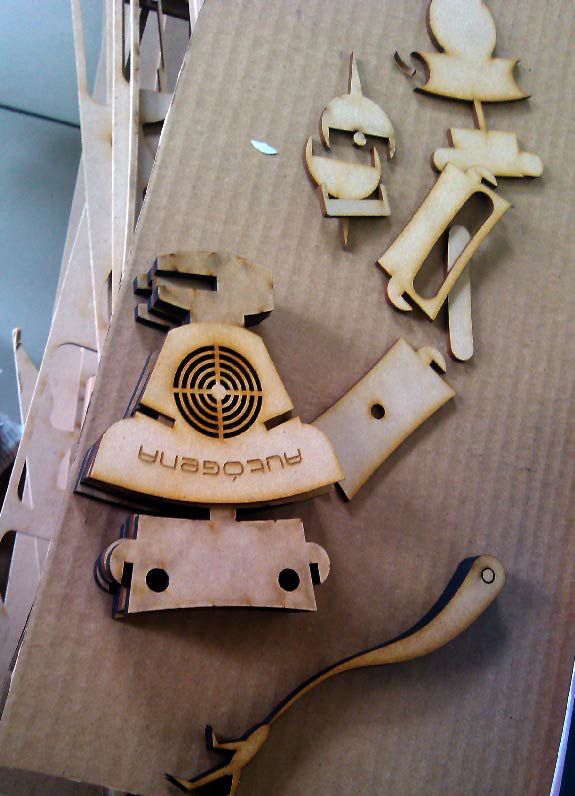
Once all was assembled i putted all the electronics and wiring inside, in the head i putted the PCB and the LEDs and in the body, the battery, speaker and potentiometers.
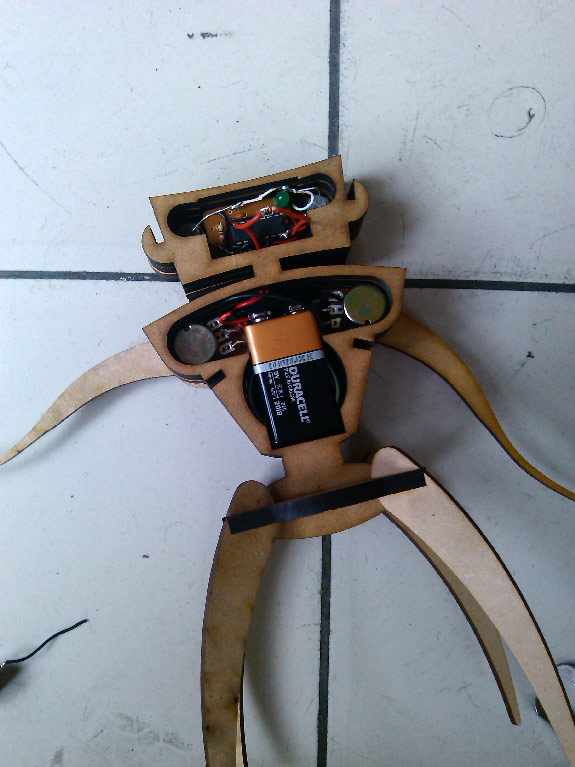
I closed it and it was done, Everything worked fine this time.
This video demonstrates how it works.
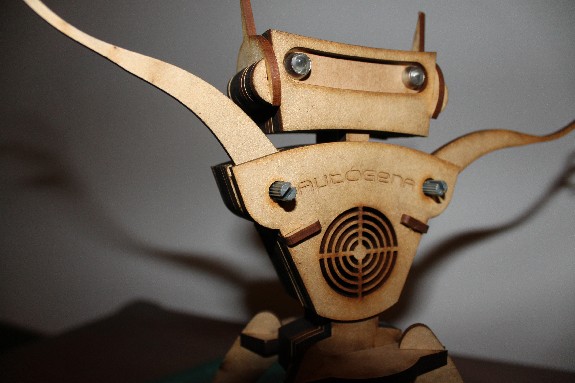
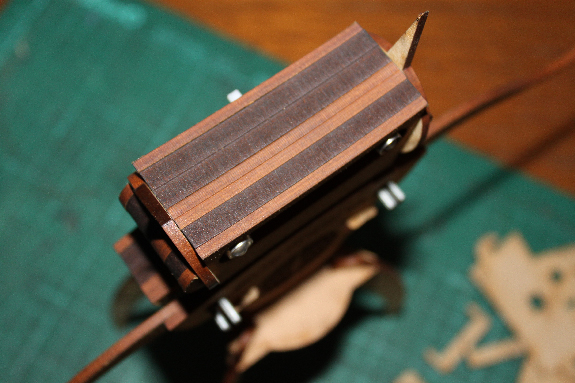
Some details.

FILES HERE
EDIT
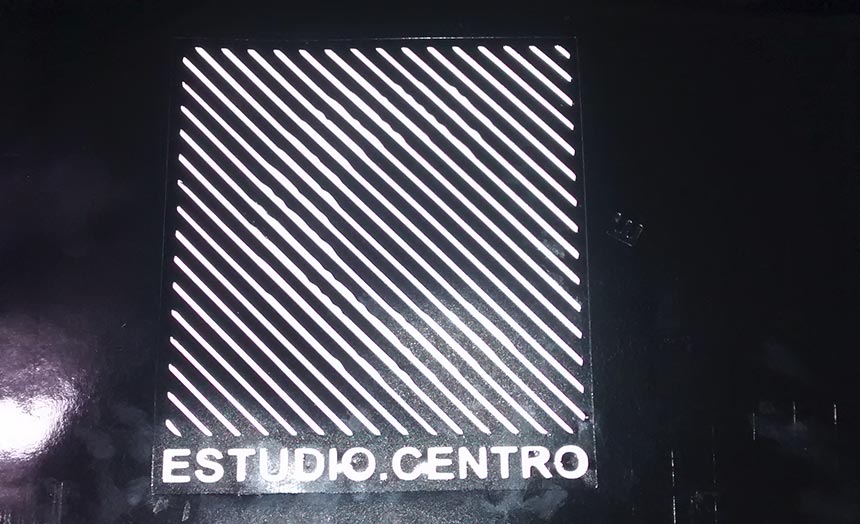
Cutting a logo with the vinyl cutter:
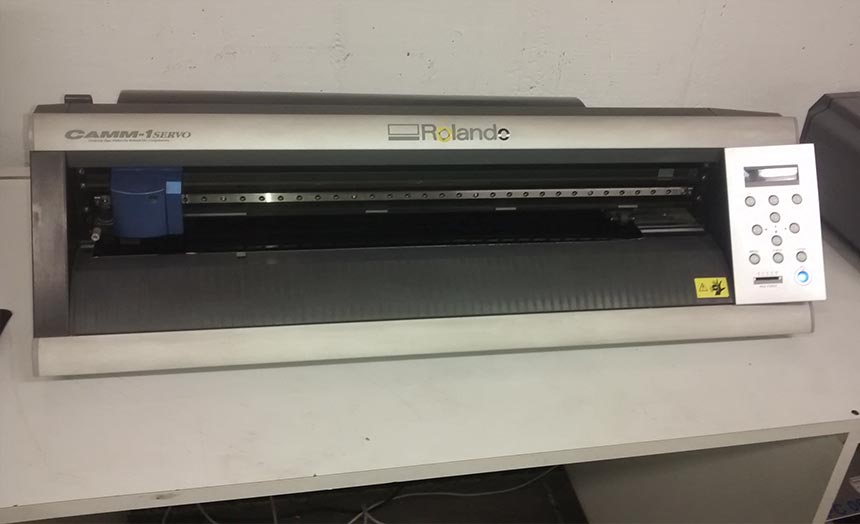
I used the Roland CAMM-1 Servo GX-24 for the job
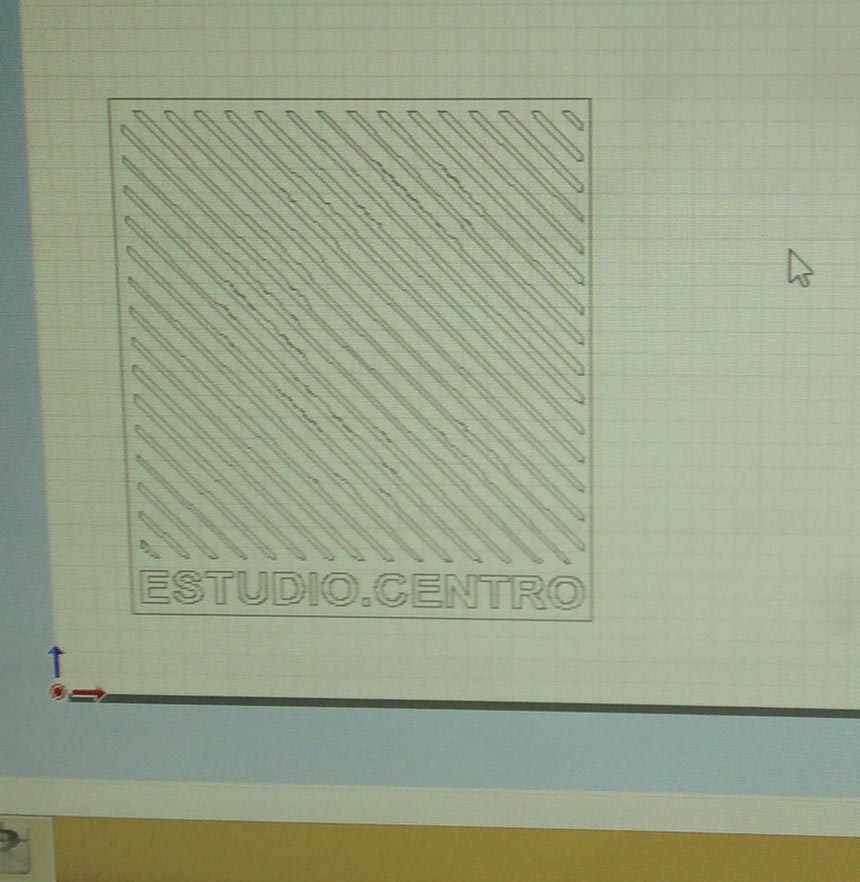
And i used CutStudio, i loaded the logo image(png) on the software and added letters with the lettering tool.
The cut was very fast
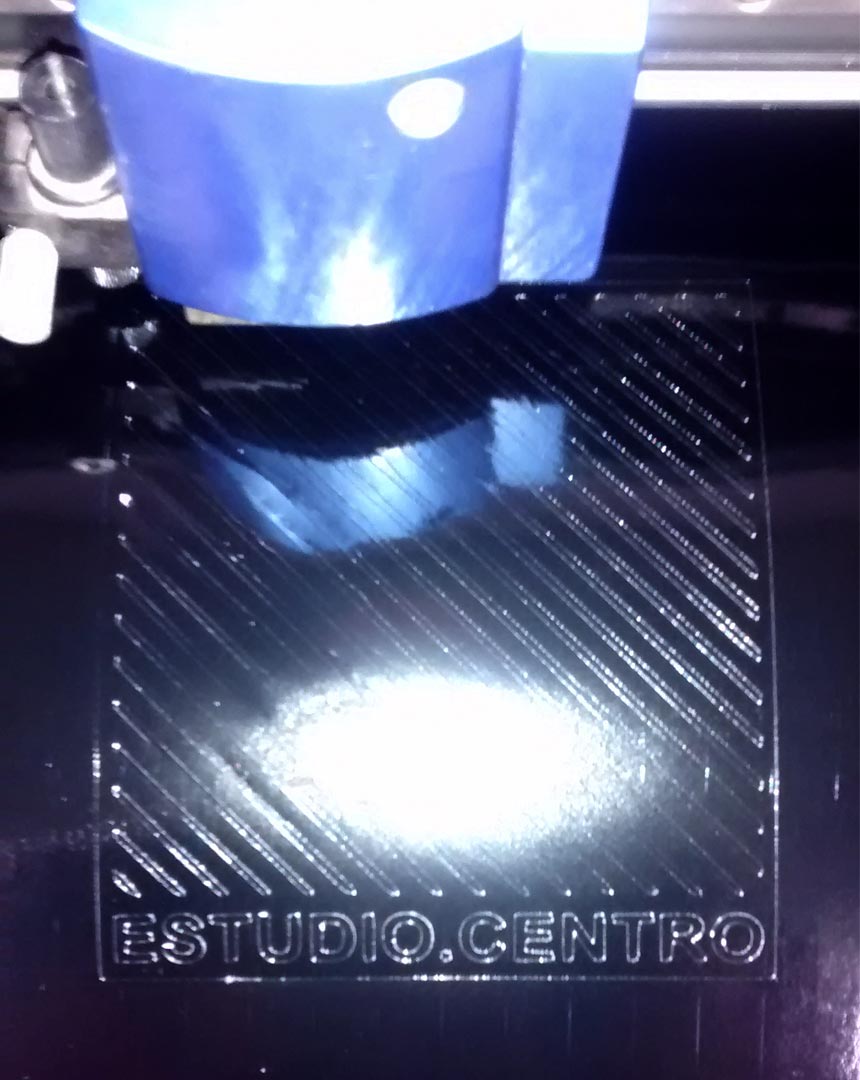
This is the result