W5. design and 3D print an object (small, few cm) that could not be made subtractively
3D scan an object (and optionally print it)
design + 3D print & 3D scan
This week we had to design an object and use the 3D printer to produce a model of the object.
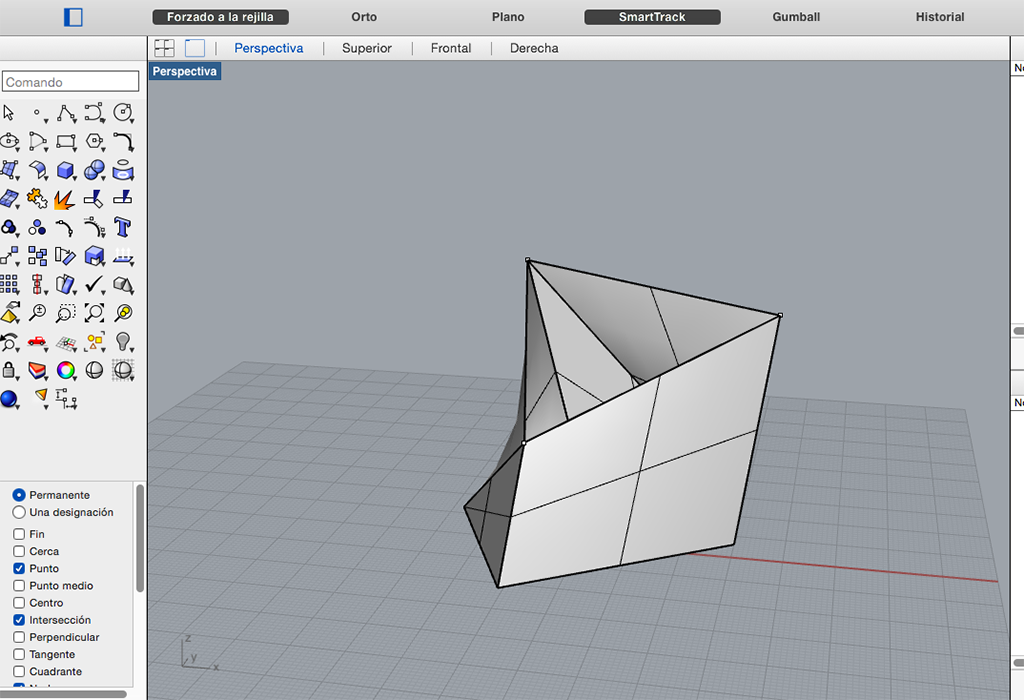
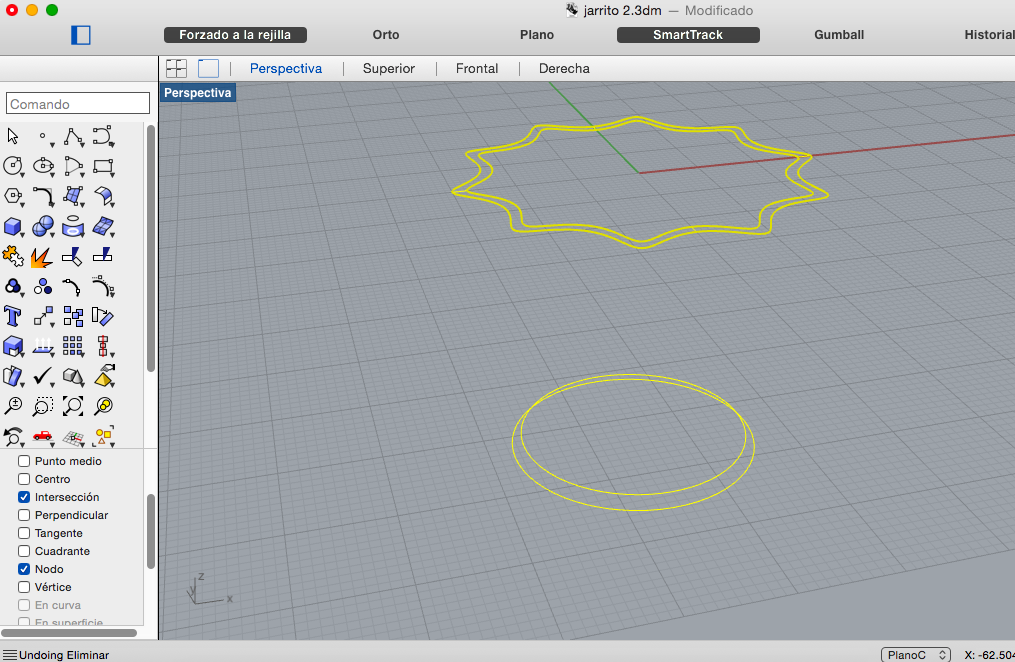
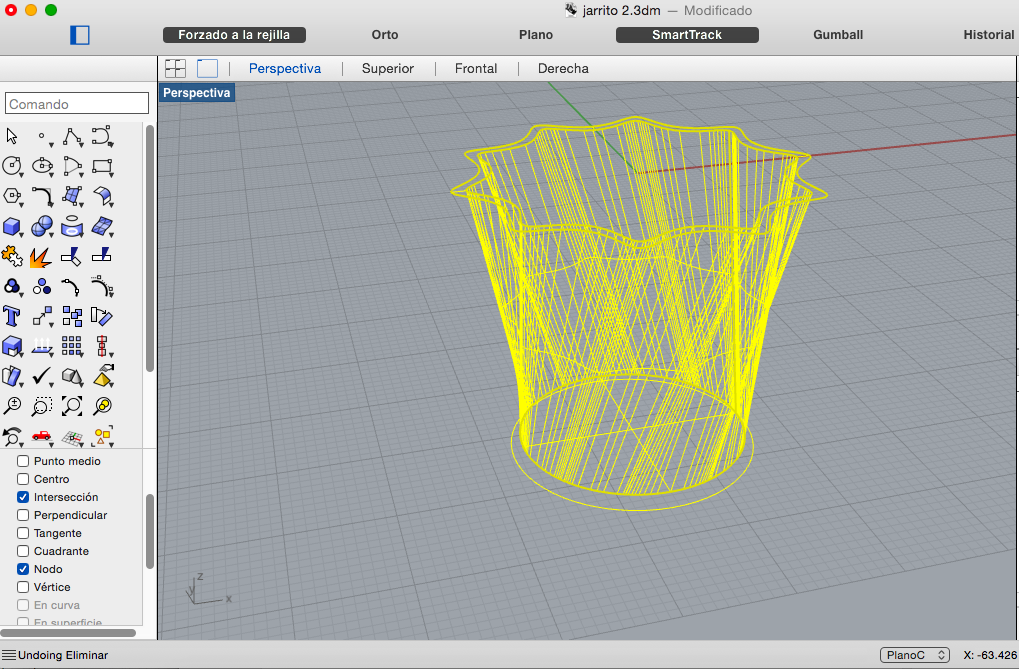
Drawing the object
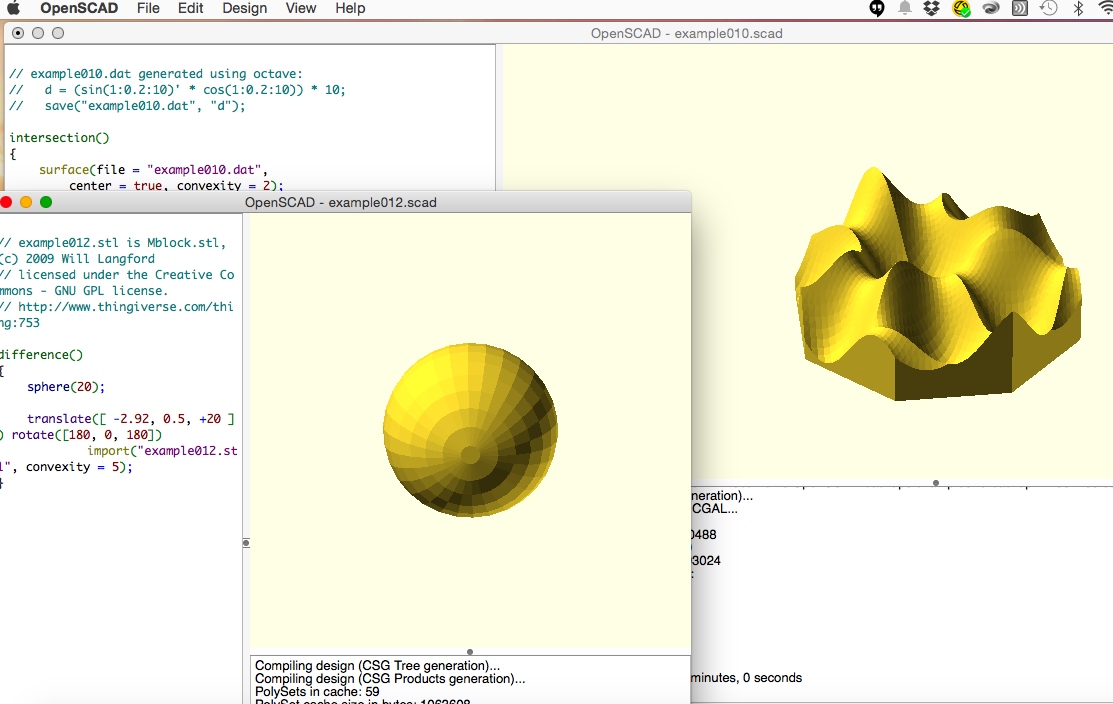
I download OpenScad to have other option for drawing an object but I realize that I must have experience in coding so I just experiment with the examples from the library. After that I continue learning Rhinoceros.
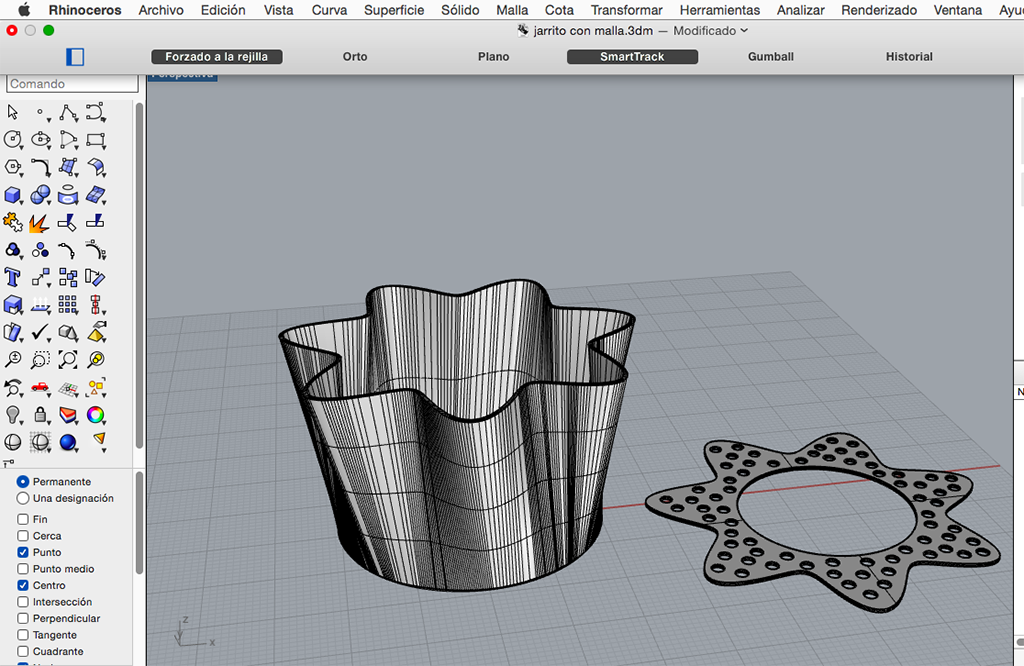
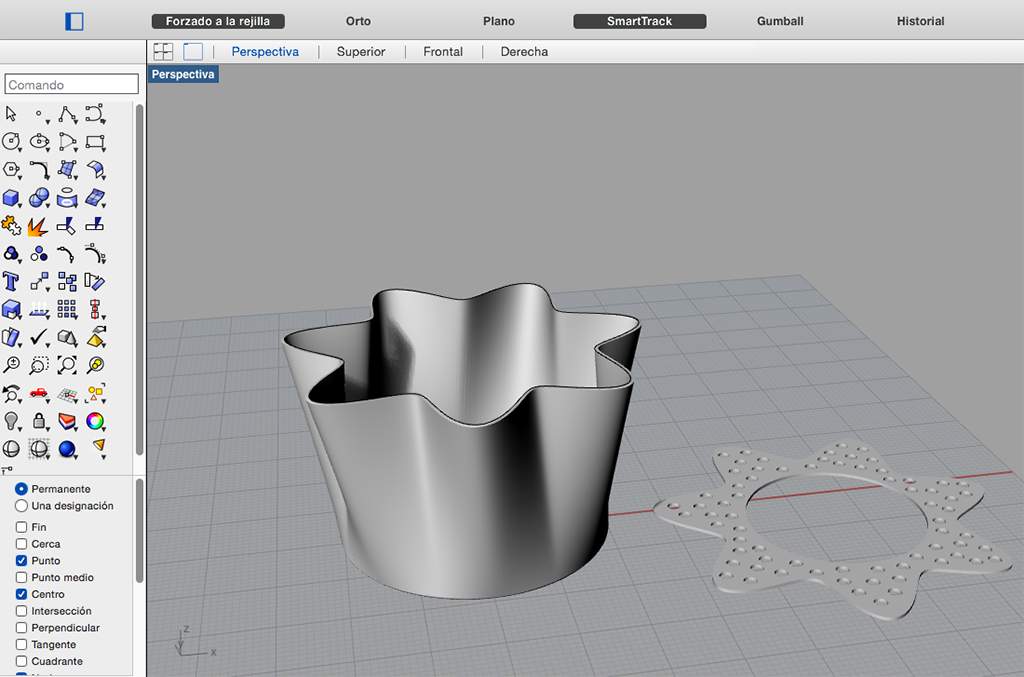
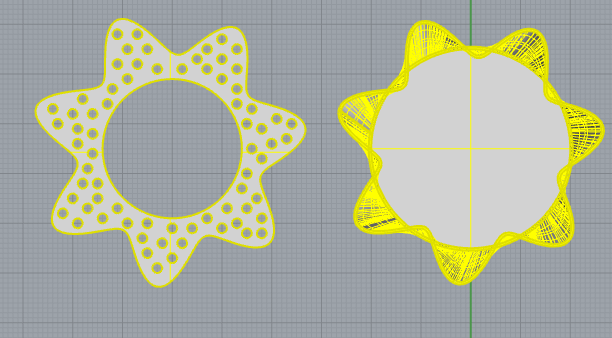
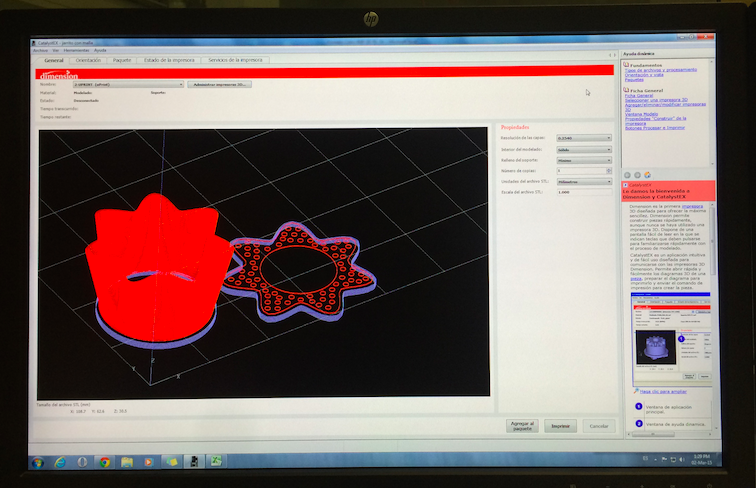
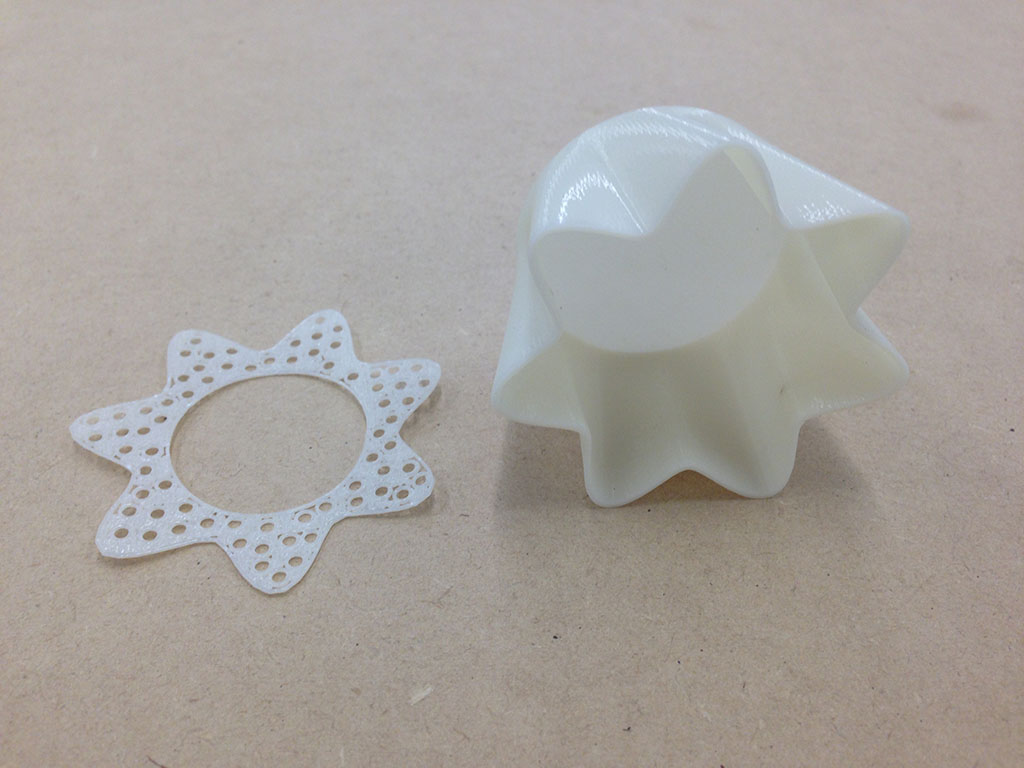
I draw a circle and activating the points and moving them I had a different form, like a star. With this I made transition to other circle so it could be used as a base for a little container.
3D Printing
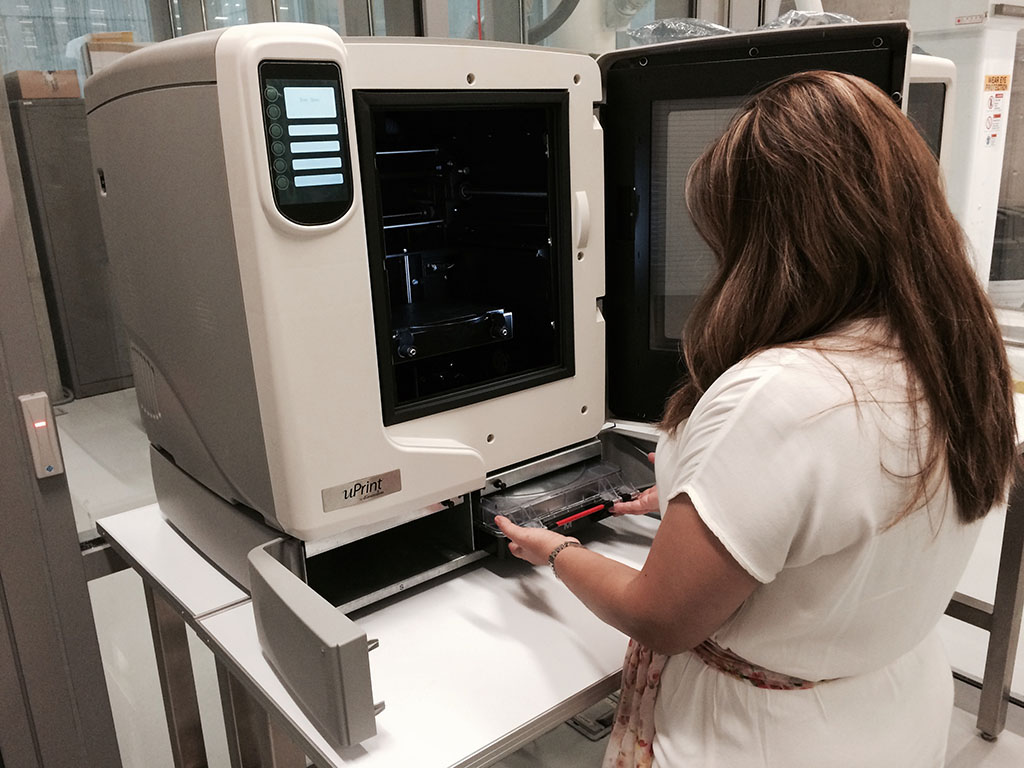
For 3d printing I used the uPrint from Stratasys and works with the following parameters:
- FDM fused deposition modeling en material ABS thermo plastic – solo color ivory
- Layer thickness (resolution) 0.254mms (0.010 in)
- Tolerance: 0.004 mm (4 micras)
- Build size: 203 x 152 x 152 mms (8 x 6 x 6 in)
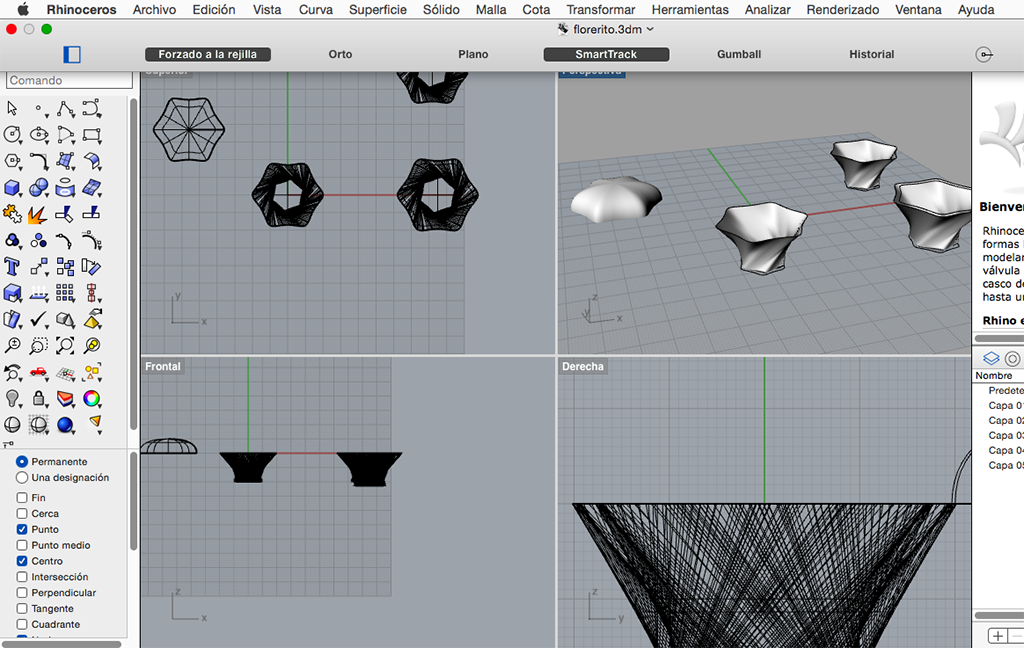
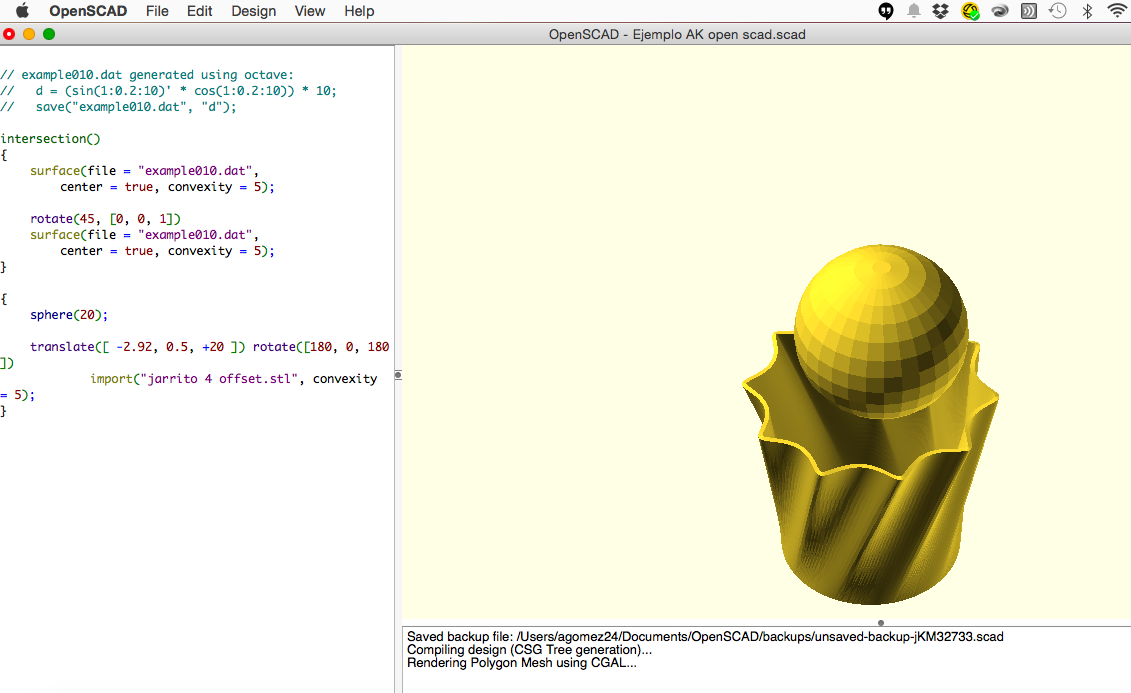
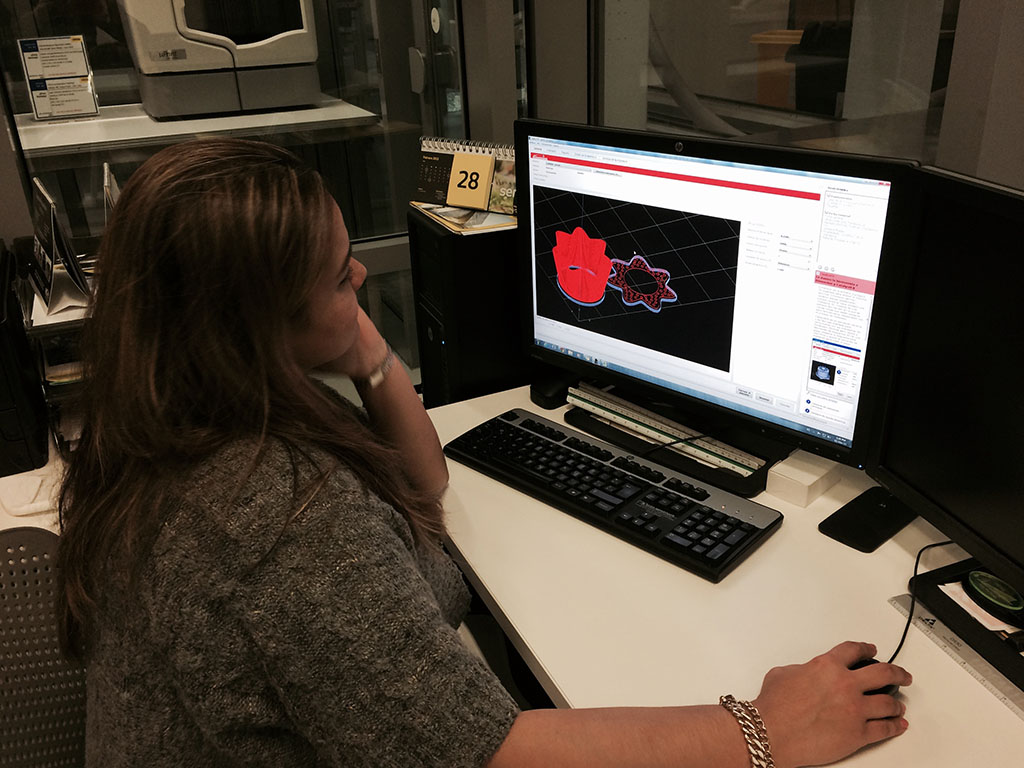
I exported the drawing to a stl format and use an interfase CatalystEX for the 3D printer Dimension.
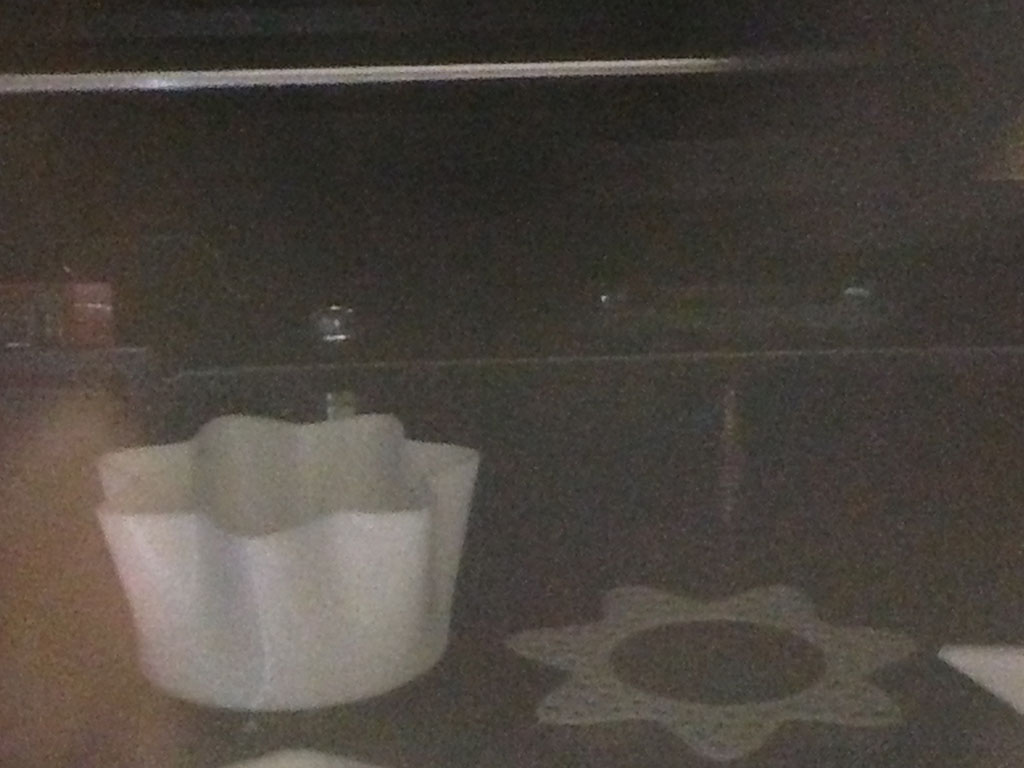
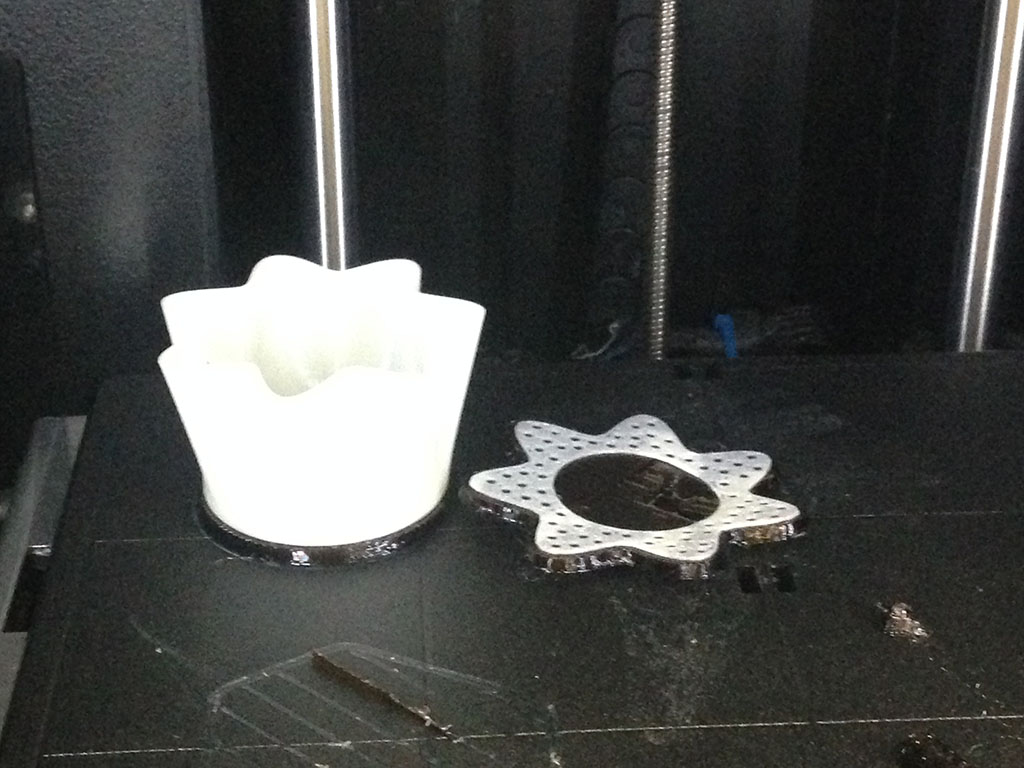
In the image you can se three objects (other designs from my teammates). It took 5 hours and two intemps due to a problem with the support.
Printing process…
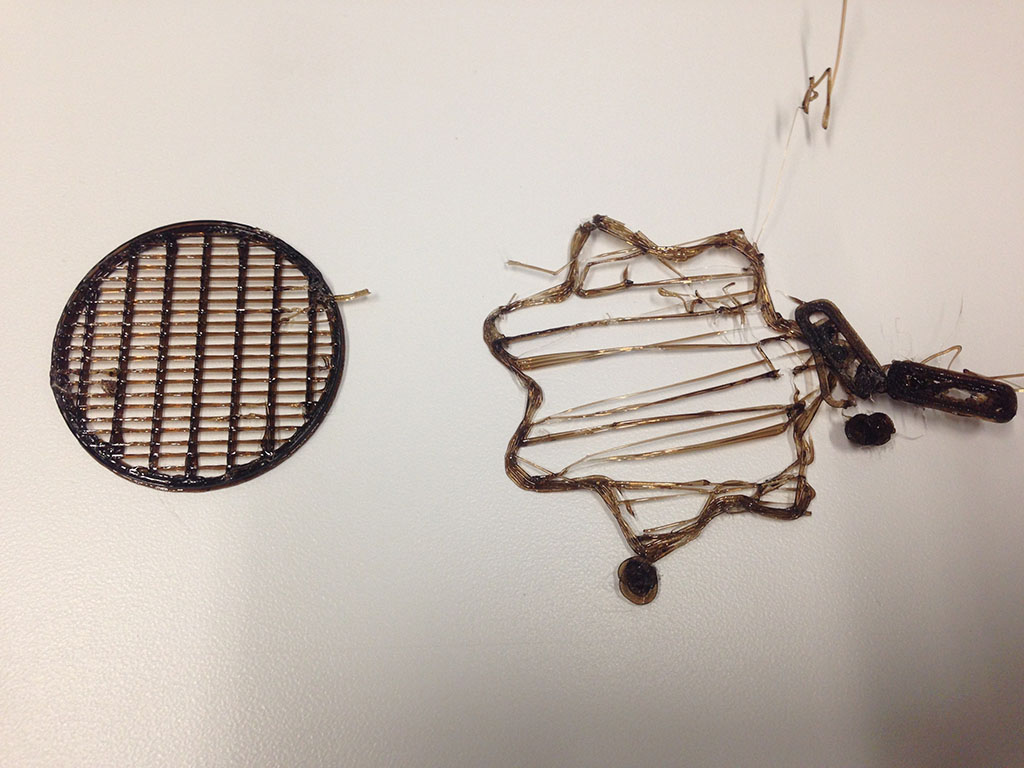

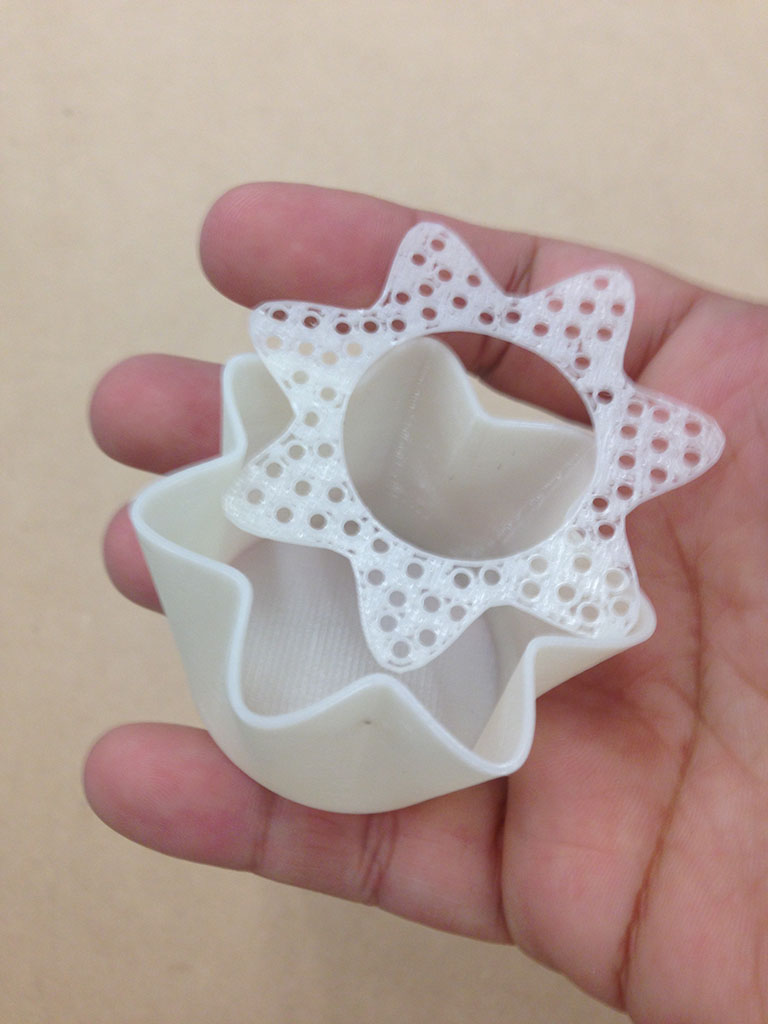
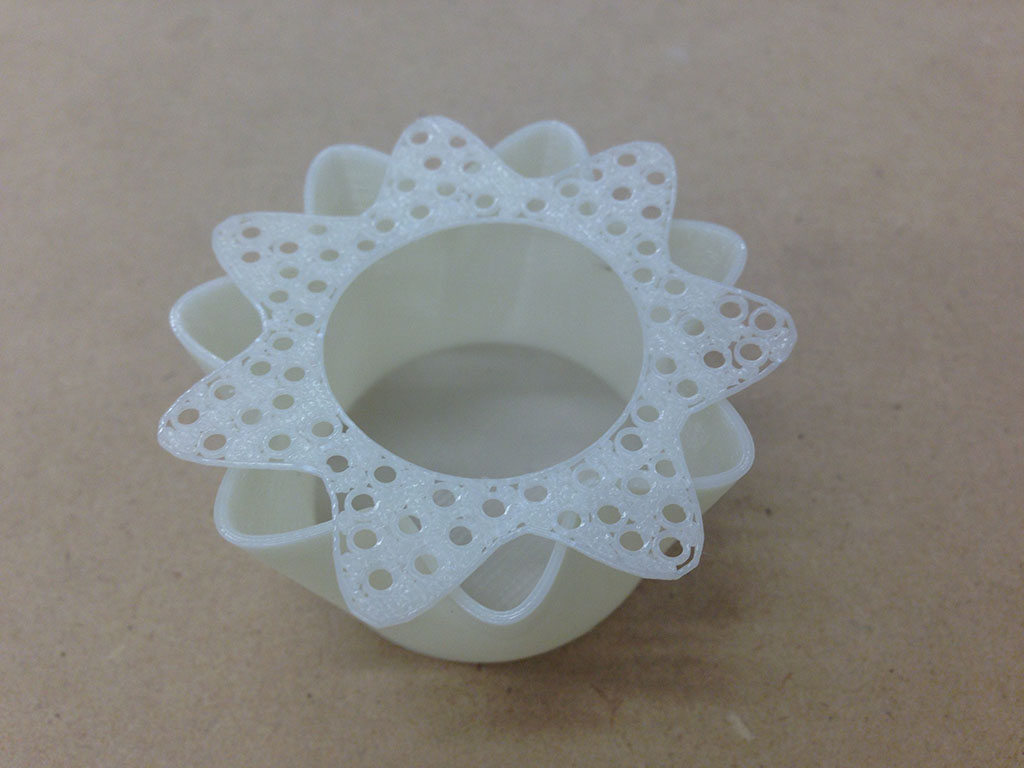
This is my first 3d printing process, the second time I used rhinoceros and mi second 3D scaning experiment. I think that the most important part of the process is to identify the correct parameters to use in the different machines before any drawing for example the parameter used for our 3D printer is a thickness of 0.254 mms but it is better to have at least 1 mm, I used 0.5mms and the surface was a little deformed because it was to thin.
3d Scaning
I used 123D catch as a scanner. I experiment with different objects. I think this app is really easy to use but the quality of the scanning is not very good.
It works capturing several pictures from the object, moving the camara to have an image from every angle. I found out that it works better with color objects (not white) because the application takes the white object as an empty space so it is not captured.
As an example here is a podium with white surfaces that were not captured.
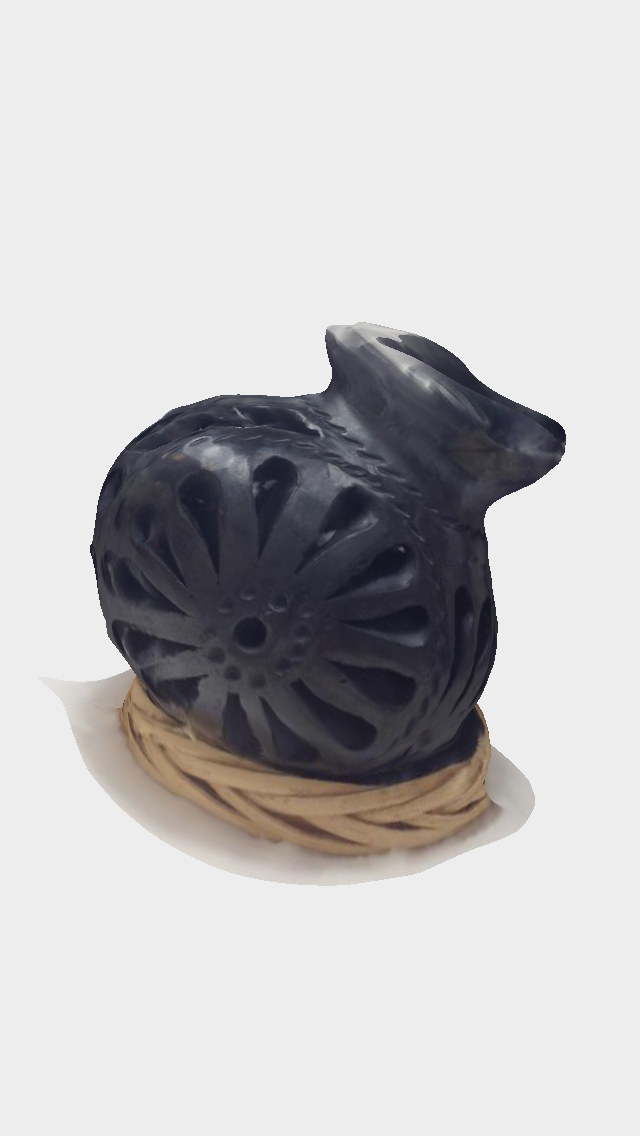
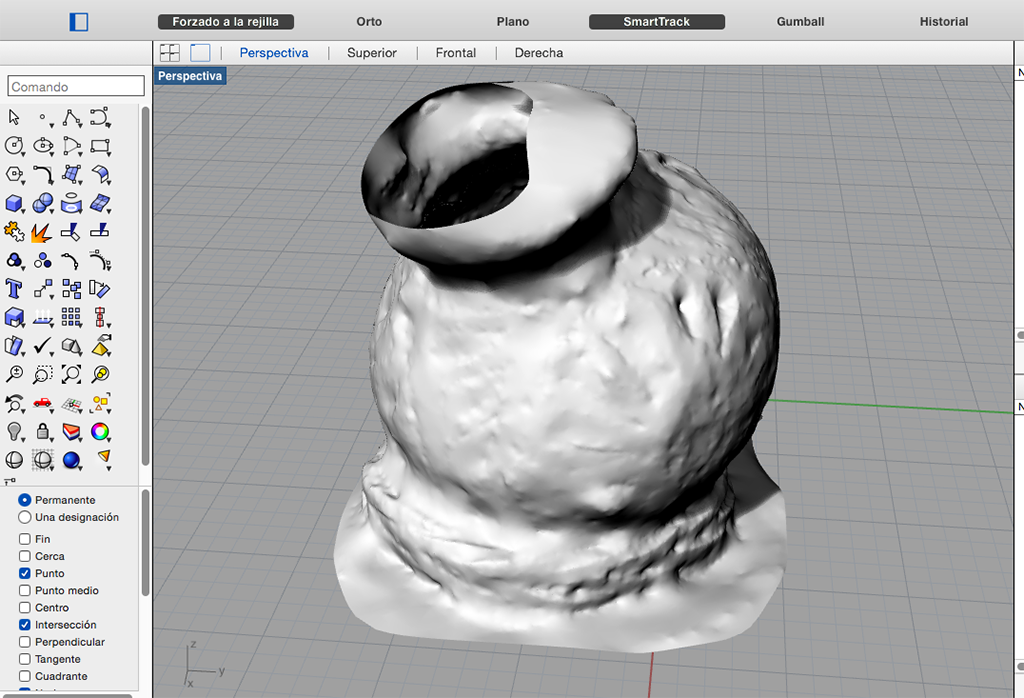
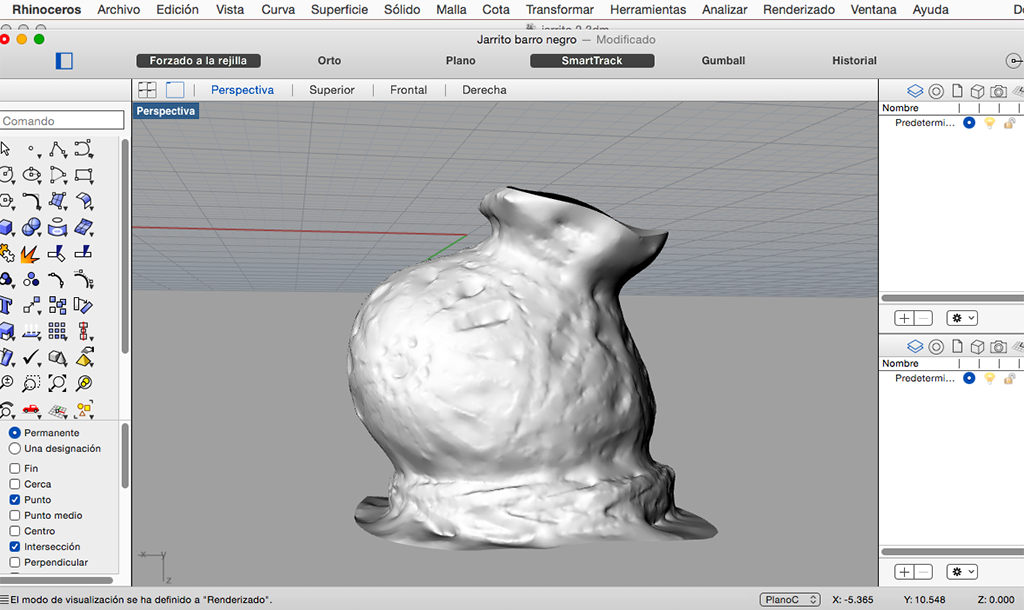
After that I repeat the process with a little black jar with a very interesting texture. It was not easy due to the shining material, when I capture the images if it had a little shine the application selected as an empty space.
After capturing and processign the scanning with the 123catch I exported into rhinoceros… it was not the result I expected, the texture in the scanning was really different than the one in the object.