W3. design, make and document a press-fit construction kit
design + laser cutting
This week we had to design a press fit construction kit to experiment with the assembly of a structure. I used Autocad and Rhino to draw a 2D design of a form that could follow a list of requirements.
- simple form or geometry
- allows to have a multiple direction assembly
- minimal waste of material
- it could be one piece with little variations
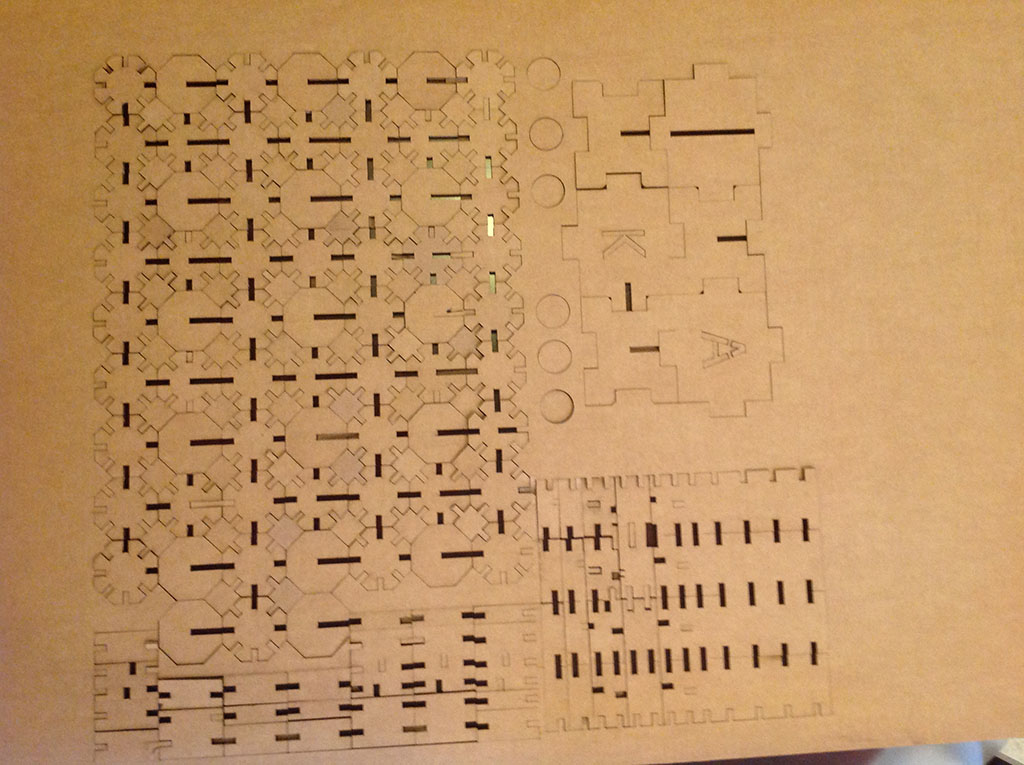
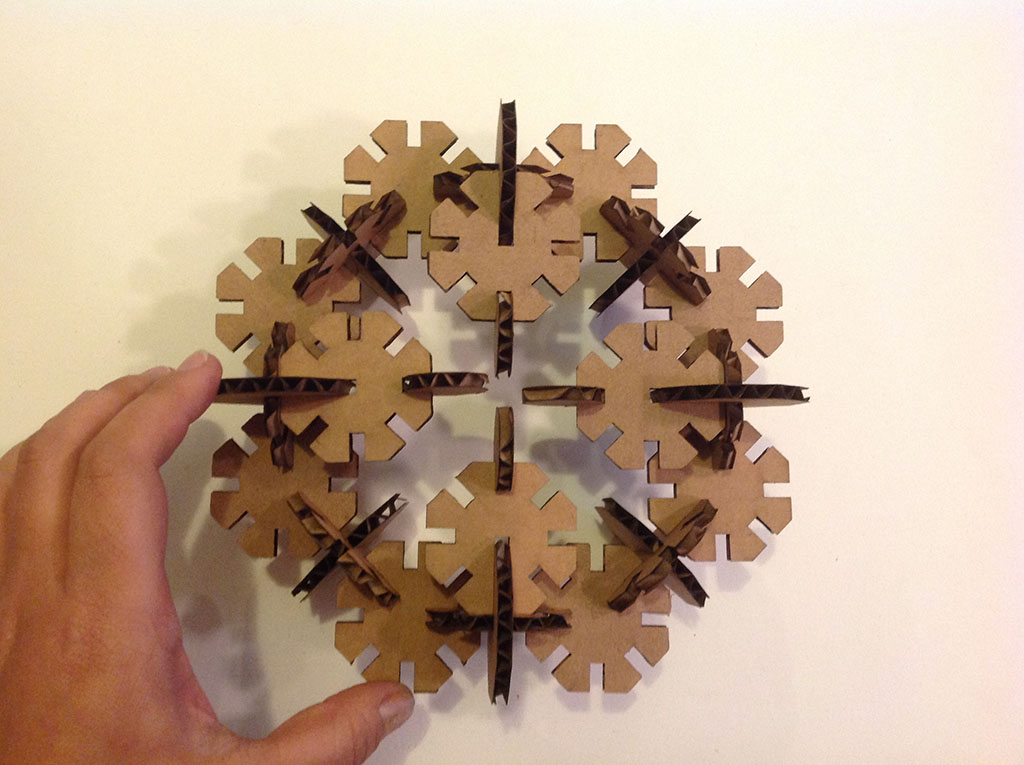
So, what I did was select an octagon and cut pieces in every side, to have 8 different possible directions to connect with other forms. I am using 4mms cardboard so every piece for the subtraction of material has to have 4 mms of width.
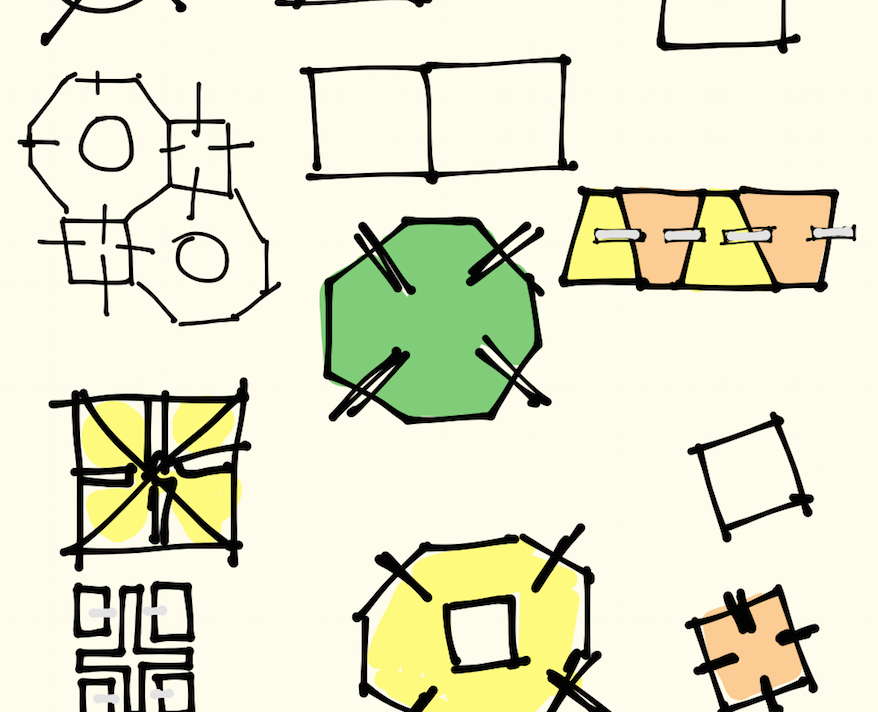
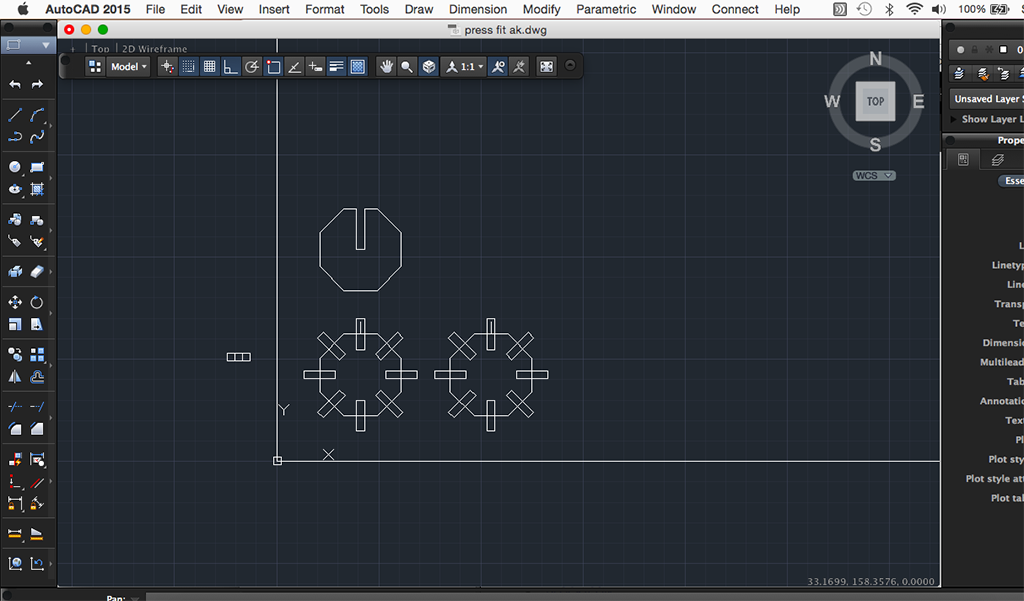
I started drawing in Autocad the octagon and the different subtraction forms, then exported the drawing in to Rhino to use the boolean command to select the final form. After that I duplicated the forms and design an element to connect them.
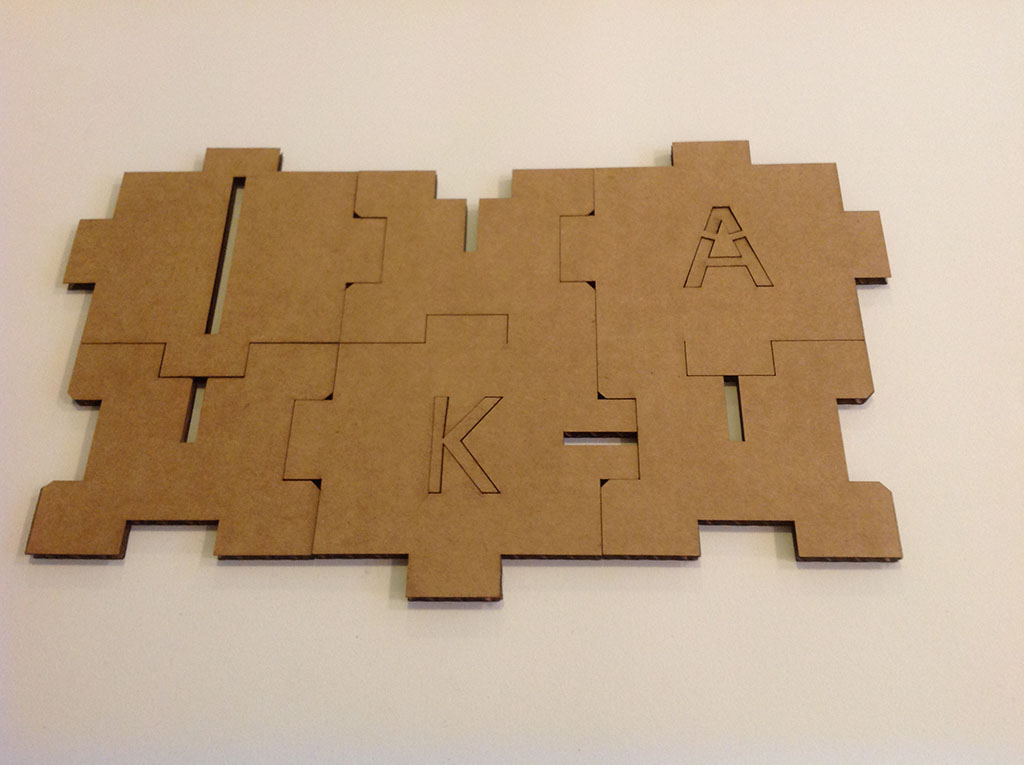
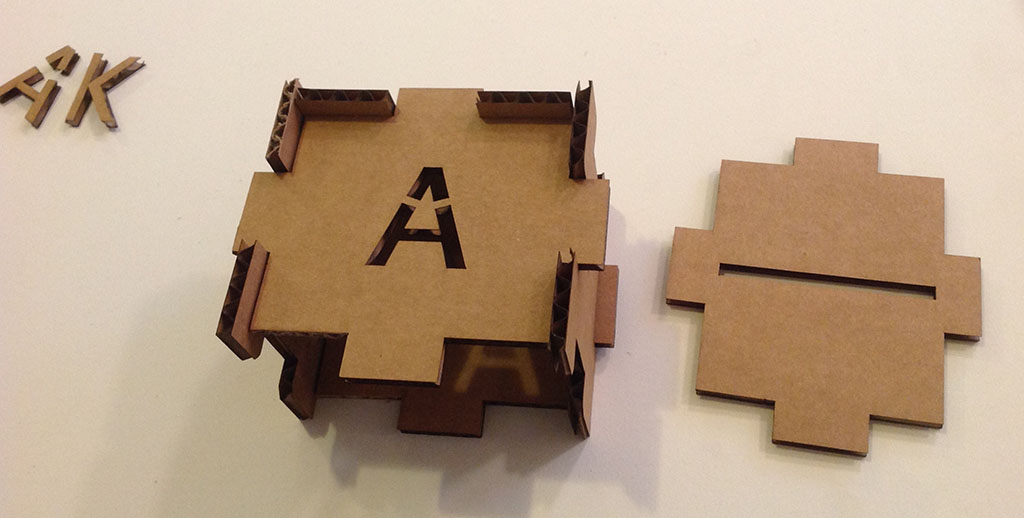
Also I propose a configuration of rectangles with some subtraction of squares to experiment with chamfer edges. This rectangles will be constructing a box with my name initials.
Rhino file press fit ak.3dm
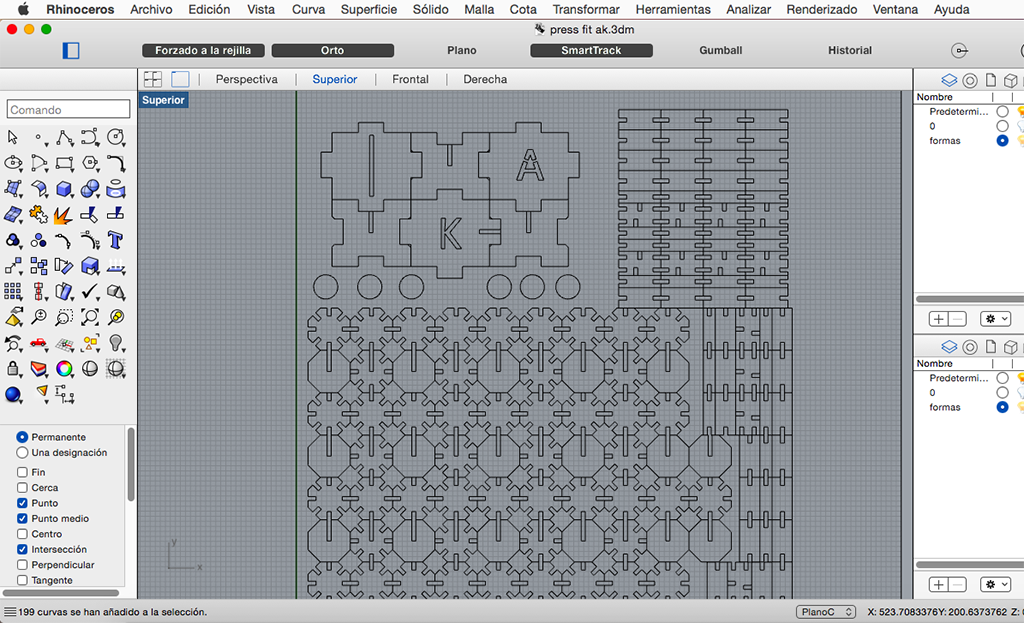
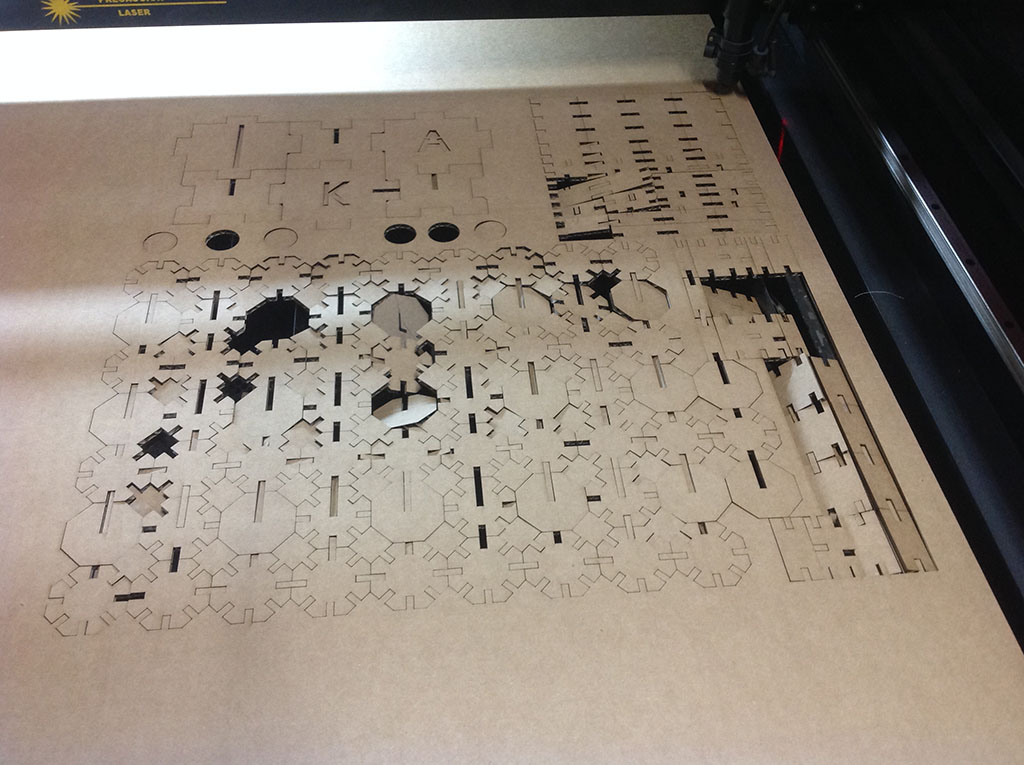
For the laser cutting I export the drawing to a .dxf format and then used the command “overkill” to clean the drawing. Then I search for the cardboard parameters used with the universal laser cutter (40% power, 42mm/s).
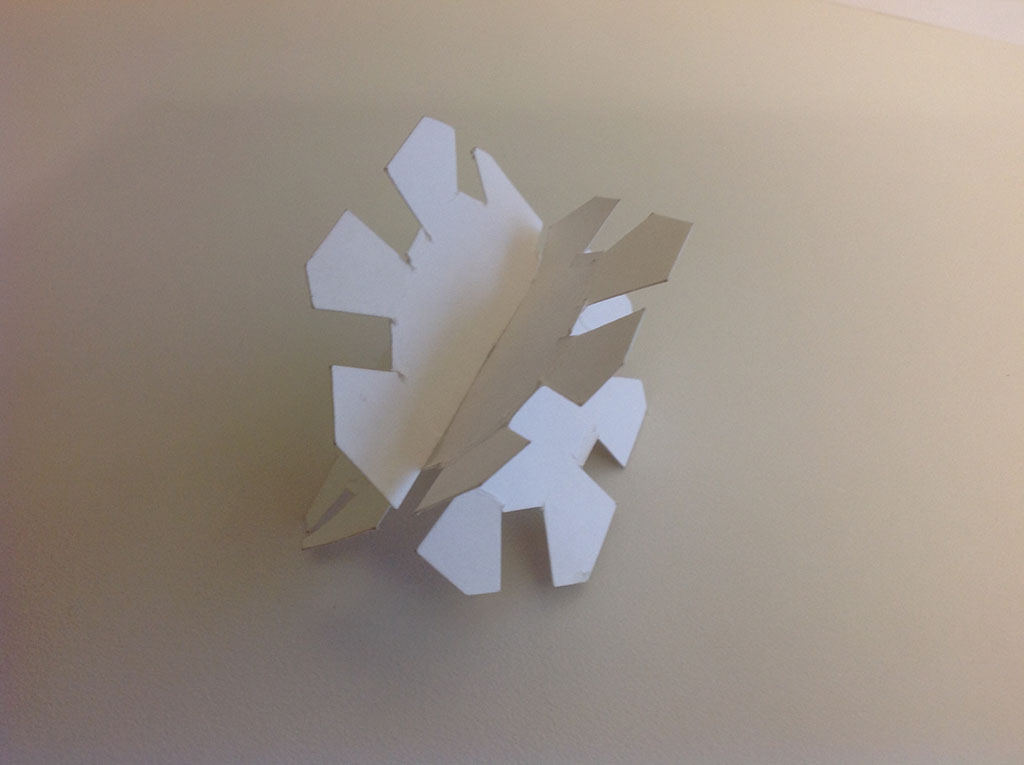
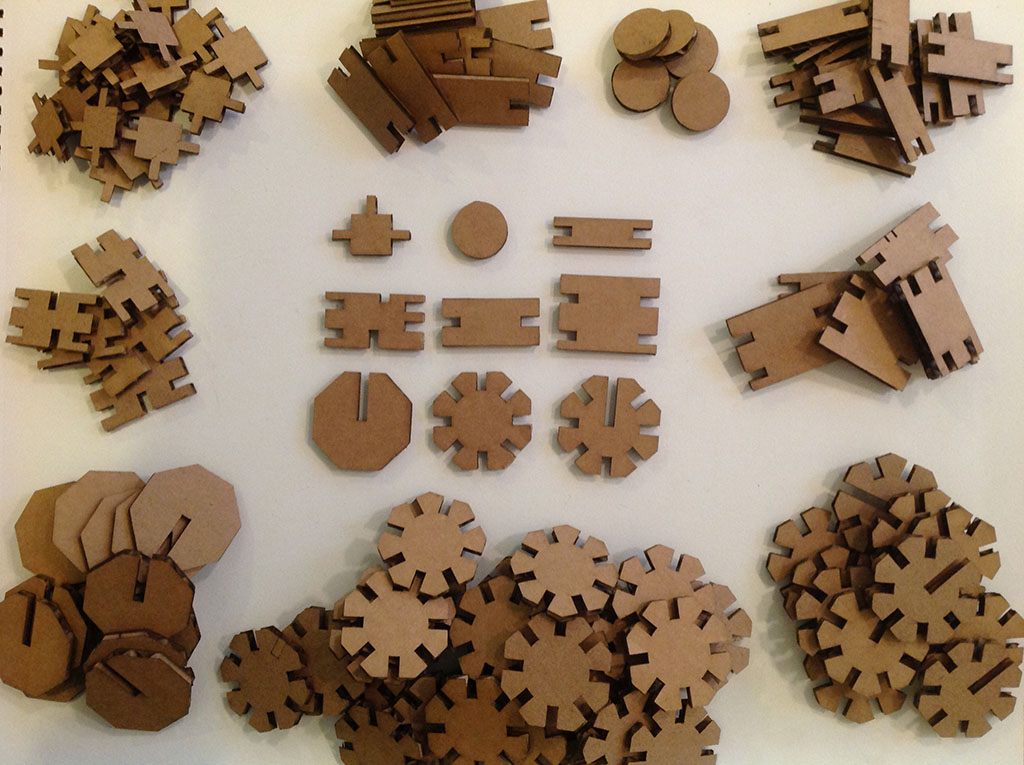
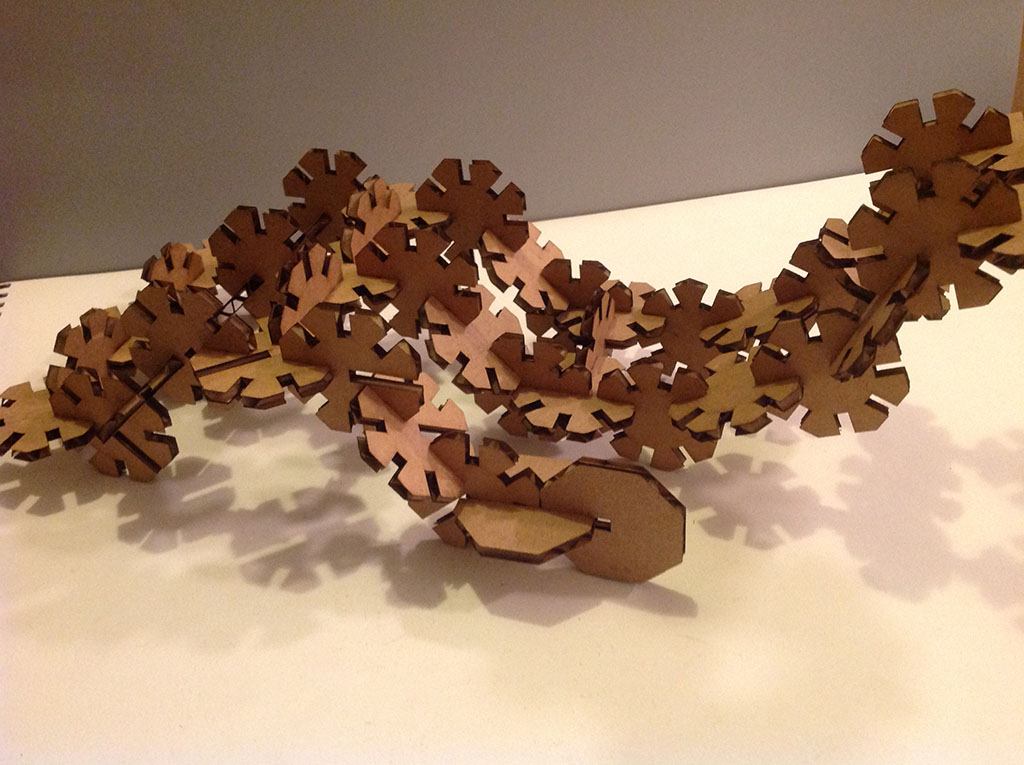
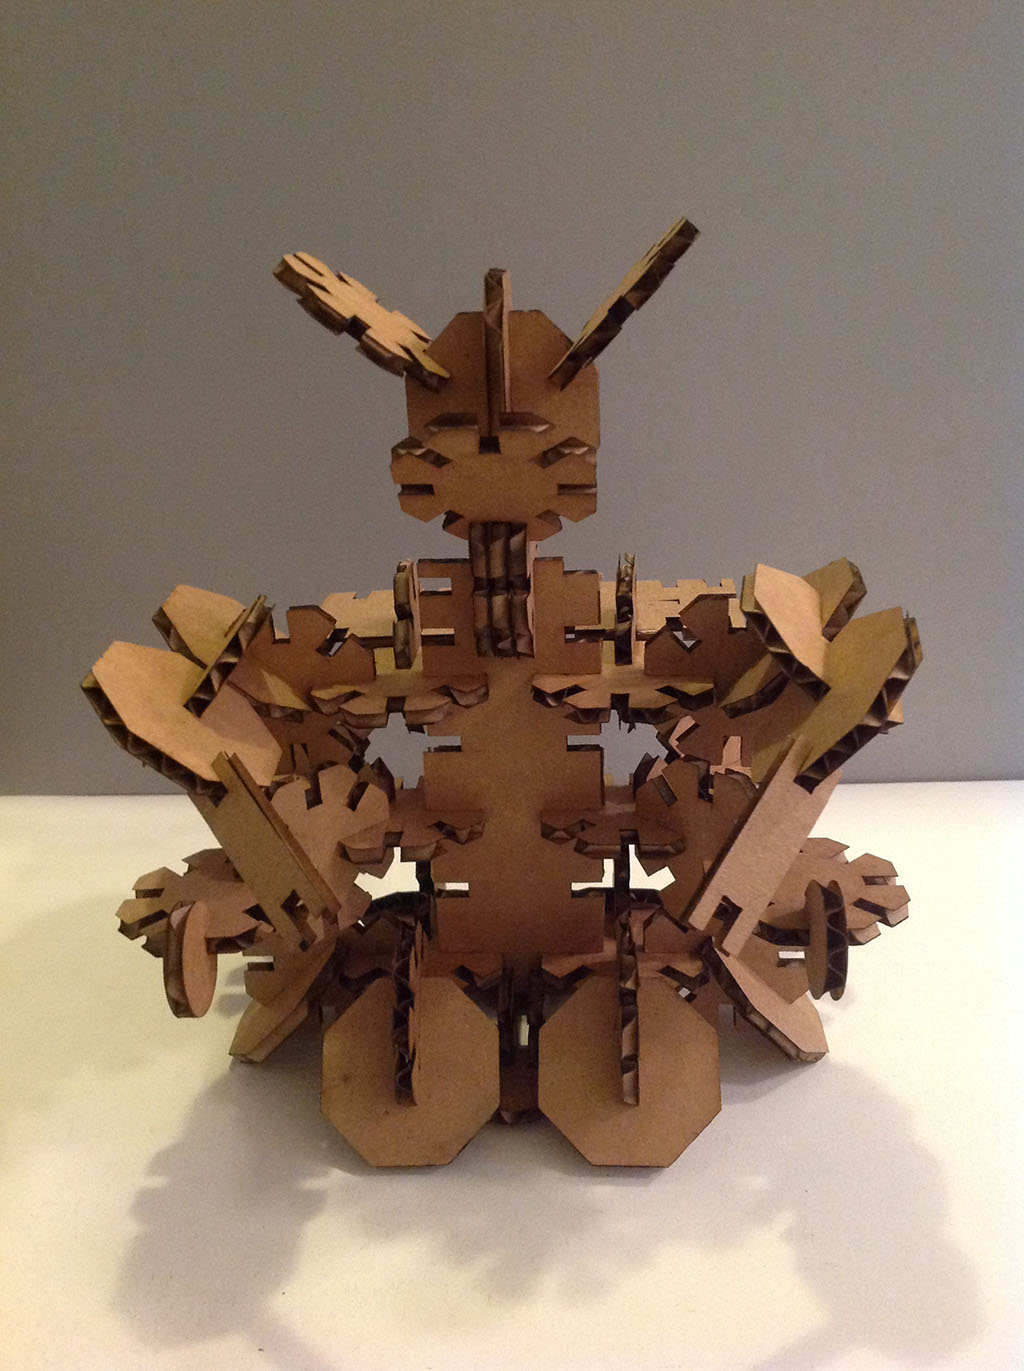
And then the results!

Aspects to consider for the future:
- The cardboard was a little bit uneven because of the weather – check first
- Make a path for the cutting, cutting the big pieces made impossible to cut the little pieces.
- For some pieces like the box, I should make the joints a little bit tighter (+0.01mms)