W15. interface and application programming
write an application that interfaces with an input &/or output device
This week we had to write or modify an application that interfaces with a device.
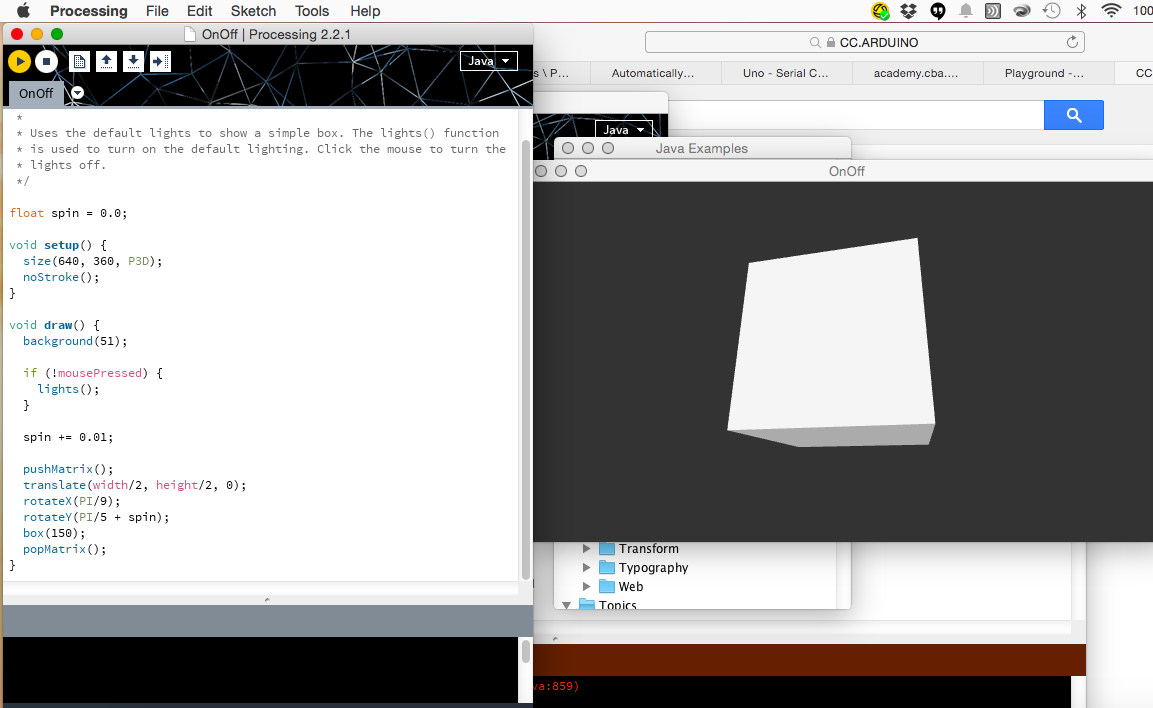
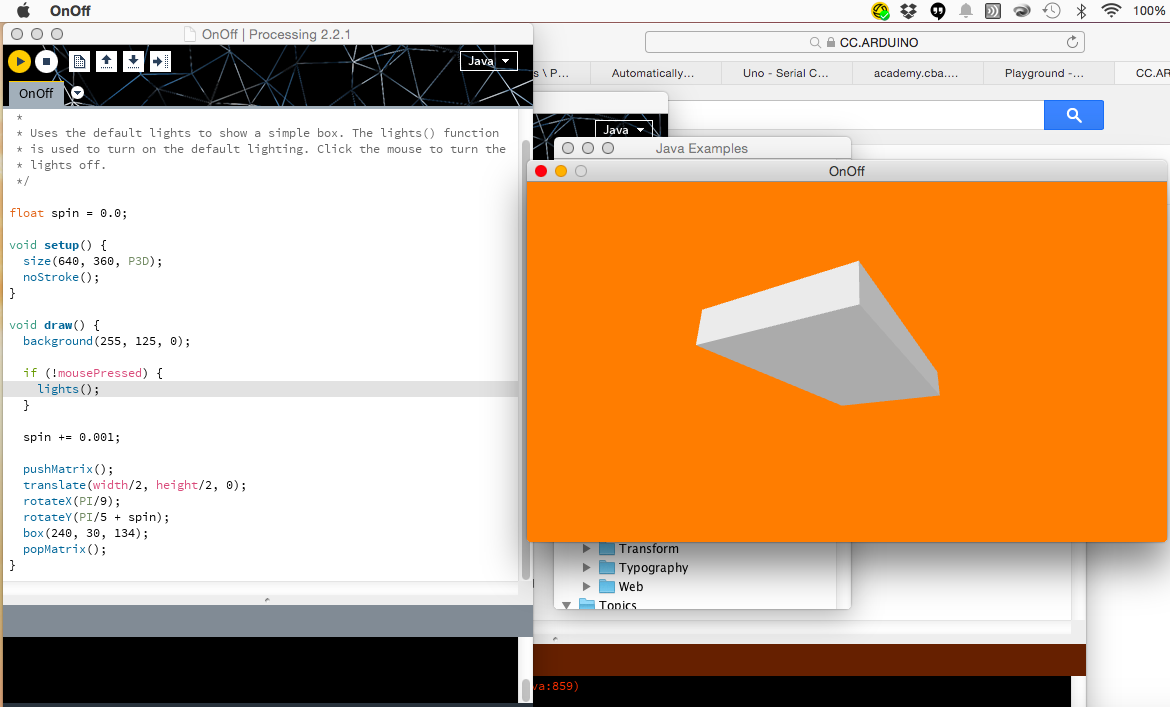
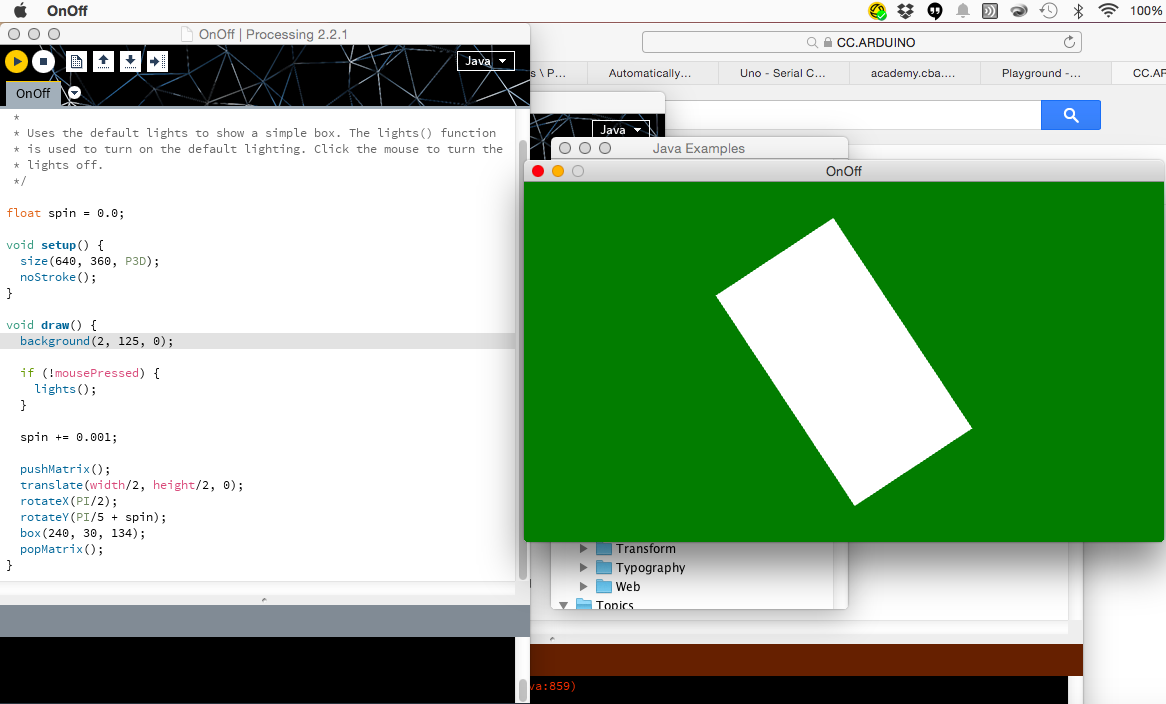
As I have never writed an application before so first I wanted to get introduced to Processing. What I did first is to upload some of the examples and modify them to see the results. First I used OnOff sketch and modify color, shape and movement making adjustments to the parameters in the code.
After testing changes in the code and seen the results, I realize I needed to make a path to use Arduino and Processign because I will need it for my final project, in which I may use a sound sensor or/ and move a servo with an interface.
For this I installed the library to use arduino+processing and use the code I already tested with the servo motor (see details in week 18). In order to use processing and arduino environment I follow the tutorial in processing page, you can follow it in the link.
I download the firmata library to use in both Arduino and Processing.
First in Arduino I had to upload the code (example servo motor), then closing the serial monitor I opened Processing and simply uploading the firmata sketch I got to move the servo by the movement of the mouse from one side to the other. This example let me define the direction and angle of the movement in the servo, and also it could be useful as a on and off interface.
code for servo motor, example skecth in Arduino IDE
- #include <Servo.h>
- Servo servo;
- int pot = 3;
- void setup() {
- Serial.begin (9600);
- servo.attach(6);
- }
- void loop() {
- int valorpot = analogRead (pot);
- int val = map (valorpot, 0, 1023, 0, 180);
- Serial.println (val);
- servo.write (val);
- delay (100);
- }
I modify the size and add a text for the angle on the servo, I got the following.
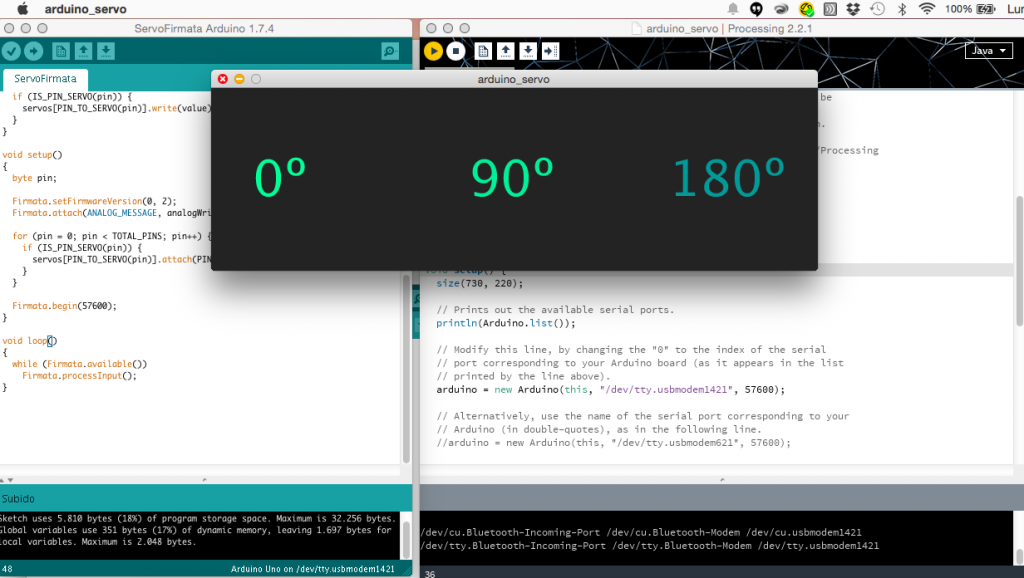
I have never used processign and it was easy, the dificult part was to use processign with a data base of Arduino, but I learned how to do some interfase that I could use for my final project.
Ih the video you can se how I move the servo motor from a side to the other. I will continue learning about interfases, I was fascinated to see how many things I could do with it.
I am using the example skecth from firmata to a servo motor, modifying the port, and including text for the range of the angle.
code for Processing:
- import processing.serial.*;
- import cc.arduino.*;
- Arduino arduino;
- void setup() {
- size(730, 220);
- println(Arduino.list());
- arduino = new Arduino(this, "/dev/tty.usbmodem1421", 57600);
- arduino.pinMode(4, Arduino.SERVO);
- arduino.pinMode(9, Arduino.SERVO);
- }
- void draw() {
- background(constrain(mouseX / 2, 0, 180));
- //texto para 90 0 180
- textSize(60);
- text("0º", 50, 130);
- fill(0, 240, 153);
- textSize(60);
- text("90º", 310, 130);
- fill(0, 155, 153);
- textSize(60);
- text("180º", 550, 130);
- fill(0, 255, 153);
- arduino.servoWrite(9, constrain(mouseX / 2, 0, 180));
- arduino.servoWrite(4, constrain(180 - mouseX / 2, 0, 180));
- }