I decided to use the language Arduino to program my “Hello Dan- 02″ board
(you can found the references here: w6 – hello D-02 and the files in the bottom of this page)
the references that I used are:
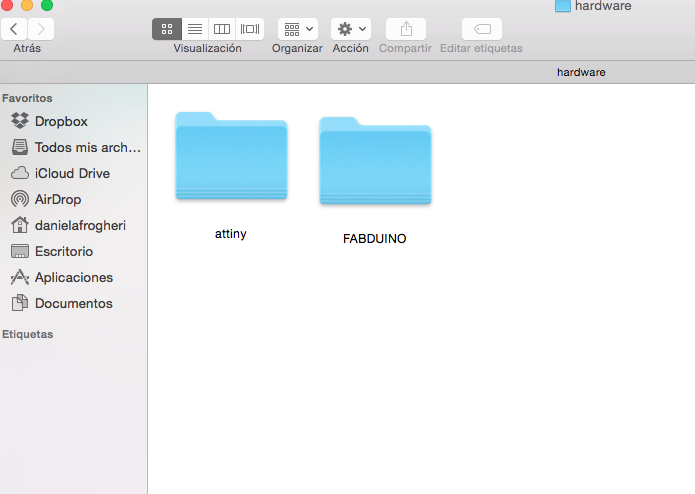
To do it, I had to charge ATtiny into the Arduino hardware folder, and then I checked in order to see if it appears.
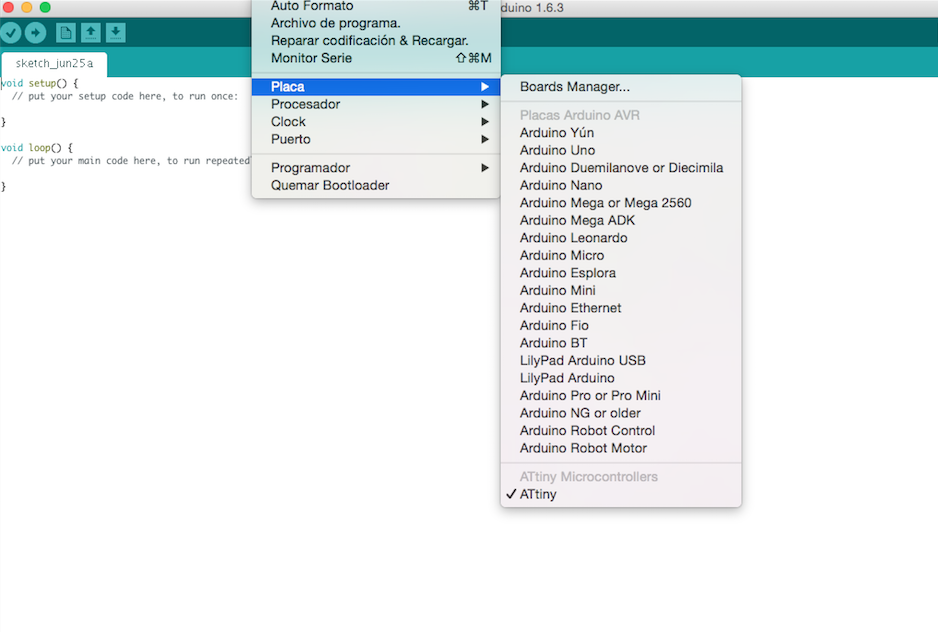
then I selected Arduino as ISP and i charged the code
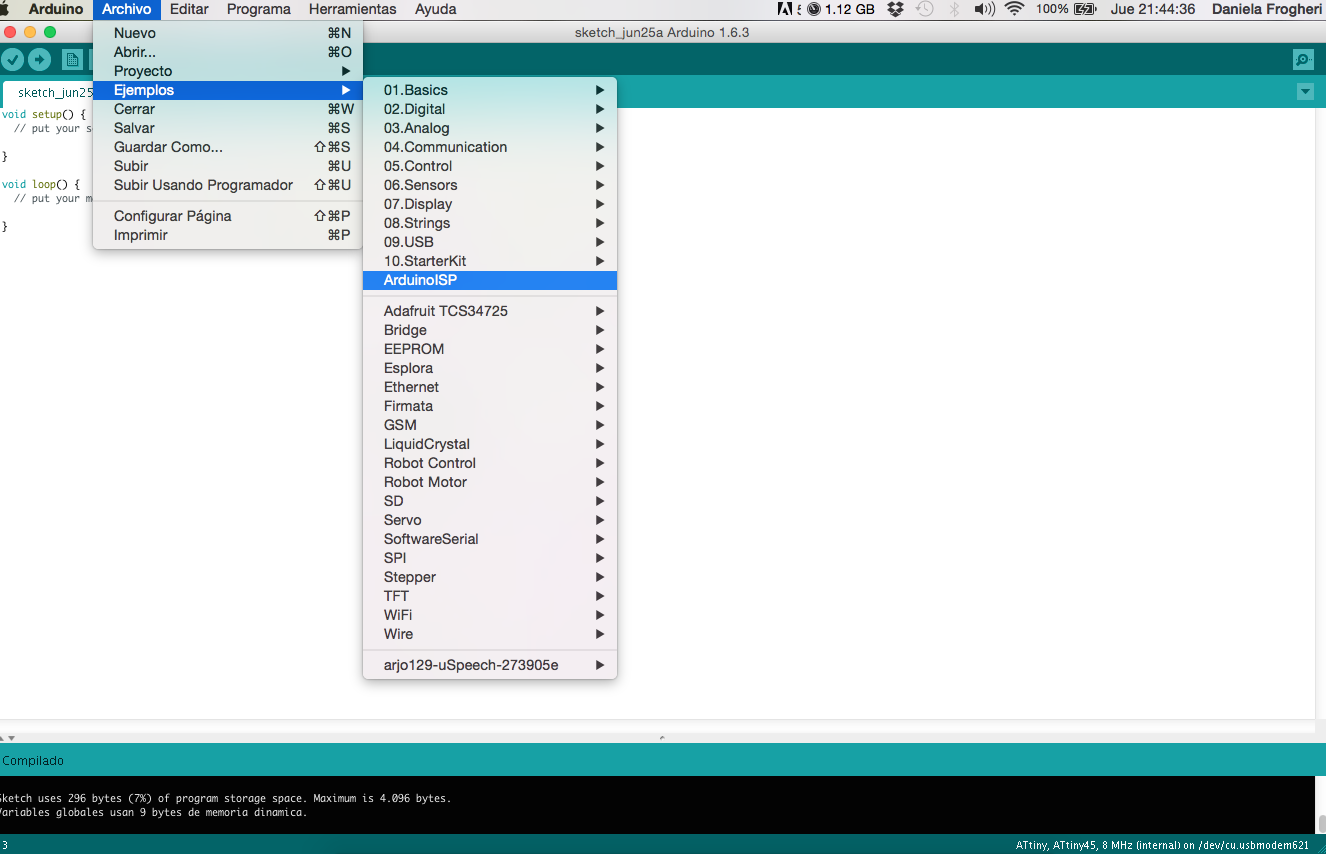

… and the boot loader
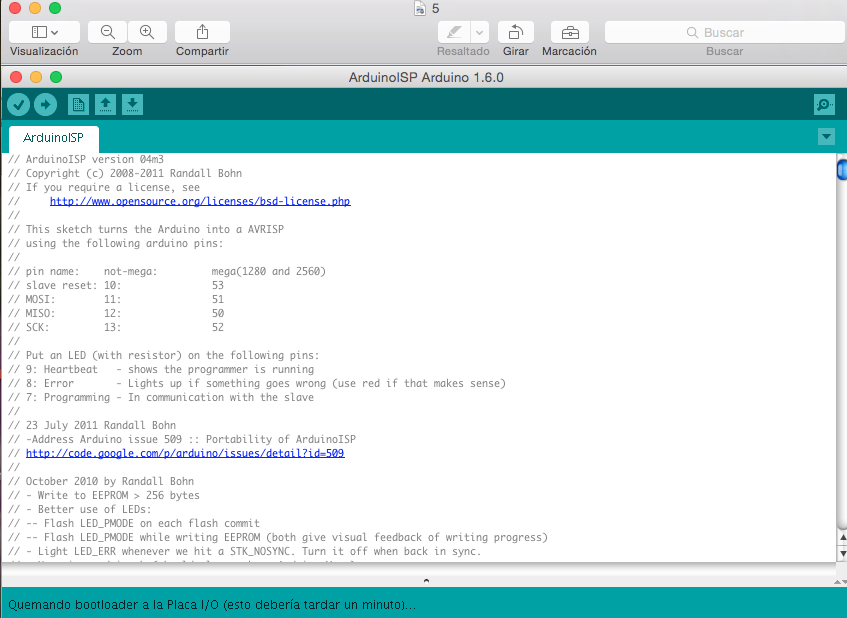
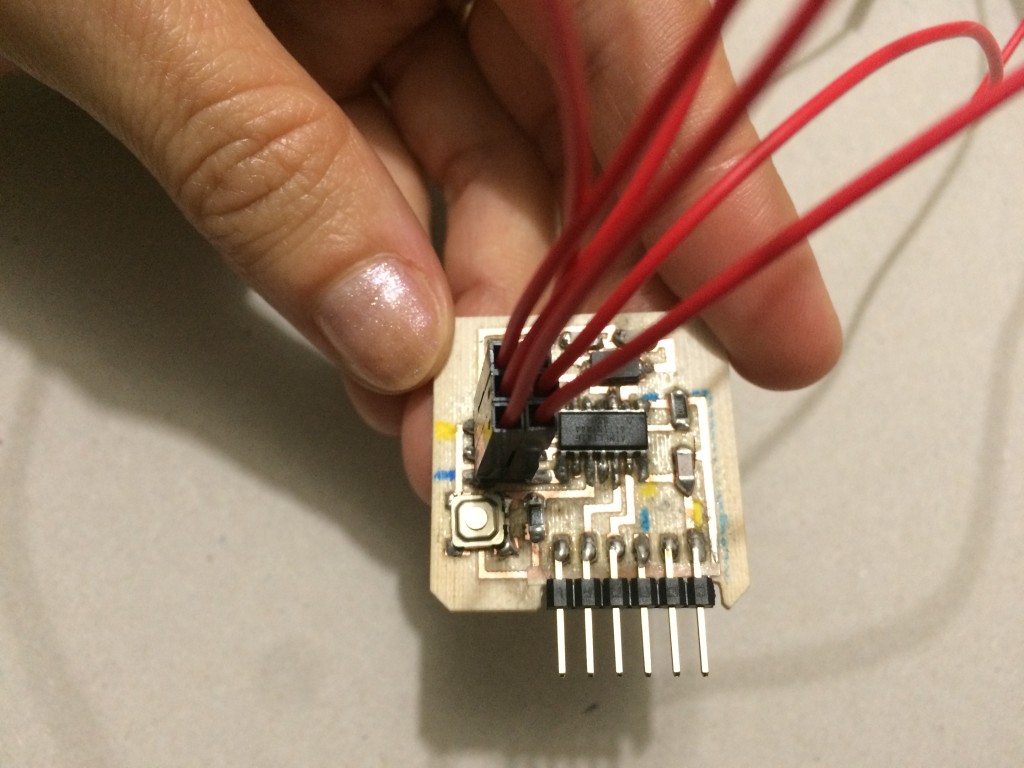
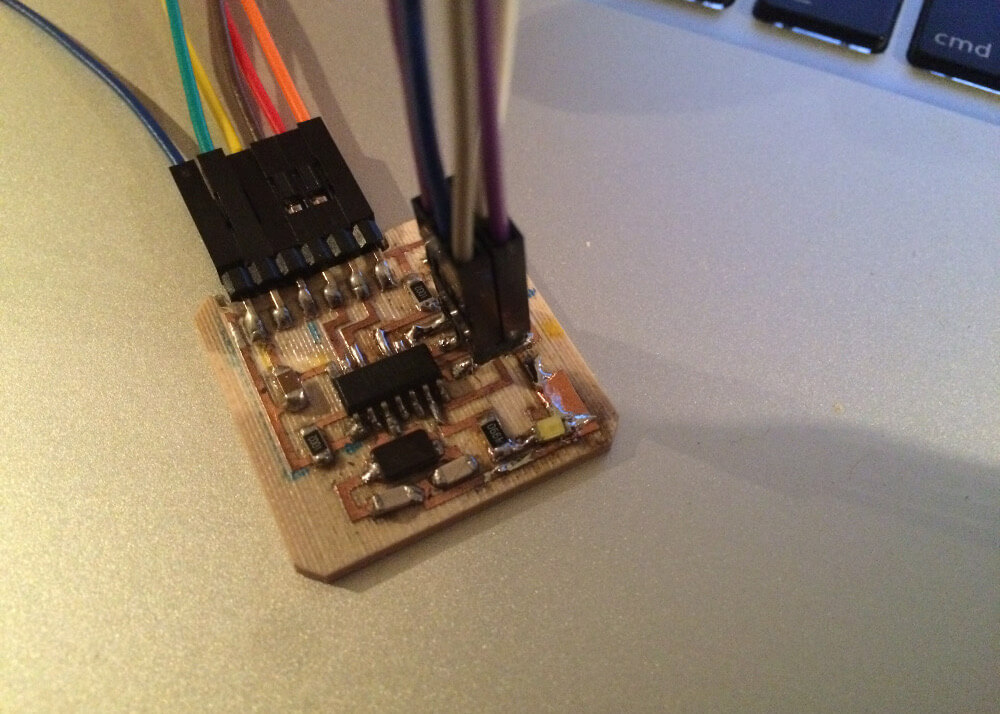
After the bootloader I connected my Hello, putting before a 10UF capacitor in the “ground” and “reset” of my Arduino uno, to make sure the connection;
then I checked the connections ISP pines (for others boards is important to check the pins because they are different), and I connected my Hello.
slave reset 10
MOSI 11
MISO 12
SCK 13
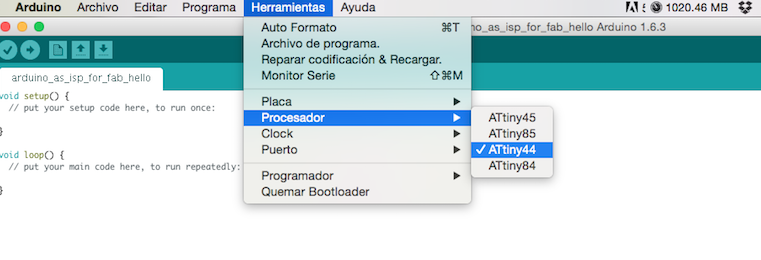
The next step is to select the microprocessor, in this case the ATtiny 44
another thing to remember is if you are using the internal clock or the external; in my case I have a 20 mhz crystal
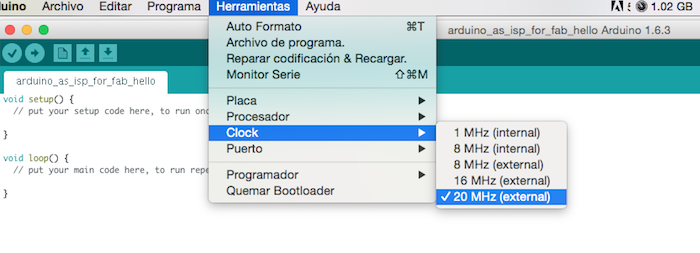
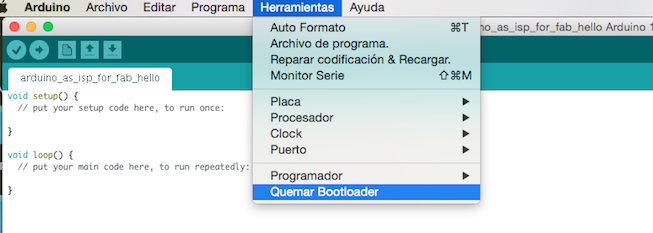
and I select it and then I make the bootloader
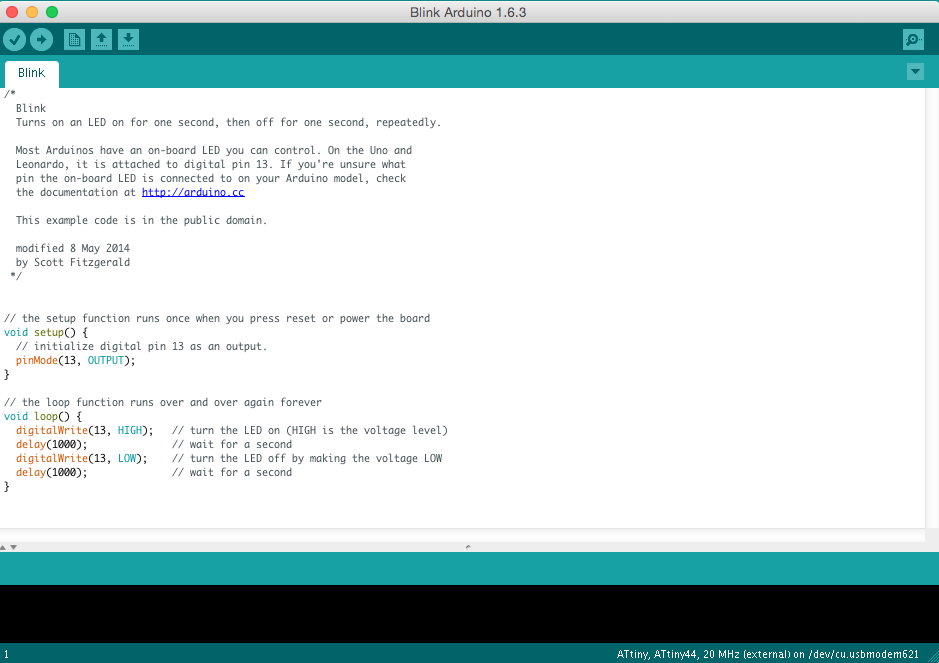
the next step is run a code, I used an example from the basic library of Arduino called “Blink”, that has a loop to turn a led on and off.
I did some small test to change the code
– at first I changed the delay and it works well
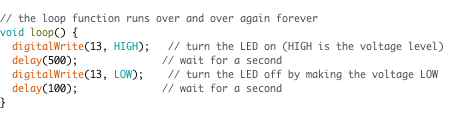
Then I tried with this small change, that runs correctly, but at first was not working … the light was off.
I decided yo make this small change on the code, because for my final project I want to work by connecting lights with numbers and letters of the alphabet; this is a first simple test, just to see how to start with this association; here, you can take ON or OFF the light writing a letter, in this case ‘a’.
- /*
- BASE
- Blink
- Turns on an LED on for one second, then off for one second, repeatedly.
- Most Arduinos have an on-board LED you can control. On the Uno and
- Leonardo, it is attached to digital pin 13. If you're unsure what
- pin the on-board LED is connected to on your Arduino model, check
- the documentation at http://arduino.cc
- This example code is in the public domain.
- modified 8 May 2014
- by Scott Fitzgerald
- MODIFIED BY DANIELA FROGHERI - FAB ACADEMY 2015
- */
- char test = 'a';
- // the setup function runs once when you press reset or power the board
- void setup() {
- // initialize digital pin 13 as an output.
- pinMode(1, OUTPUT);
- }
- // the loop function runs over and over again forever
- void loop()
- {
- if (test== 'a')
- {
- digitalWrite(13, HIGH); // turn the LED on if test is 'a'
- delay(500);
- }
- else
- digitalWrite(13, LOW); // turn the LED off if test is not 'a'
- delay(100);
- {
- }
- }
Finally I discovered that it was a physical problem on my board… I burned the led!
I changed it putting a white led ( the first one was green) adding a piece of conductive tape to weld well, because a part of my circuit was disconnected!
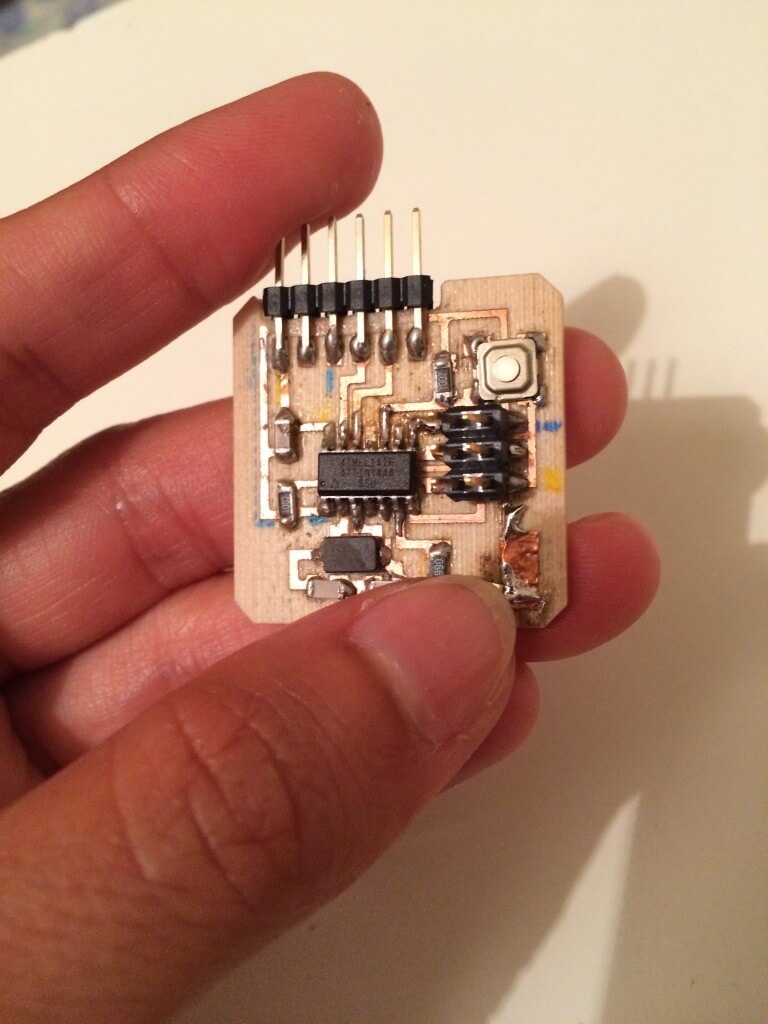
Finally the hello Dan-02 is working.
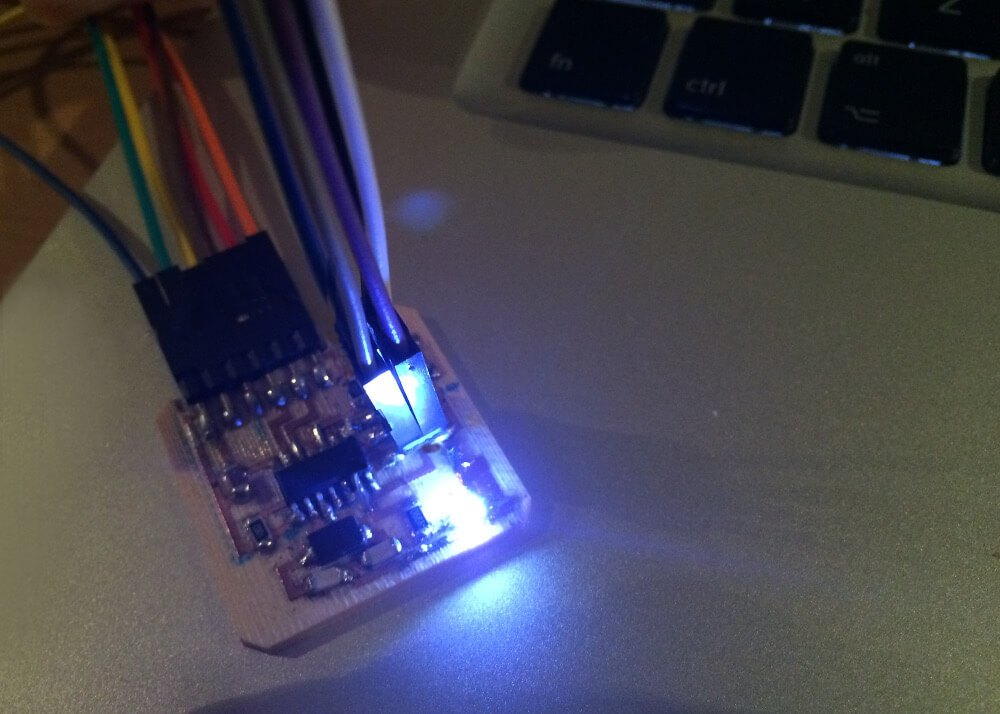
This activity was very important for me, because I started to see how to connect a light that can be taken off or on with a letter on my code; my board is not so nice as the first one that I made … but I learned a lot;
This is not the only way, you can make this work also using the terminal and with your fab ISP or with a programmer as I did for the 4th week w4 – electronics production or for the 10 week w10 -input; here I decided to try with this option , because for me is the first step for my final proyect;
I learned a lot, about different things: physical ( in some moment I was thinking only about the code, but a physical part of my board was broken …), connections … the position of the connections … and of course the code, and the correct sequence in order of all the steps …
Files: