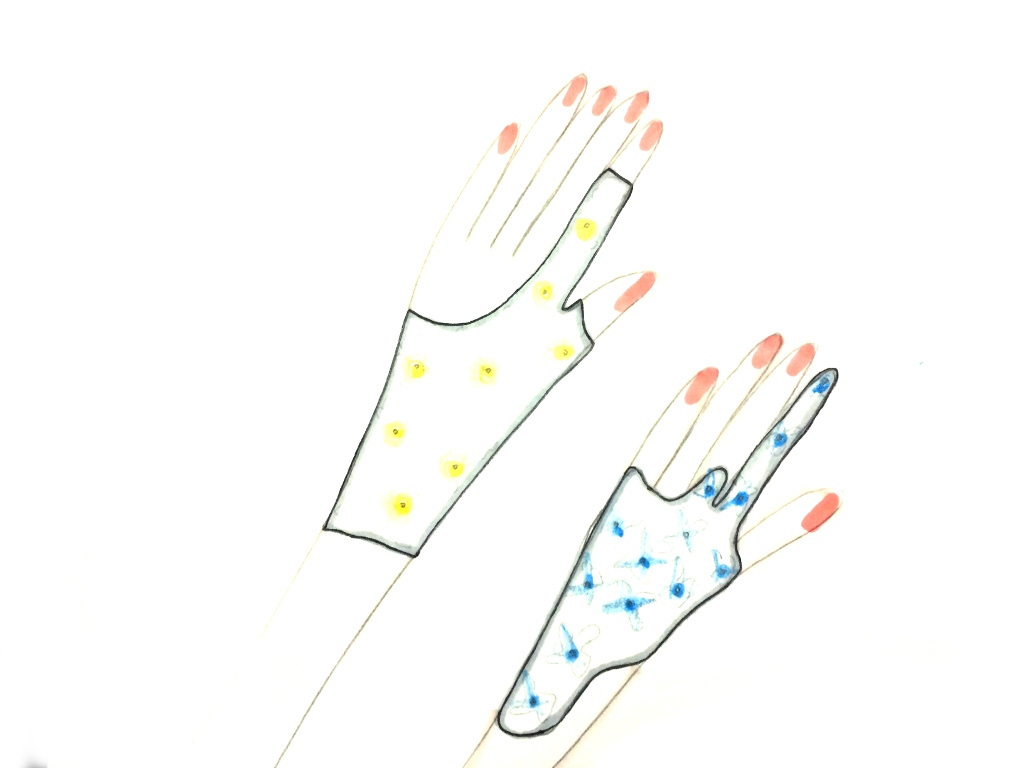
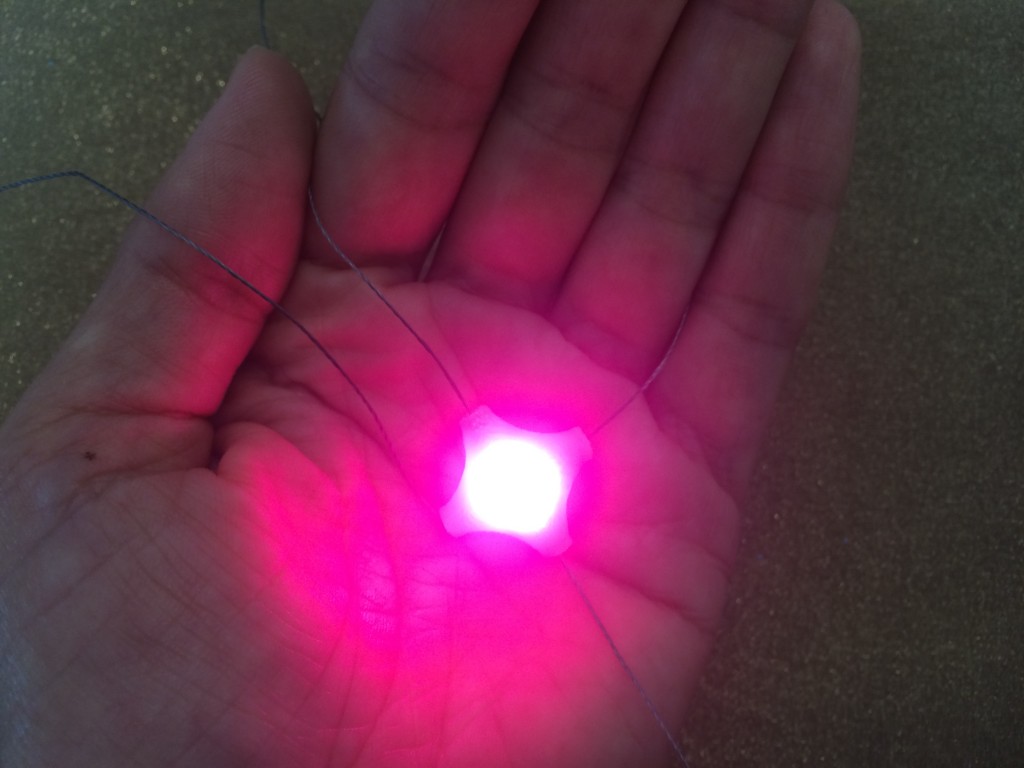
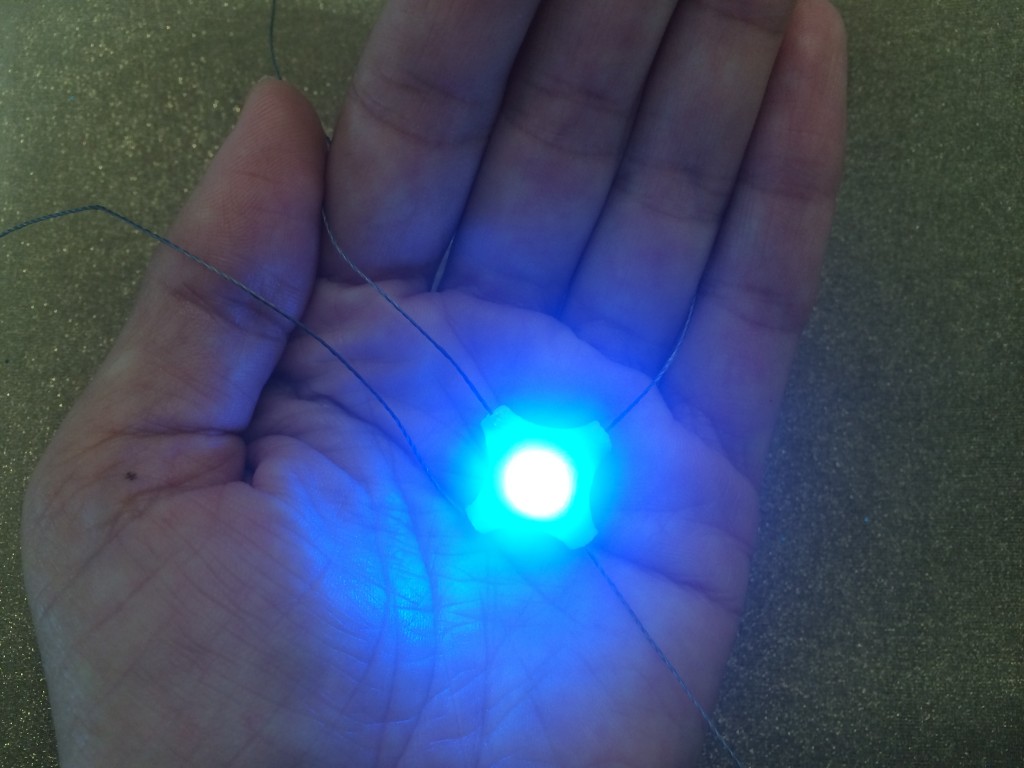
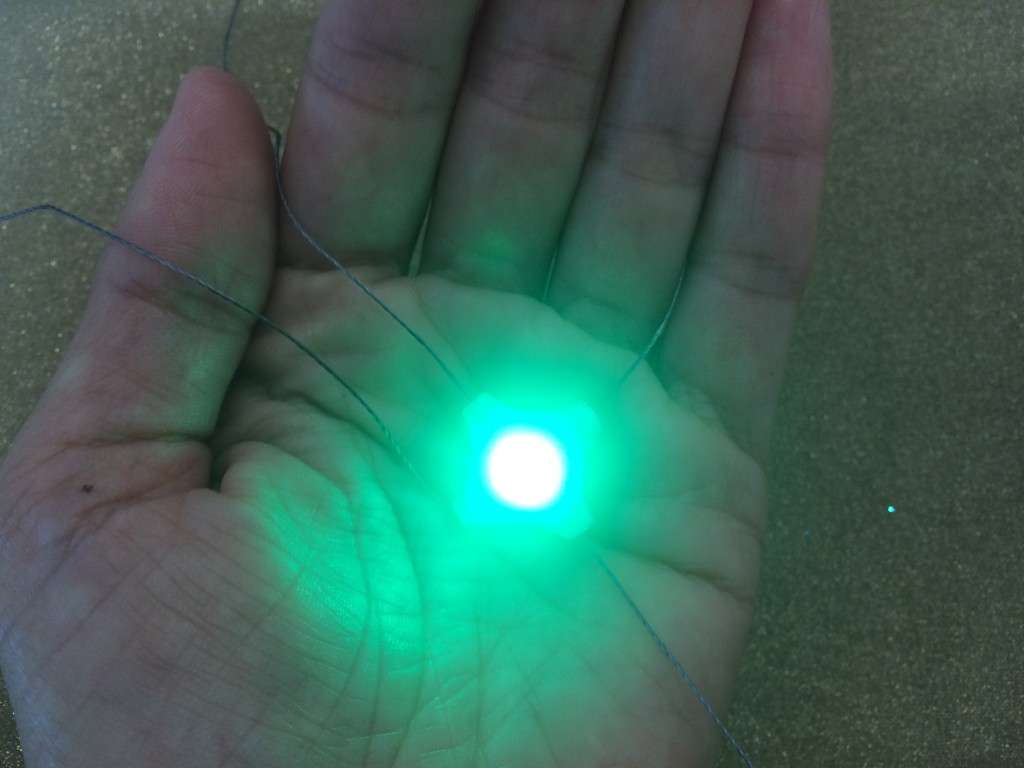
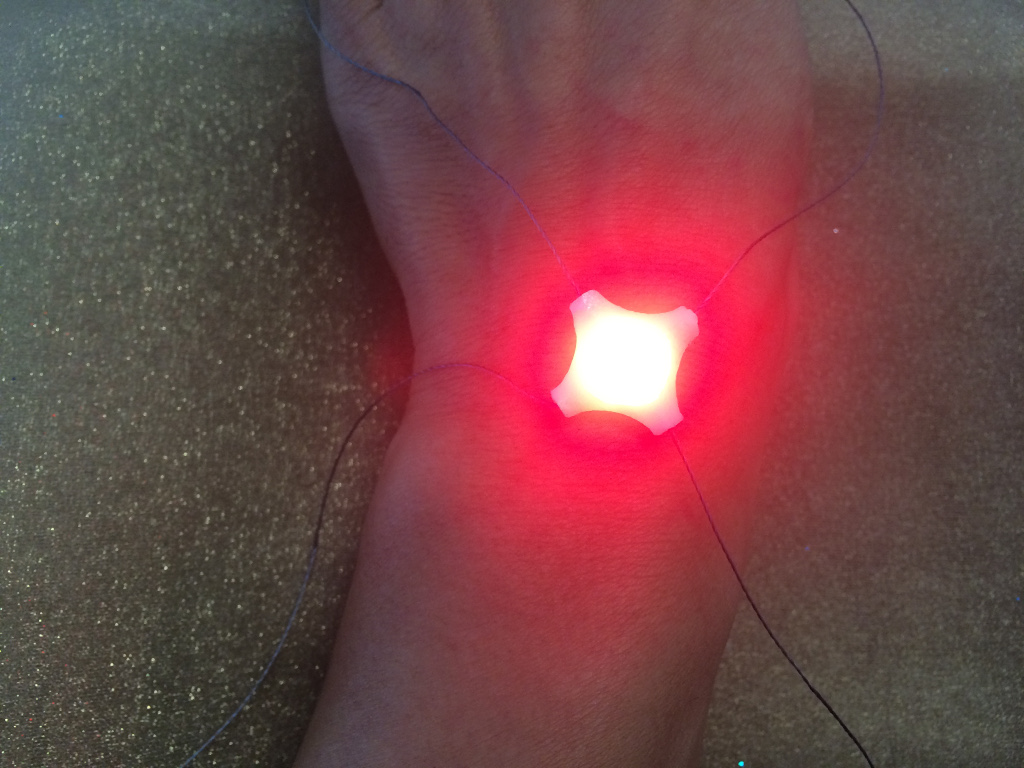
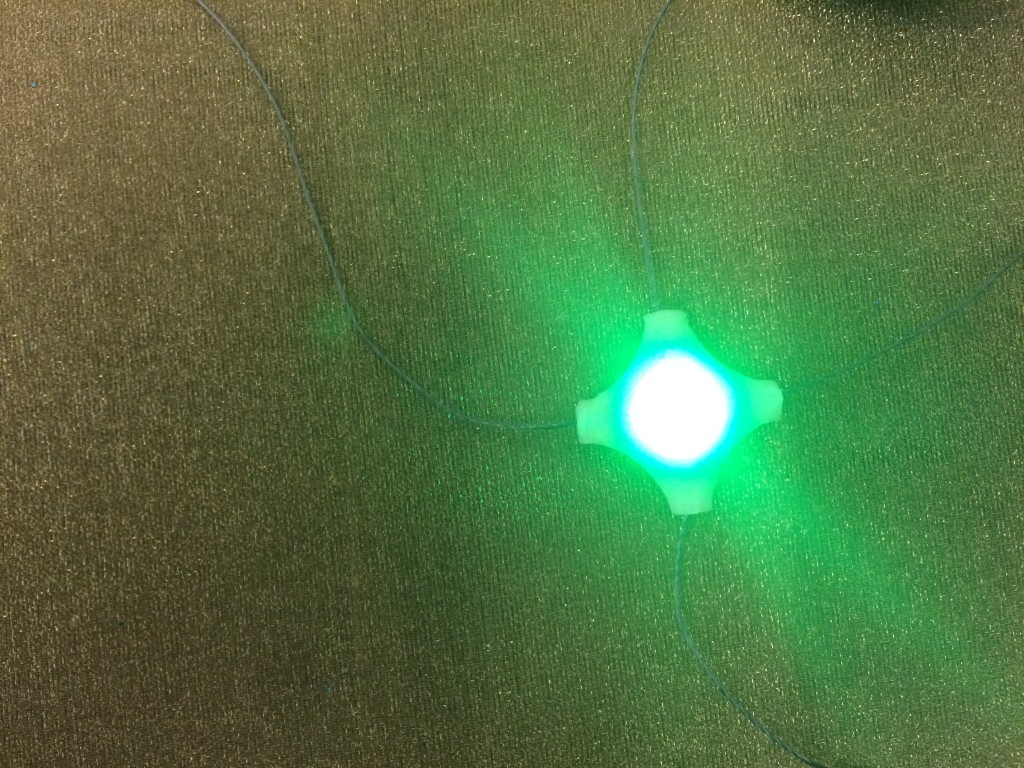
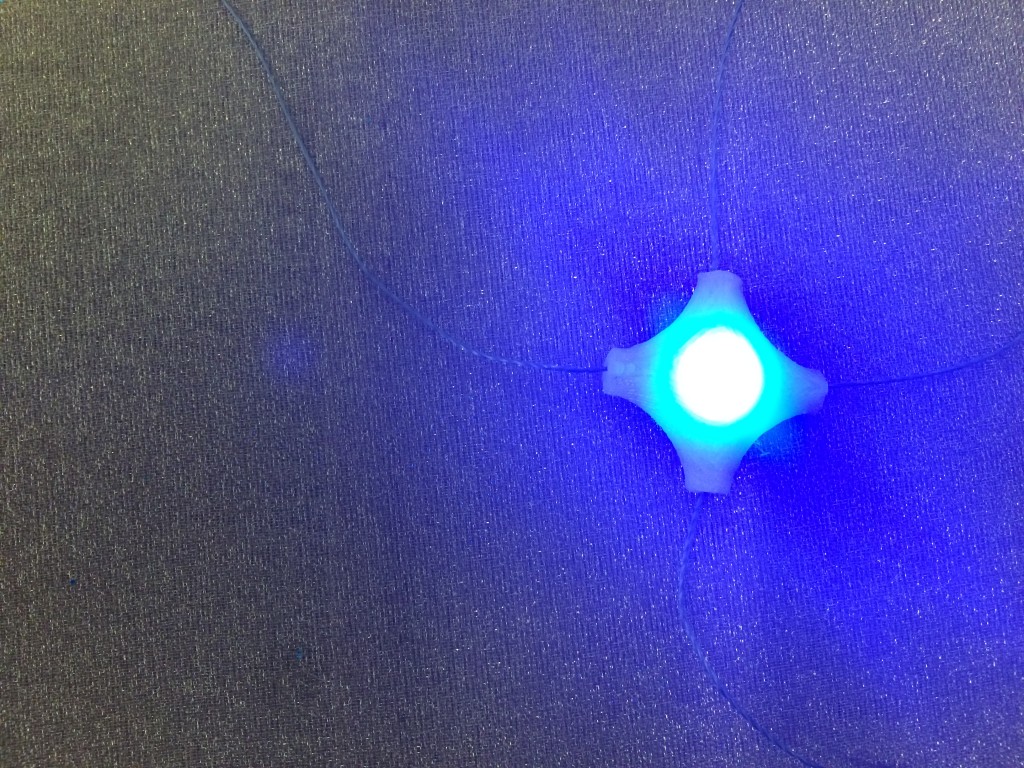
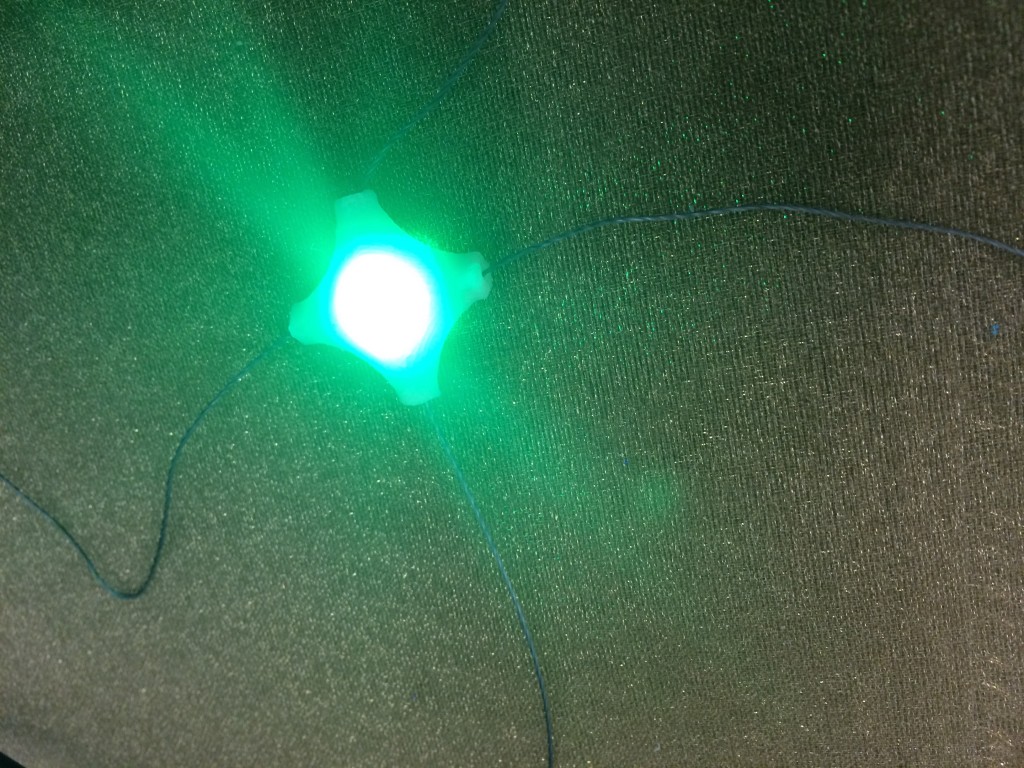
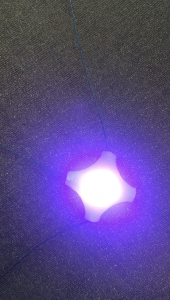
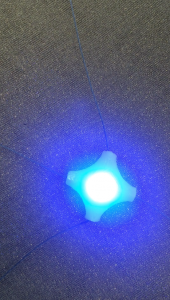
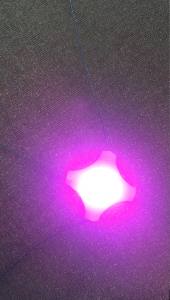
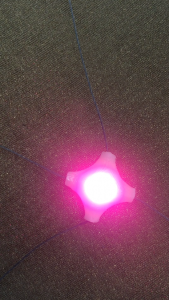
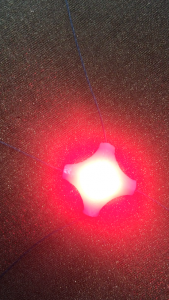
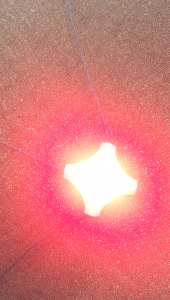
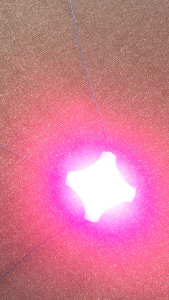
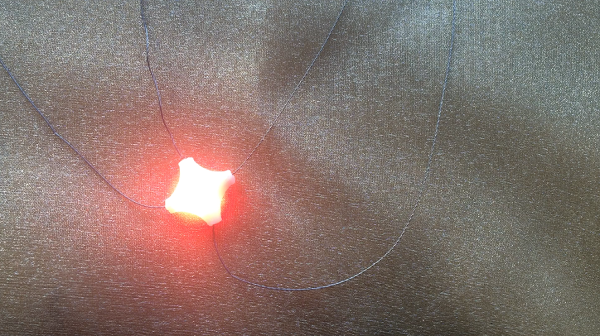
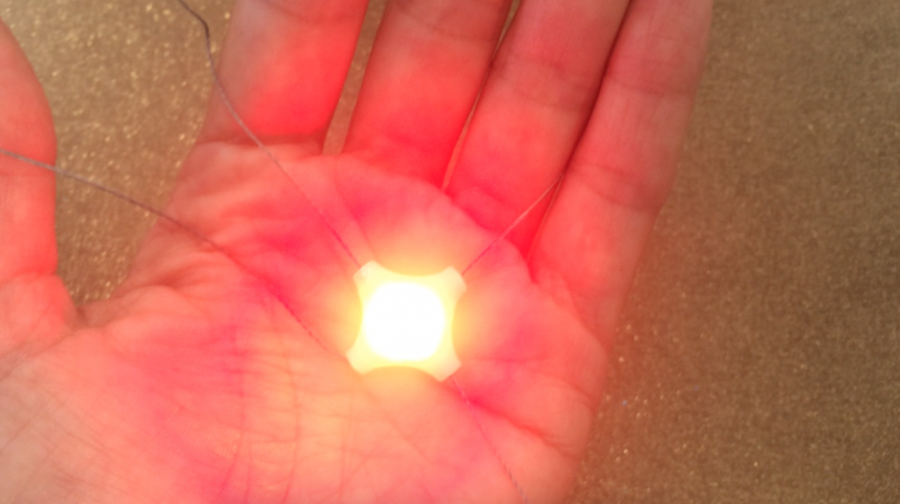
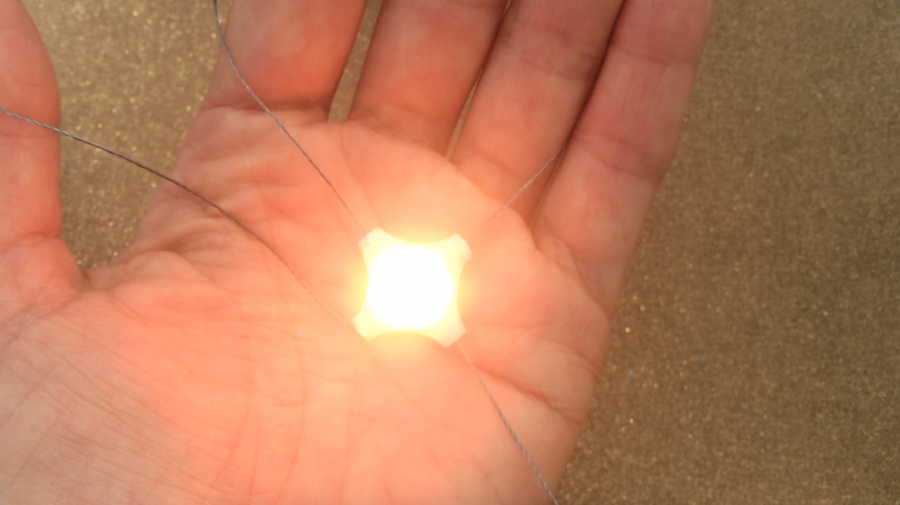
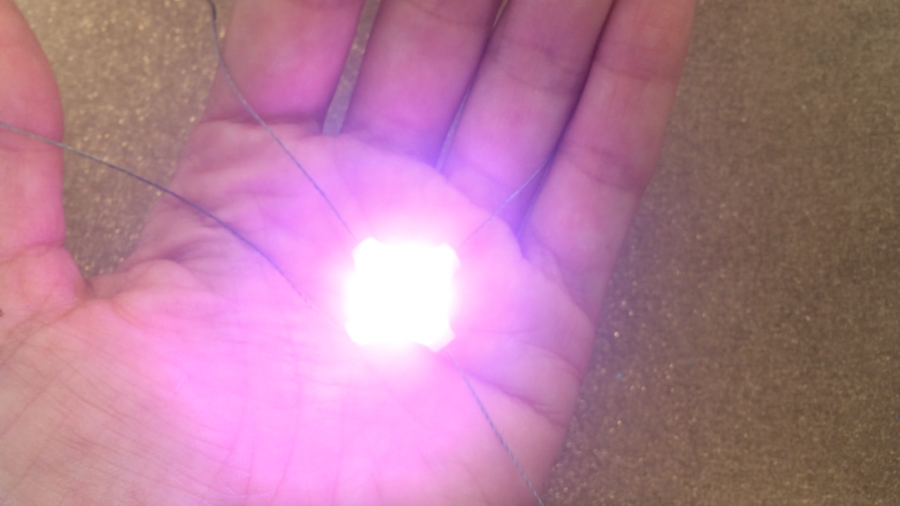
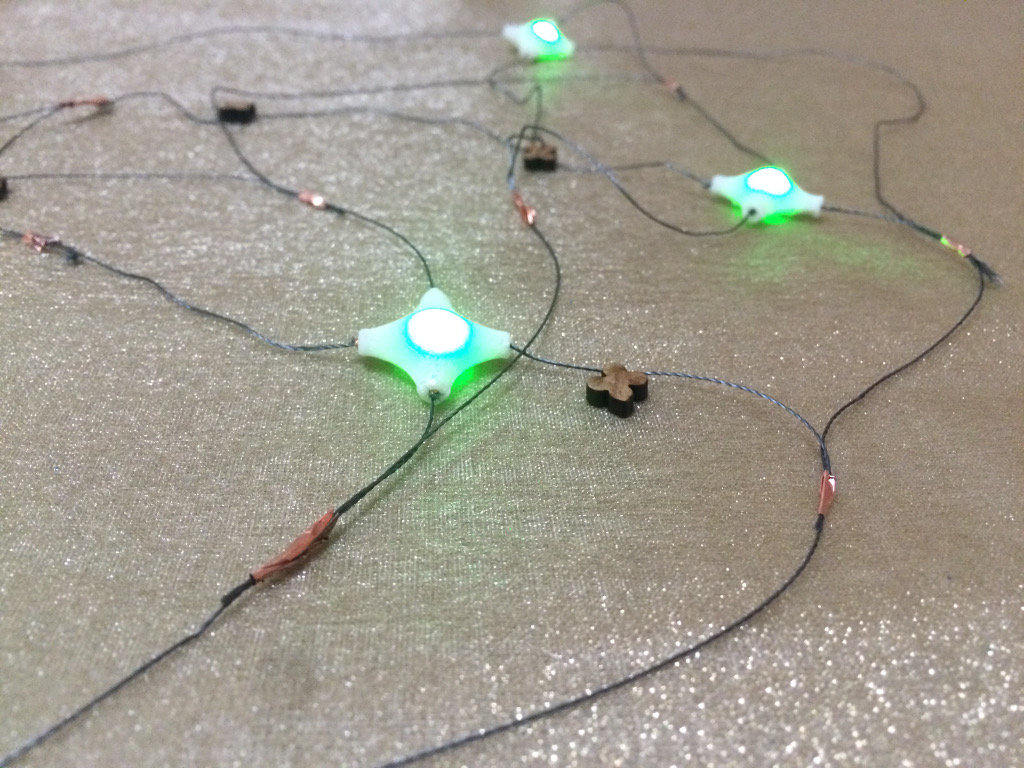
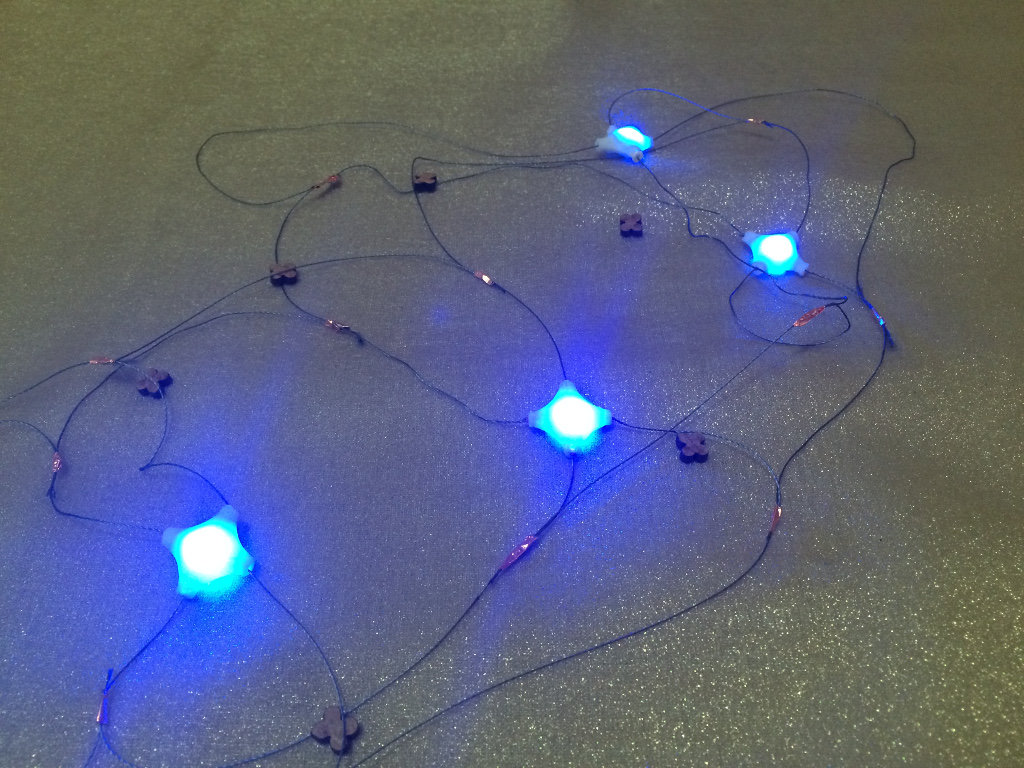
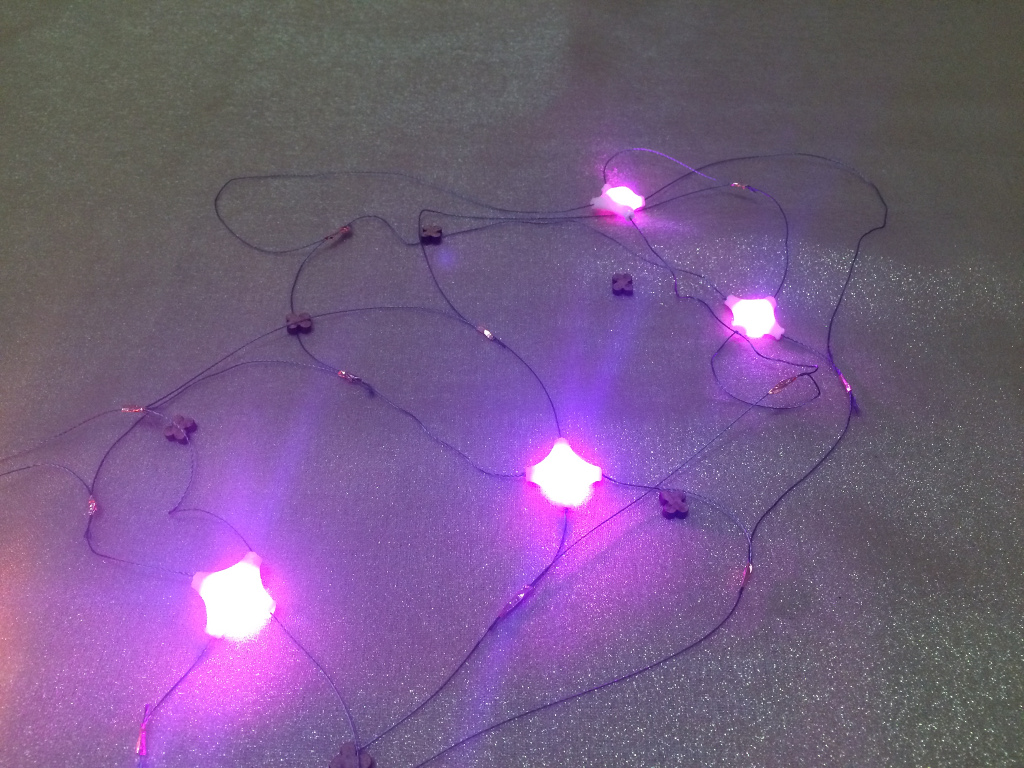
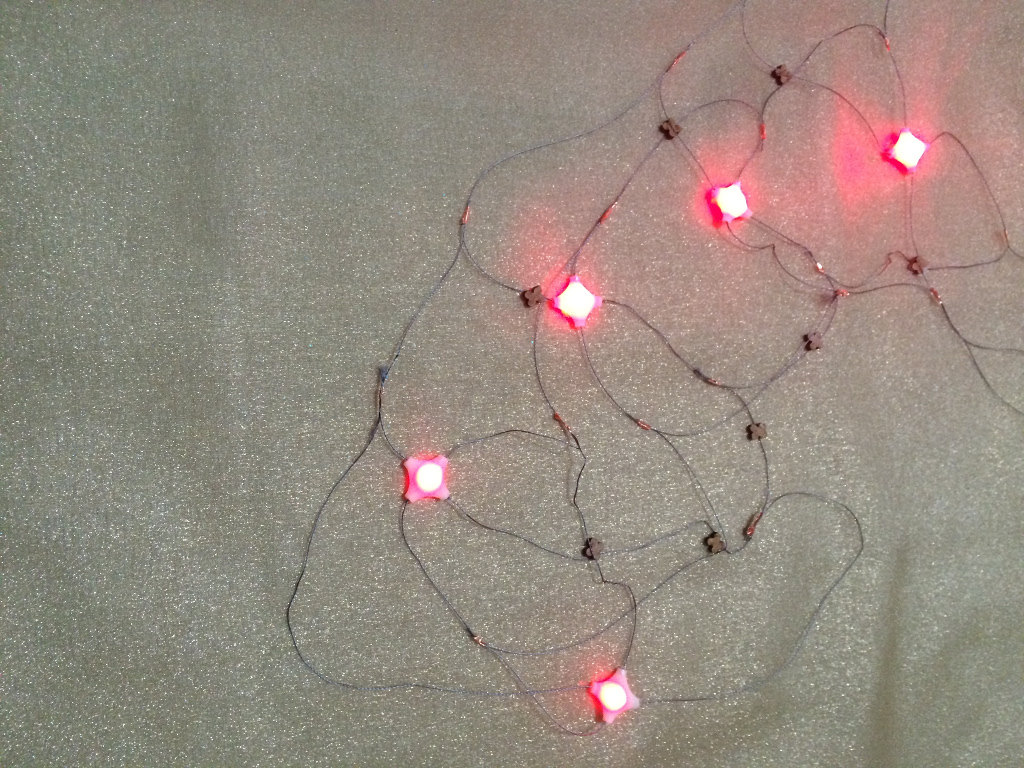
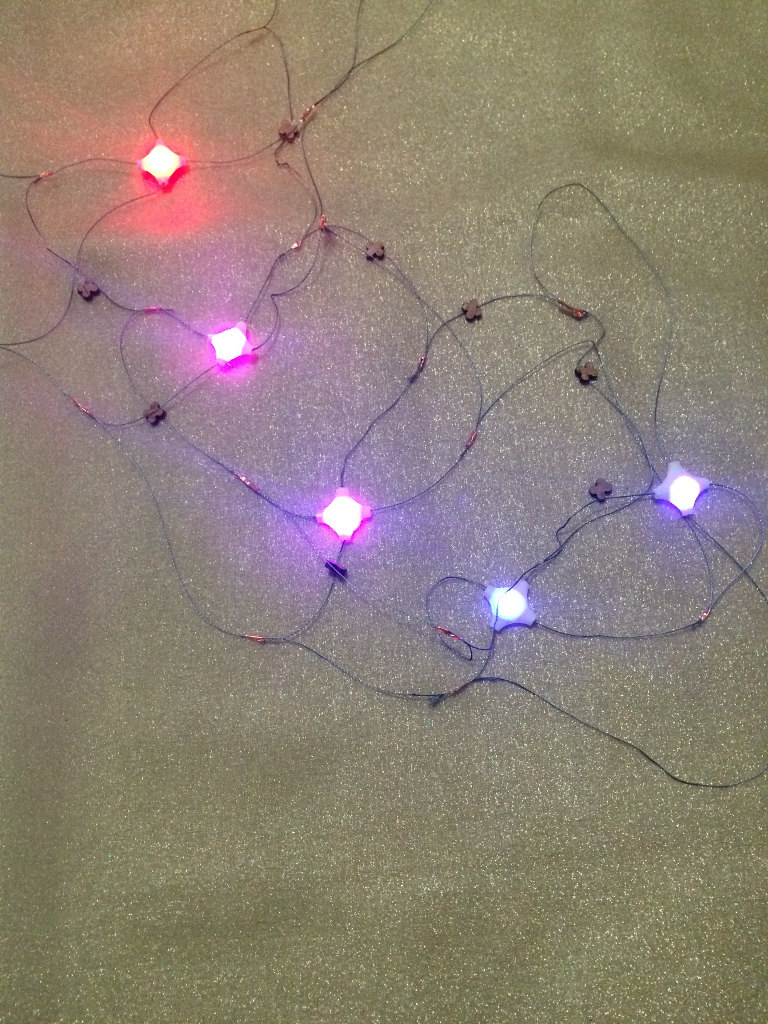
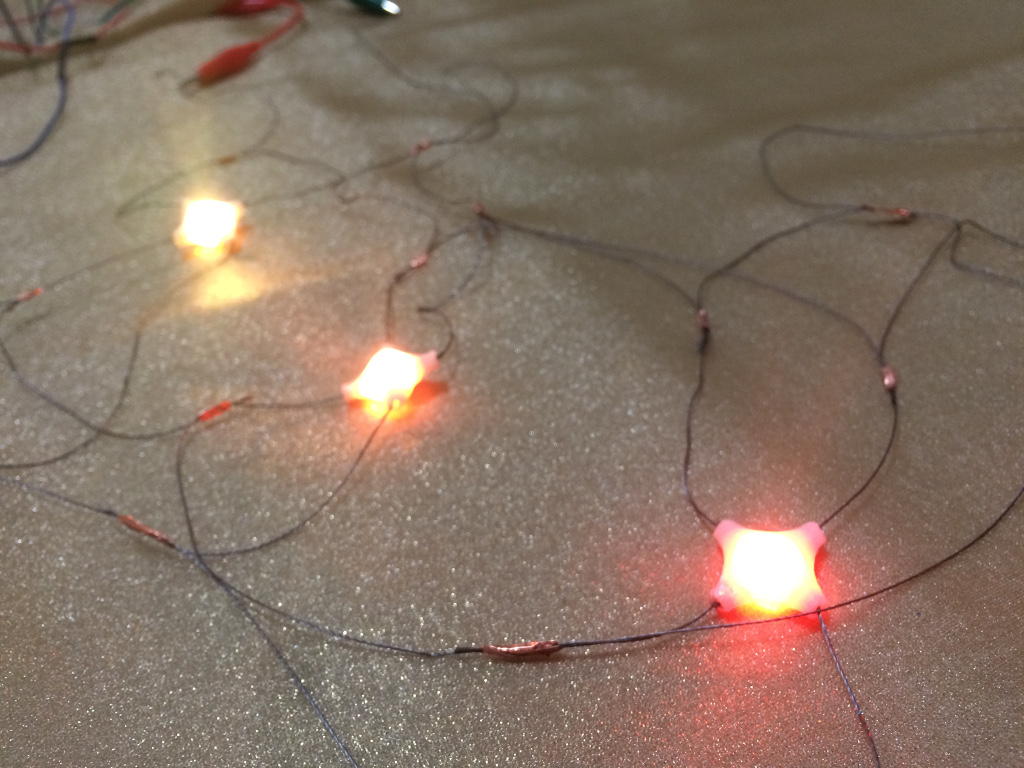
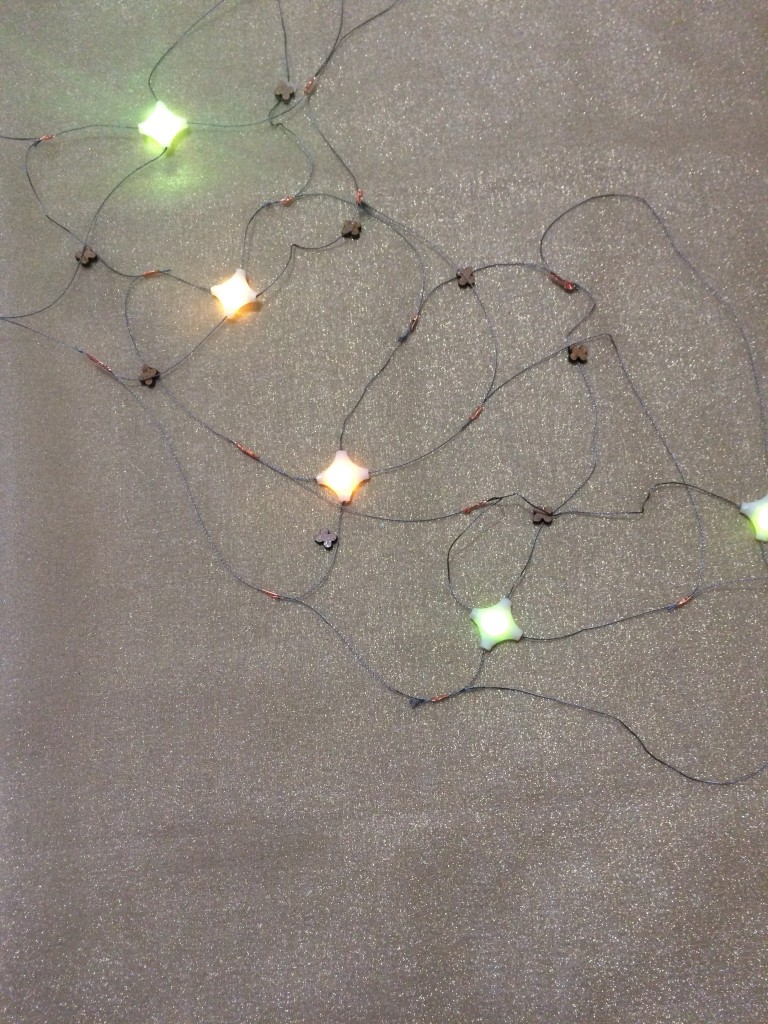
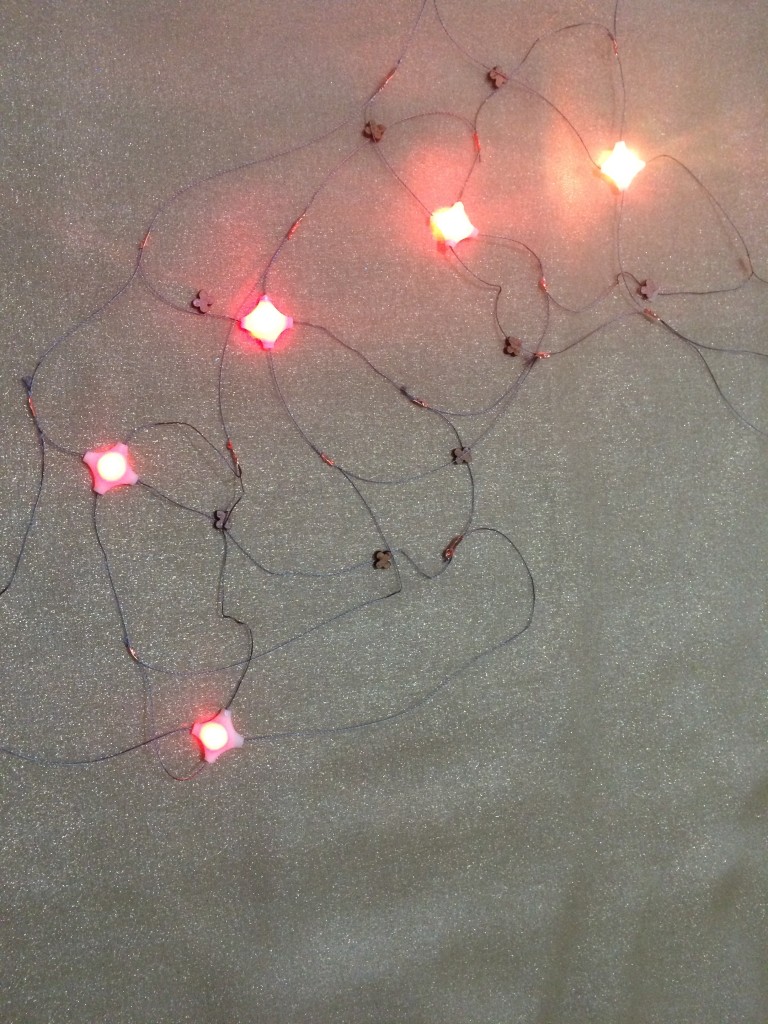
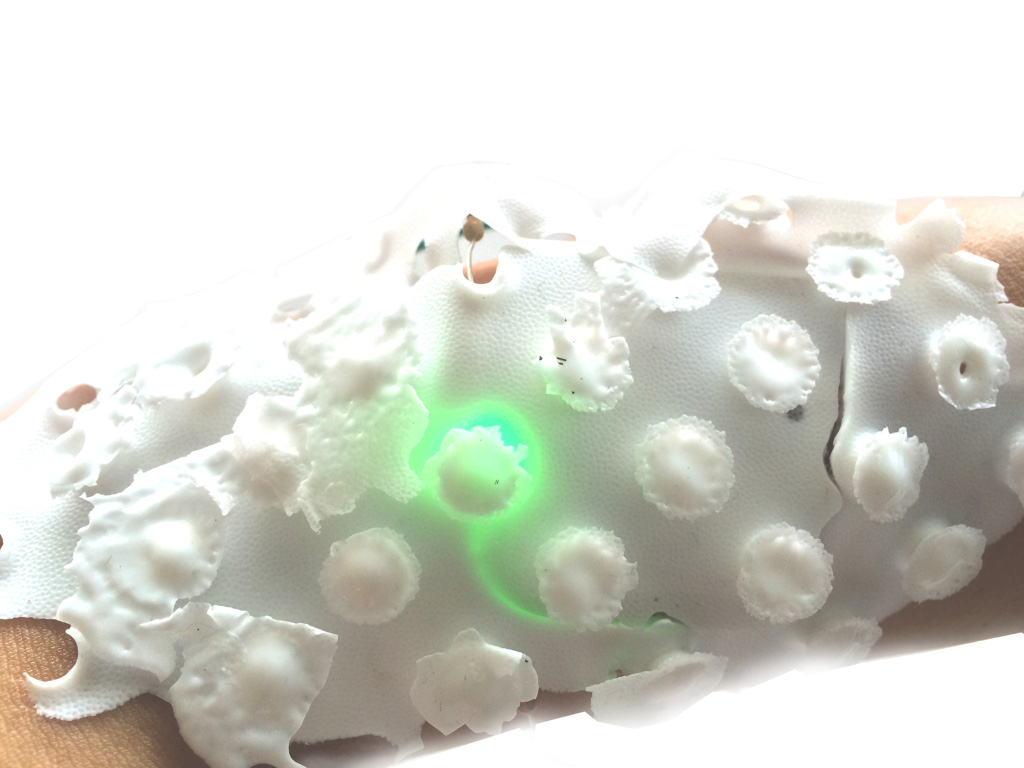
My project, is called TransSynaesthesia, and is a way to map and visualize human synaesthesia, specifically the colors of numbers, alphabet and words, through a led that takes the colors associated with these elements ( an eventually others behaviors), when you write or you speak. For the “body” of the light, I made two things: a kit of small elements that are all connected and that work all together, and a skin.
This idea is a small part of a bigger project that I though at the beginning of the Fab Academy that you can see here TransSynaesthesia whole idea, that was too extended to be developed completely here.
For now, I started with the two things that I consider essentials to develop the whole original idea, and without which is impossible to make the project: the first one is to map the personal synaesthesia, and the second one is to bring it outside from inside, and transmitting its data to a material thing.
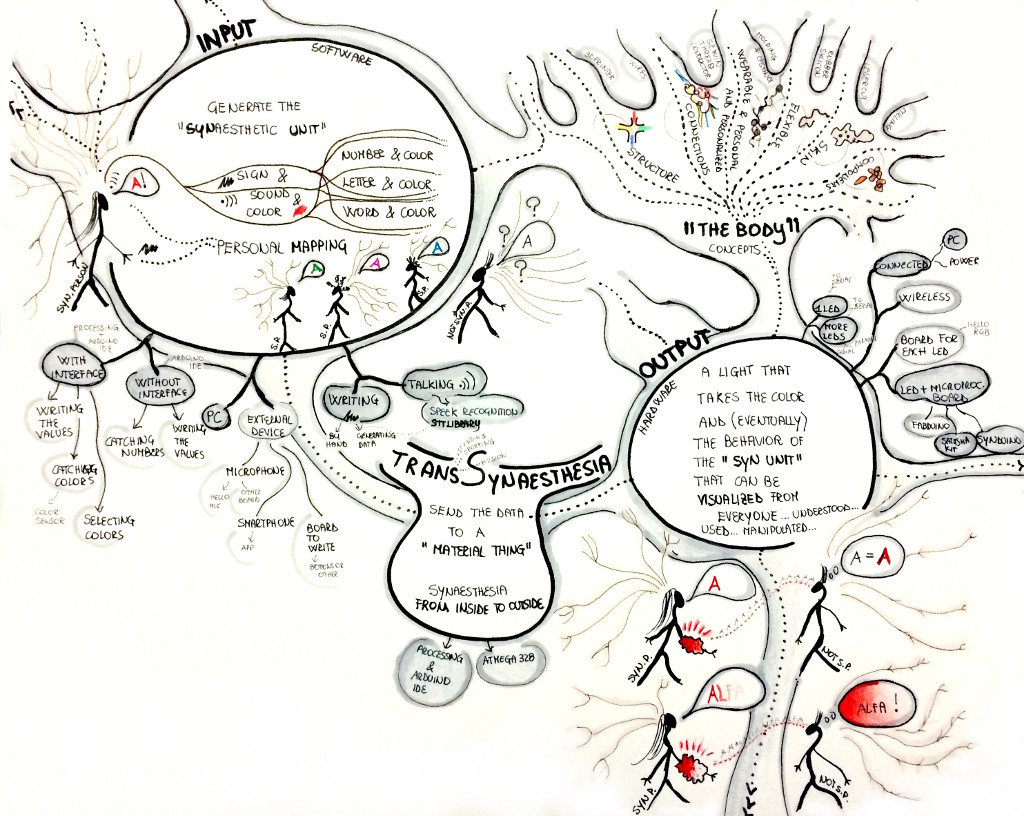
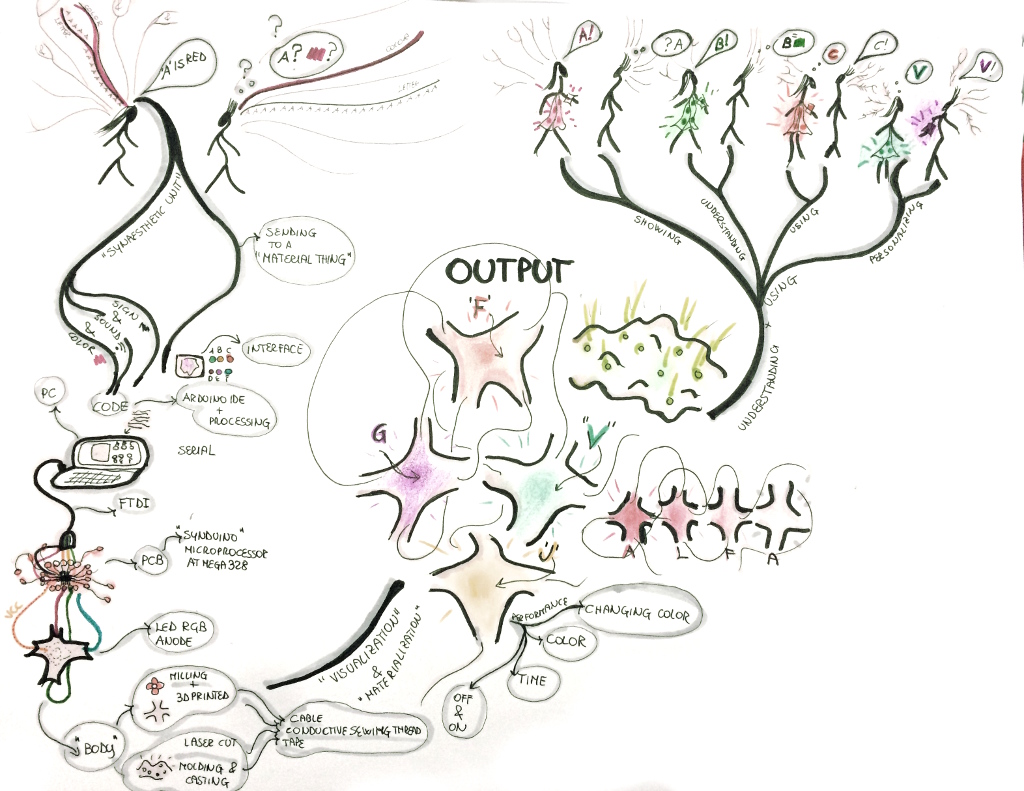
I will explain all the process step by step, but before, you can see the complete structure of my project on this schema:
TransSynaesthesia, comes from the idea to use human synaesthesia to think and make things.
The historical moment that we are living in, is more interactive, and multisensory than ever; today the things that we think, we use and we make are all connected one each others … we start with electricity, then the digital world, the internet, the digital fabrication … everyday the connection between “things” are more powerful, more deeper but also more “natural” and easy. In our multisensory society, people think and make multisensory things thinking, studying, observing, researching, connecting senses, information, physical devices … ad here , on the Fab Academy, we are totally immersed on this.
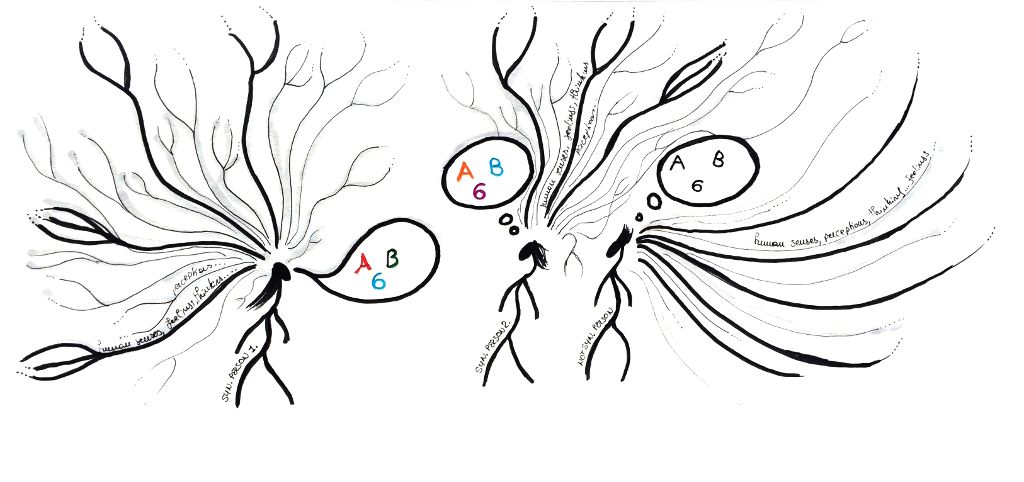
In according to that, I started to think that human synaesthesia can be really a natural resource to potentiate and maybe also training multi sensoriality, but in general we don’t use it in this way, maybe because only one each 200 persons is synaesthetic …
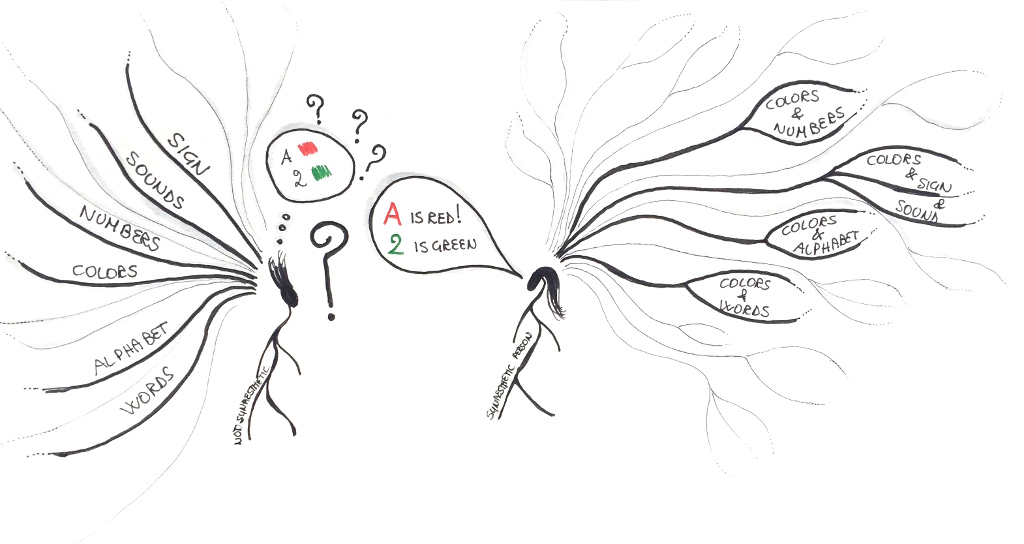
… or maybe also because is a personal and internal thing, difficult to share or explain to the “not synaesthetics” .
Input – mapping
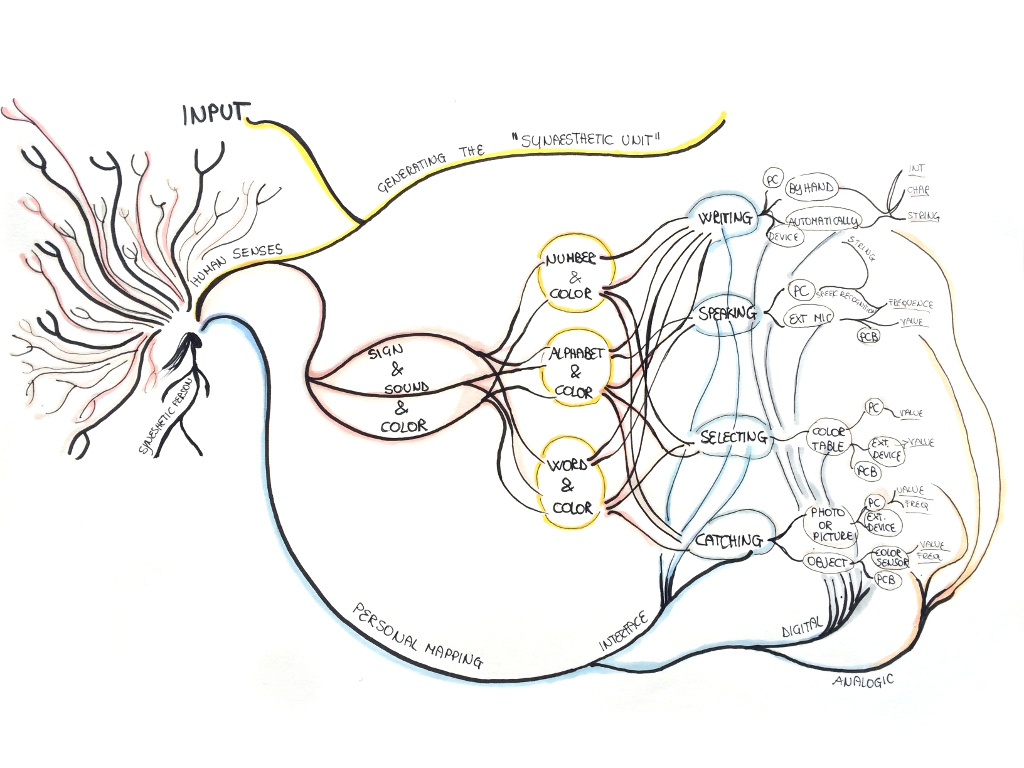
As you can see on the first schema, the structure of the project is very simple: is composed from an input that consist to generate that I call “the synaesthetic unit” mapping the association between numbers and colors, alphabet and colors, word and colors. This part, as I developed it now, Is more software than hardware, and is explained completely on the assignment 15, where I talk about codes and interfaces ( you can found here mapping personal synaesthesia (w15) all the information) , and this is the structure:
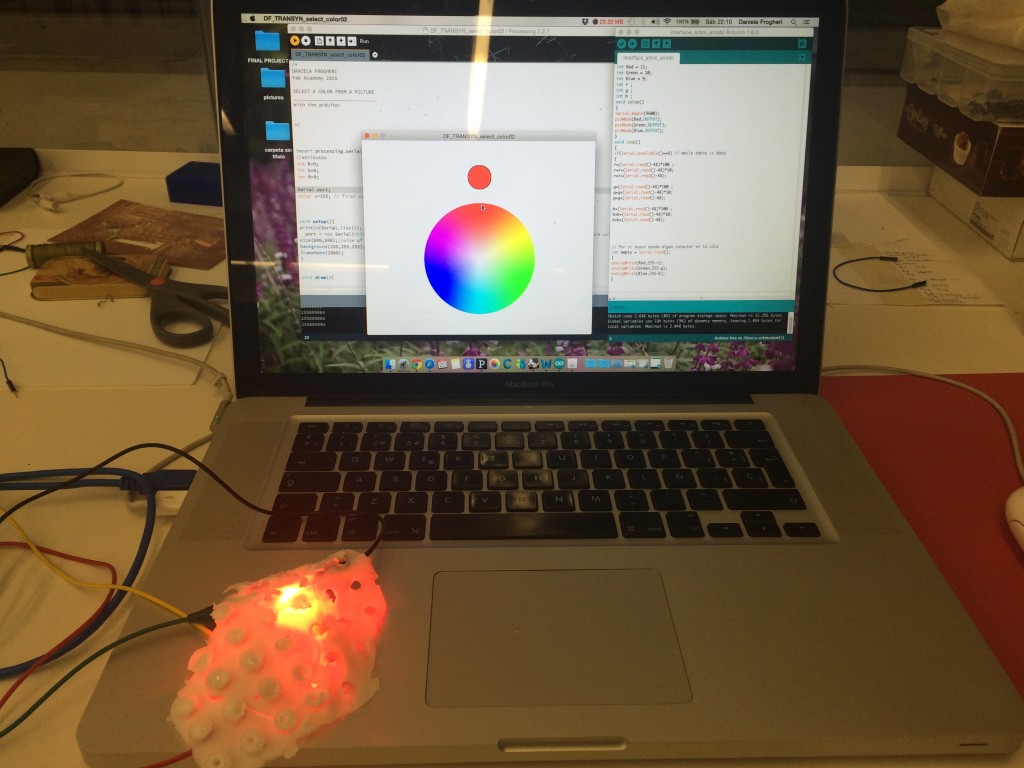
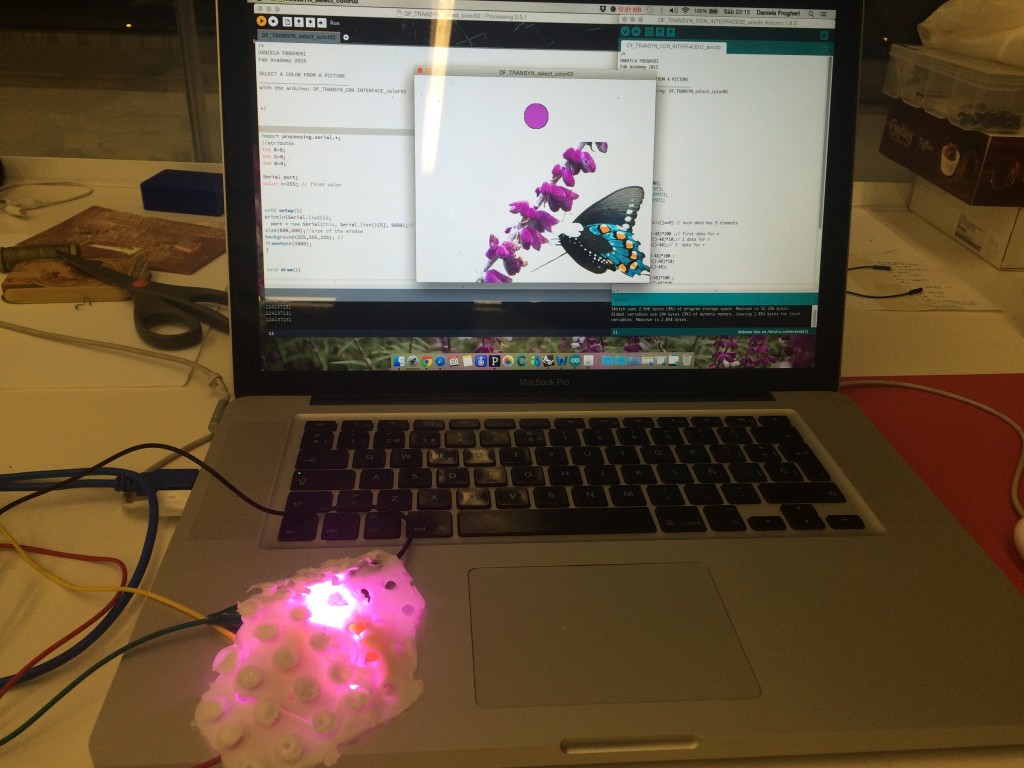
To generate the “Synaesthetic Unit” you can only write into the code, or you can use the interface that i did, to select the color that you want from a picture or a photo ; i made the codes for these possibilities using the Arduino IDE and Processing .
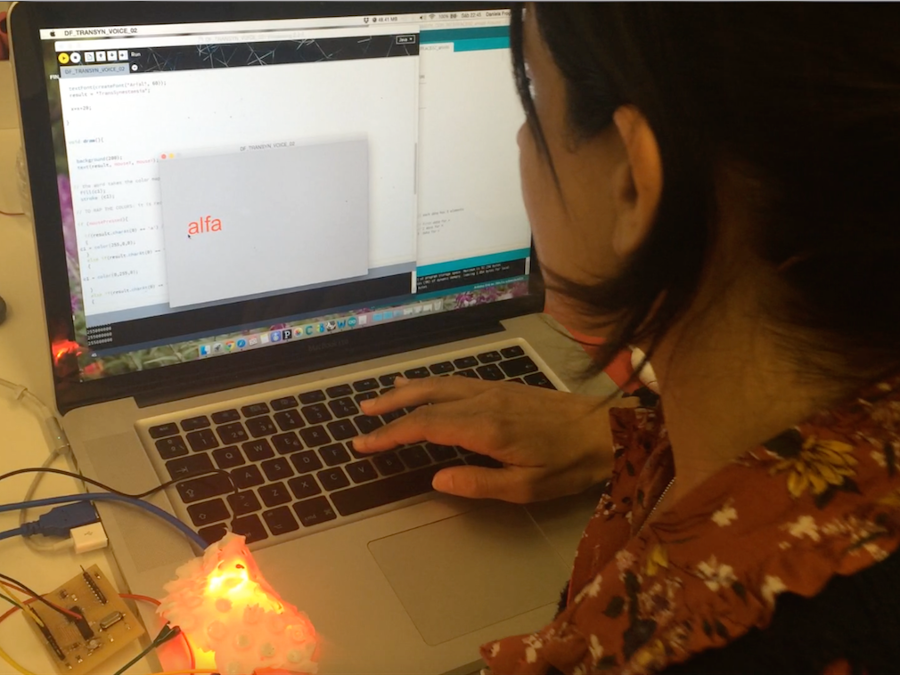
To send the data to the led, I developed two possibilities: the led takes “your color” if you write your letter, number or word, or if you speak. This second possibility was more complicated than the first one, because I wants a device capable to “receive” any number, any letter, any word. As I explain in the assignment 15, to do that, finally I decided to use a speak recognition
STT-Processing
https://github.com/getflourish/STT
that is very powerful because is capable really to work in real time and with any word …not only with pre-established data. I modified the original code, because It has an interface in Processing to write and showing the word that you are telling, but I need and add the data of the color in association with letters and words and to connect it also with a the led.
I did it using Processing for the first part and the Arduino IDE to send the data, through the serial.
Here some picture of my codes working …
letters ( in order ) B, F, D and V ( parameter = char; RGB values: numbers)
changing from a color to another ( parameter = char; RGB values: parameters)
the word “alfa” : from the red to the white ( parameter = string; RGB values: values and parameters)
… here you can see:
mapping personal synaesthesia (w15)
… and here you can found and run all of them:
I’m a beginner with programming, and I spent a lot of time to do this part, because (now I think “fortunately” because I learned a lot!) the examples and the codes that I found, were helpful to understand … but rather than “how to do what I want”, I used them to understand “how to think how to do what I want”!
My codes are very simple for now, I think that I need to study how to make a data base to catch and record better the information … but for now they are working doing the things I wanted!
I used my personal synaesthesia to make this work, and for this, the colors of the numbers and letters are static (with some exception) and the colors of the word takes the color of his first letter an them degrades to the white; trying to do it, I learned things about int, char, strings, the position of the element into a string or an array … I learned to control the time also … I know that i have to learn a lot and I want … but I’m very happy with this result!
To run my codes I used the Arduine IDE, and to start I made the satshakit by Daniele Ingrassia, and it worked very well; then and I decided to develop my own microprocessor board, that I called “Synduino”; unfortunalty , my experiment was really too “experiment” … and for now, as I will explain in the next steps, my Synduino is not working well… I had no time to change it … and I worked with the my satsha, but of course I will try to fix the Synduino!
But, before to talk about the Synduino, I want to explain the output and the “body”.
Output _ “the body”
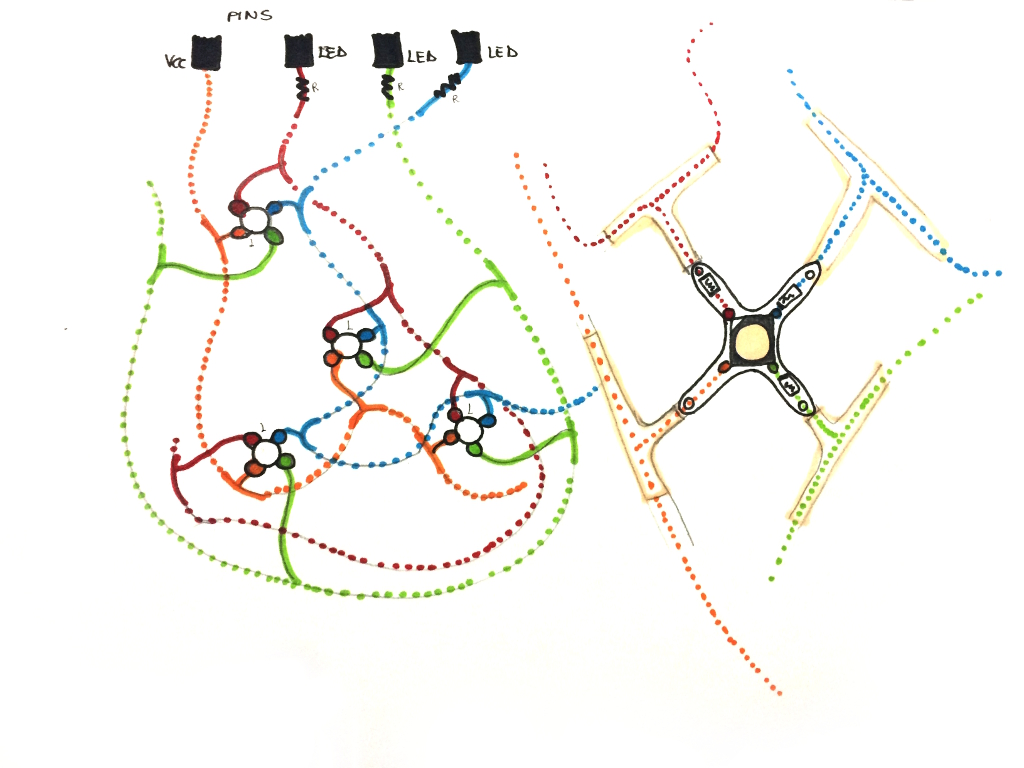
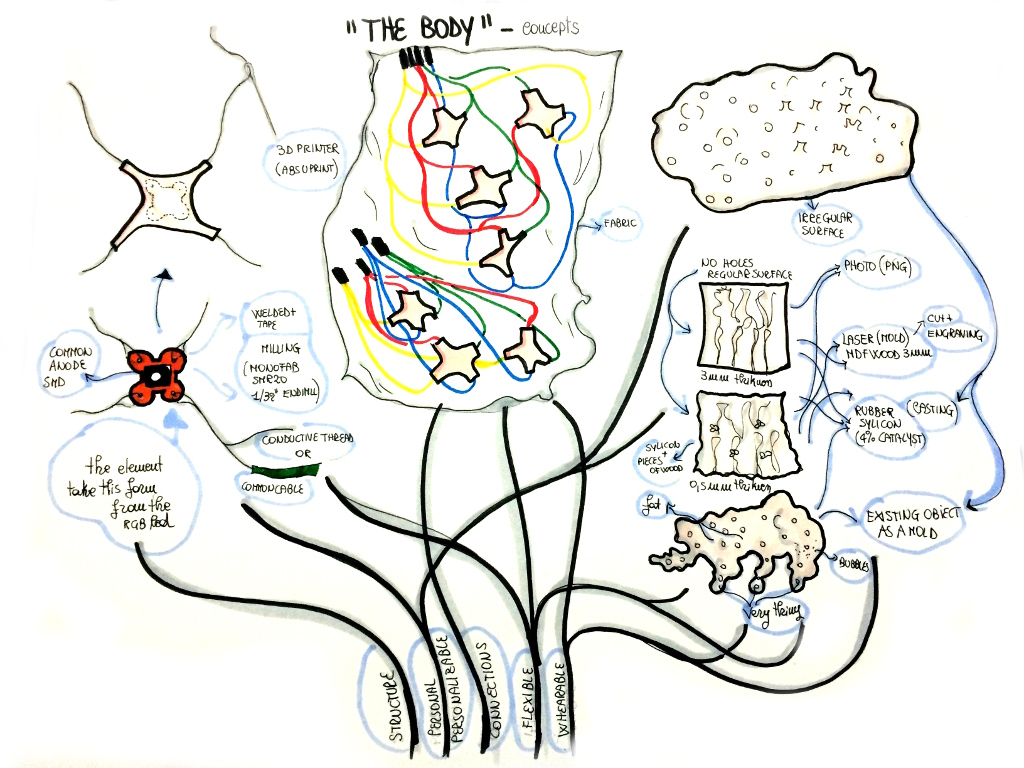
Here a schema that can help to explain the output :
The output is as important as the mapping, because is the way to permit to everybody visualize something that only some of us “can see”; it is also important for the synaesthetic, to define better and finally use more his “connections”!
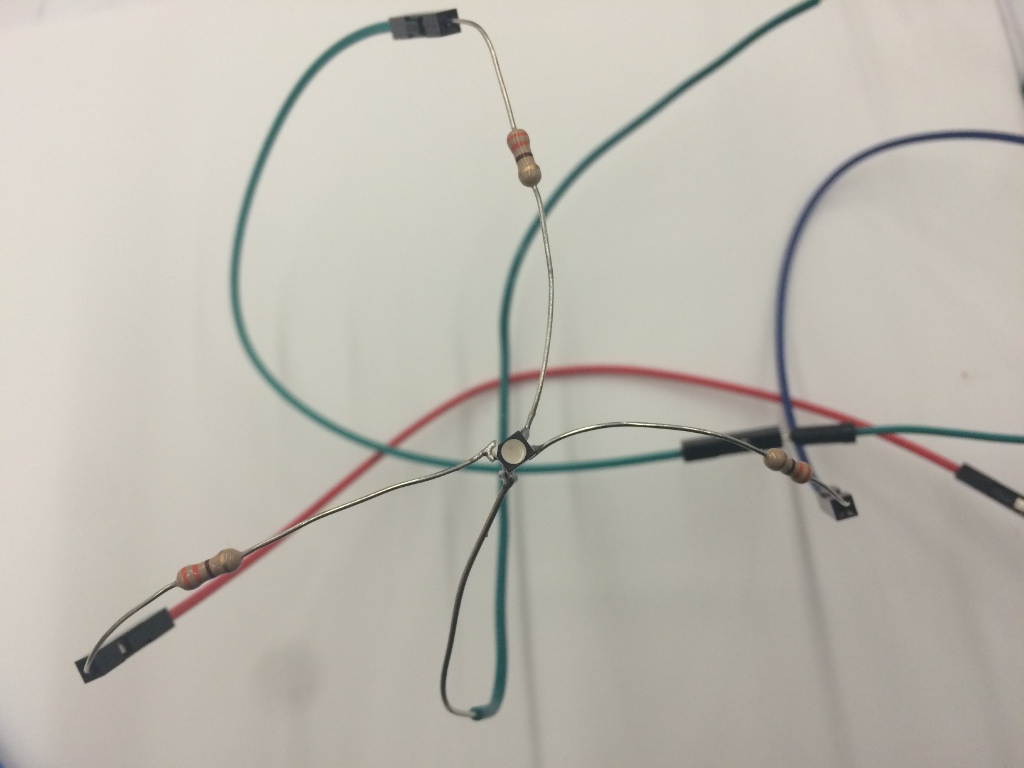
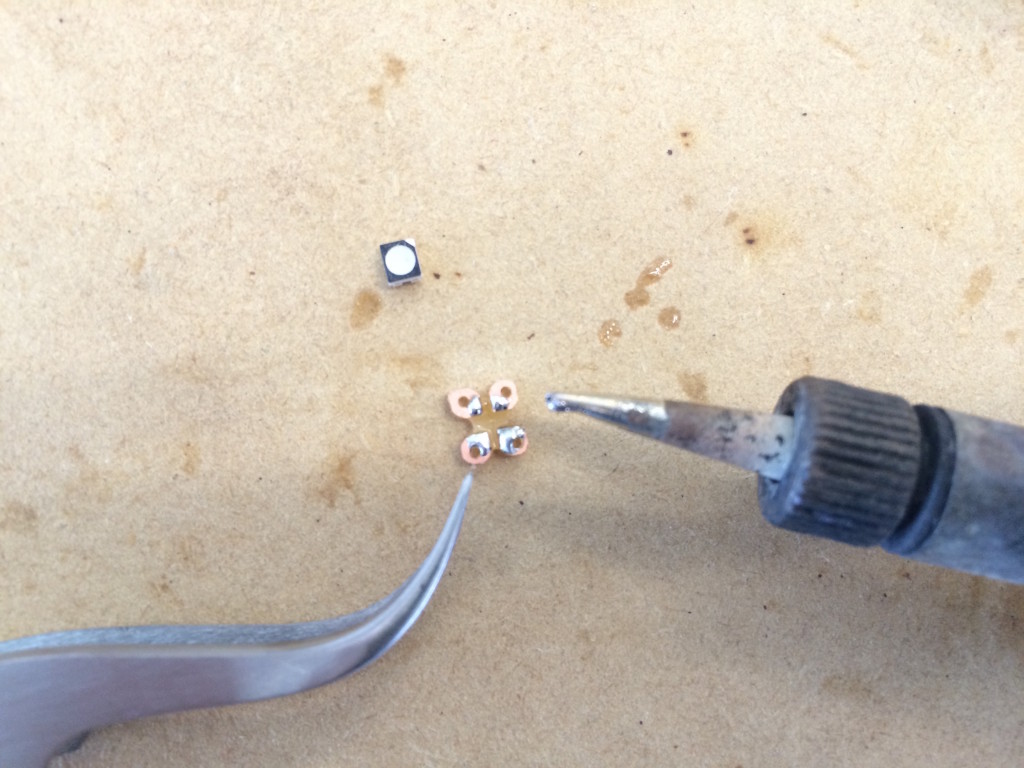
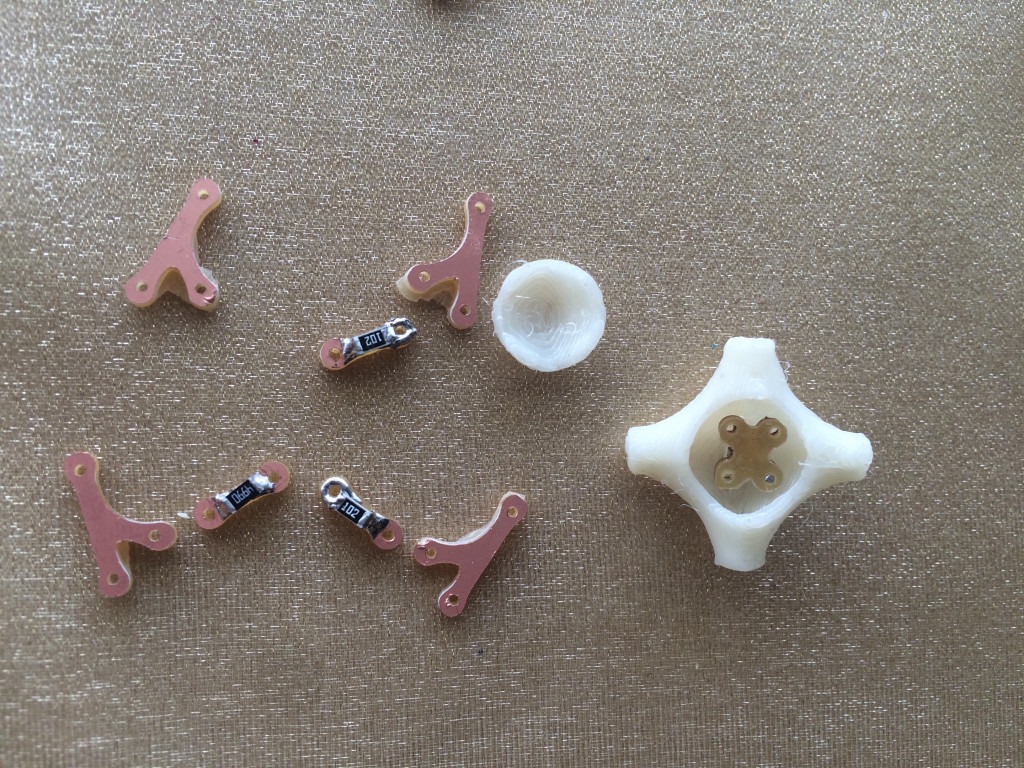
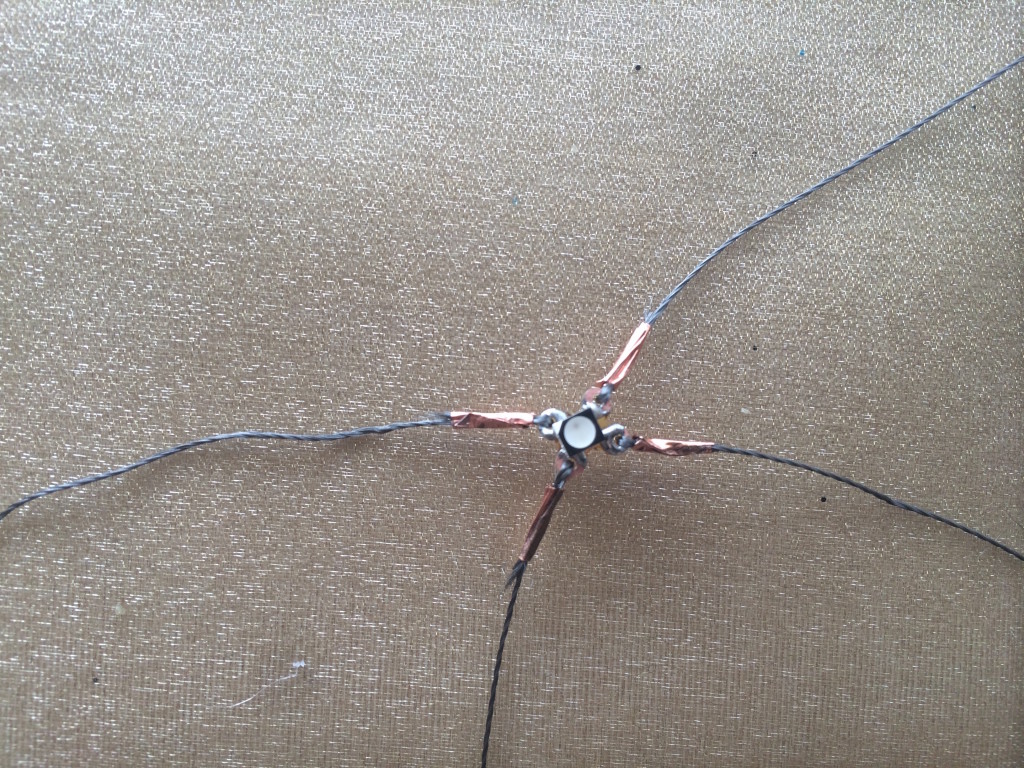
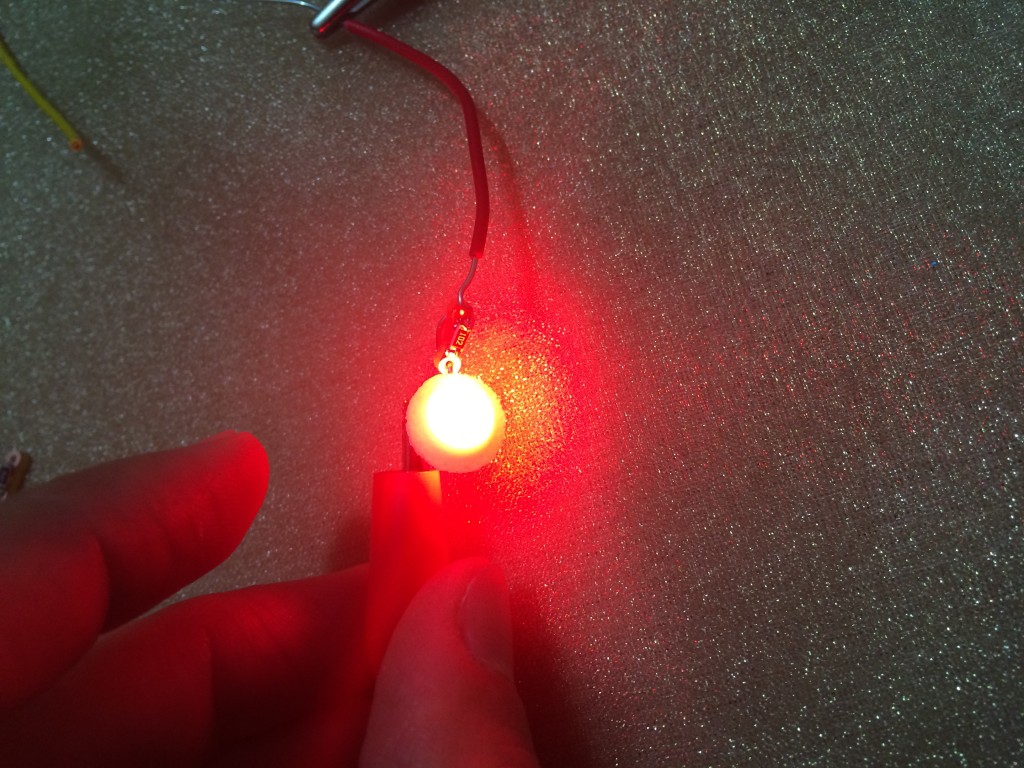
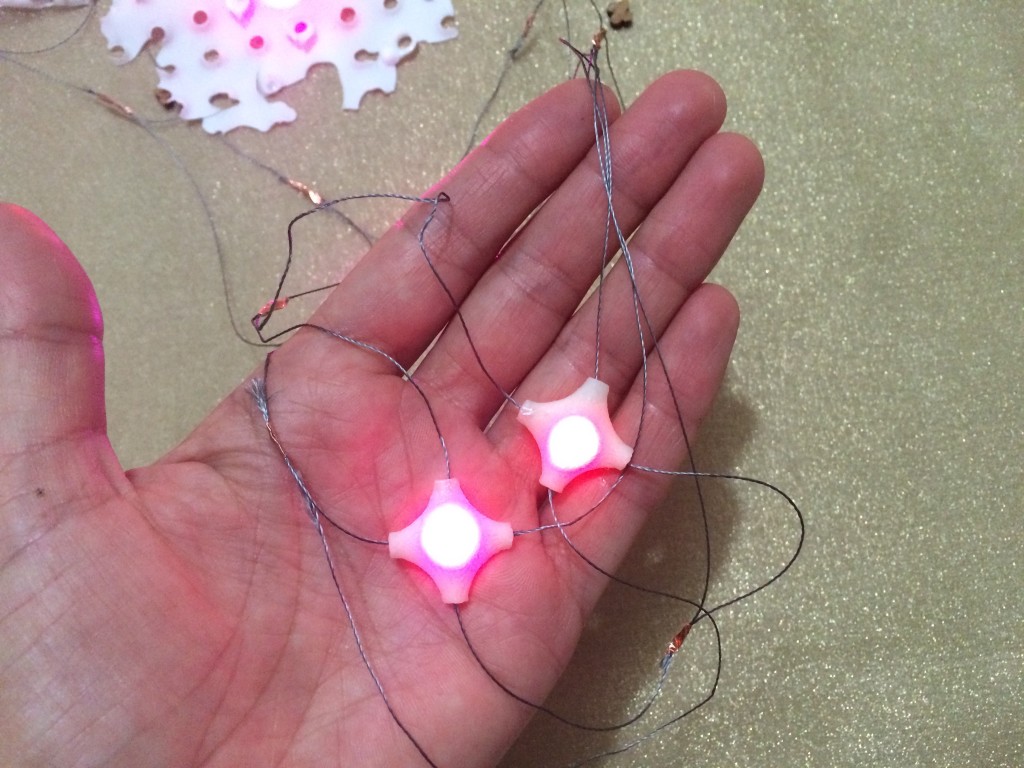
To do that, I though at first to use the “hello RGB”, but I was thinking to use more than one led, and maybe to have a microprocessor for each of them was to much … I studied also the connections of the Hello Led Array … but then I realized that on my mind, rather than a board, i was thinking about somethig more flexble… for that, I started using a superficial led, but the colors with the code was nos so “mixed” maybe because the “head” was too transparent … then I tried with an RGB common anode smd, and but to use it fast, and to see which color was which one… I welded with superficial resistors and connecting wires corresponding with its colors.
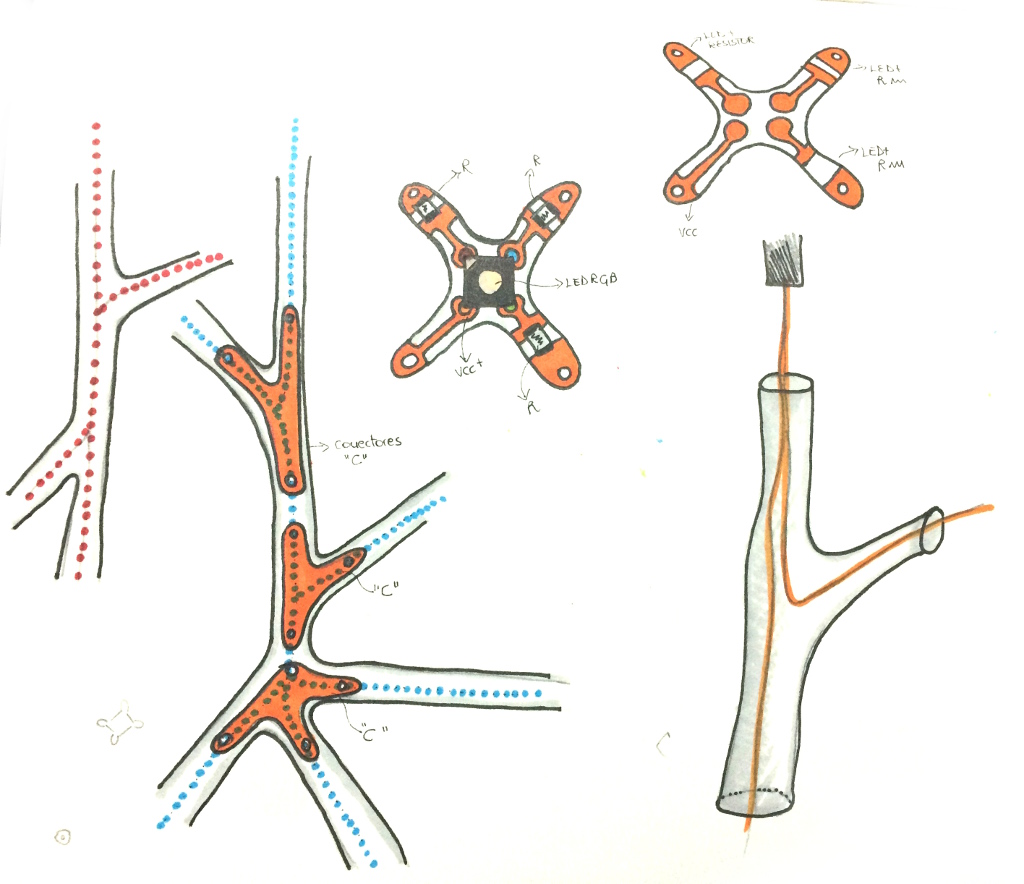
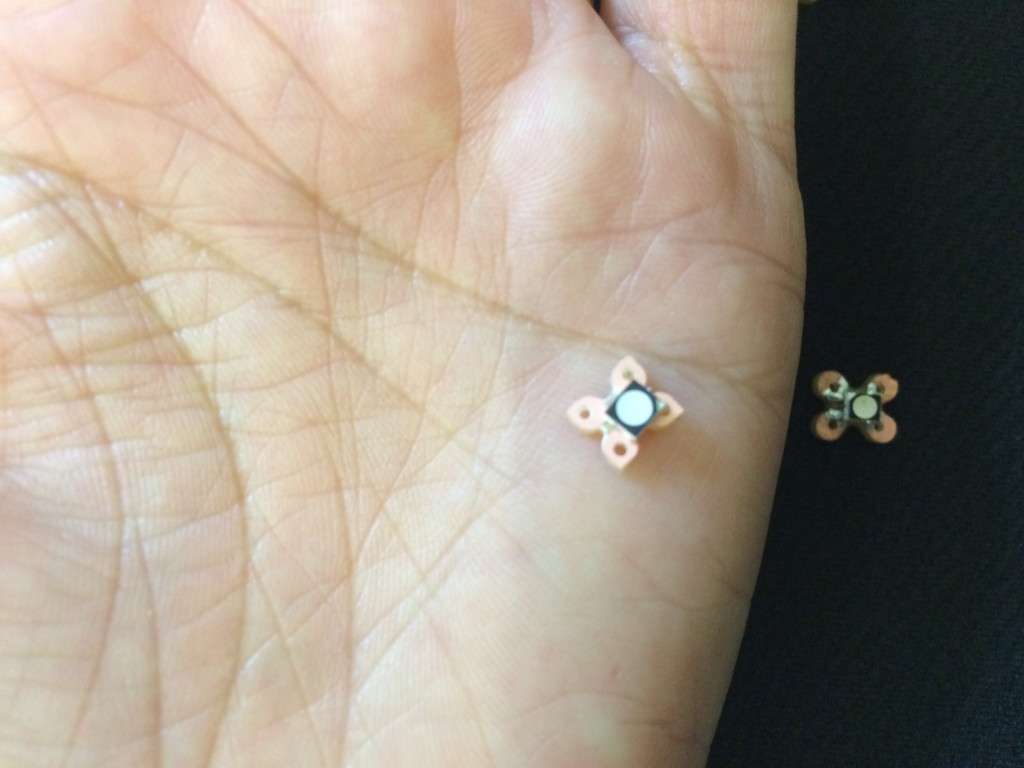
Using this small “star”, I started to think about the “body of the RGB led” … and then I started also to think that light as a thing with 4 parts … 4 pins, 4 connections… I started to think how to make a body without hide the information about the 4 elements ( VCC; R; G;B;) … at the some time I though also about how to connect more leds … and finally, the form of the led influenceed the idea for the body of my project!
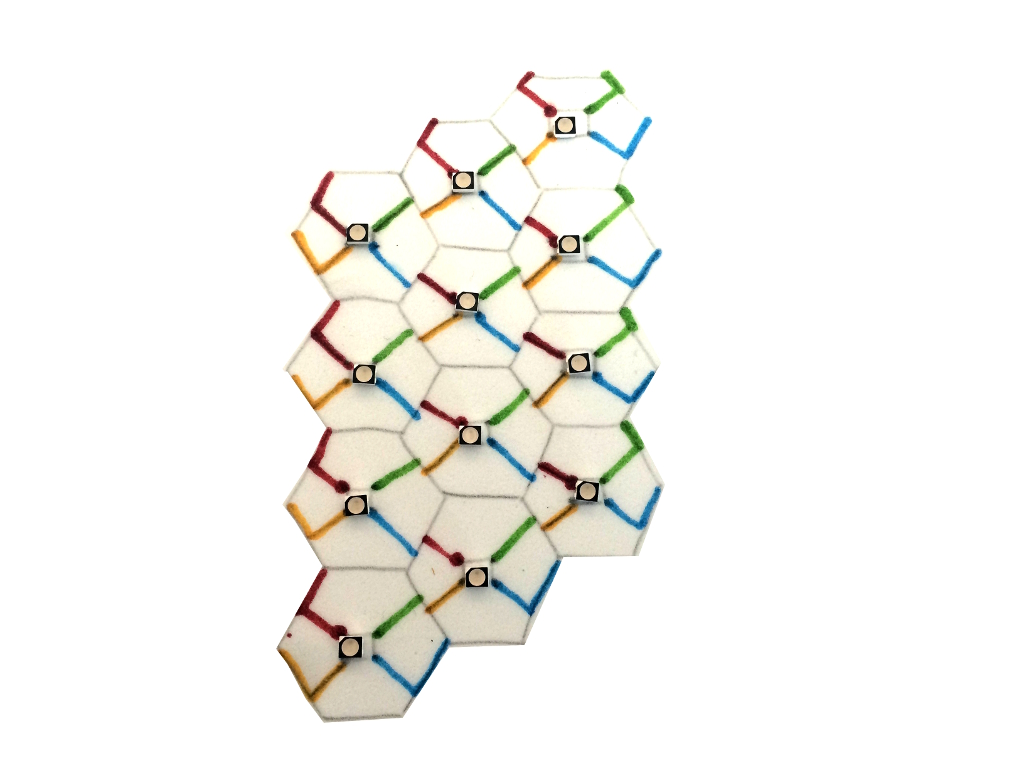
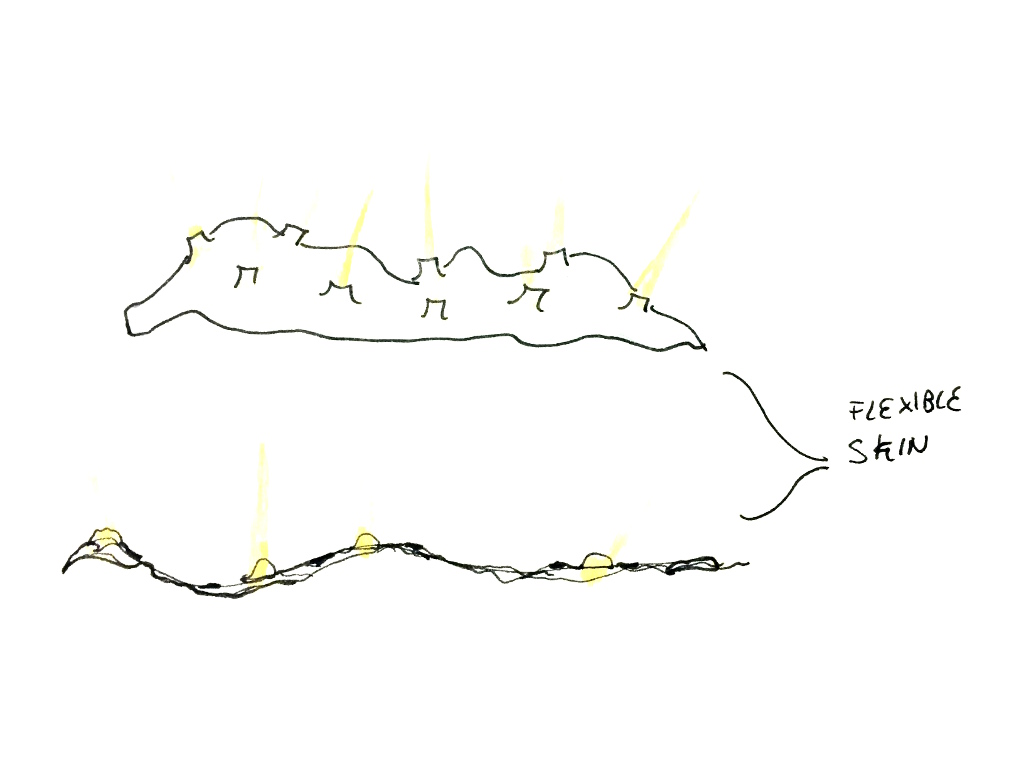
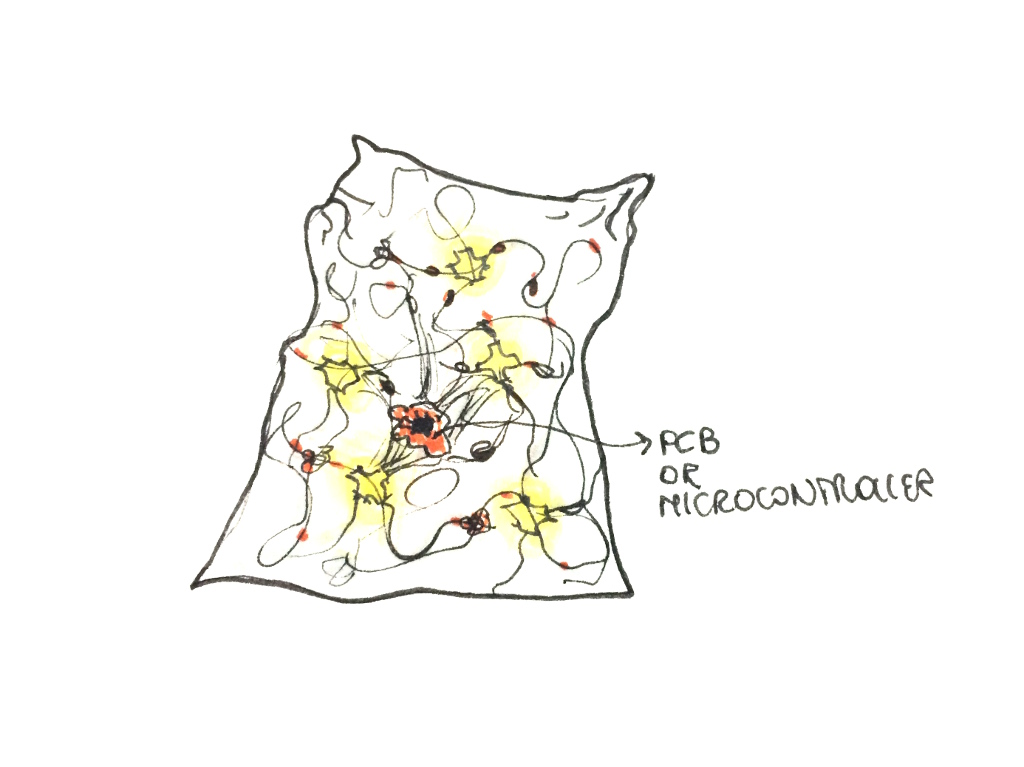
Thinking about this, and making some scheme for the connections, I started to think also about flexibility … a skin … something personal and personalizable, maybe a jewel o something wearable?
I have to confess that I cannot think about the “body” of this project as something unic and static … because on my mind, TransSynaesthesia, rather than only one thing, still being a bigger idea and is like a machine to map and show synaetsthesia ( also the color, in my mind is not only with a light … this is just one of a lot of others possibilities like a liquid with colors … a movement of some material that generate some reflexion … living beings …. etc.), and maybe for that, I developed more “concepts” than one static idea.
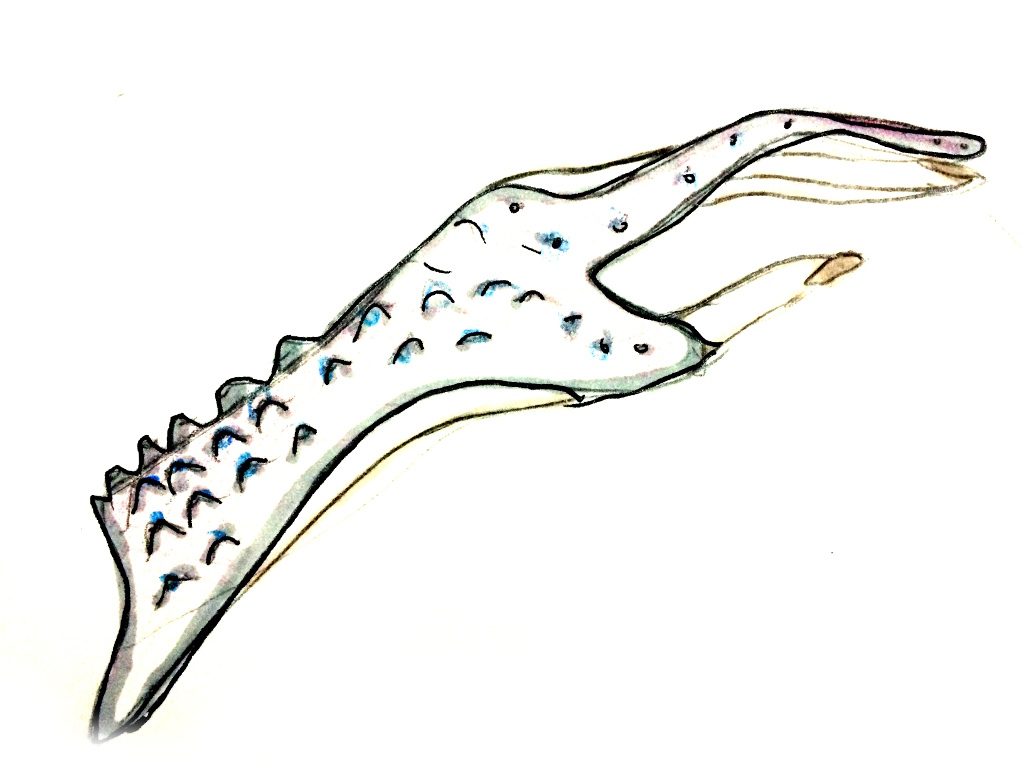
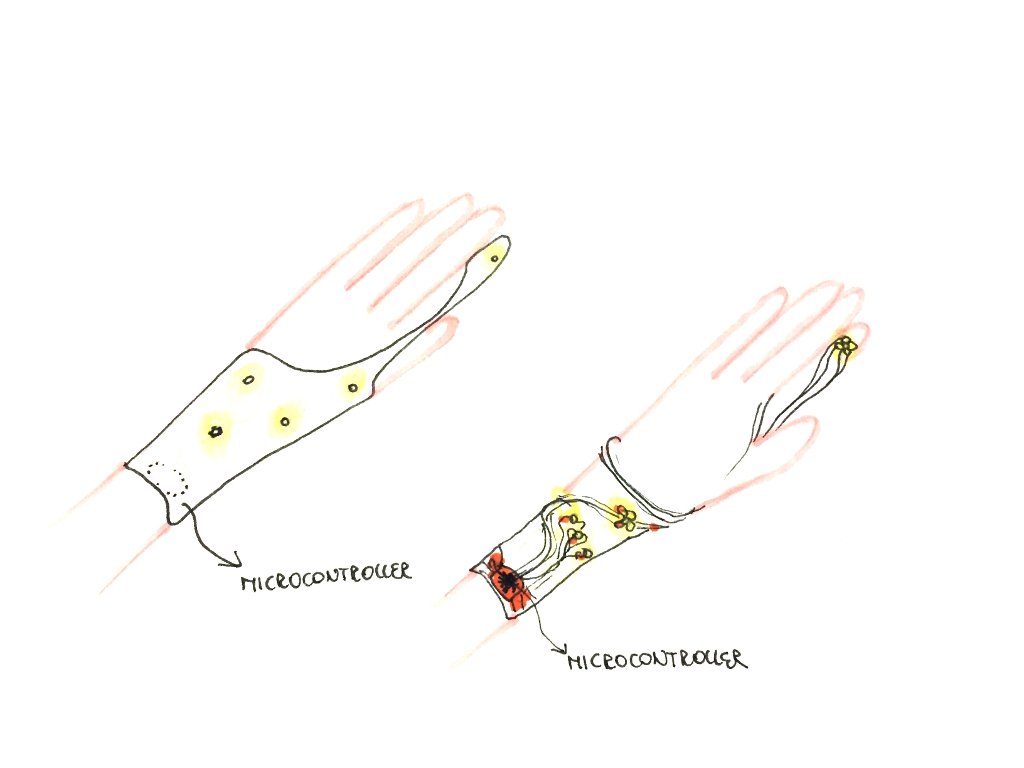
The concepts are: something personal and personalizable, maybe wearable, flexible, composed with elements in connection …
connections …
… skin …
personal , wearable …
Based on this concepts I started to develop “THE BODY”
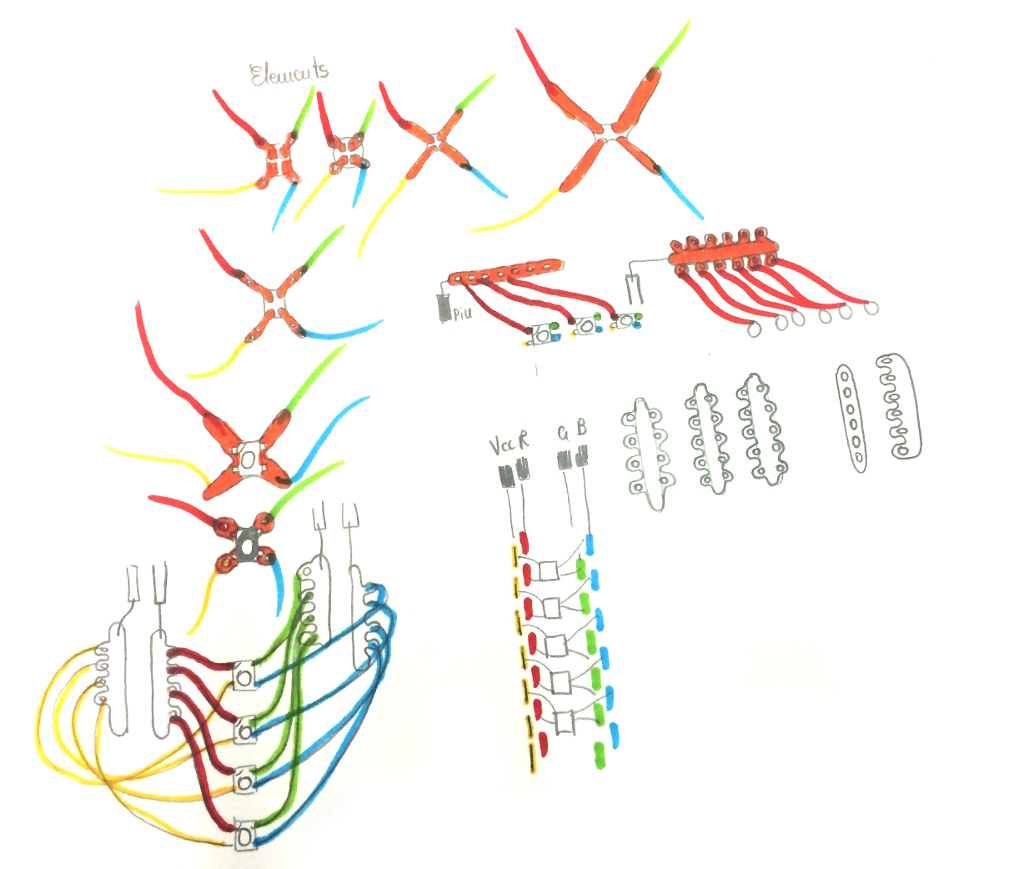
Connections: the shape of the structure
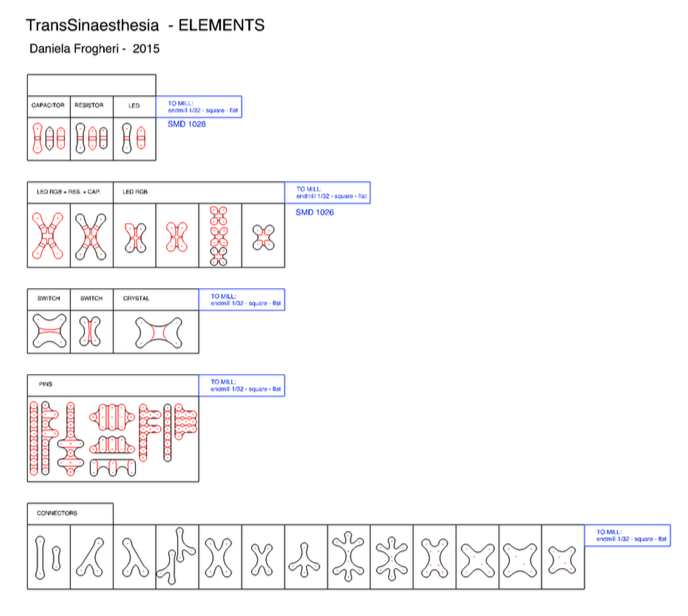
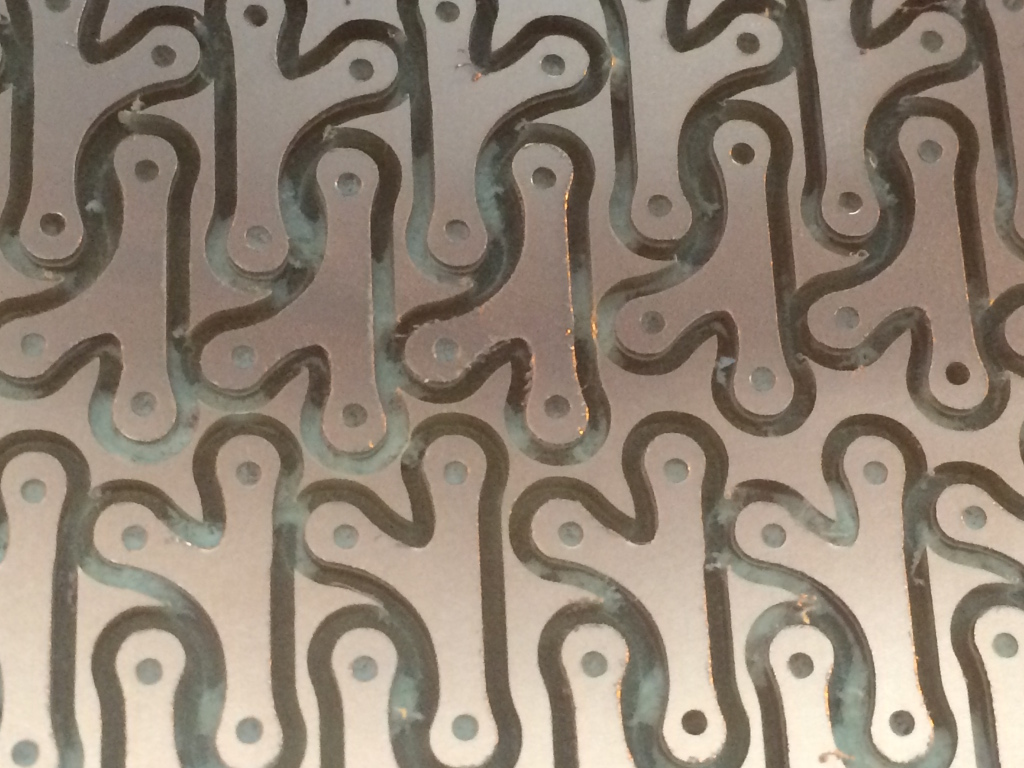
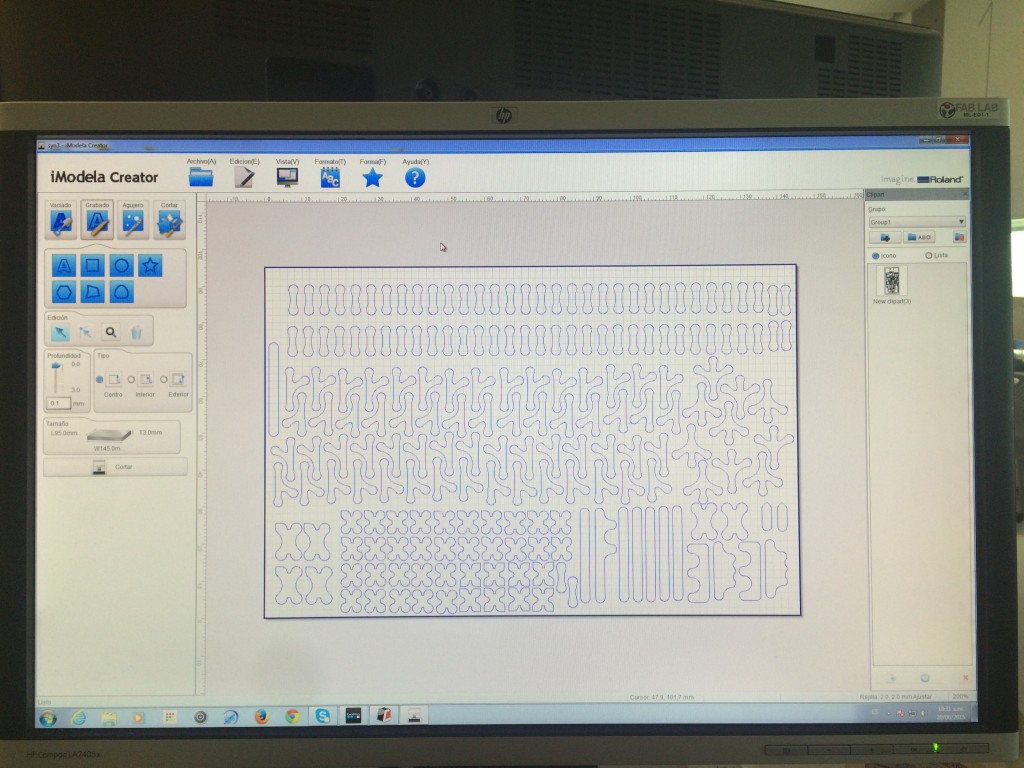
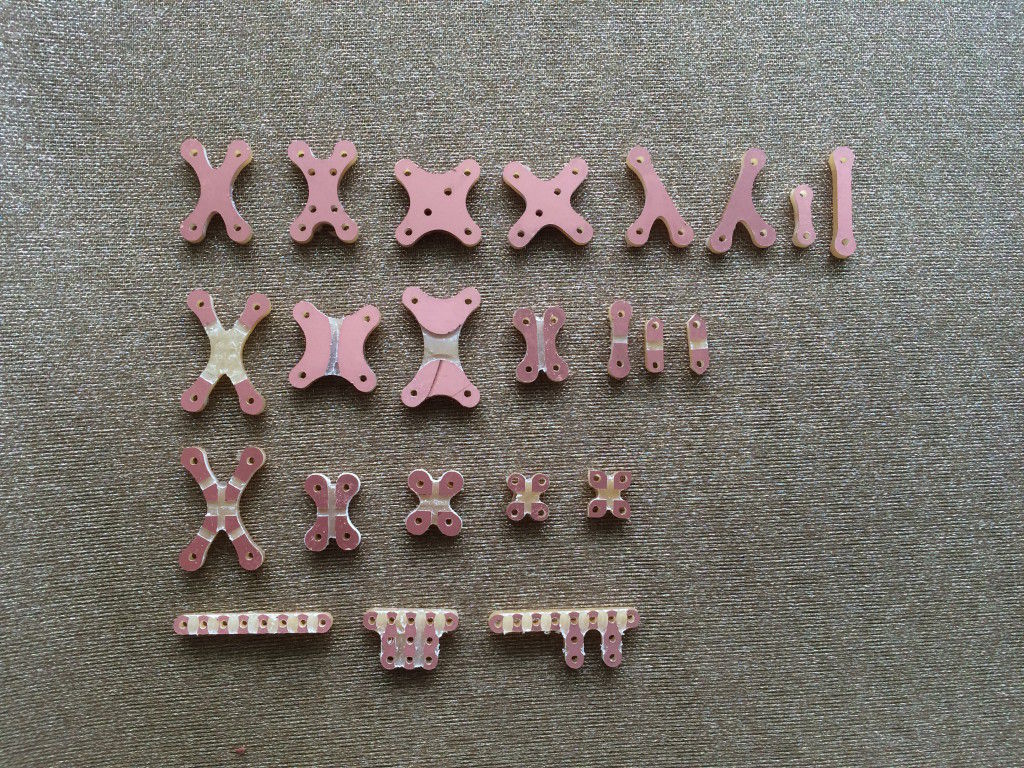
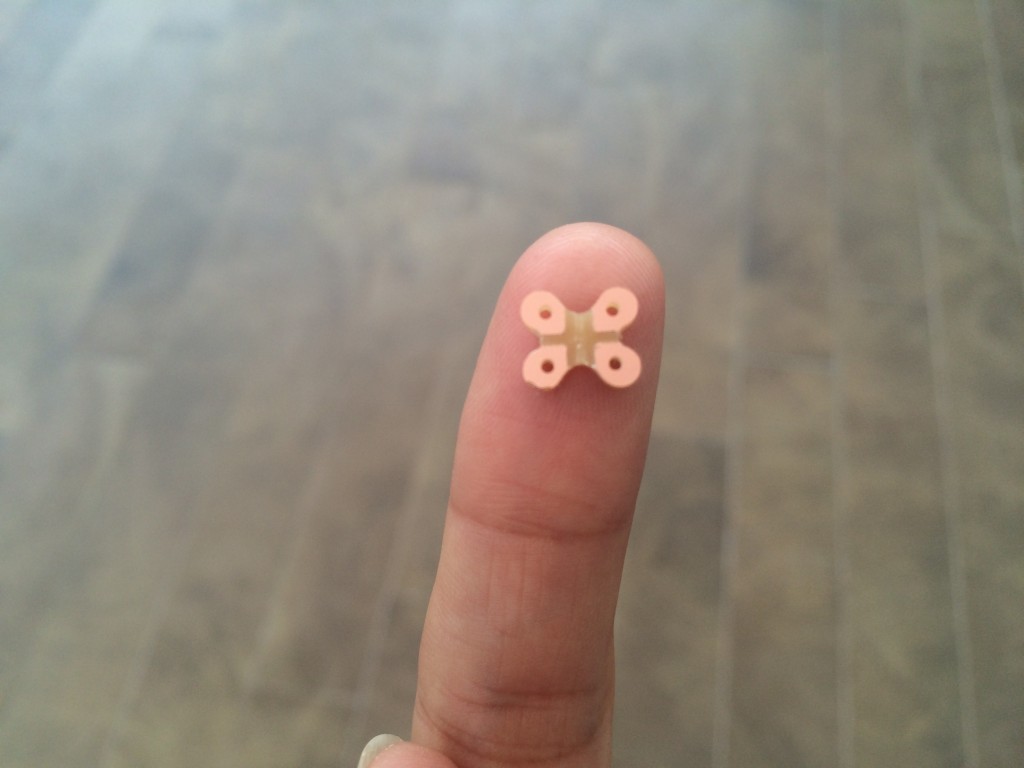
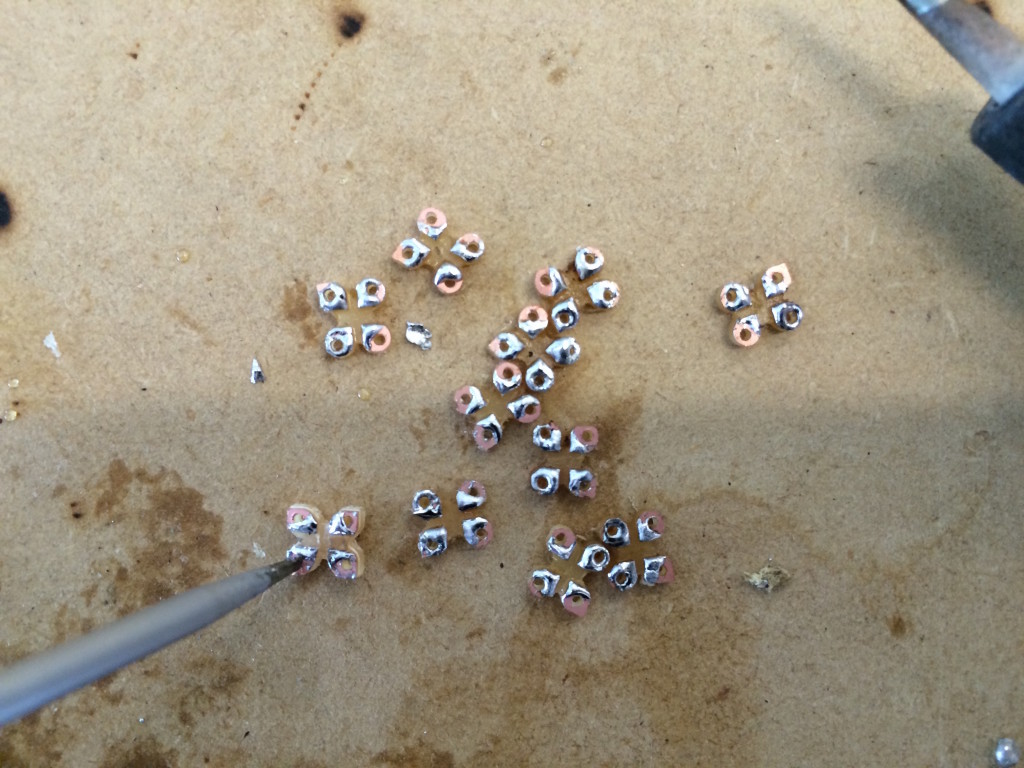
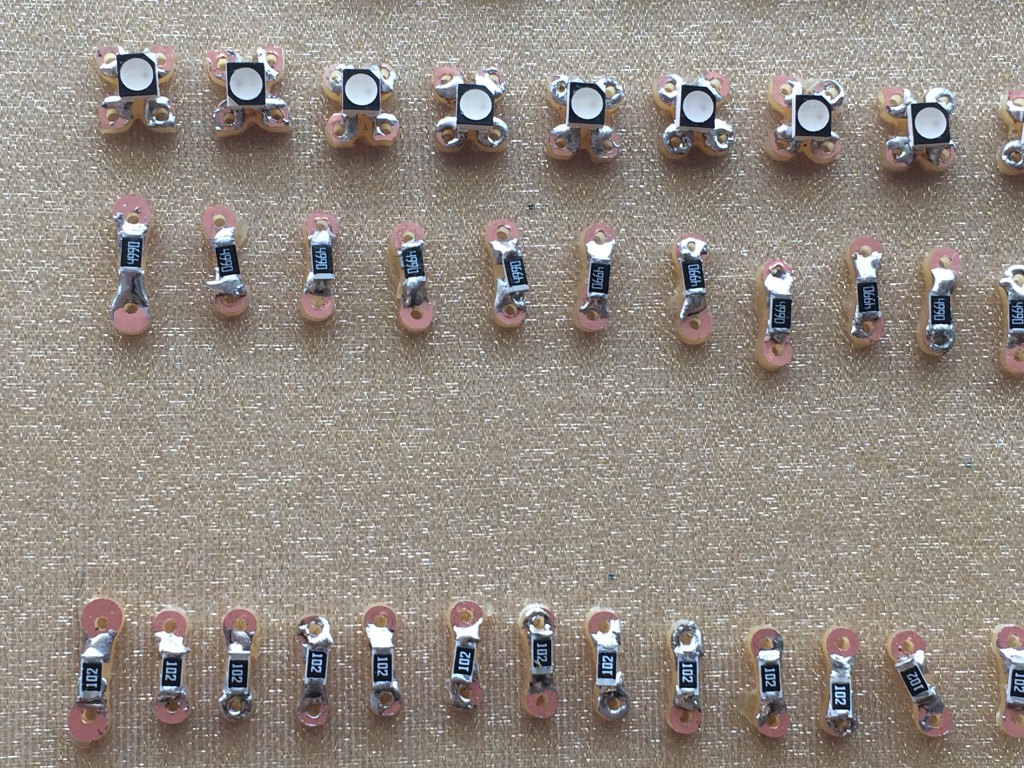
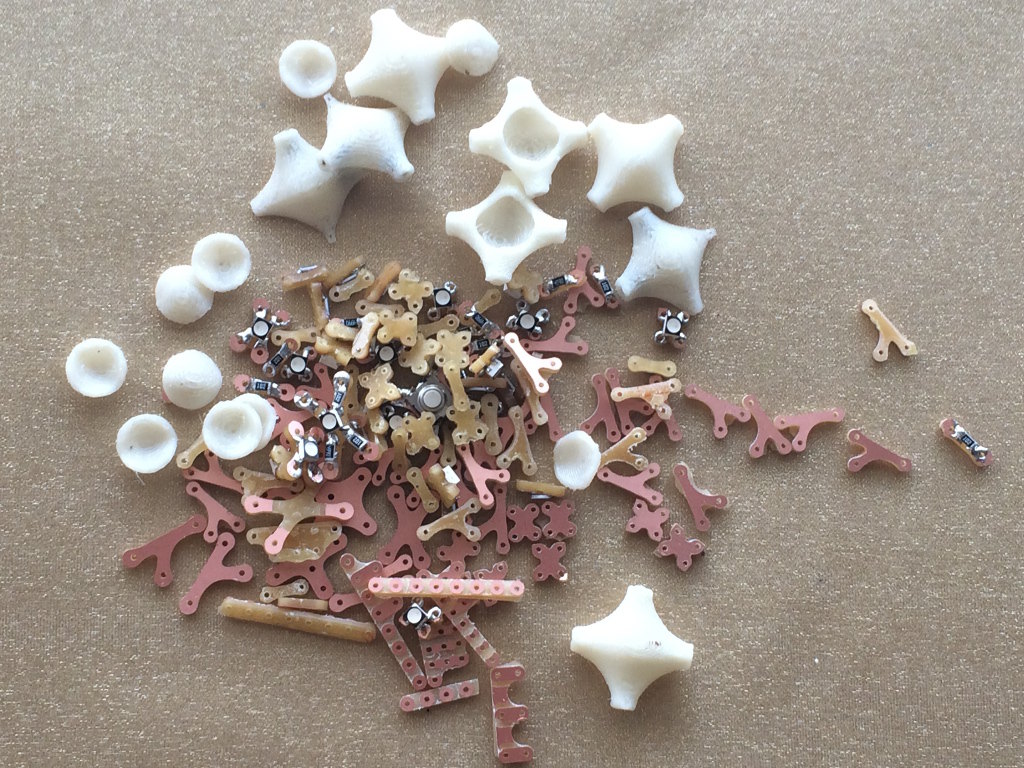
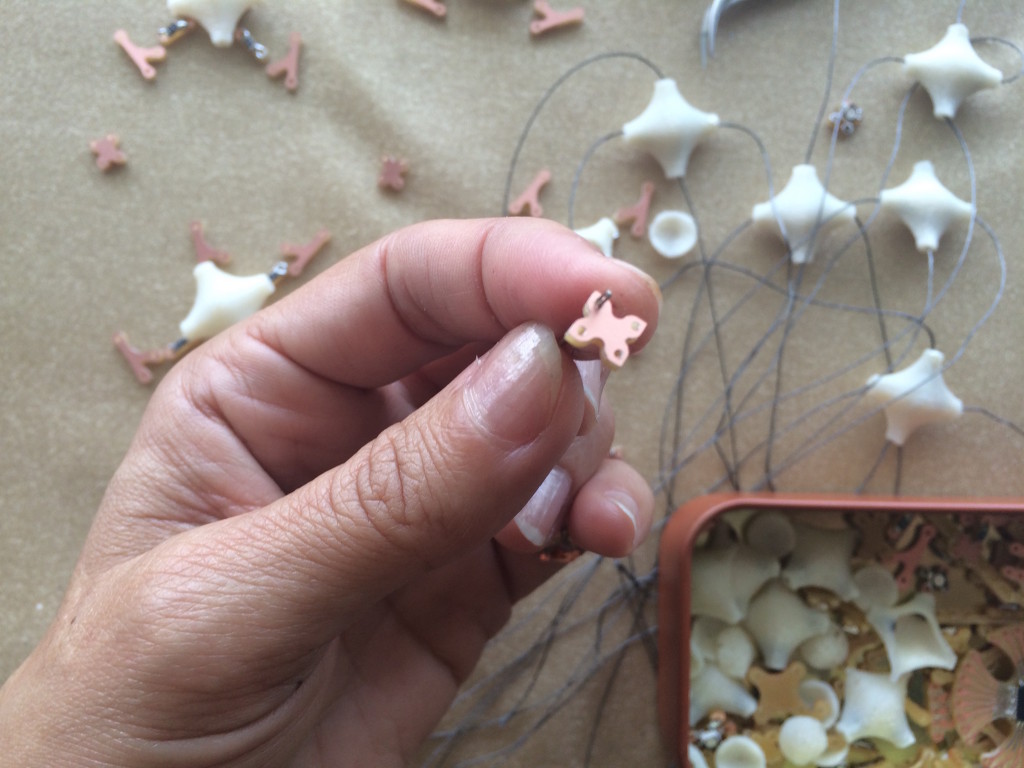
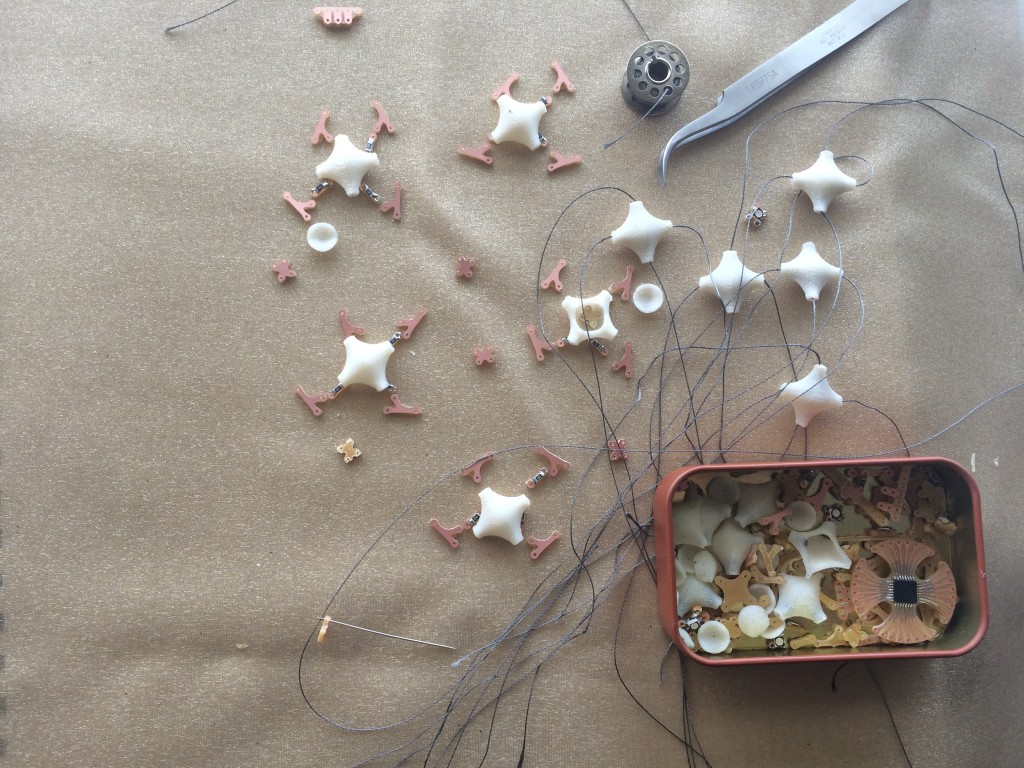
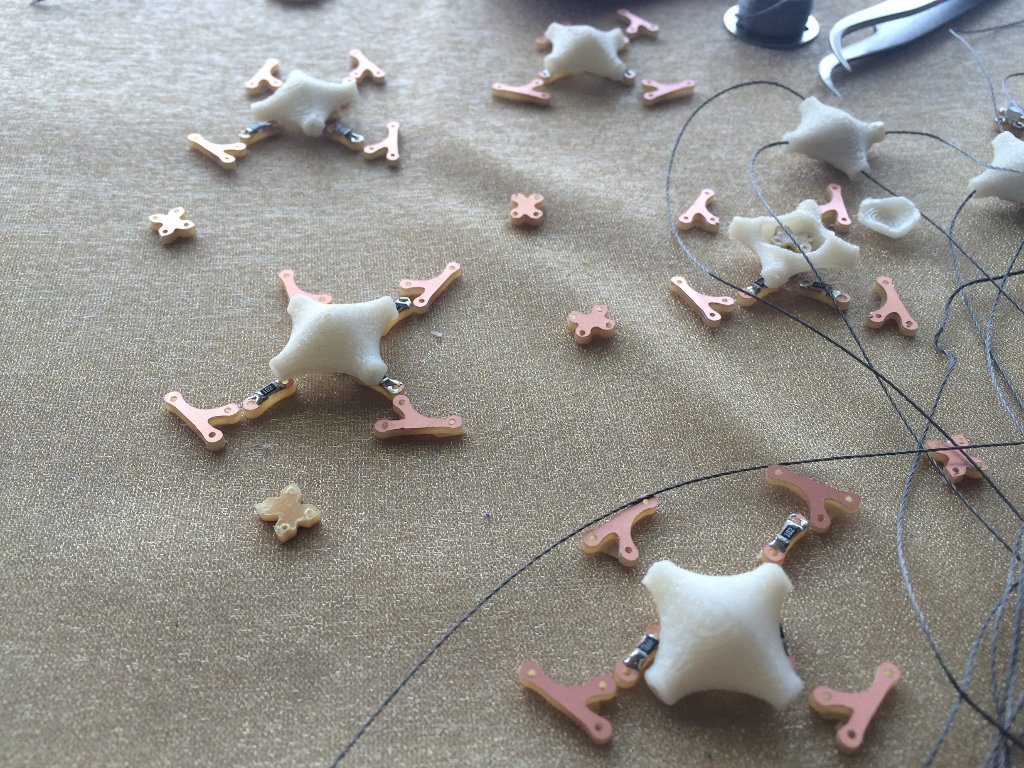
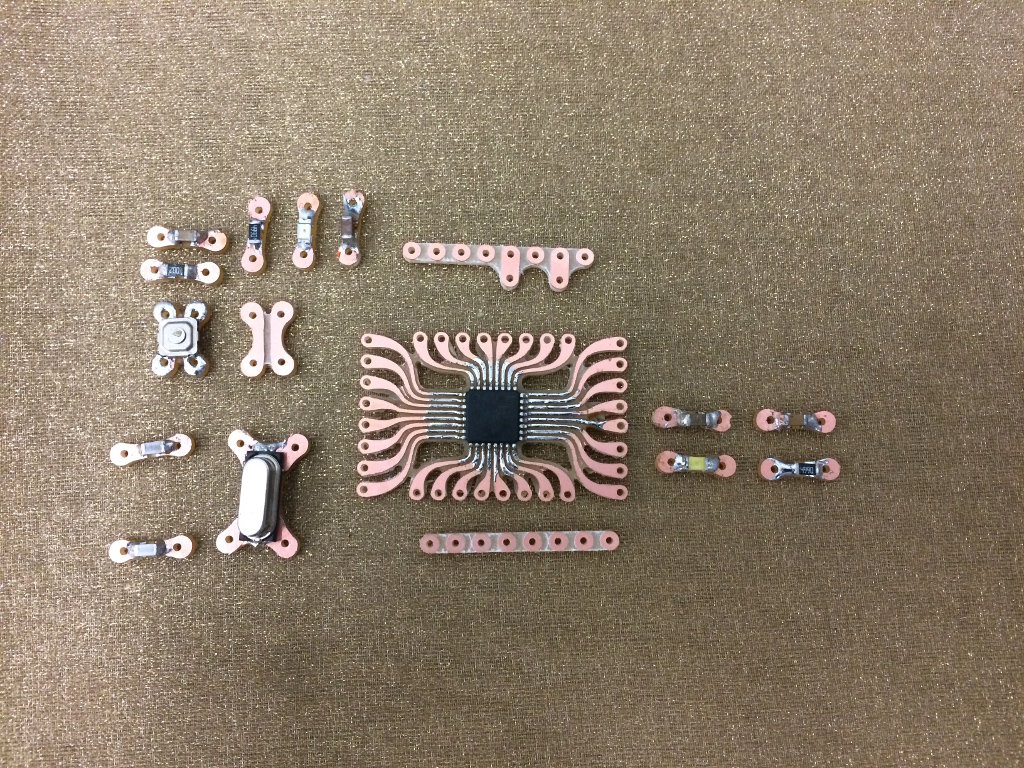
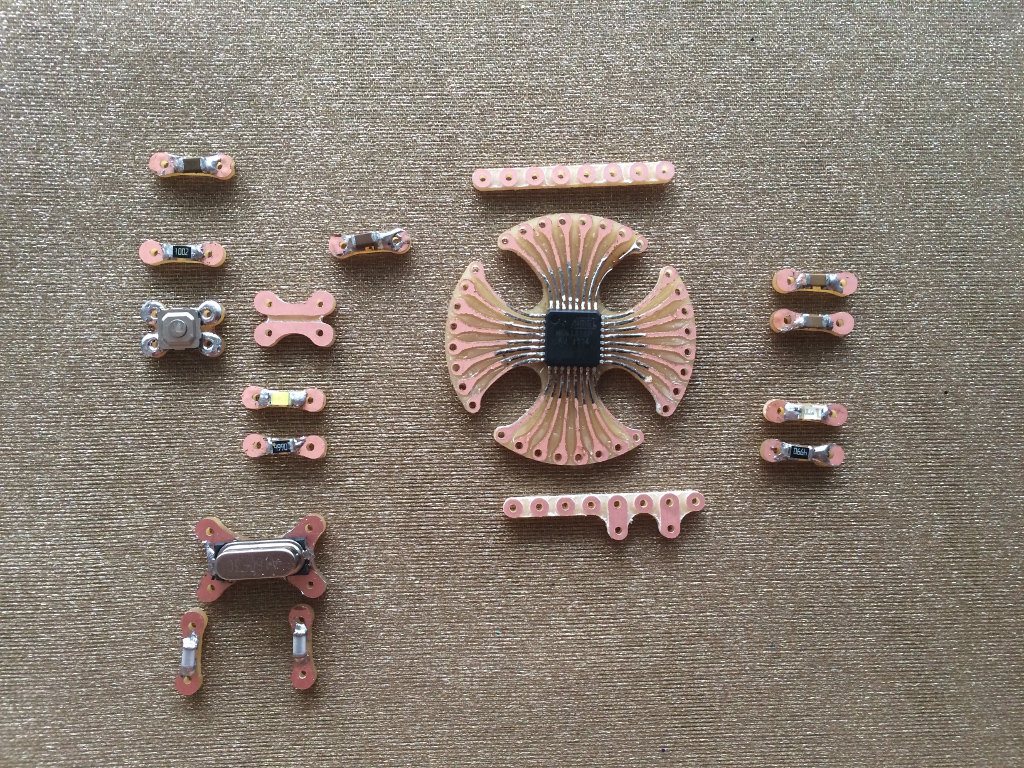
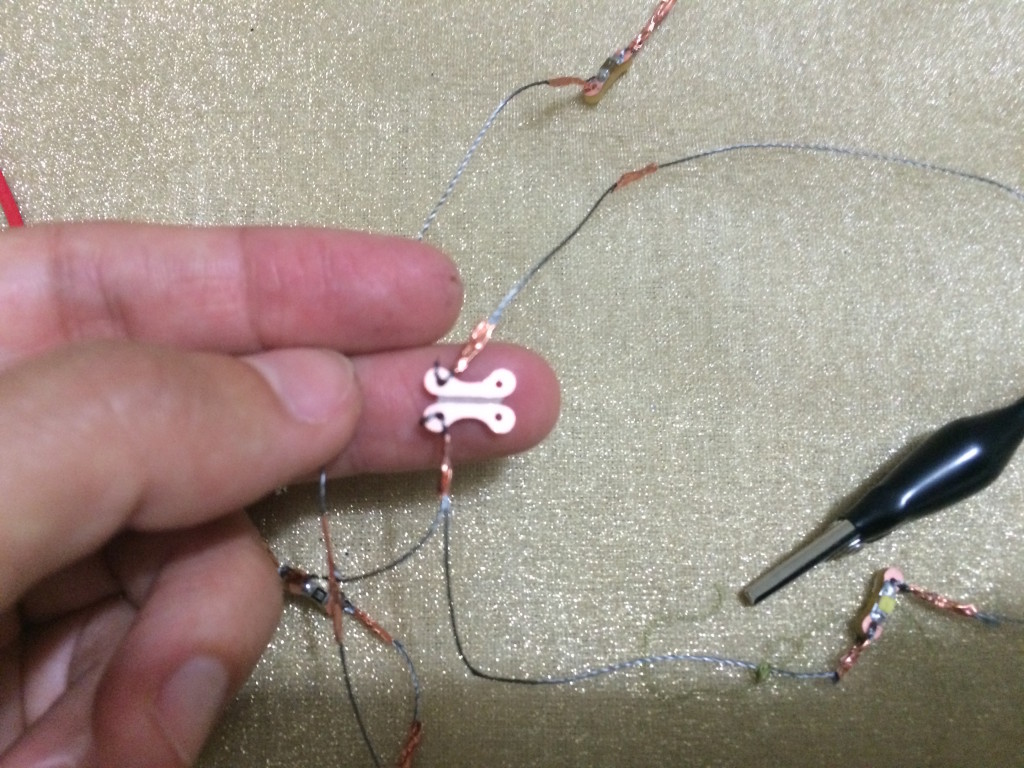
I drew a kit of small elements for the led and the others elements, that can be sewed with the conductor thread ( cab be related also eventually) and for this each of them has holes. I made the file with rhinoceros, and checking the size of each one of the components;
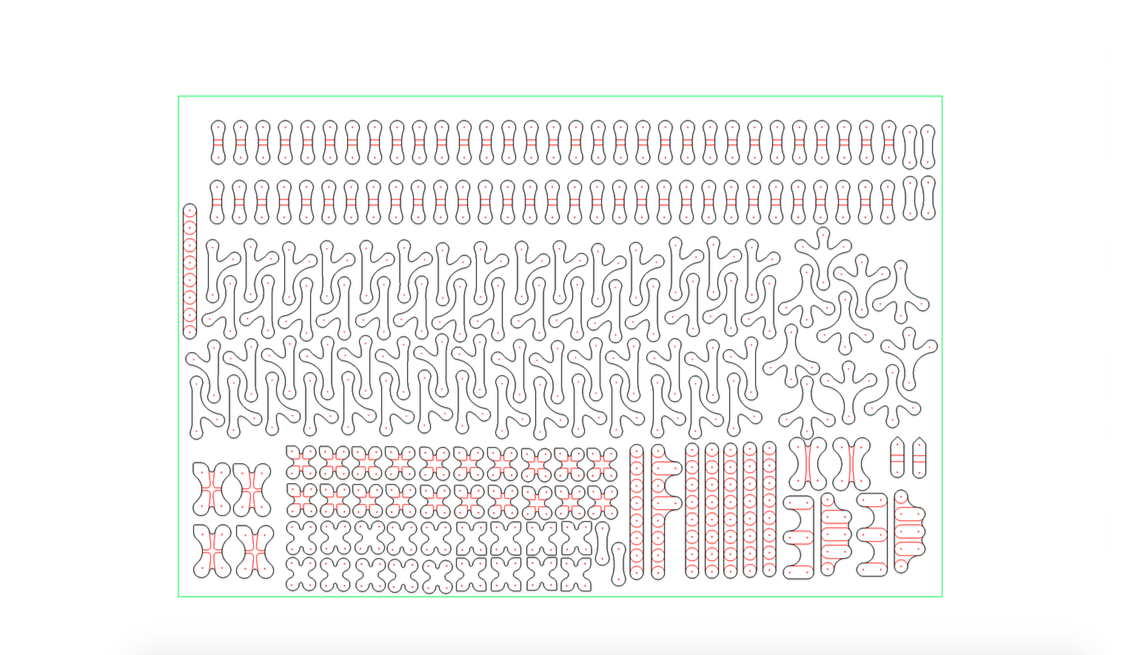
and I prepared a file to cut 15 led the resistors and all the connections:
I saved the file as illustrator, in 3 steps for the Monofab SMR20:
1. for the engraving
2. for the holes
3. for the border
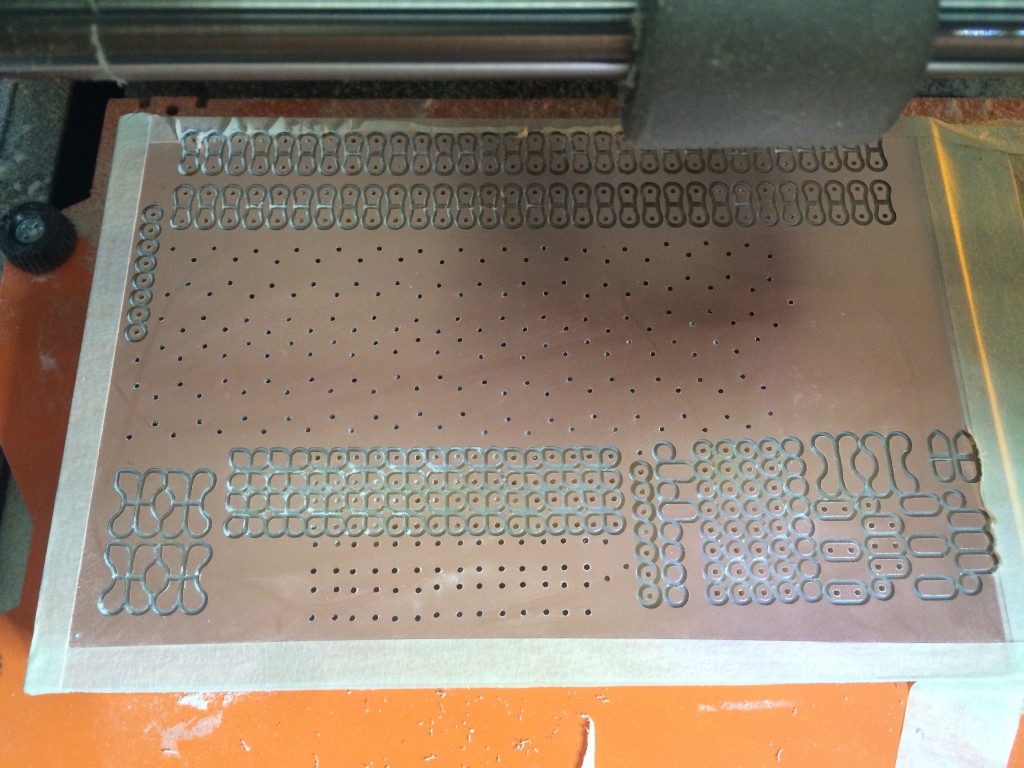
I used a 1/32″ endmill, in the order 1,2,3
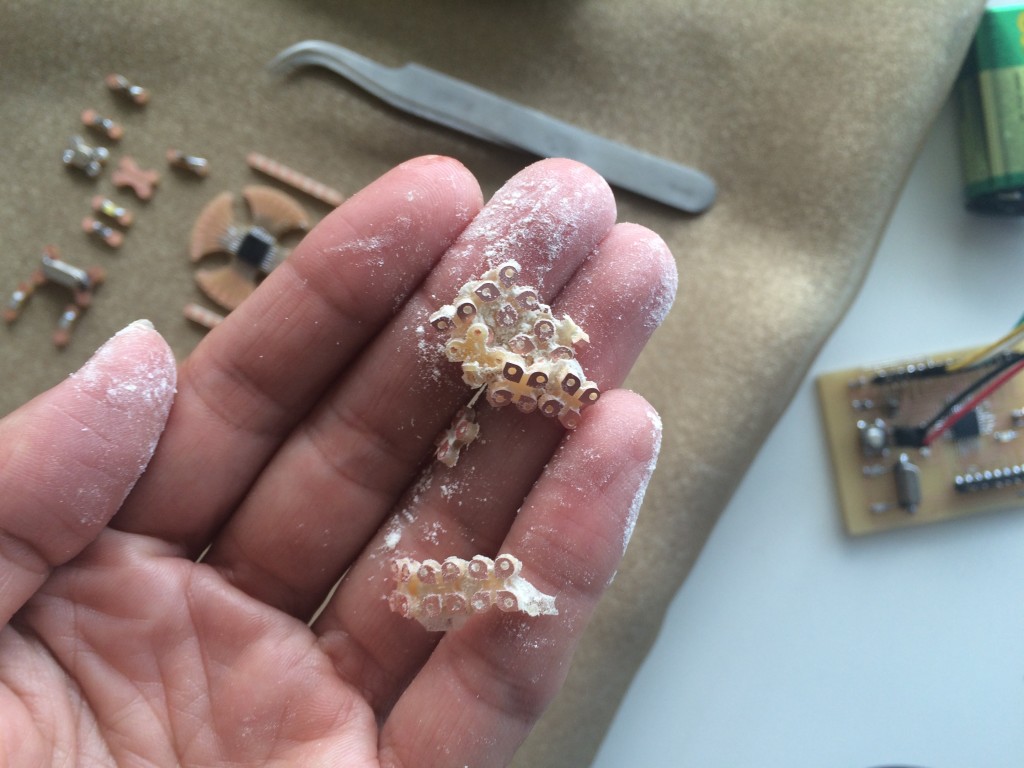
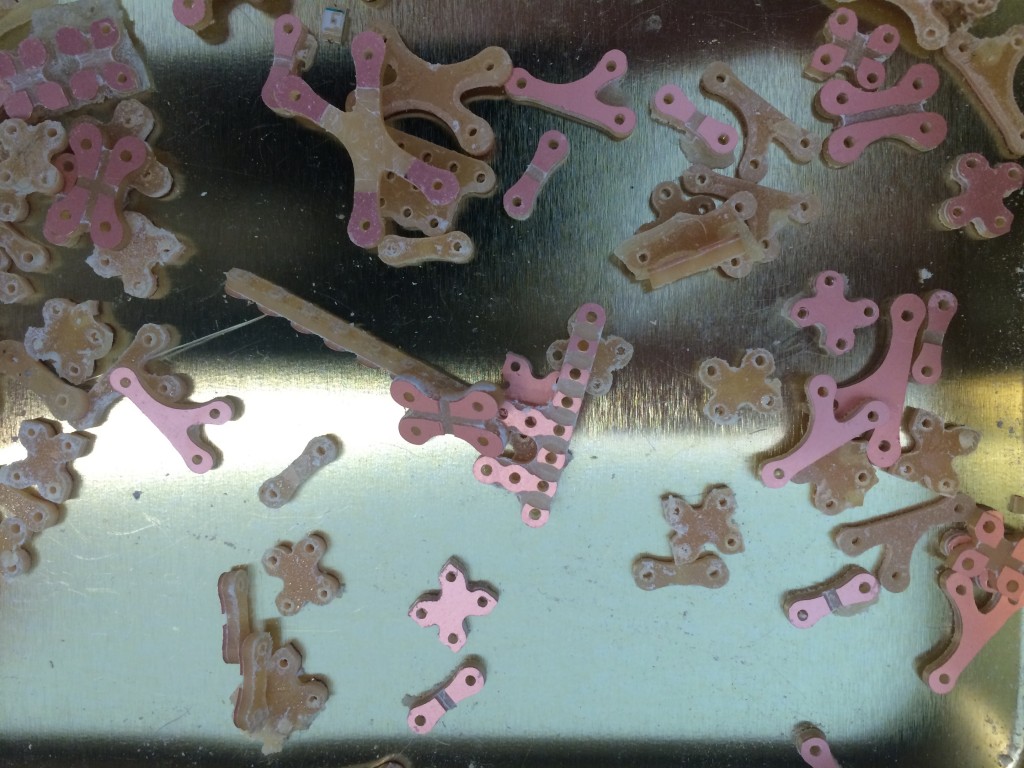
the elements are really small, and with the same parameters that I use to cut the boards, some of the pieces was flying!
To fix this problem, I changer the total deep of the final cut: affect I was cutting 1.8 mm ( with steps of 0.05) and finally, with 1.3 or 1.4 the pieces was cutted .
The machine spent a lot of time to make the holes! the other part of the process is fast;
here some picture of the fabrication …
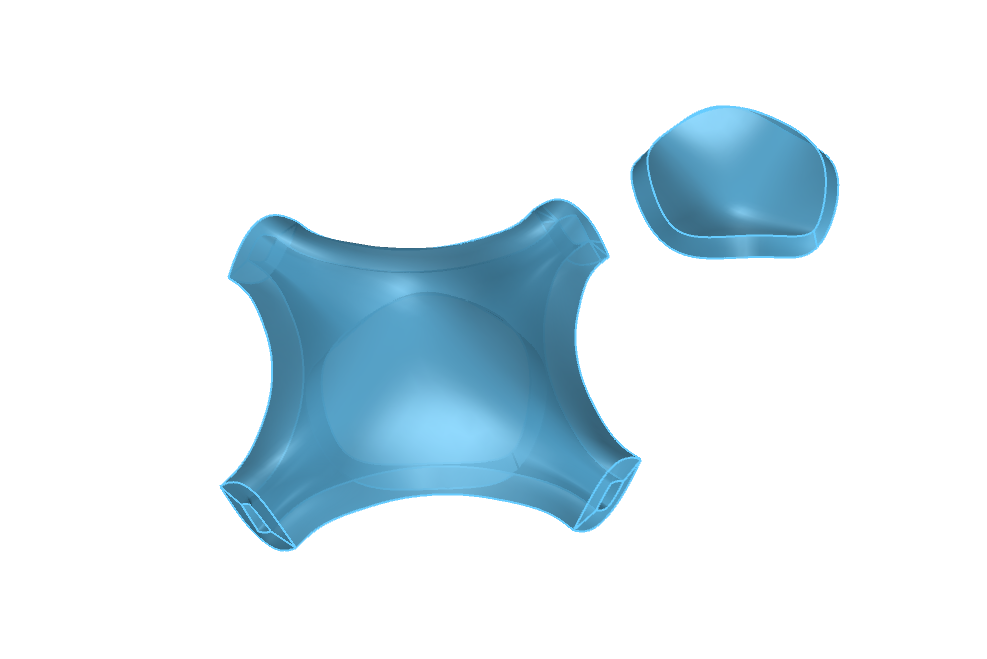
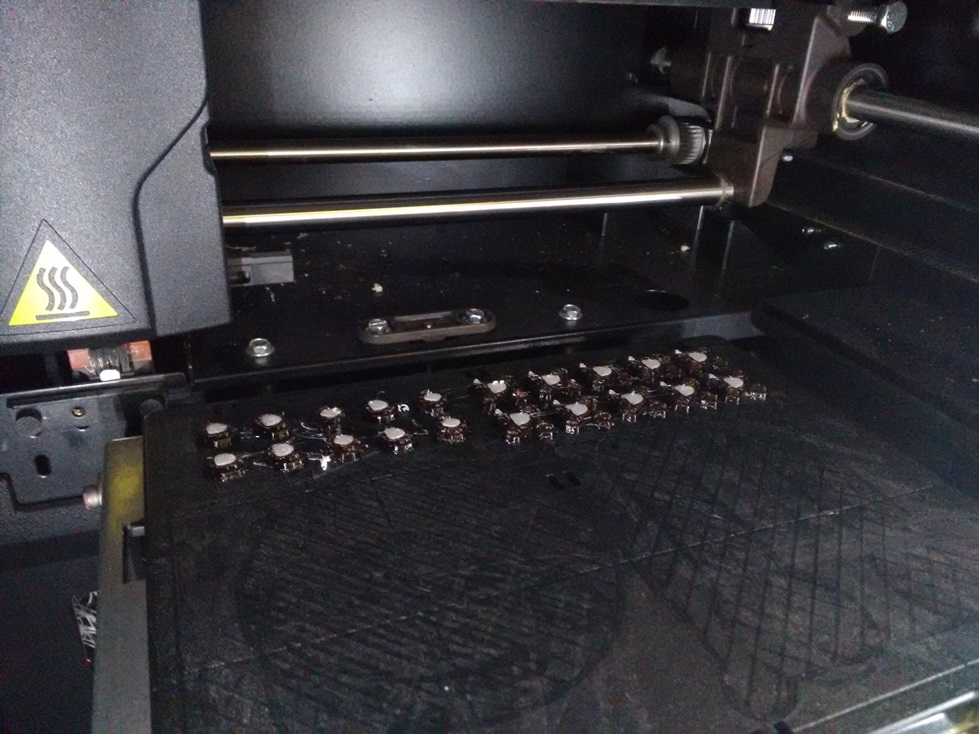
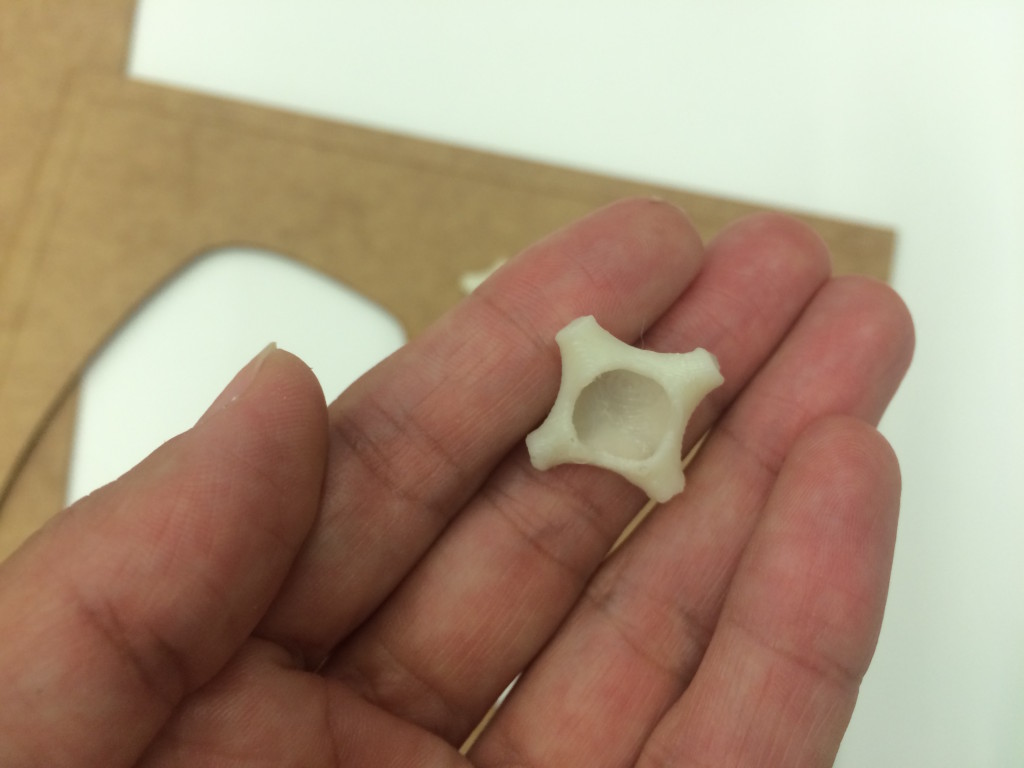
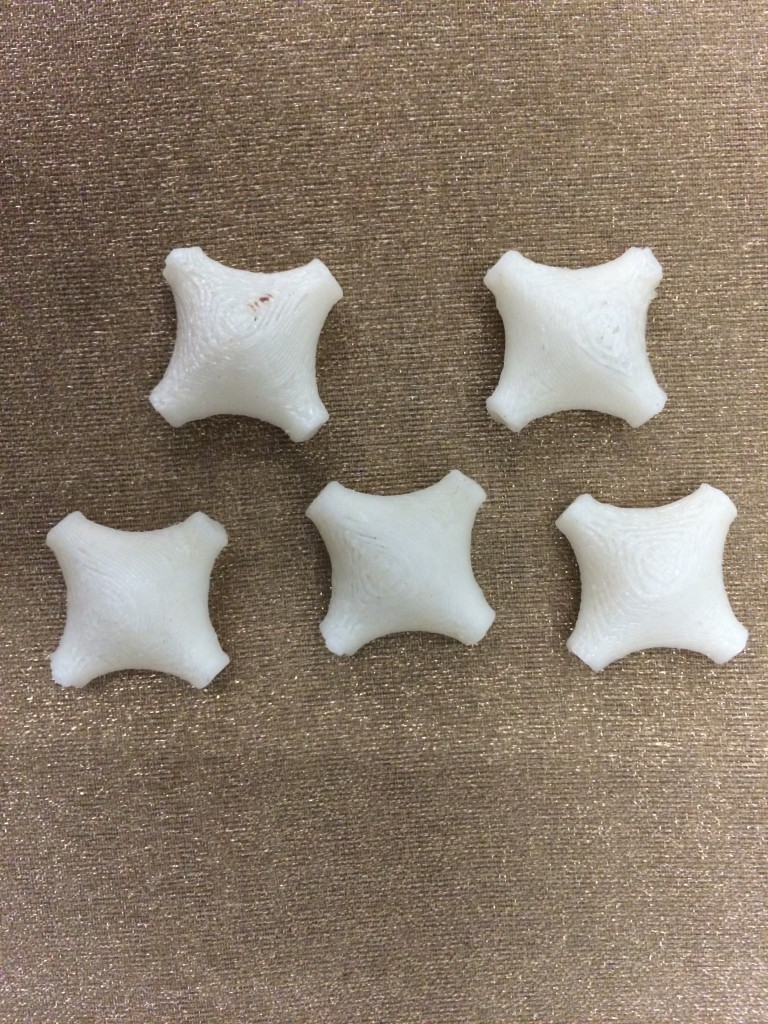
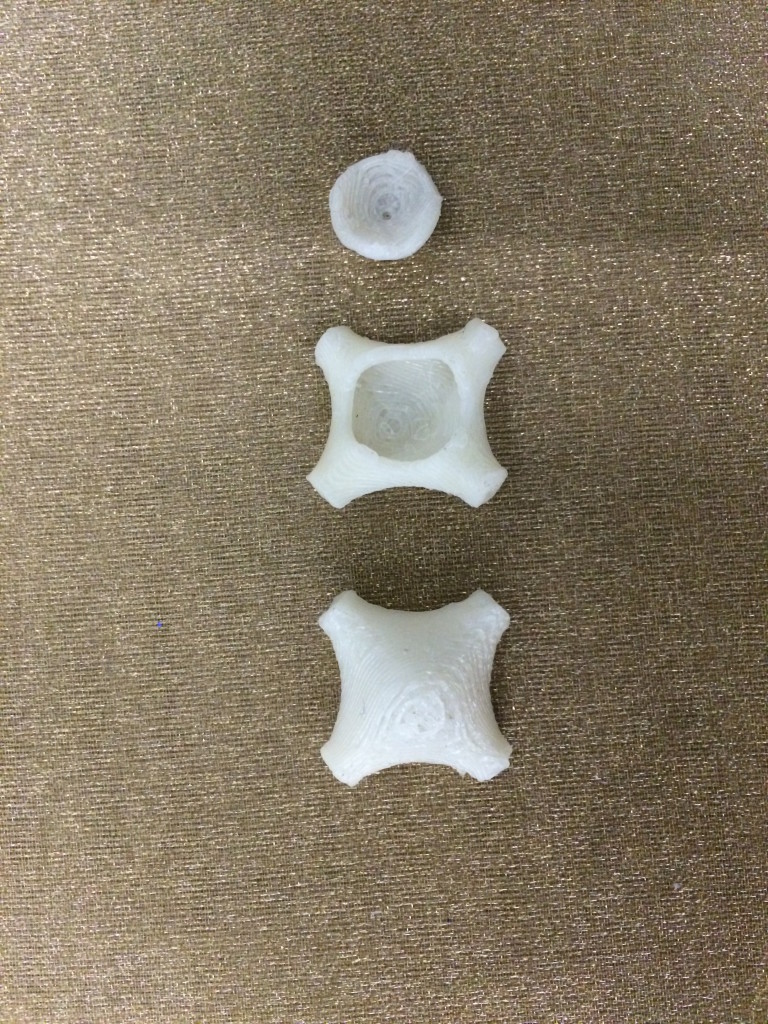
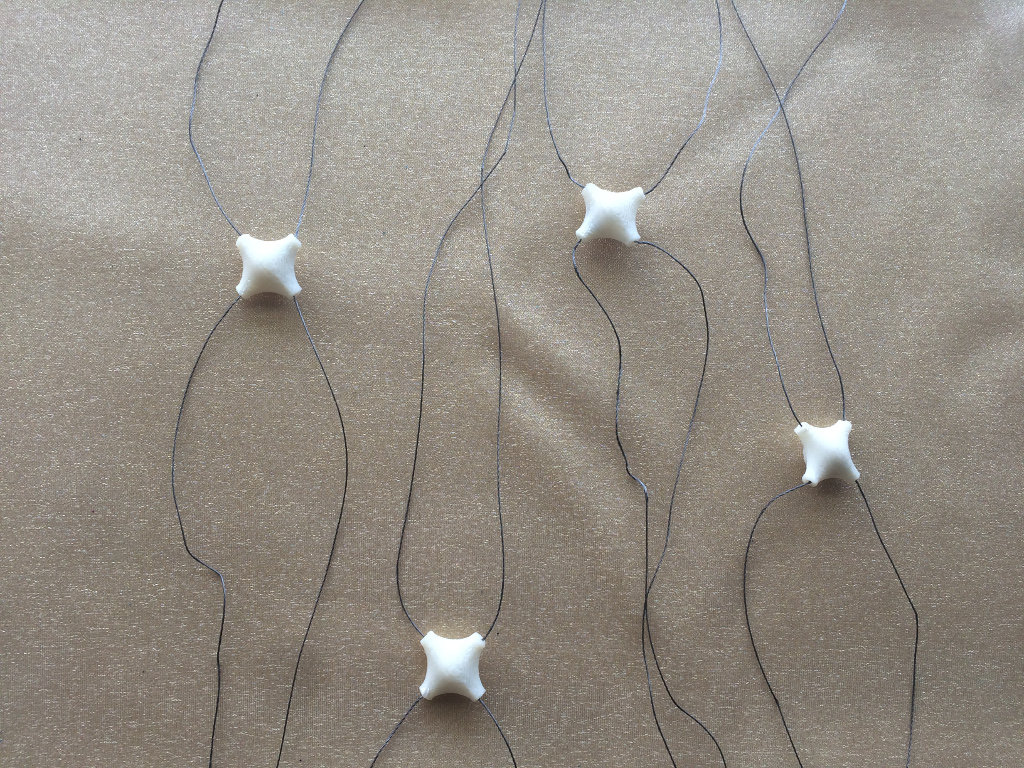
Then I made another element that will be the external; I did the model in Rhino and printed in 3d with the U-print that prints in ABS (see all the data on week 3); I saved the STL and I sent to the machine, putting 10 elements on the same file;
The machine spent 2 hours to build the elements and the 4 hours into the liquid to remove te supports;
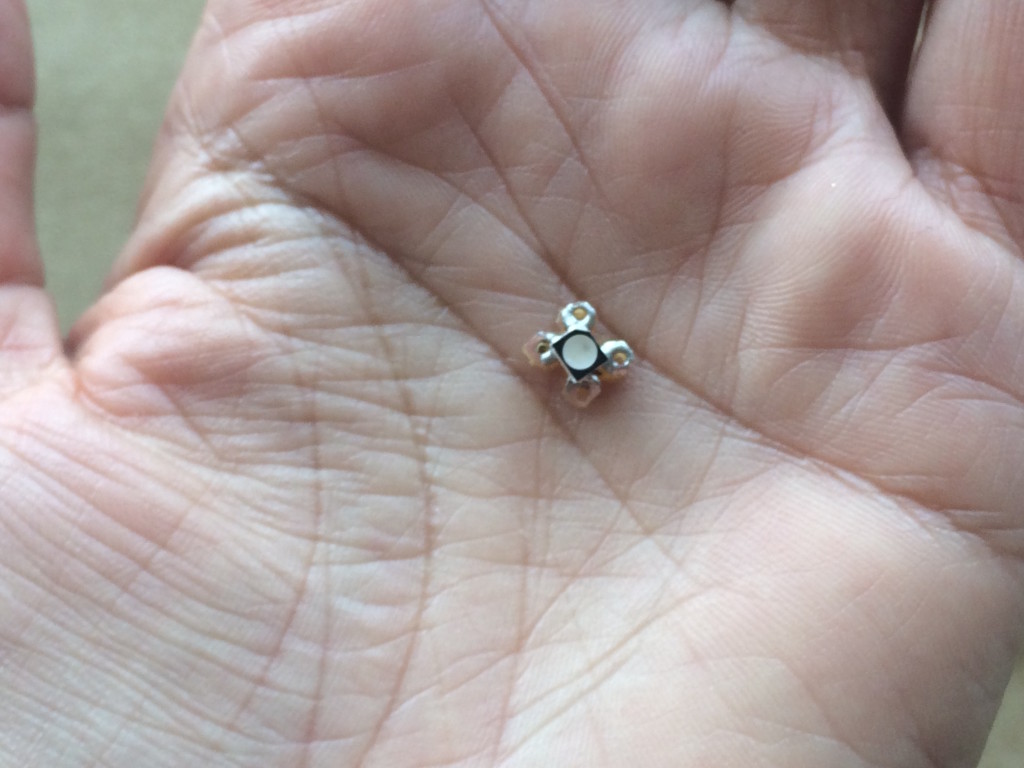
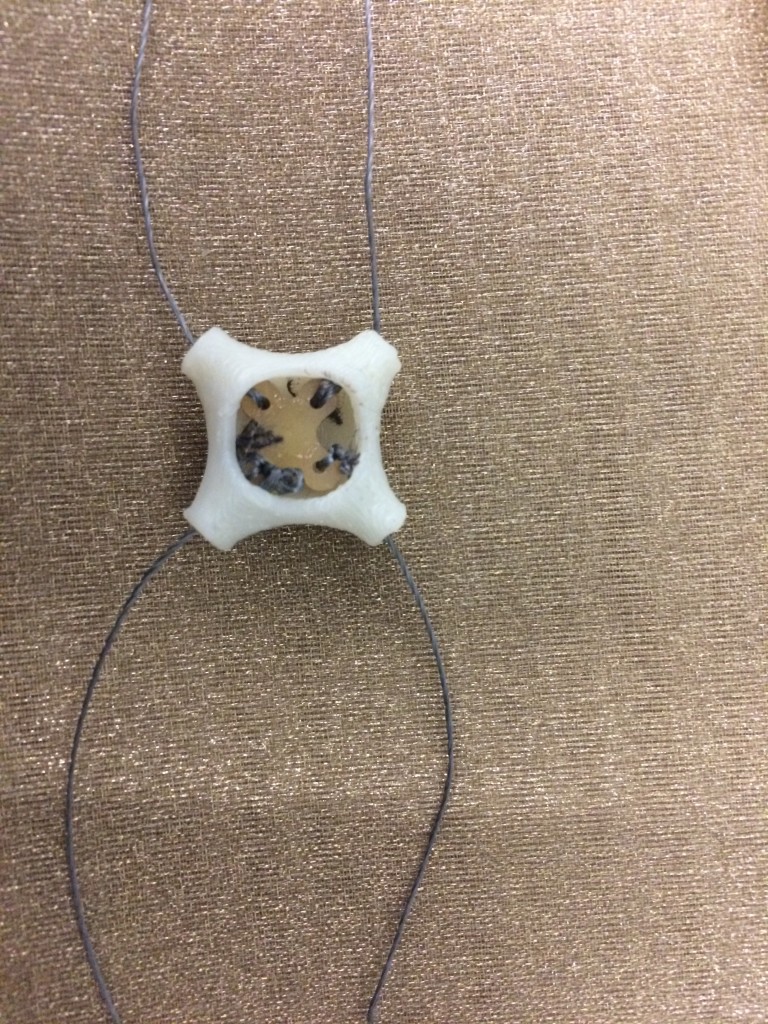
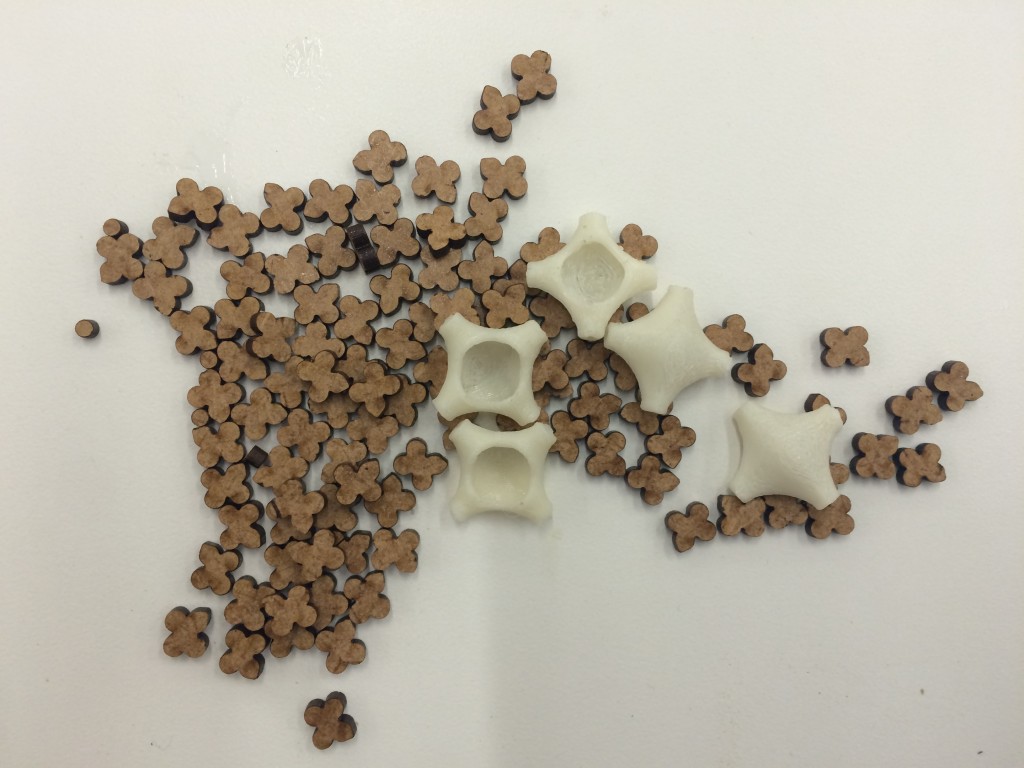
Here the pieces , and with the led inside;
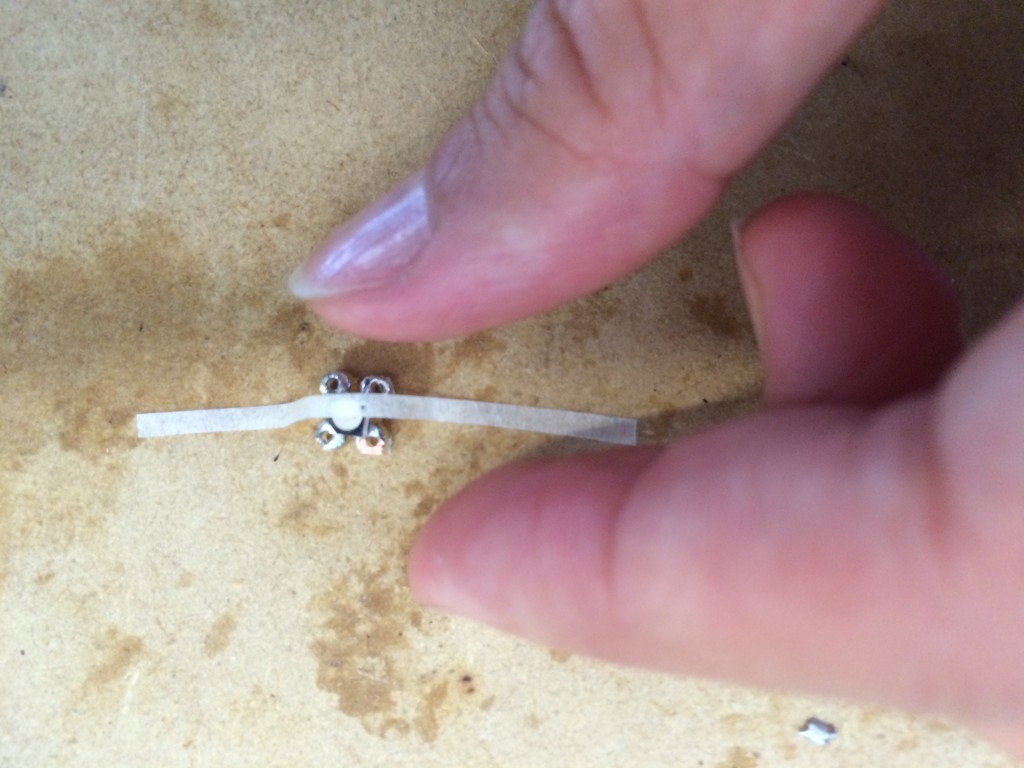
I’m using the conductive thread and at first, i was doing nodes, but this system is not very efficient because can’t be fixed well; I utilized conductive copper tape ant it works well and the process to is more faster than the other.
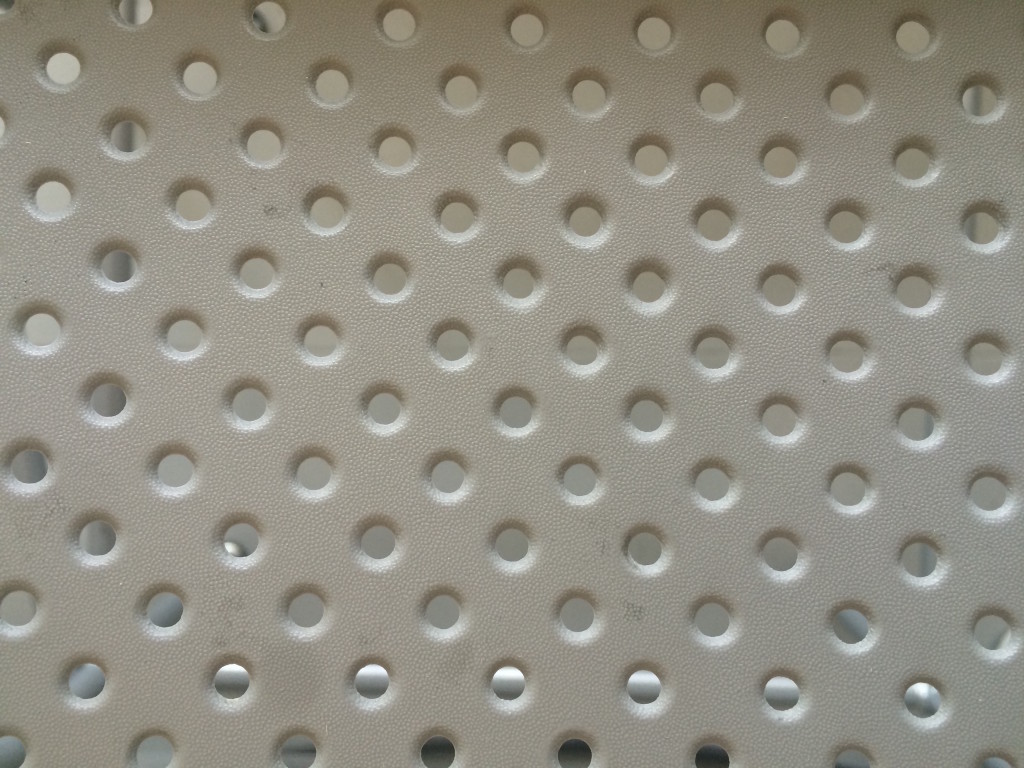
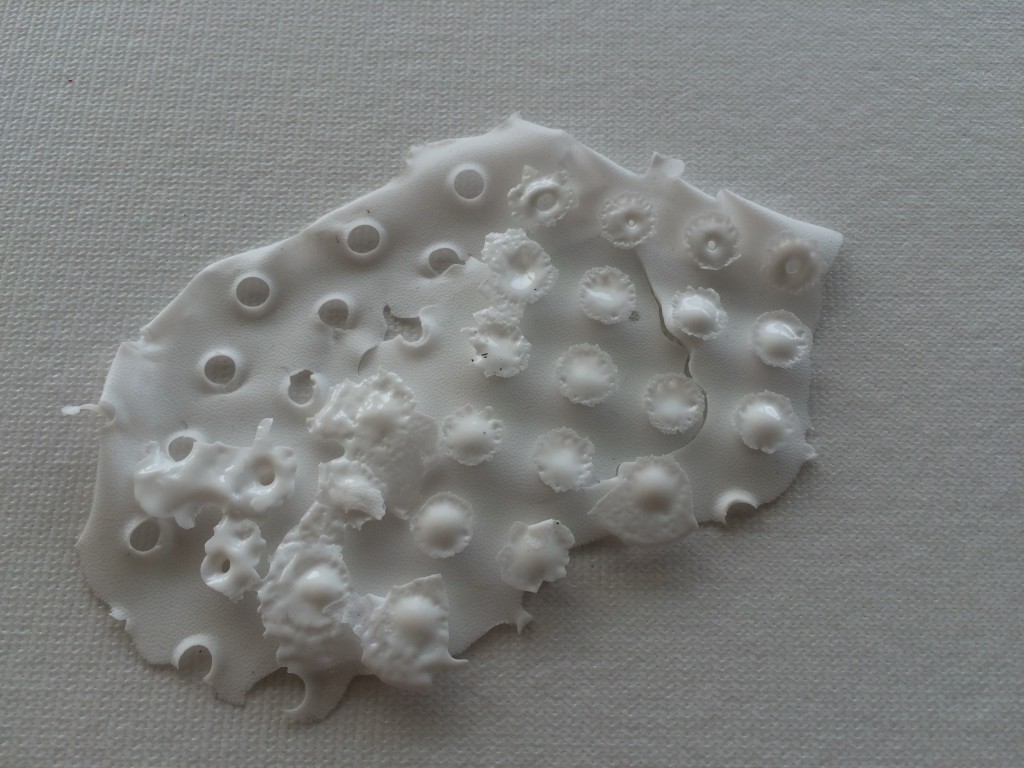
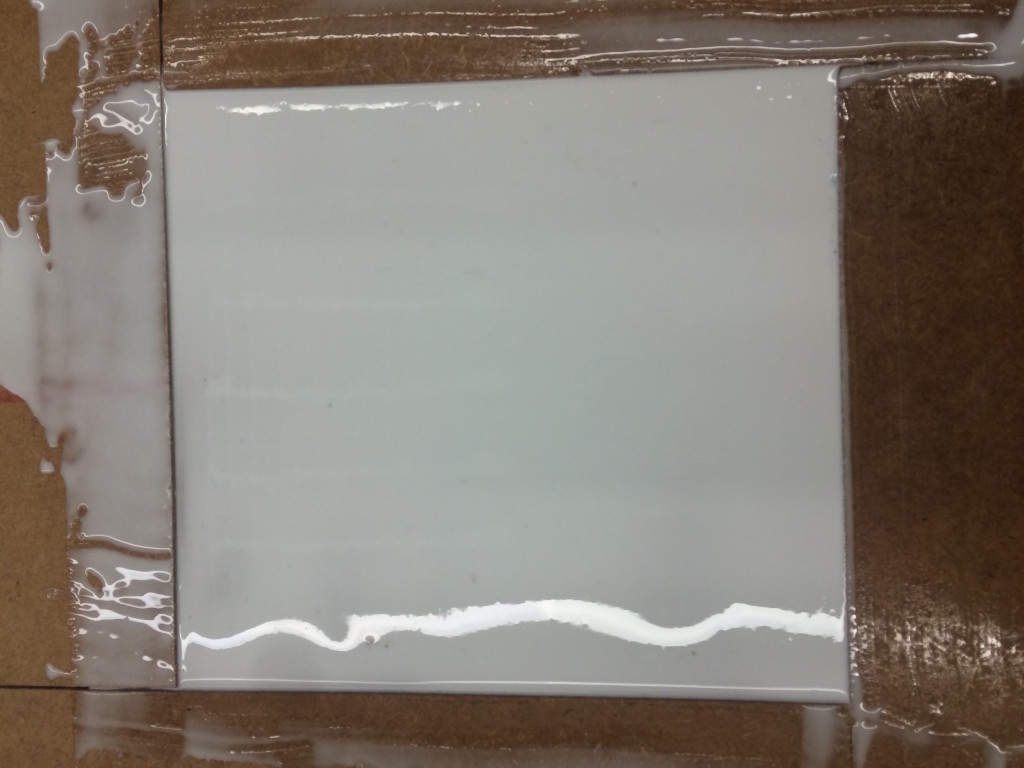
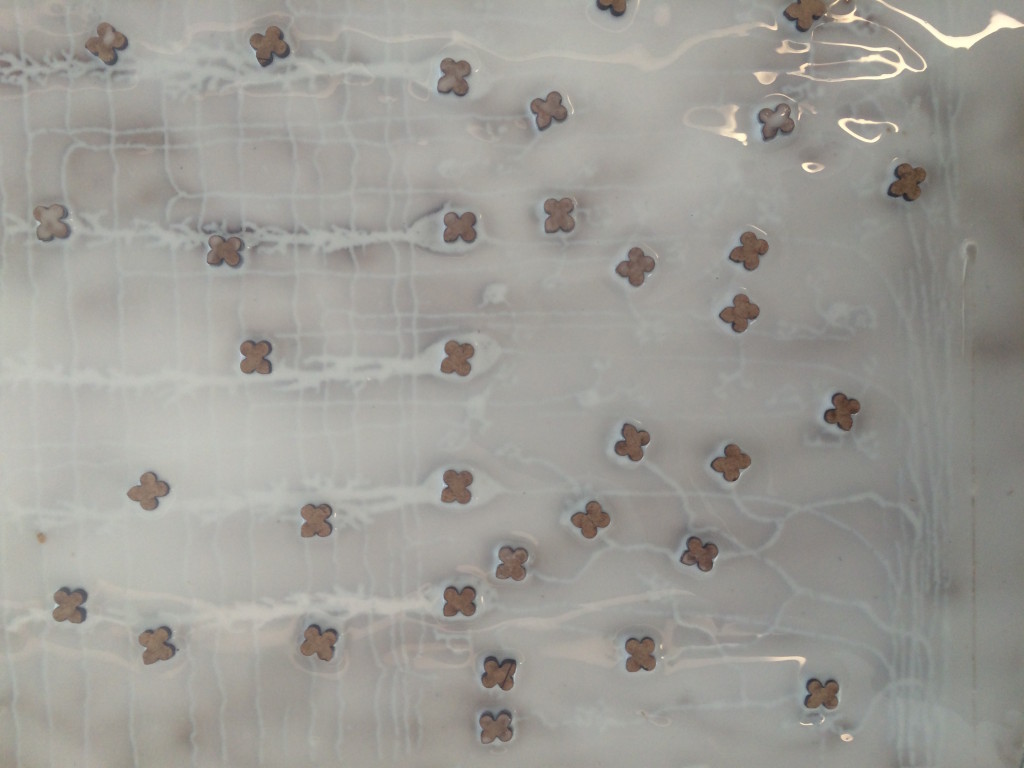
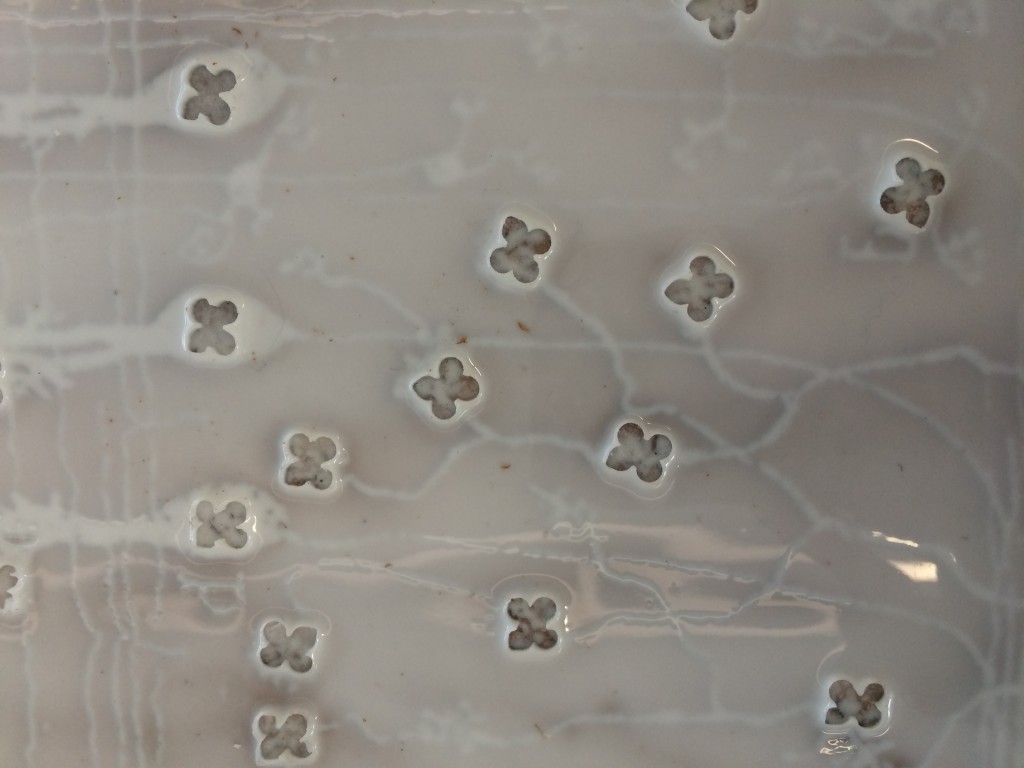
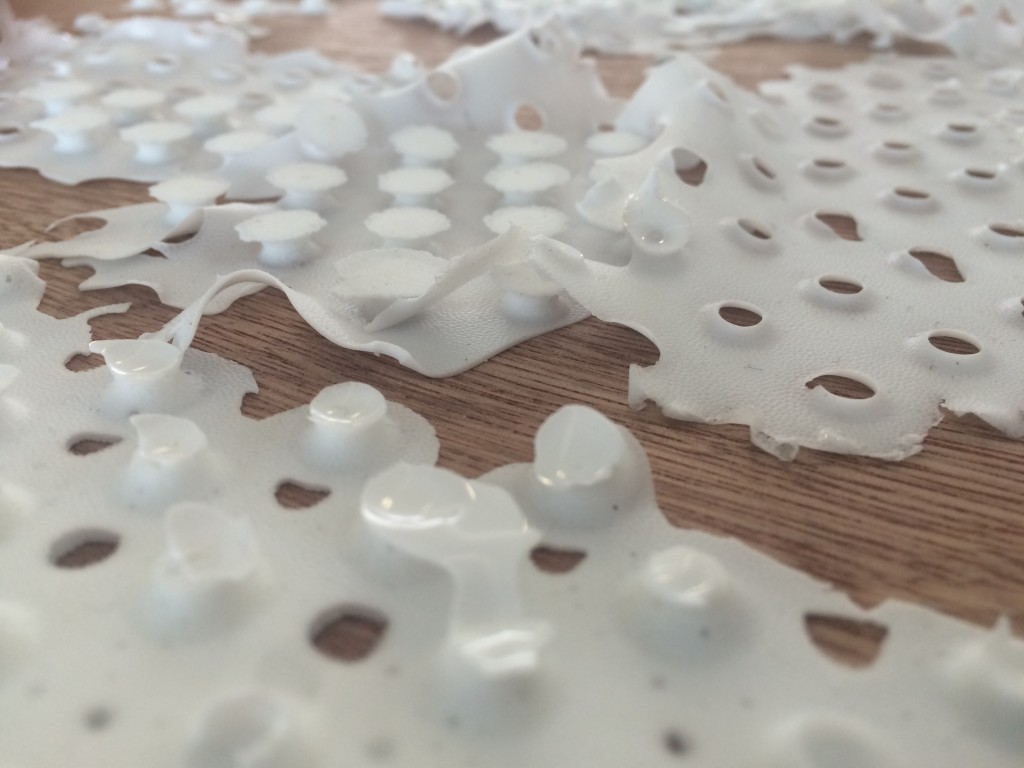
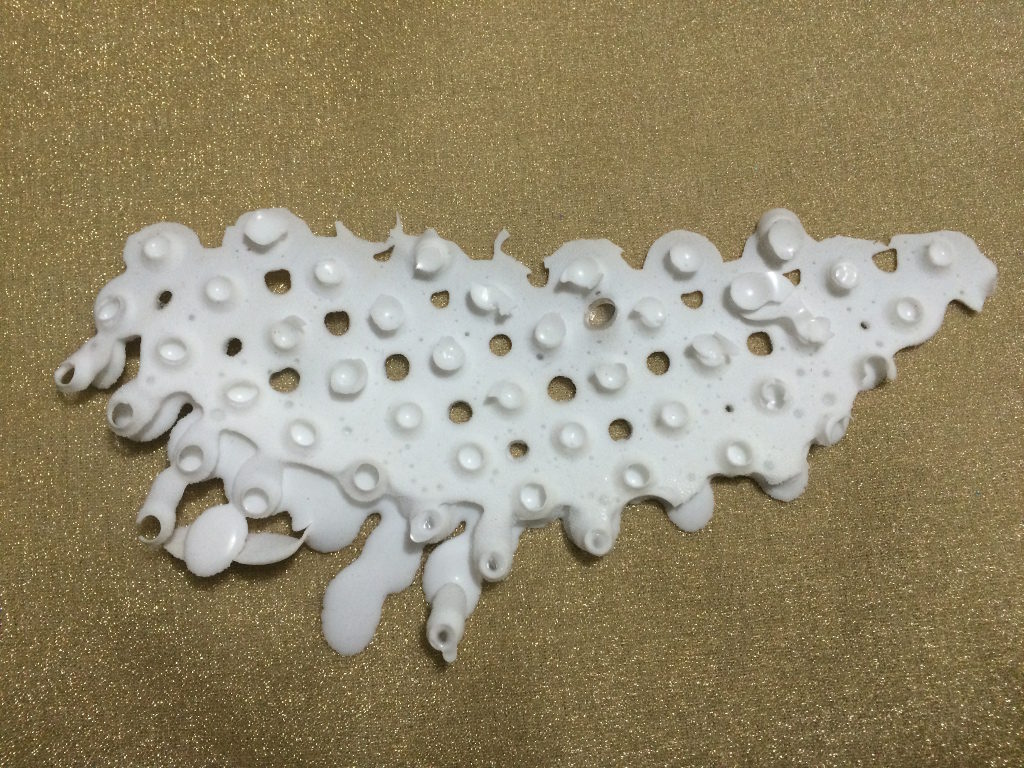
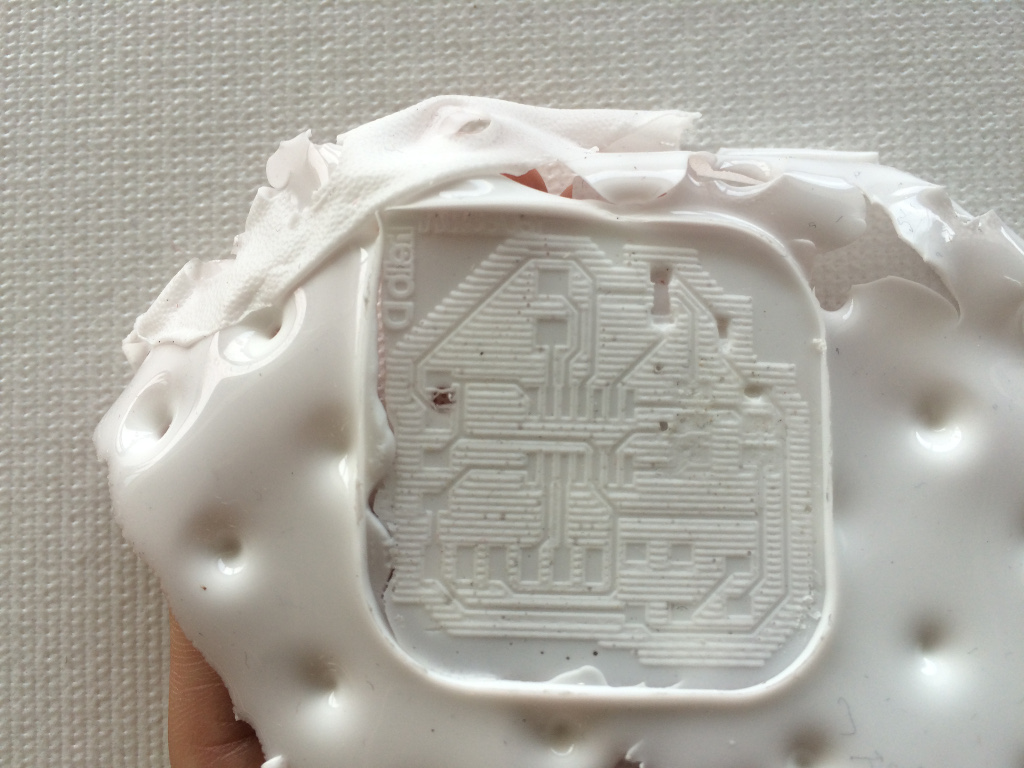
At the some time started to make a test for the skin; I thought to use the rubber that we used for the activity molding and casting (..), because Is flexible and resistant; at first I needed to do a test faster to see the the combination off the lighting and the material … I had no time to made a mold with the milling … and anyway it was working cutting boards … for this … I put a bit of silicon in one of our chairs, because the surface is more or less that I want to do for my mold!
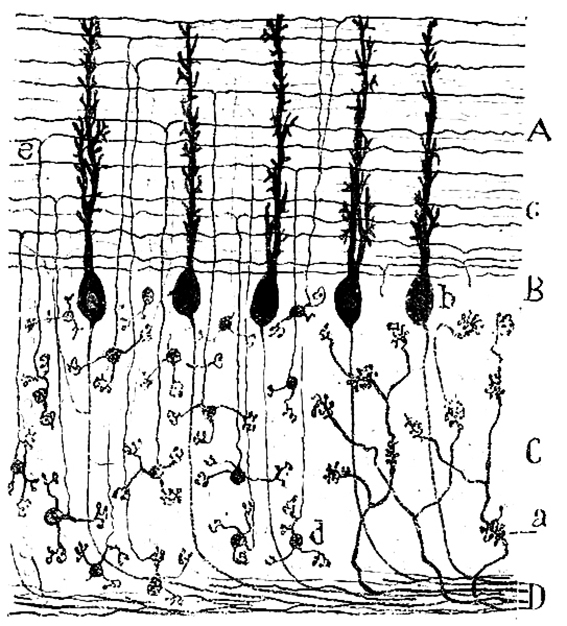
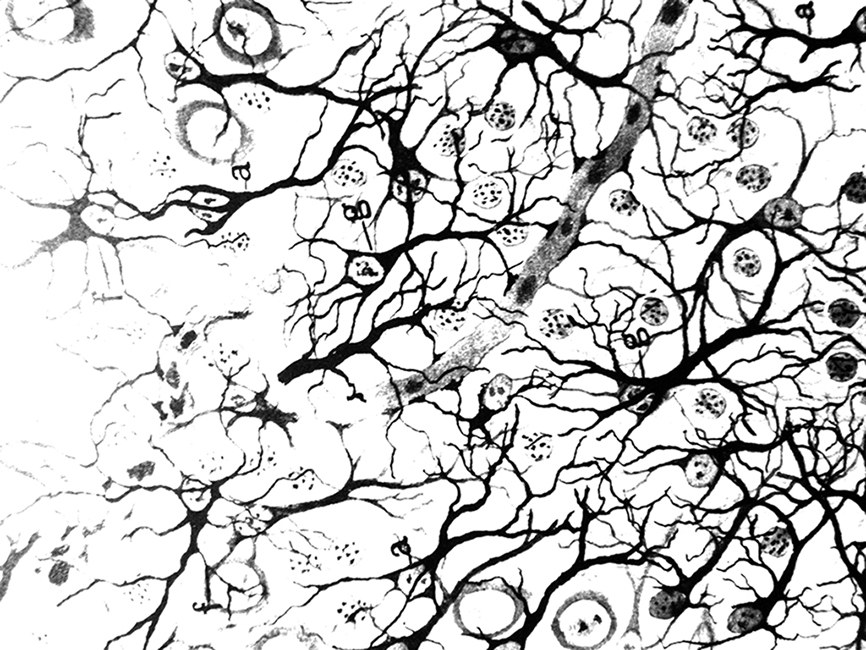
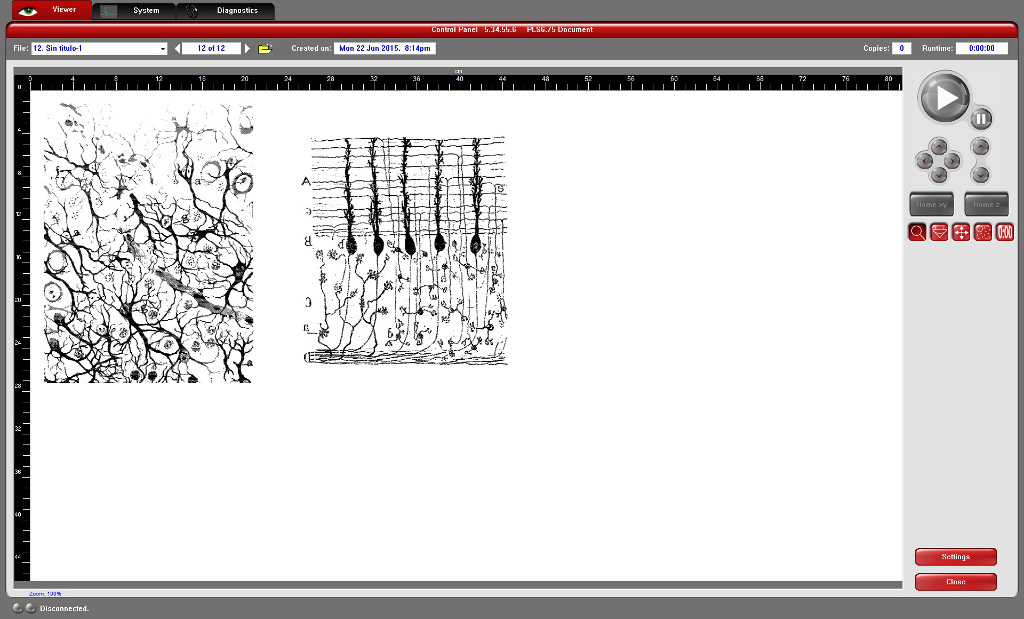
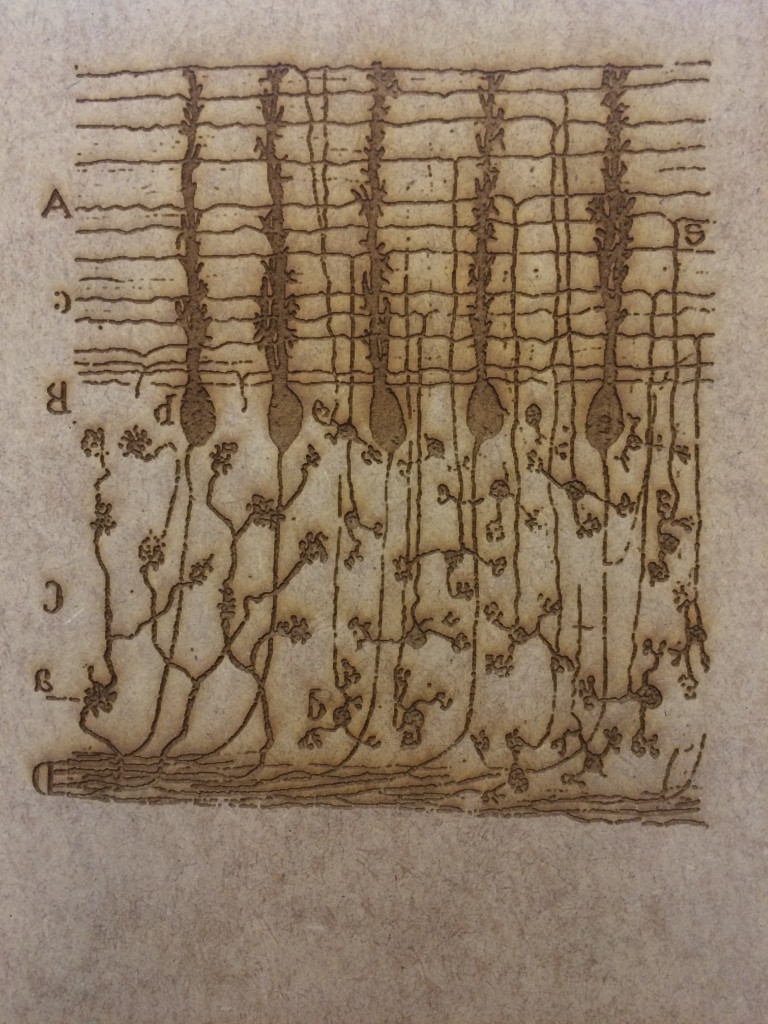
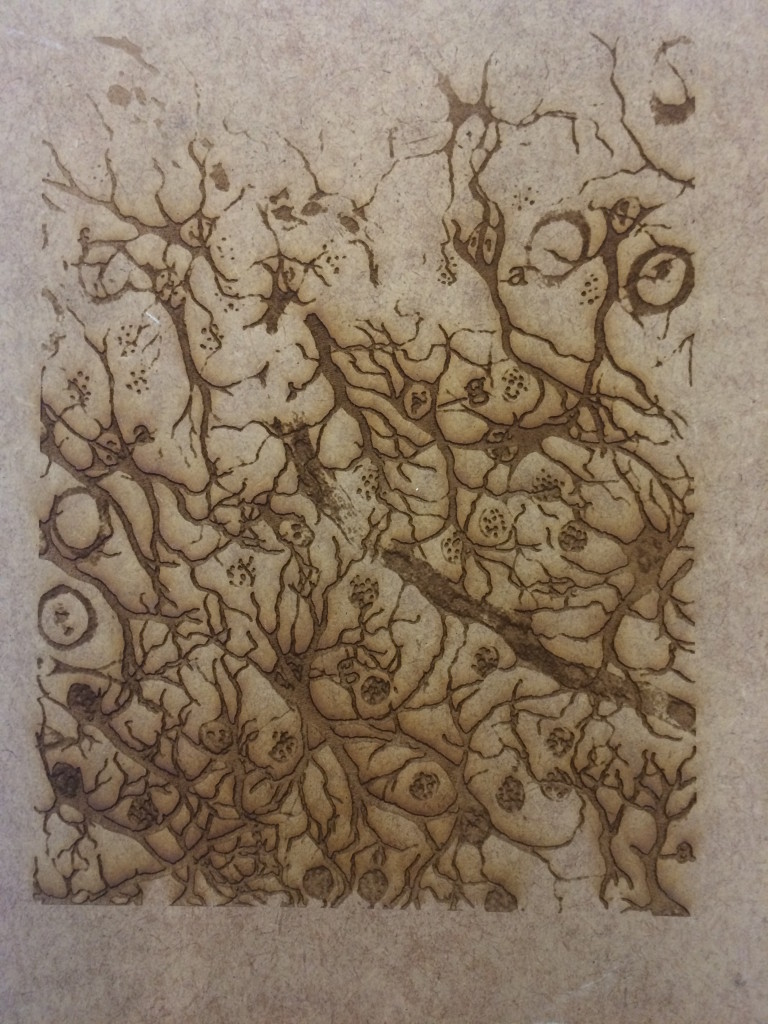
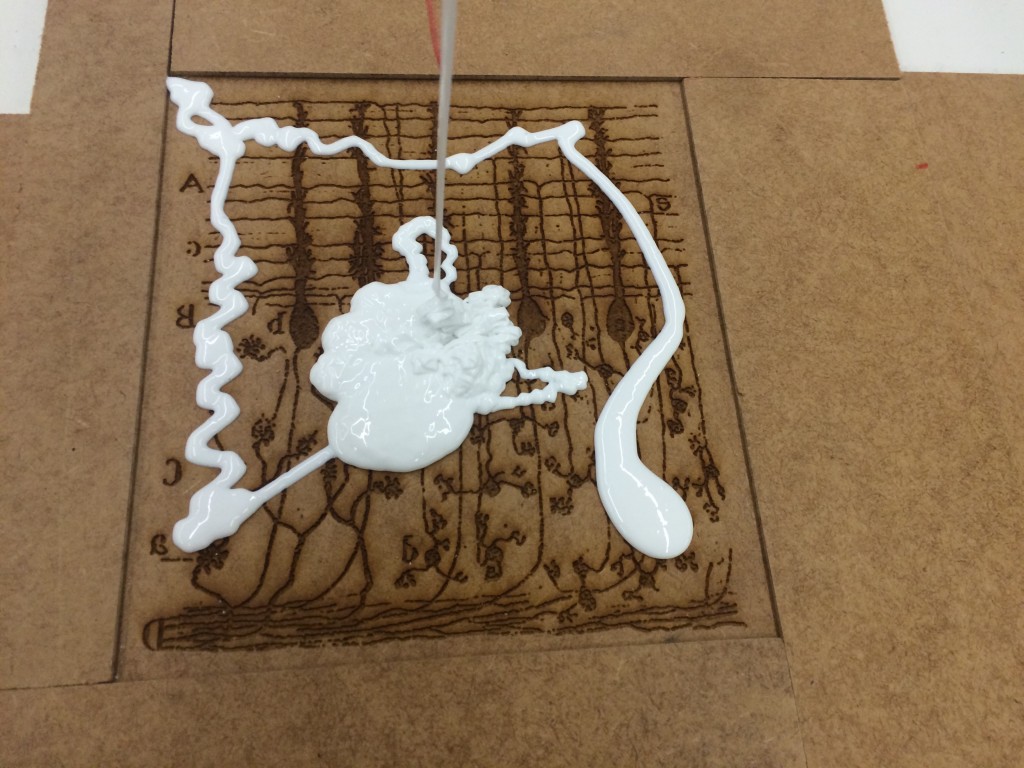
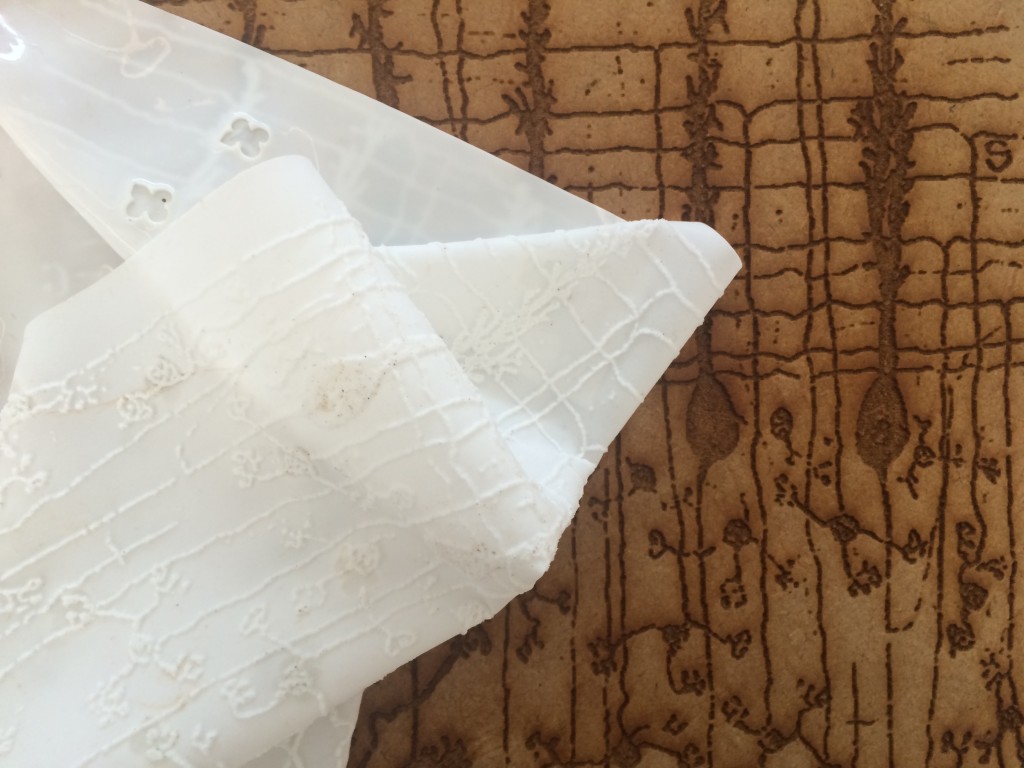
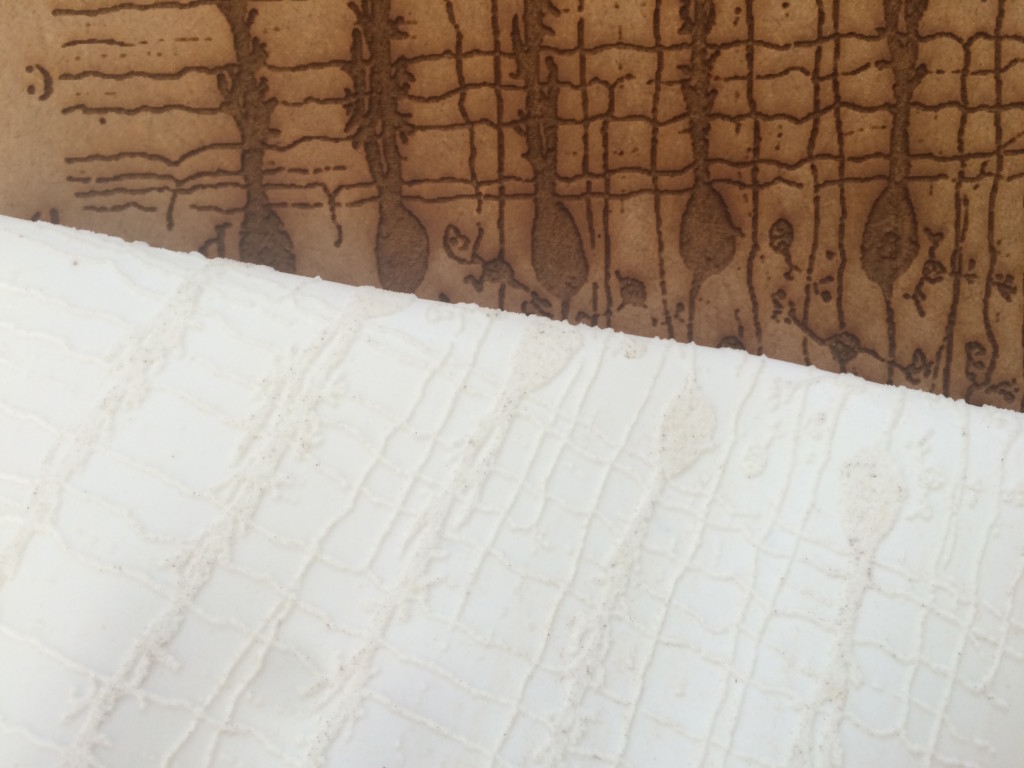
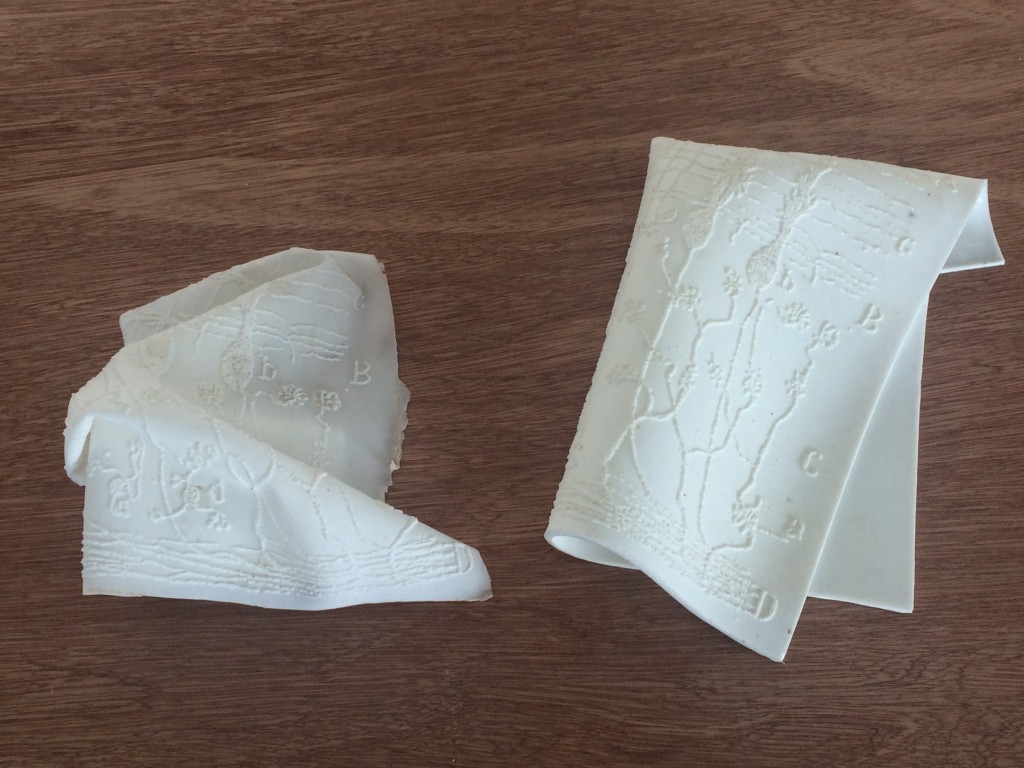
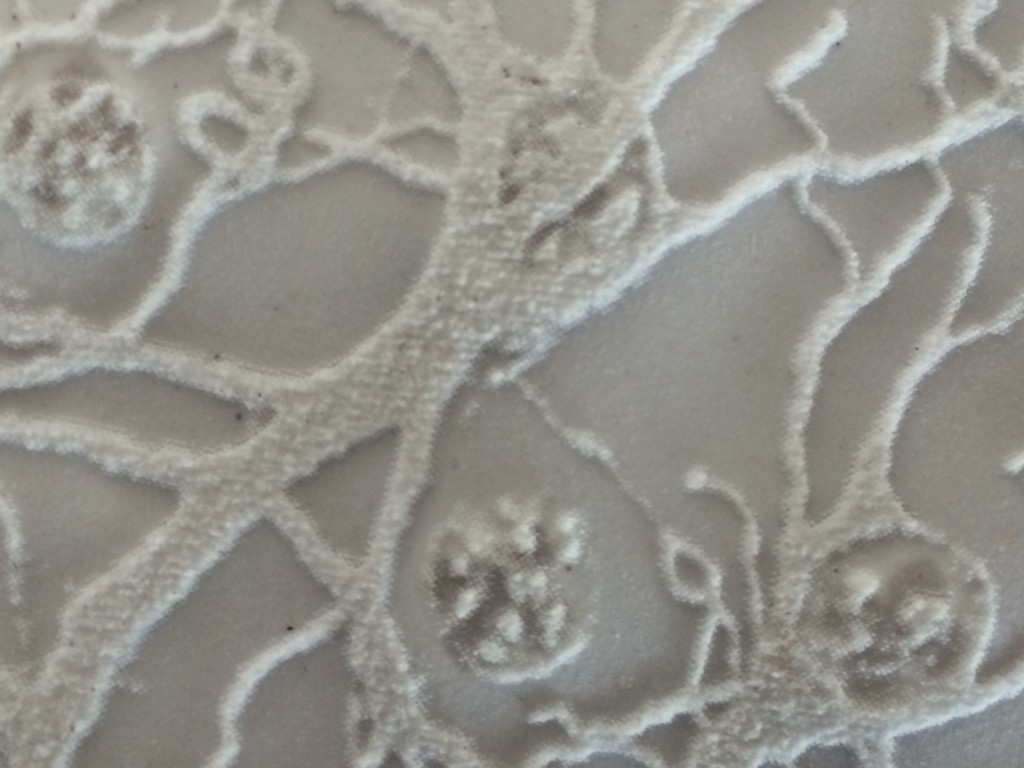
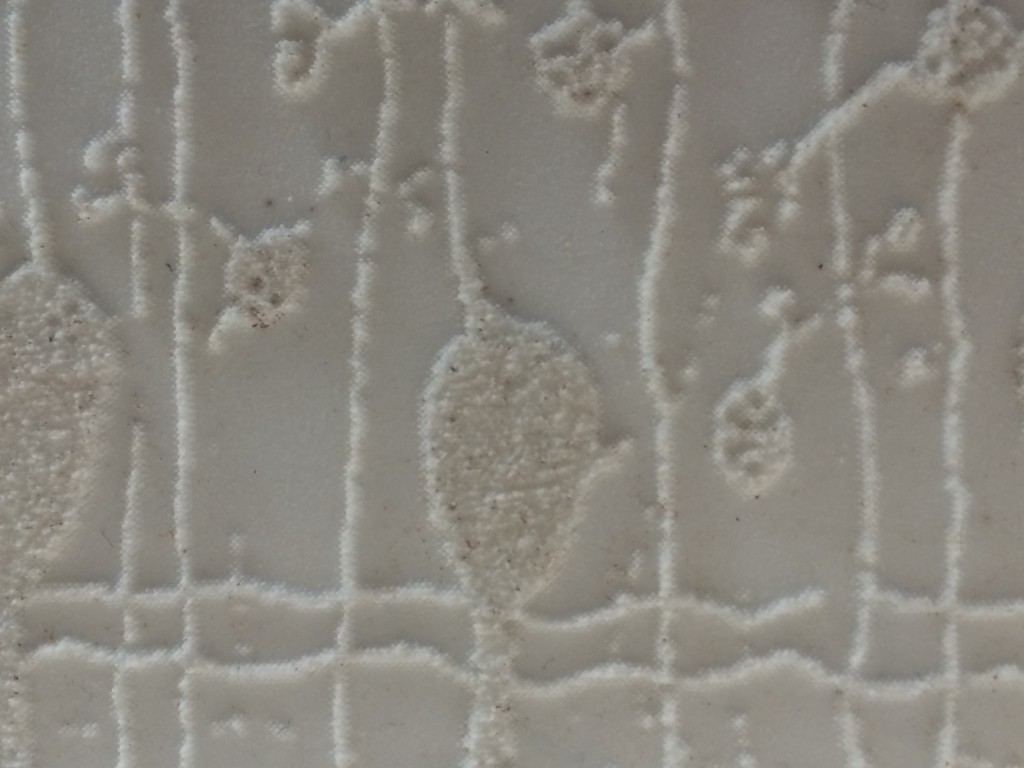
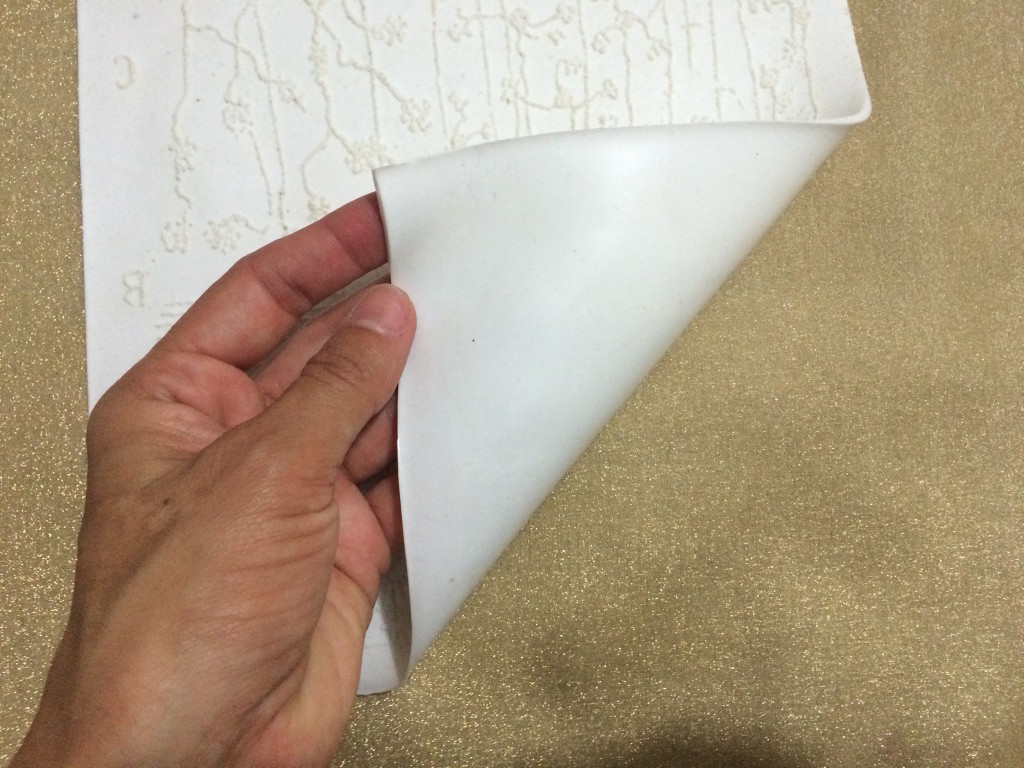
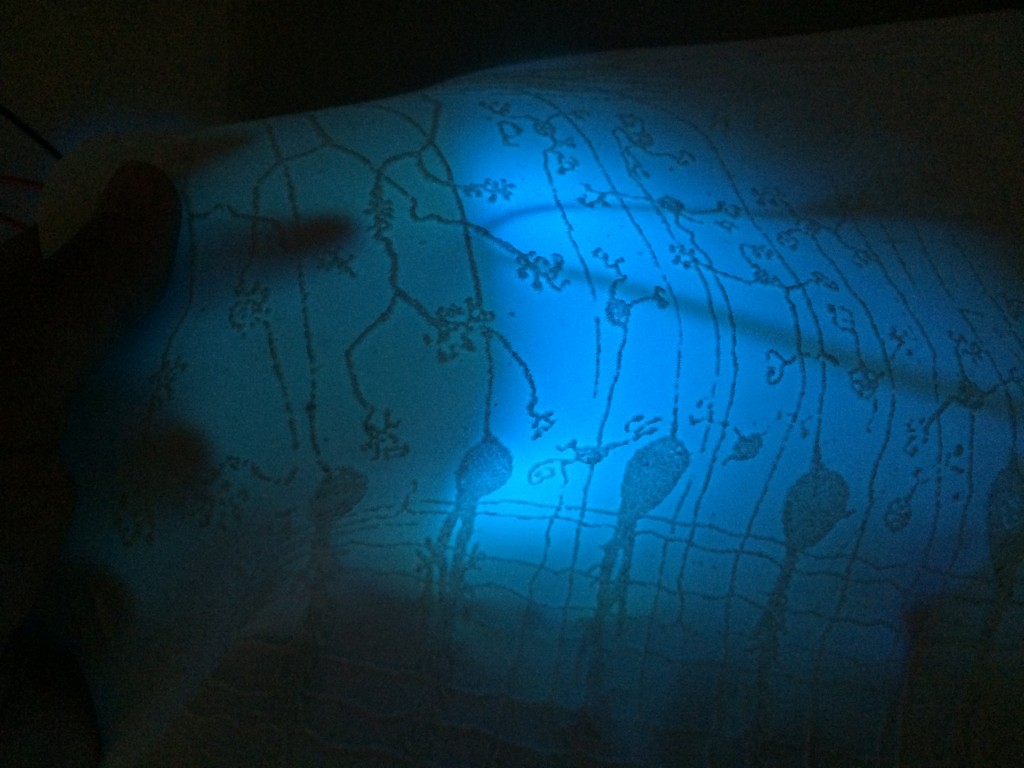
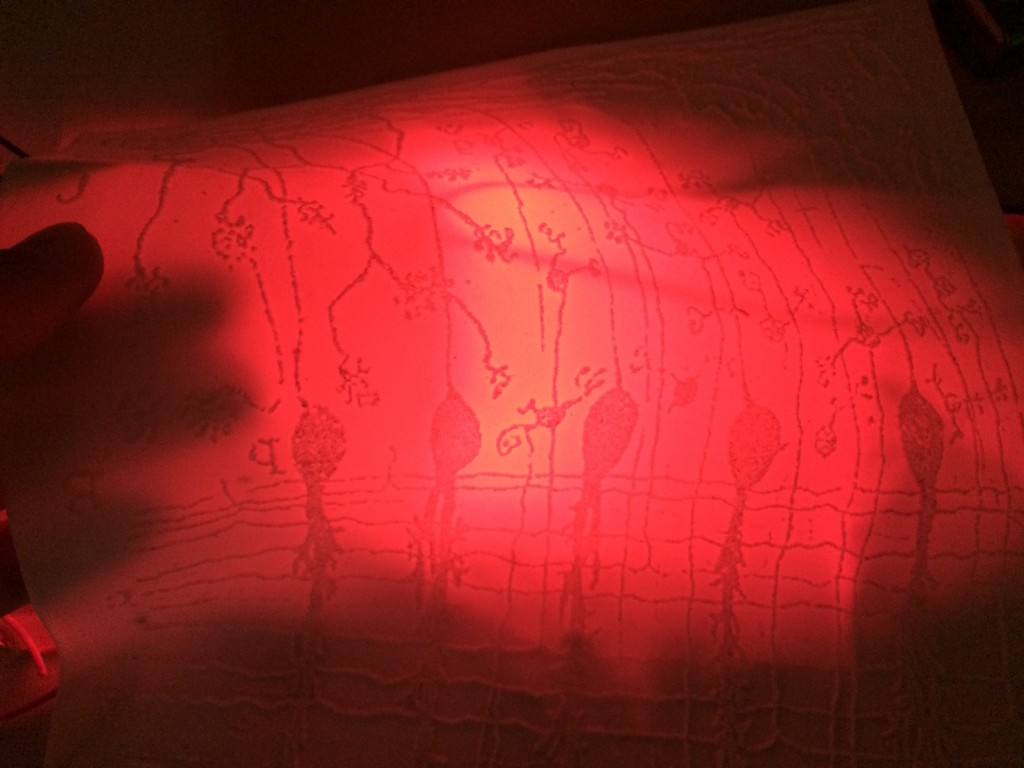
I prepared also another test for the rubber, this one to make with the laser, cutting and engraving in order to have surfaces with holes and without holes but different thickness; I selected two nice pictures of the neurons.
I prepared also another test for the rubber, this one to make with the laser, cutting and engraving in order to have surfaces with holes and without holes but different thickness; I selected two nice pictures of the beautiful drawings of Ramon Y Cajal, thinking also to use the pattern do obtain a natural schema to connect my leds together.
I cutted also some elements with the same shape of the element that I made for the led, because I want to try to make a space for the led on the surface of the skin but without holes.
The base is made with wood, mdf 3mm;
For the cut I put 100 of power and 6 of speed;
to engrave, 100 power and 5o speed;
I also did more skins with the chair because I liked very much the texture … and I had prepared a lot of rubber anyway!
The micro controller “Synduino”
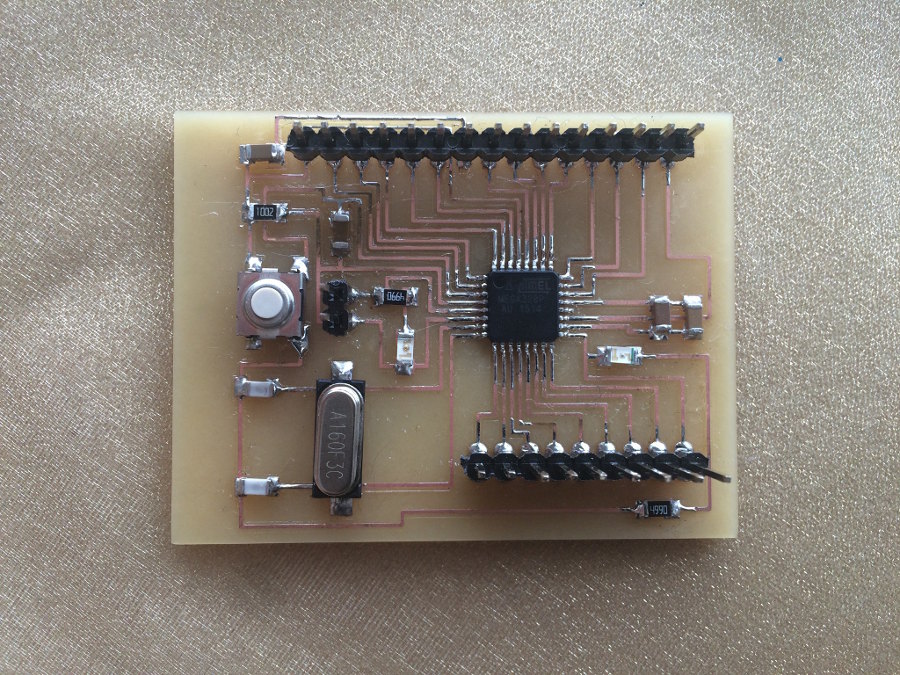
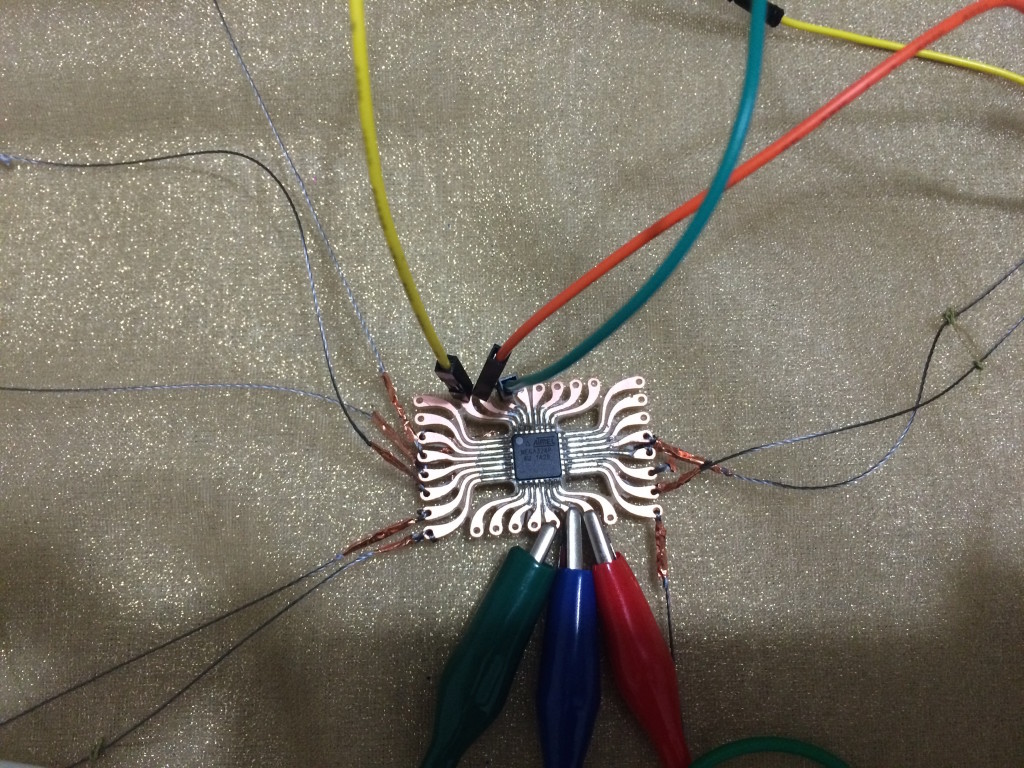
To make my microcontroller, as I tell before, I decided to use as a base the satshakit of Daniele Ingrassia, because I think that the structure is very clean and it has just the essential elements that I need for my project: I have only 3 pins connected with a RGB led
At first I built the sathshakit and I bootloaded it more or less without problems;
The second step was to run my codes with the board and it worked very well, but using connecting the board I realized that I need another pin for the ground and another for the power because here there are only one for each of them.
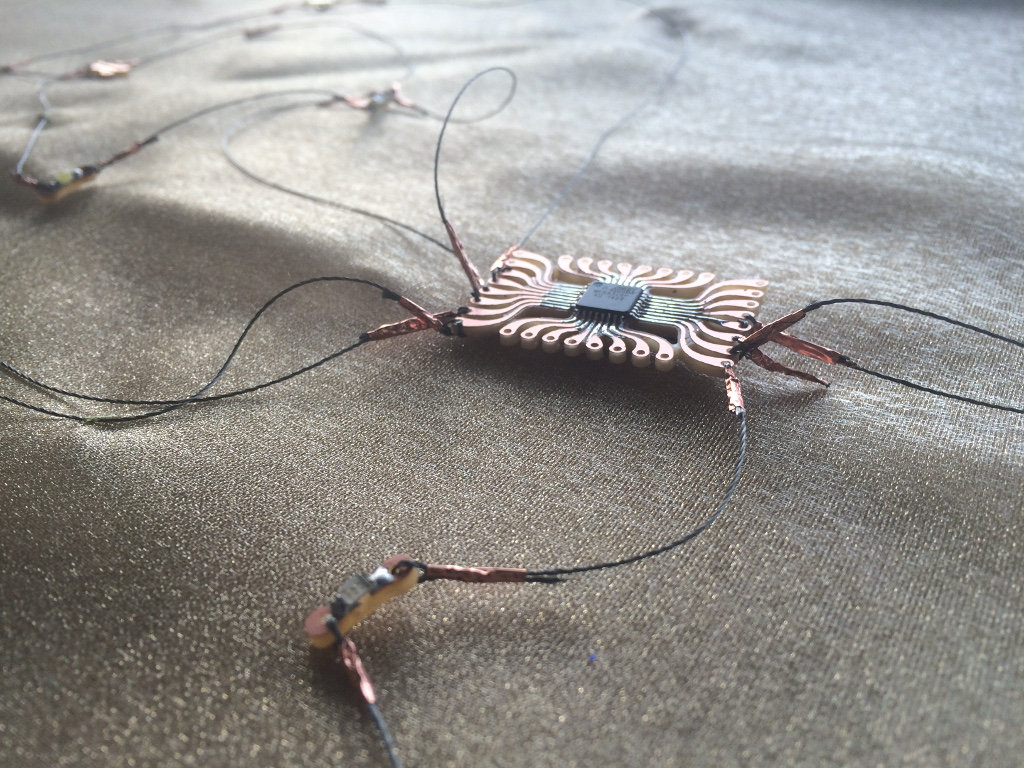
In decided to make my own board based on this one, adding the two pins that I told, and maybe removing some pin that I don’t need … but then thinking about this, and about the concepts that I developed for the “body” like connections, flexible skin, something wearable and personal and sewing with the conductive thread, I decided to make an experiment with my board, separating all the components from each others, and joining them with the conductive thread, and I call it “Synduino”
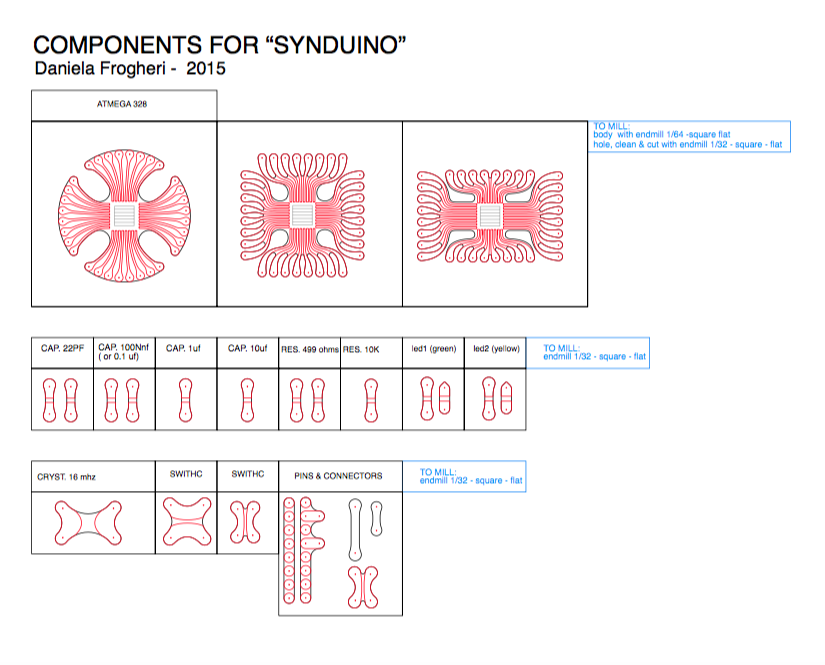
To make the Synduino, I drew a kit of small elements for each component, like the ones that I did for the led.
Here another option for the atmega 328
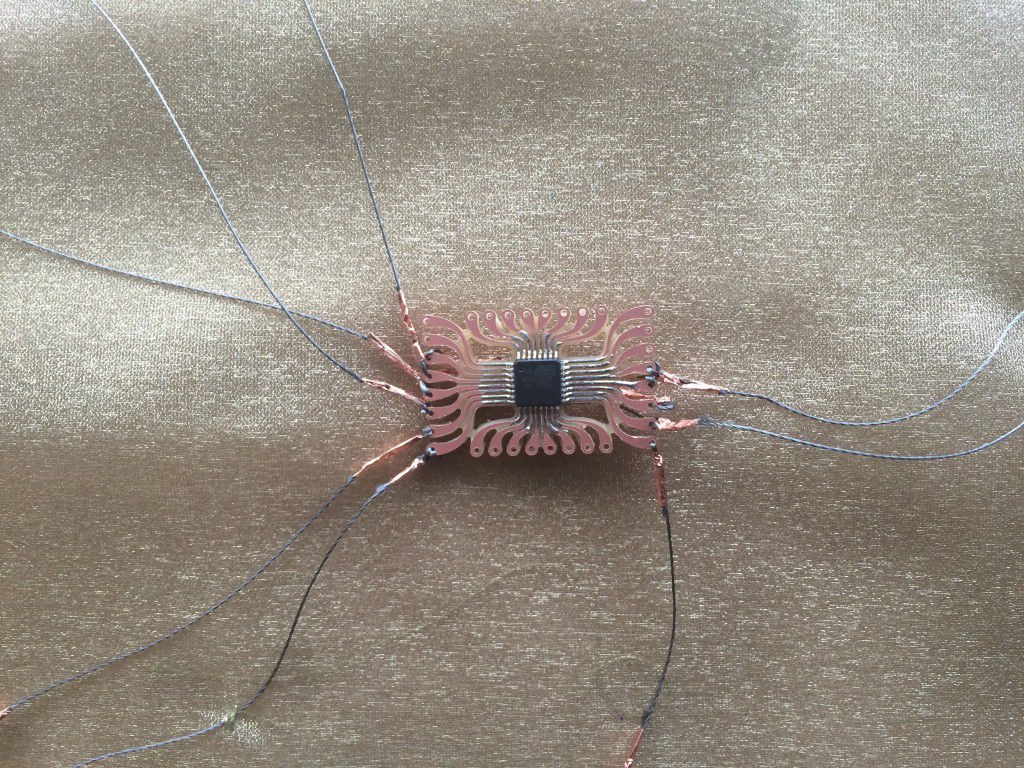
The process to connect all the elements was very long and it required a lot of patience!! I had to used the connective tape, because the wire is a little rigid and the nodes opened!
When I was connecting the elements, I realized that maybe some of them could be put together, like some capacitors … led and resitence … but I had no time to make this change!
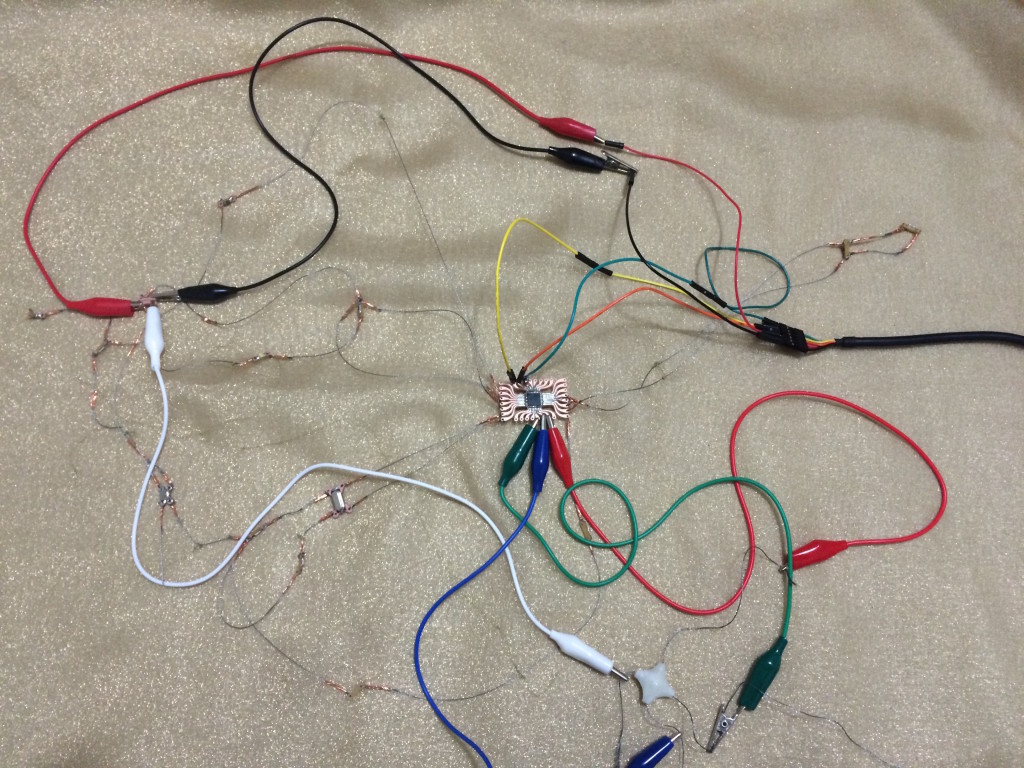
it looks nice…like a jewel …but …unfortunately it doesn’t works! …I tried all the pins, all the connections … at first, I forgot the connection that join power an ground that crosses the board beneath the processor, but I fixed it with wires ( anyway all my board is connected with wire) … I take care also with the intersections of the thread … perhaps I divided to much the components and the distances are not the correct; I think that maybe on the case of the processor, is not necessary to disperse all the elements; I had to make another one, maybe with wires, but not so fragmented. I maybe by dividing only the switch, the less and putting more connection for gnd and power.
For this project I had no time to fix the micro controller, and I used the starch that I did, to complete the activities;
here some images of my “hyper wired synduino”
Color of numbers, colors of alphabet, colors of words!
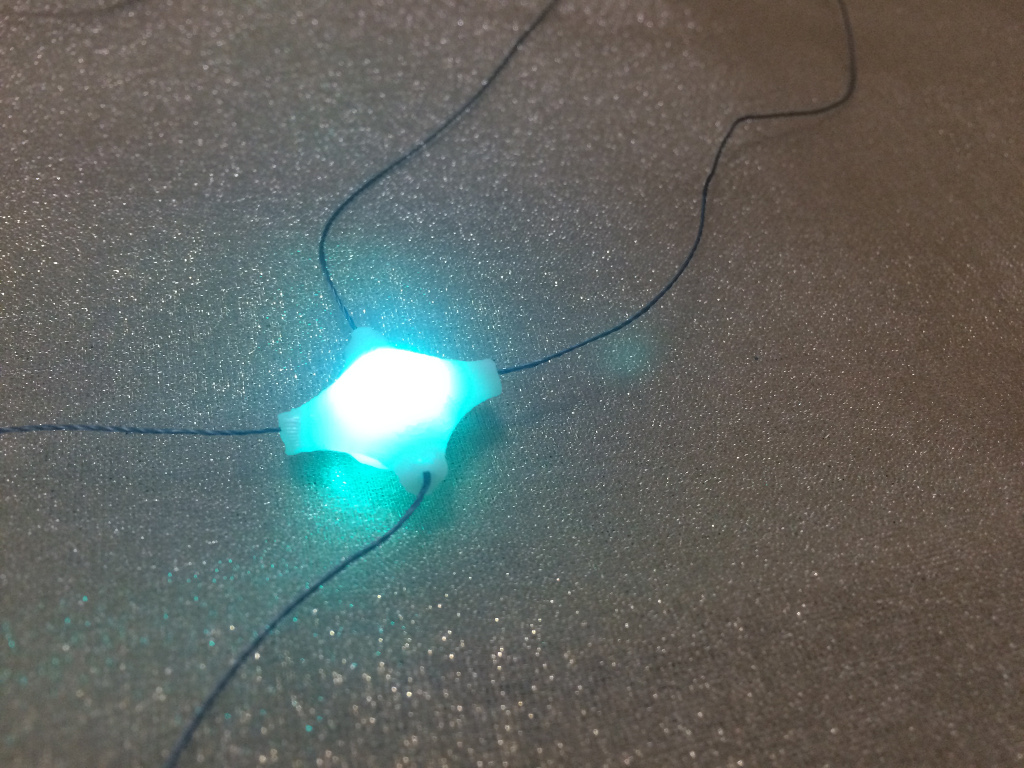
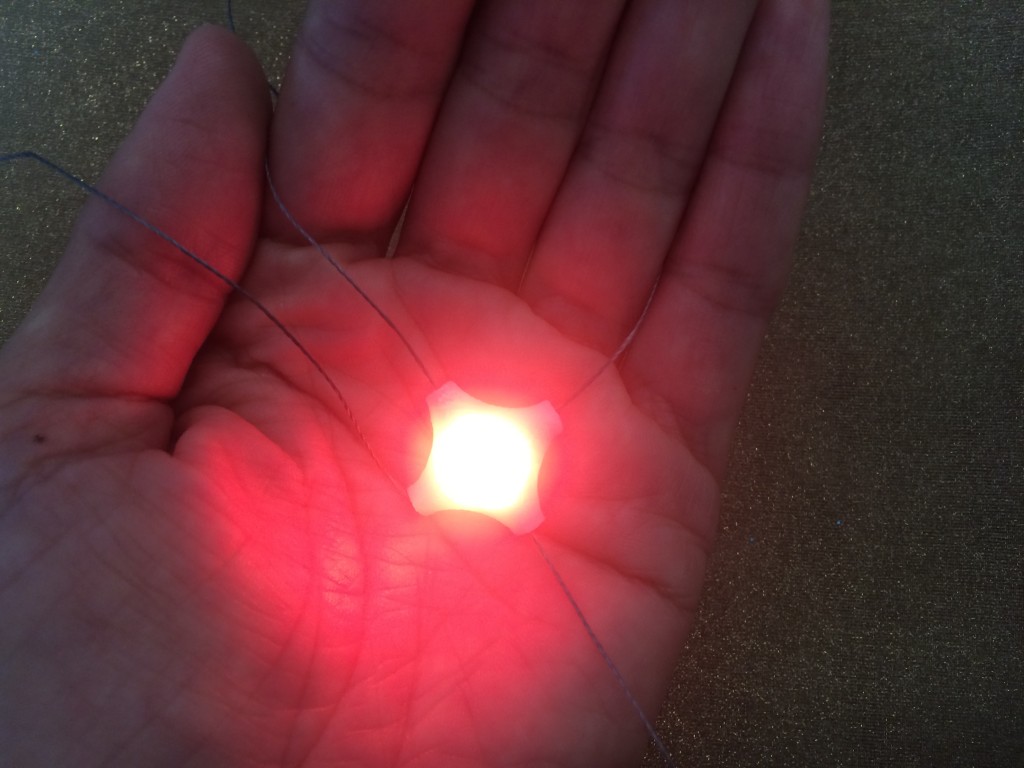
Finally, here you can see I the codes working with the body or better, the bodies …
SynElements: one
‘z’
here letter is a char
RGB = 3 numbers
delay = number
3
here number is a int
RGB = 3 numbers
delay = number
here letter is a int
RGB = 3 parameters playing with different speed
delay = number
“f”
here letters and words are a string
RGB = numbers and parameters degrading to the white, proportionally to the length of the word ( string)
delay = parameter proportional to the the length of the word ( string)
SynElements:connections
‘j’
The system works well also with more than one led; I was not sure about this, before t¡to do the first test. here you can see the color of the elements showing the “j”
With this thread, is very important to check the intersections; I did some pieces in order to eliminate the intersections,bun away the wire is inestable than I though; In any case, the system is working well and I like it!
here you can see the ” b”
here you can see the number 9
and here the “g” …
… running the code a lot of times, the Syn-elements was “tired” … and they start to do something that I expected:
as you can see the led are loosing gradually intensity for the nature of the connection …
this was “a” ..
but when I put “alfa” on the code that degrades to the white … this is what happened!
the color was programmed to change … with the delay due to the connection between elements … and with the different intensity of the power … made that the system generates something that I was studying how to do with the code, but that for the moment I cannot do: simulate the change of color of the words with different gradient in each element …
It was a nice surprise and I spent a lot of time playing with this new game … this is the first “present” that I received from the material world connected with the Synesthesia …
here some others beautiful “errors” … thanks which I started to understand better the magical relation between inmaterial things and matter … and now much more than when I started, I’m really sure that to connect personal synaesthesia and physical things is something that I have to still studying and doing.
Color of numbers, colors of alphabet, colors of words!
SYN SKIN
I’m very happy with the work that I did with the Syn-Elements … but my work is not finished! I have connect my system with the skins that I made with the rubber.
I have 3 different skin: the ones that I made with the wooden and laser-cutted mold, and the one that I did using an existent object.
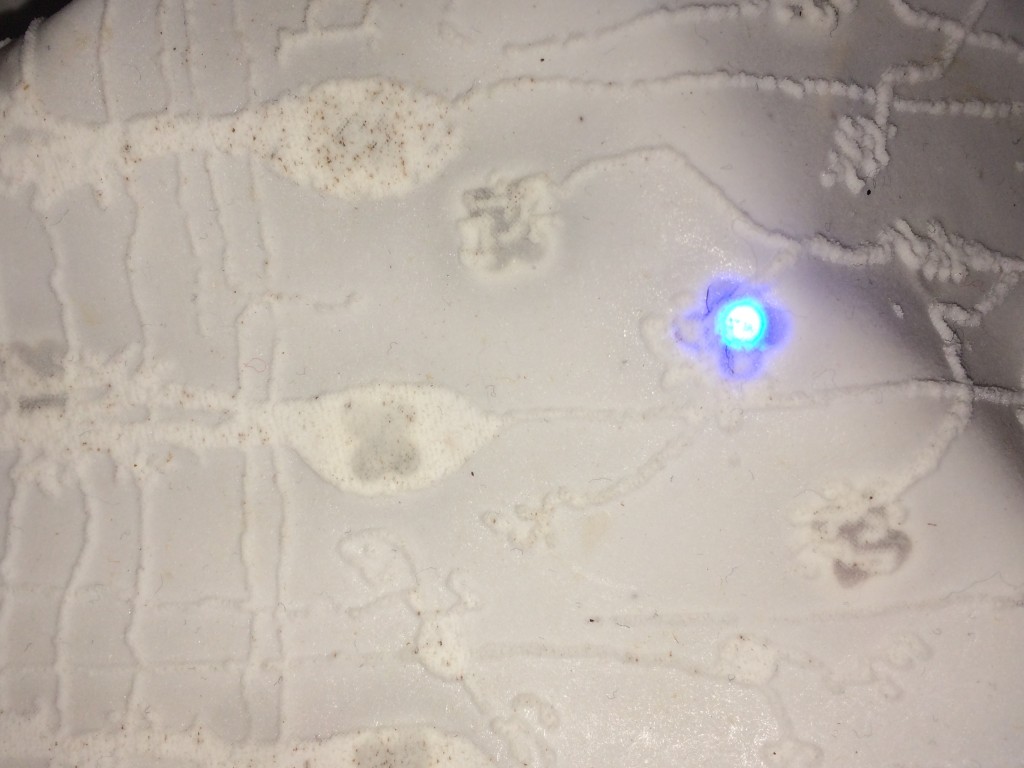
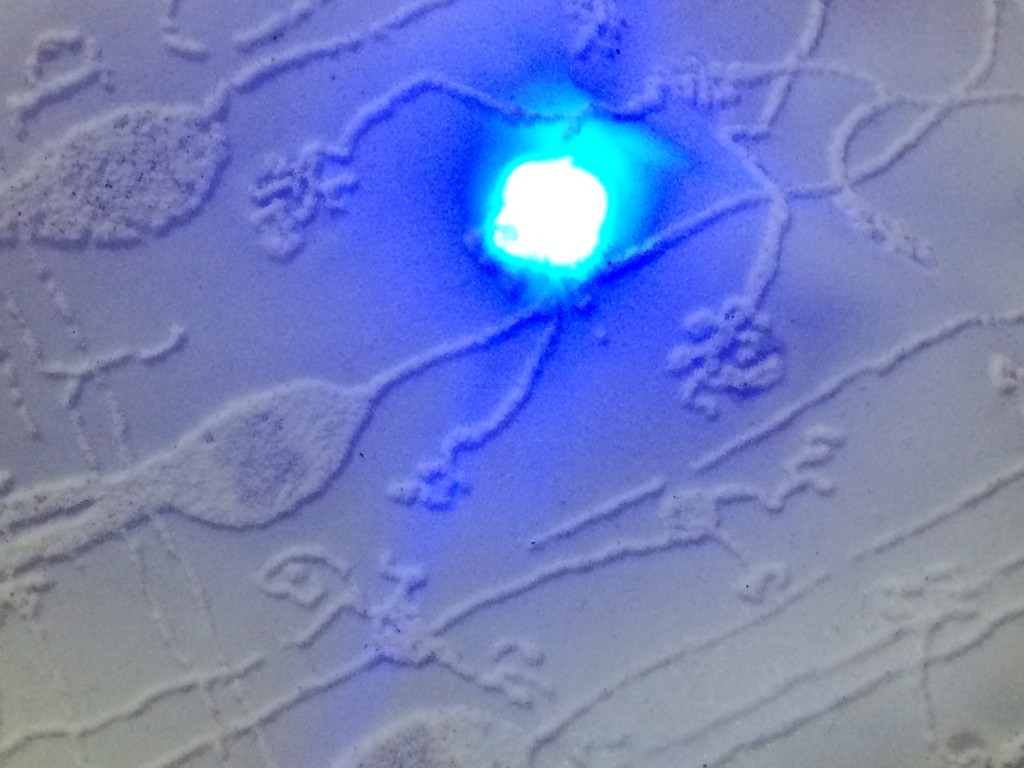
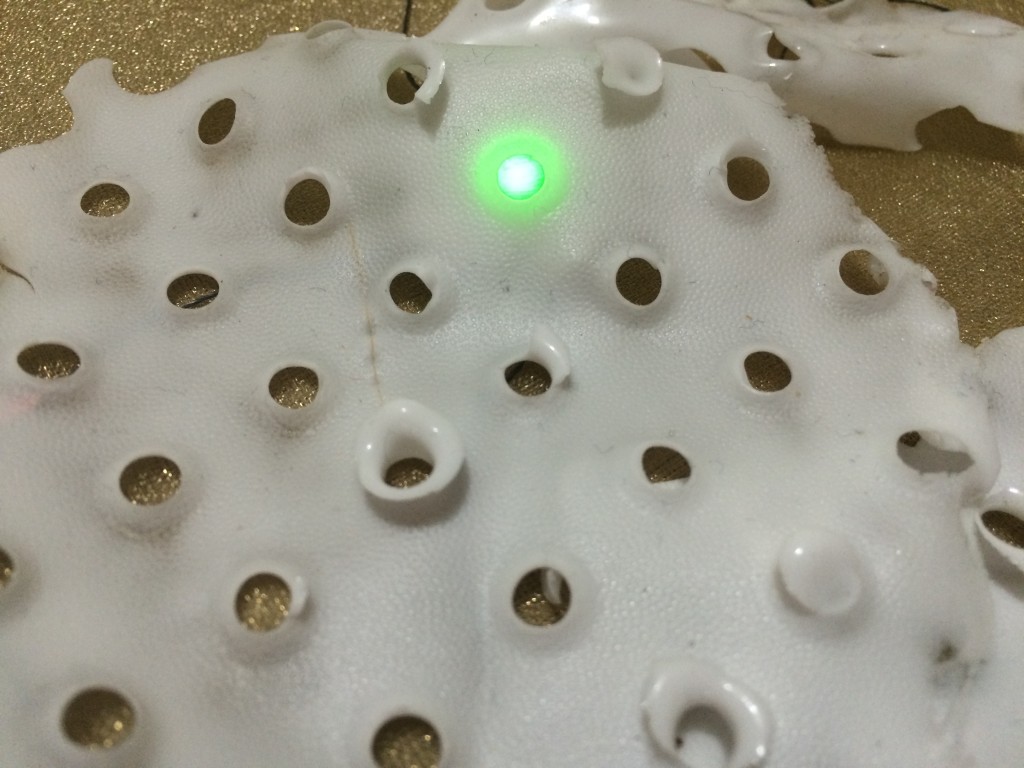
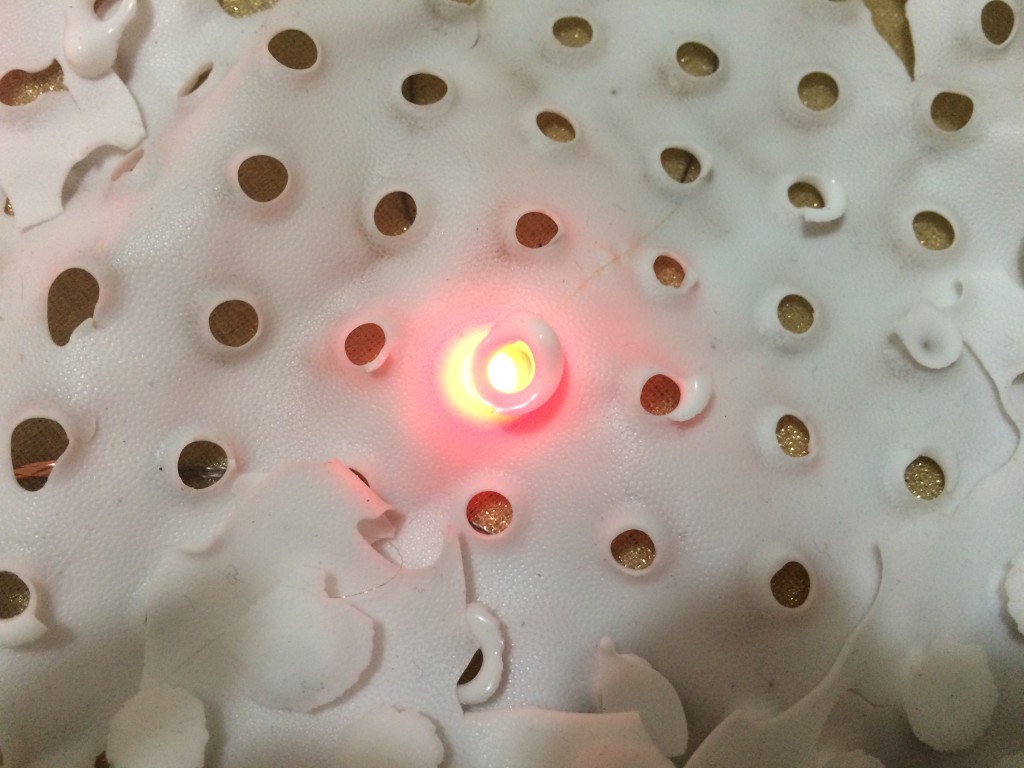
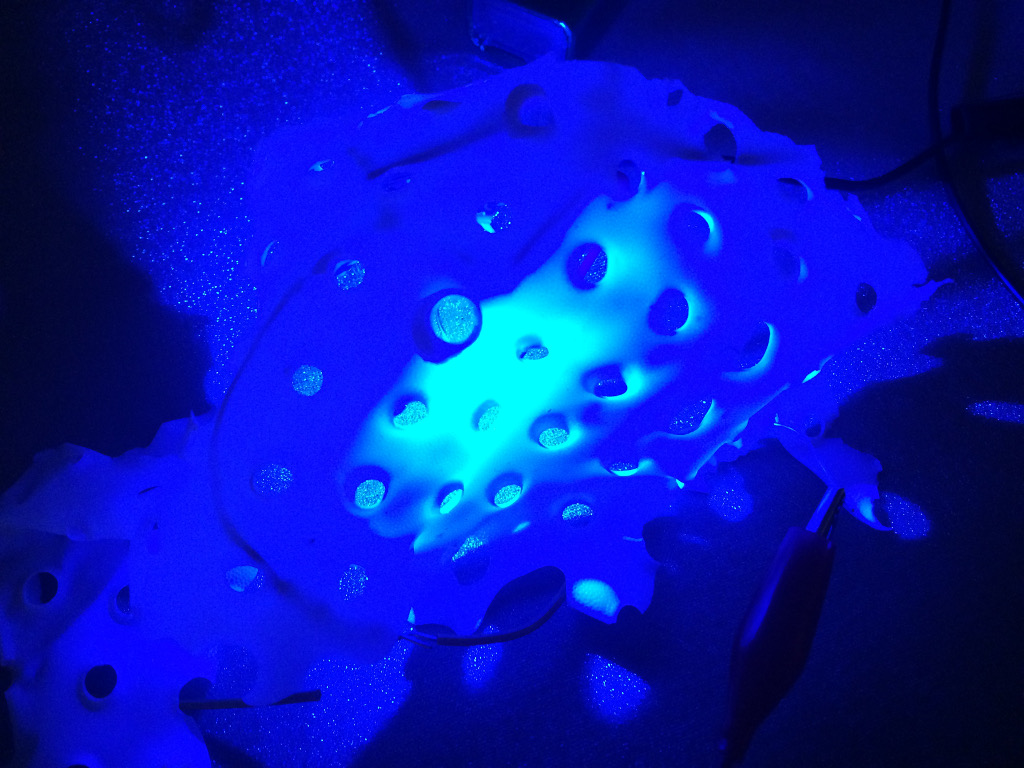
1.This skin is very thin, less than 1 mm, and with a small spaces to put inside the leds; I have to said that I don´t like so much this result, because the led, embedded on the surface, generates a light small too much concentrated in one point …
here I moved a little bit the led, and it looks better … it is a kind of flexible lamp … that now is visualizing in order: 3, 3 and 2
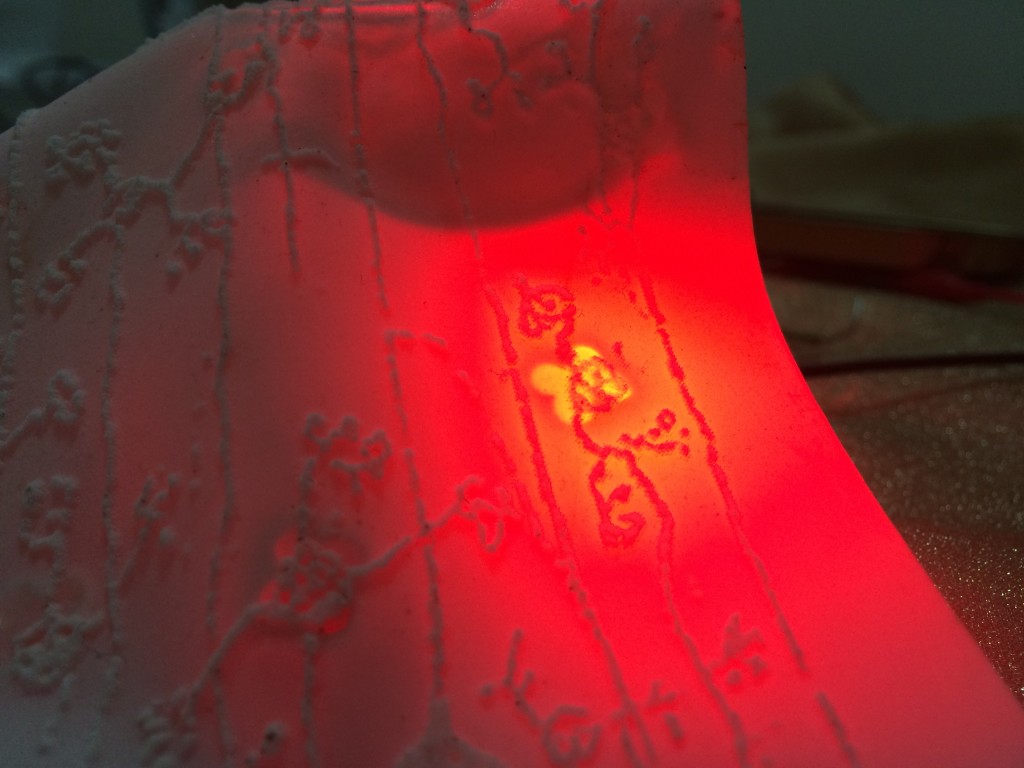
2. This is the second skin; the thickness 1s 3mm, and the here is visualizing ‘v’and ‘a’
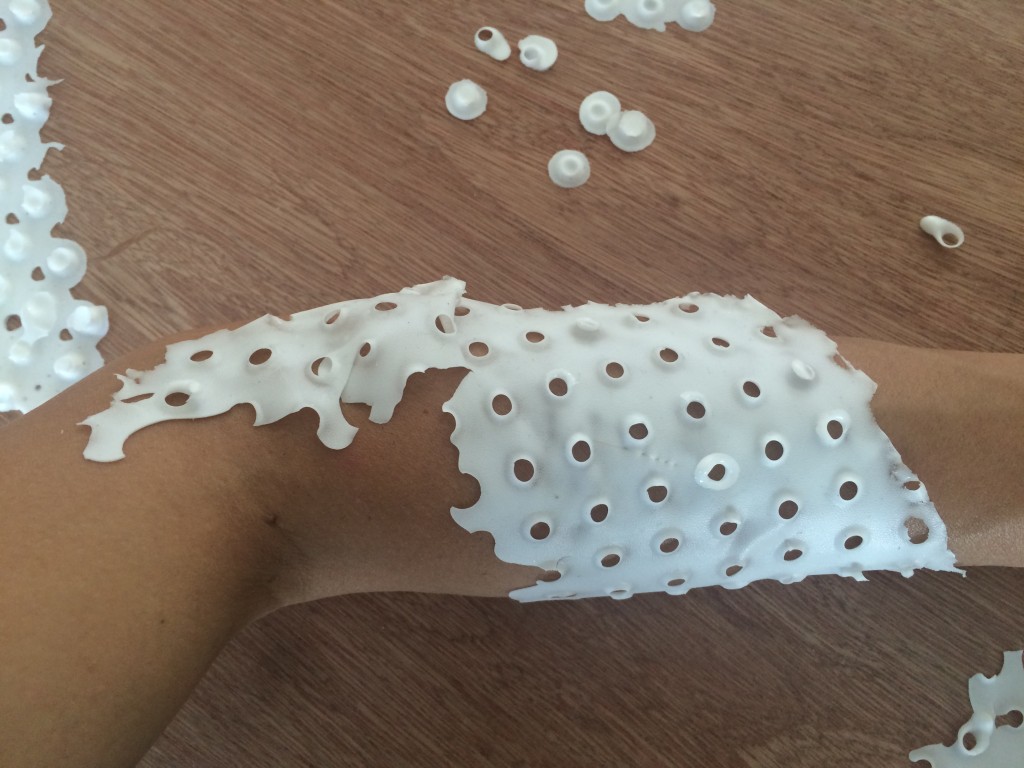
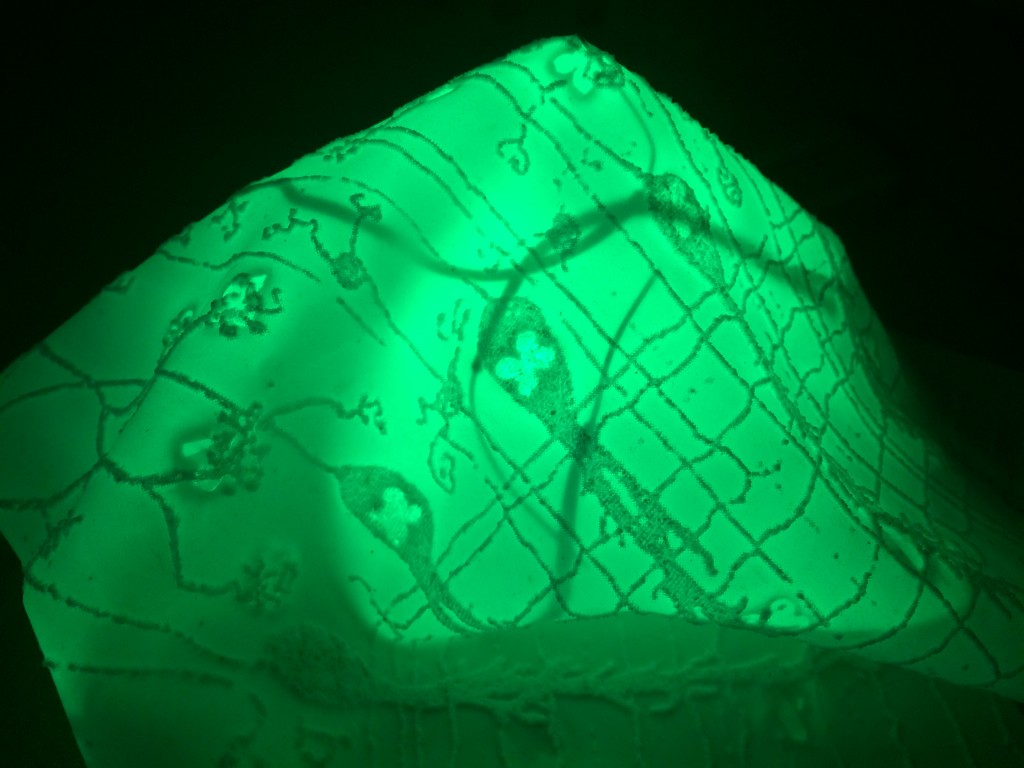
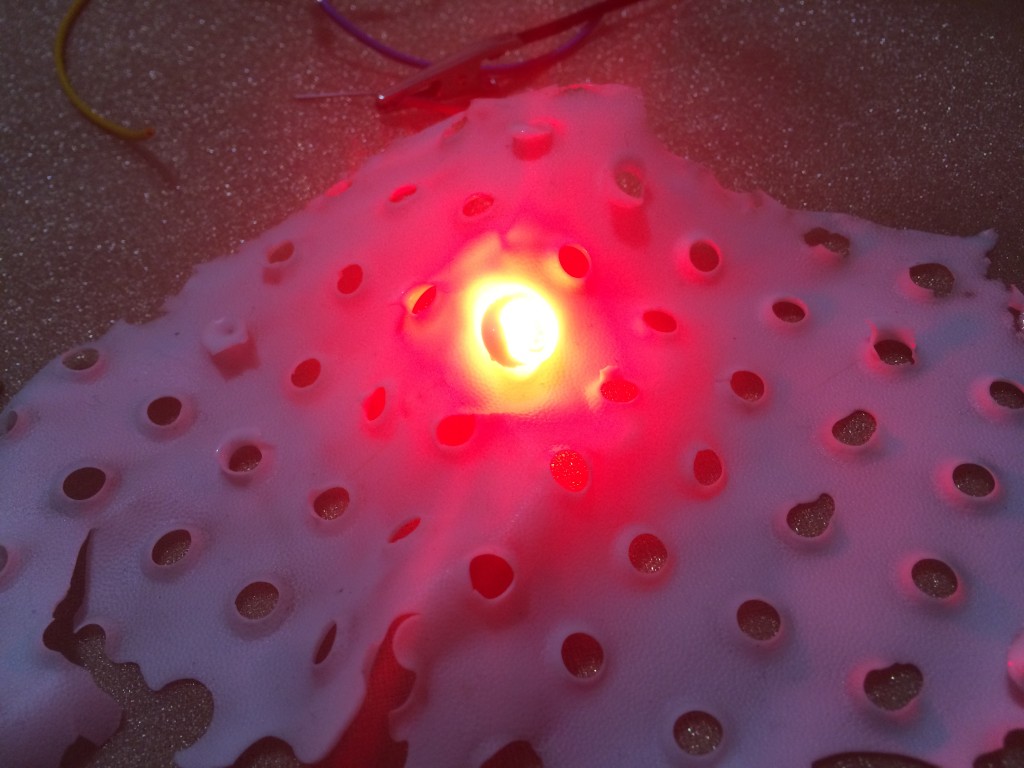
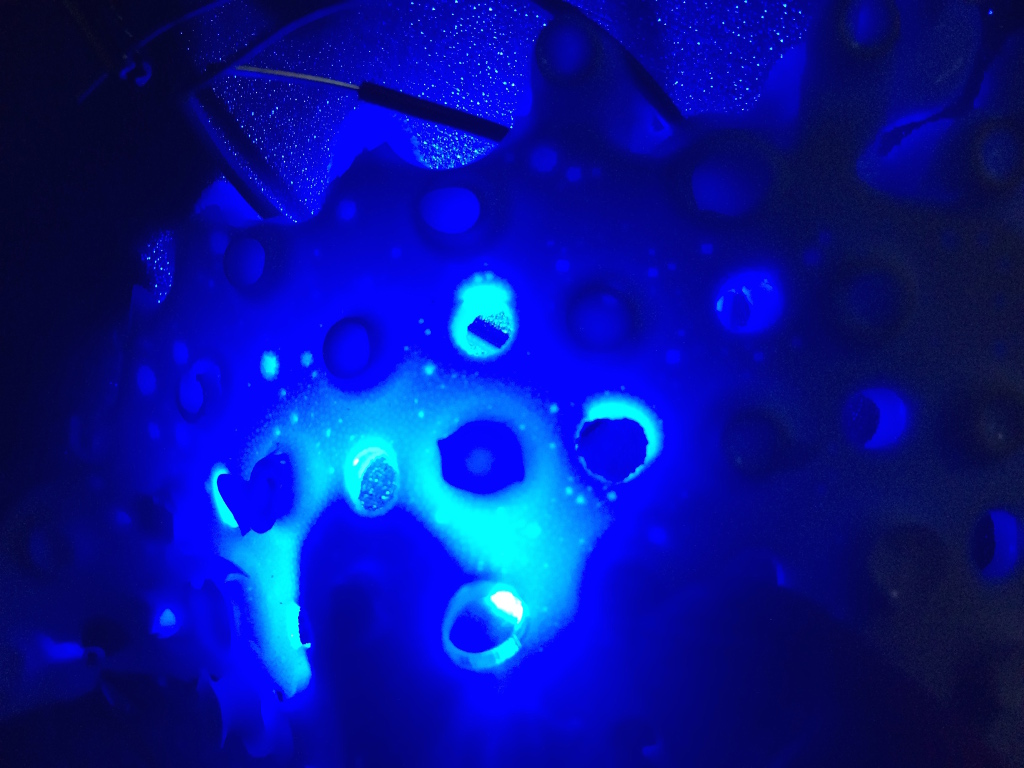
3. The last one is the skin that I made using an existent object as a mold; I like a lot this element because I think that is perfect to make a wearable skin; in this case I like both the options with a concentrate light and with distance; I had no time to make a mold similar to the chair that I used to generate this element, but I will work on this to make an object more defined and replicable. I’m planning to make the 3d with grasshopper or maybe antimony and a mold with wax; for now, this is the result … and as I know that for now it is not a replicable object, but I wants to show it anyway here as a first prototype of my idea, because, like with the Syn-Elements what happened is that the world of the material things, gave a surprise to me, generating that I was trying to do.
The combination between planning, project, research, perfectly defined things and experimentation, accidents, observations and errors … having the control of what I’m doing … losing this control for a few moment… and then take it again … and finally joining together all the results, for me is always a good way to do things!
materials, components and costs
This device is totally open , and if you want make it you need
general:
1 copper board 1 side
1 conductive thread ( adafruit) conductive thread /
1 adhesive conductive tape ( … only some pieces )
Syn-elements:
for each element
1 Led RGB smd, common anode
2 resistor 499 ohms ( or 330)
2 resistors 10k ( or 330)
3d printed element
Synduino:
1 Atmega 328p
2 capacitors 22pf
2 capacitors 0,01 uf
1 capacitor 0,1 uf
1 capacitor 10 uf
1 switch
1 led smd grey
1 led smd yellow
2 resistors 499 ohms
1 resistor 10k
1 FTDI cable
Syn-skin:
Silicon Rubber + his catalyst
wood MDF 3mm ( piece 25×25 cm ) – in my case recycling
TOTAL COST:
$3,02 USD – with 1 syn element
$ 15,11 USD – with 5 syn elements
here you can see all the details
This is the cost of the device that I did, here in Monterrey México, and with using the machines of our Fab Lab.
But this can change if you are in another site, or if you pay the work of the machines also ( to mill the elements, to print in 3d, lasercut etc.);
you can also build a different number of Syn-Elements, you can use another kind of wire, another kind of rubber for the mold skin and you can make the mold with wood, wax …as you prefers …
As you can imagine, the cost can change in order to the changes that you make.
Files:

