
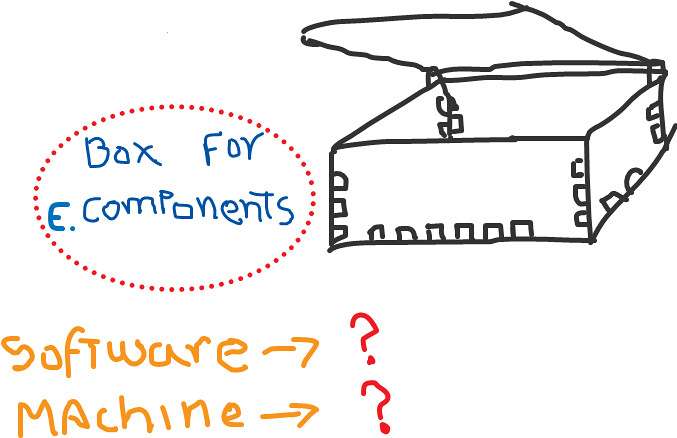
In this case I used these materials, tools and machine ...
|
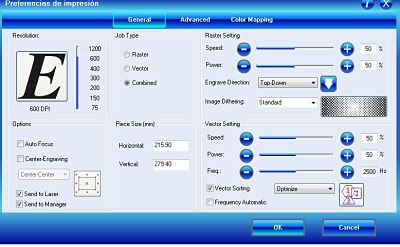
first I had to calculate the levels of speed power and frequency for each material with that I worked, for this I searched the value table of the Epilog machine, I changed some values...
|
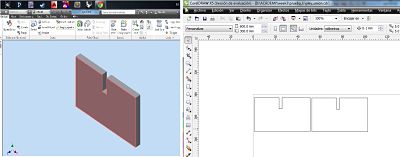
| then I tested some designs for build my box, but I had an mistake due the kerf |
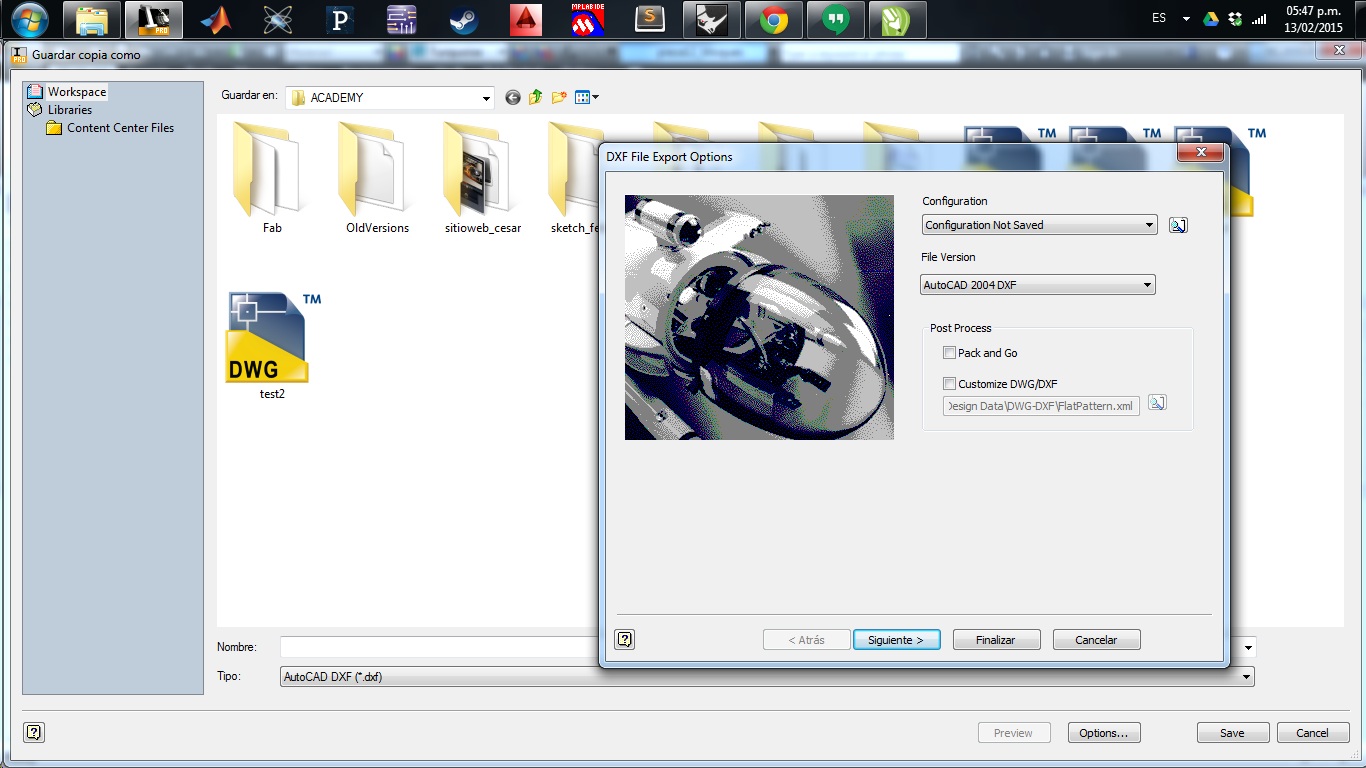
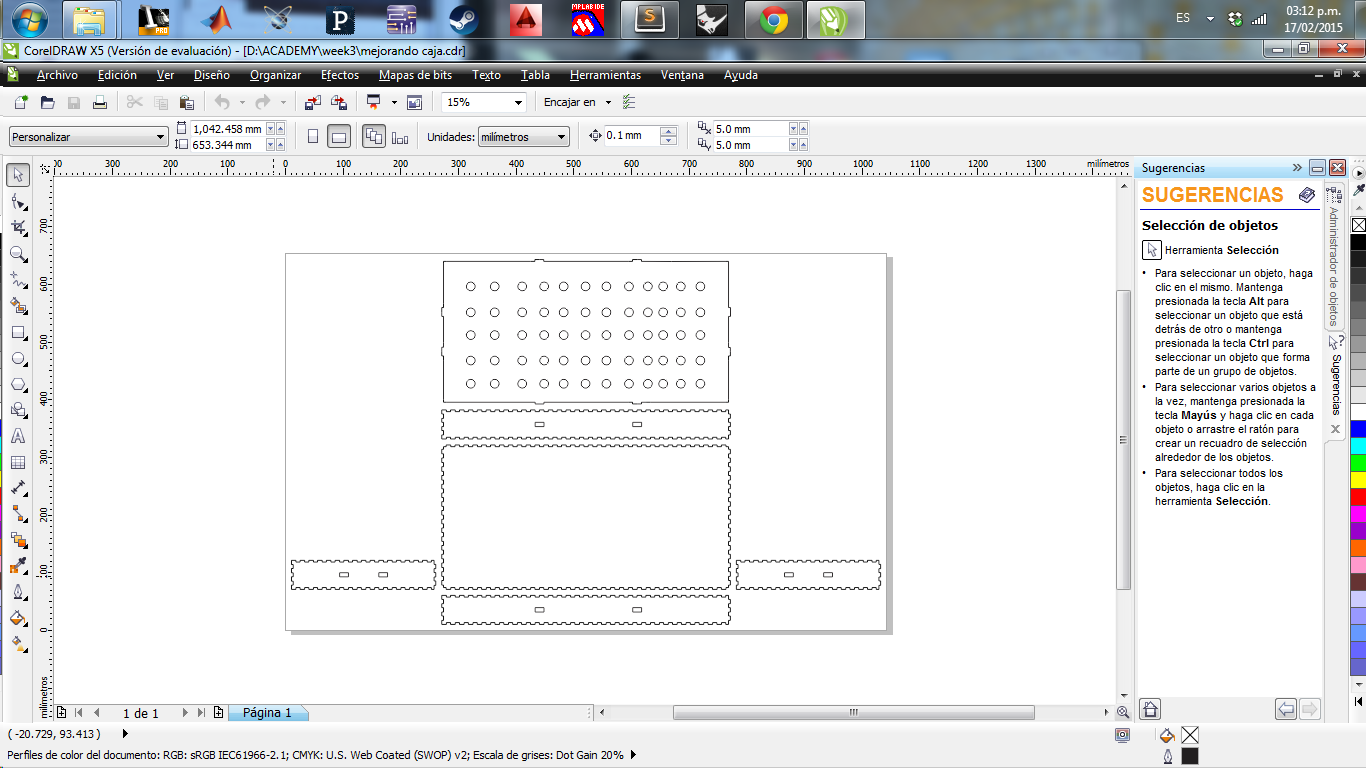
| for calculate the mistake , I did a simple design for assembly. for this assignment I did my CAD design on INVENTOR, I exported in DXF format to coreldrow for send to cutting and laser engraving |
| in these step I had a compatibility problems, so with some help, I realized my mistake , I needed DXF(2004) format for coreldraw 2005 |
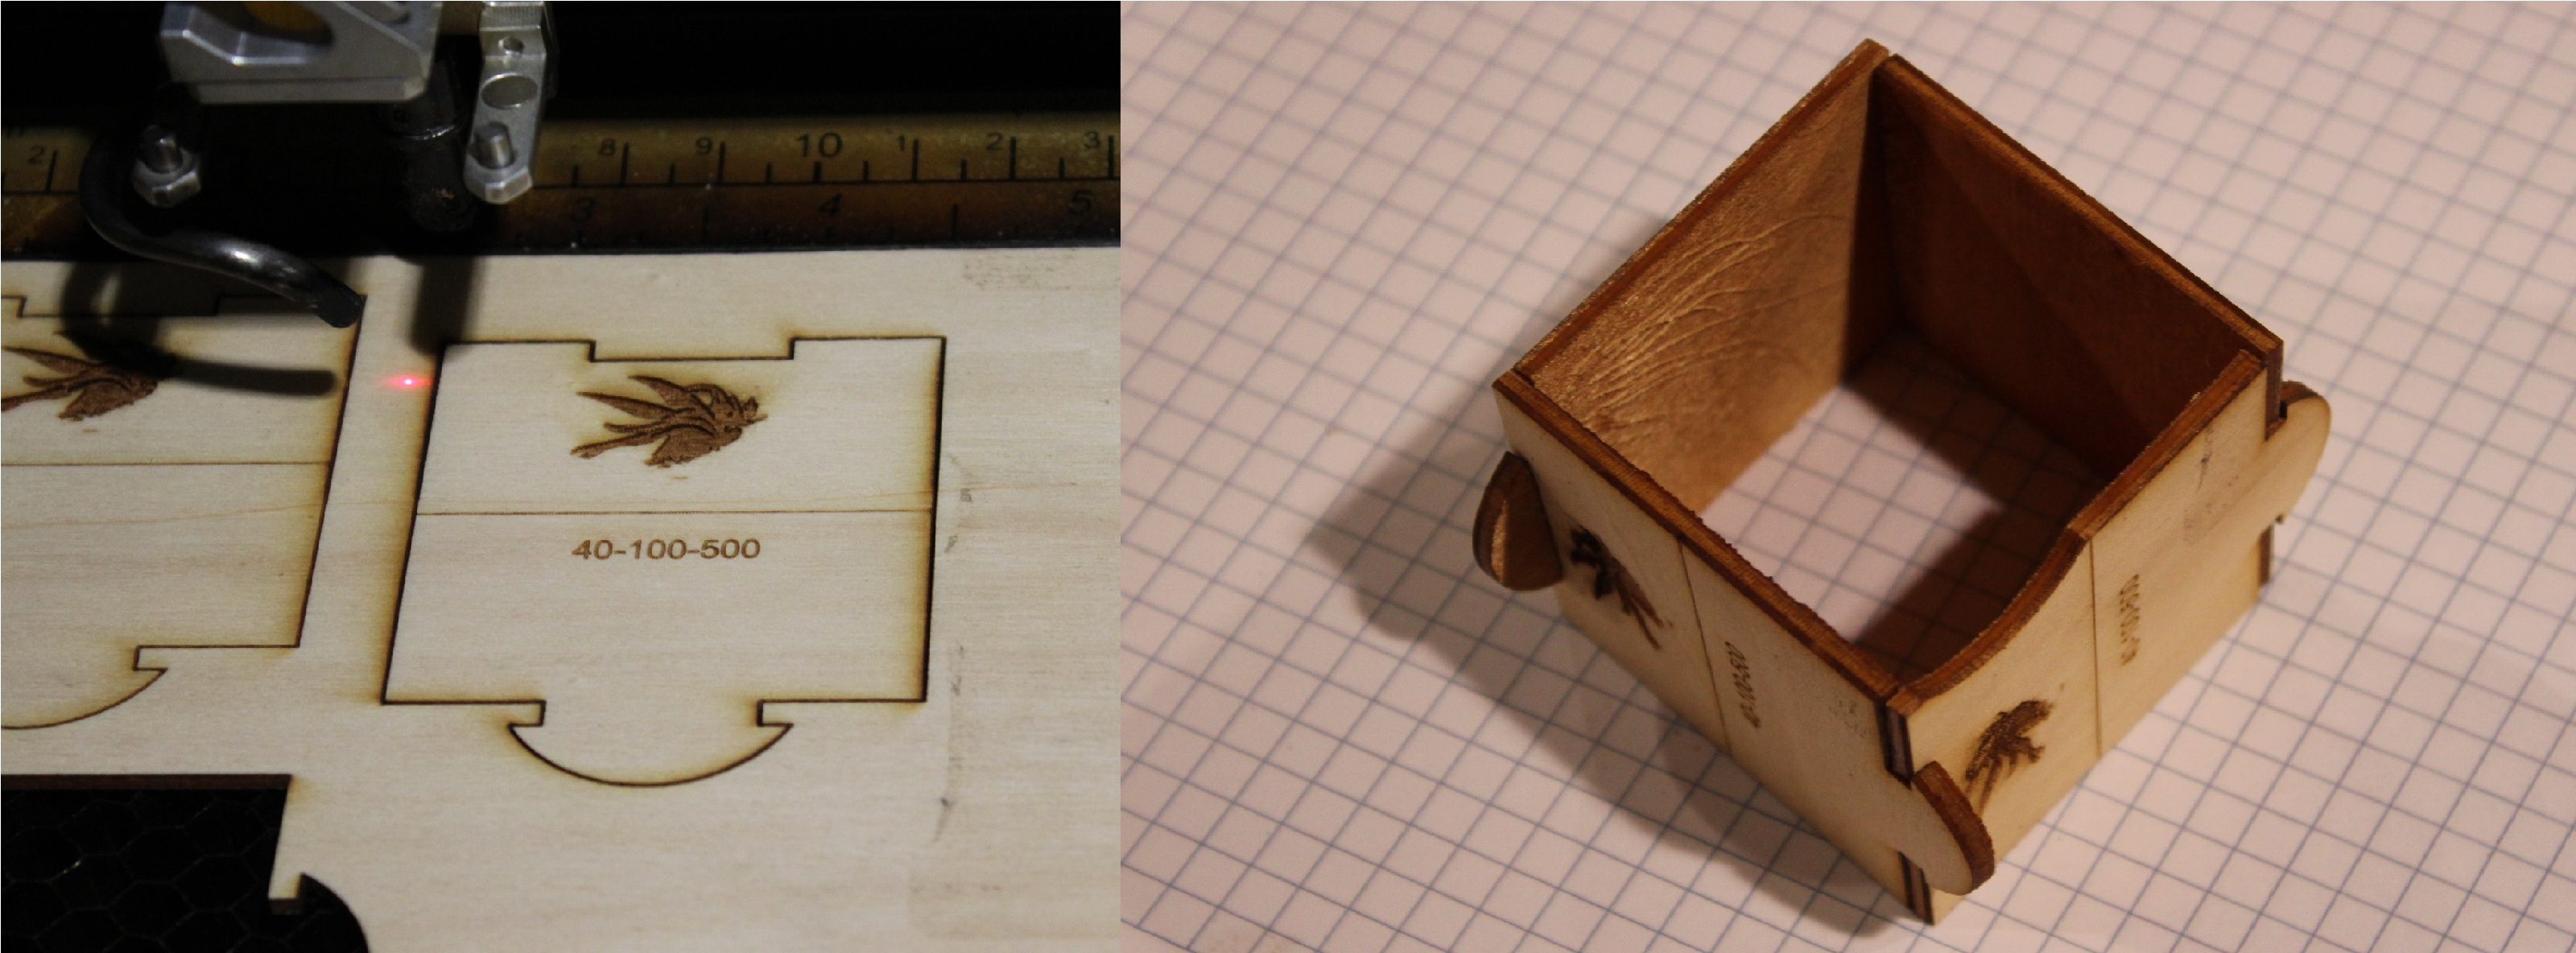
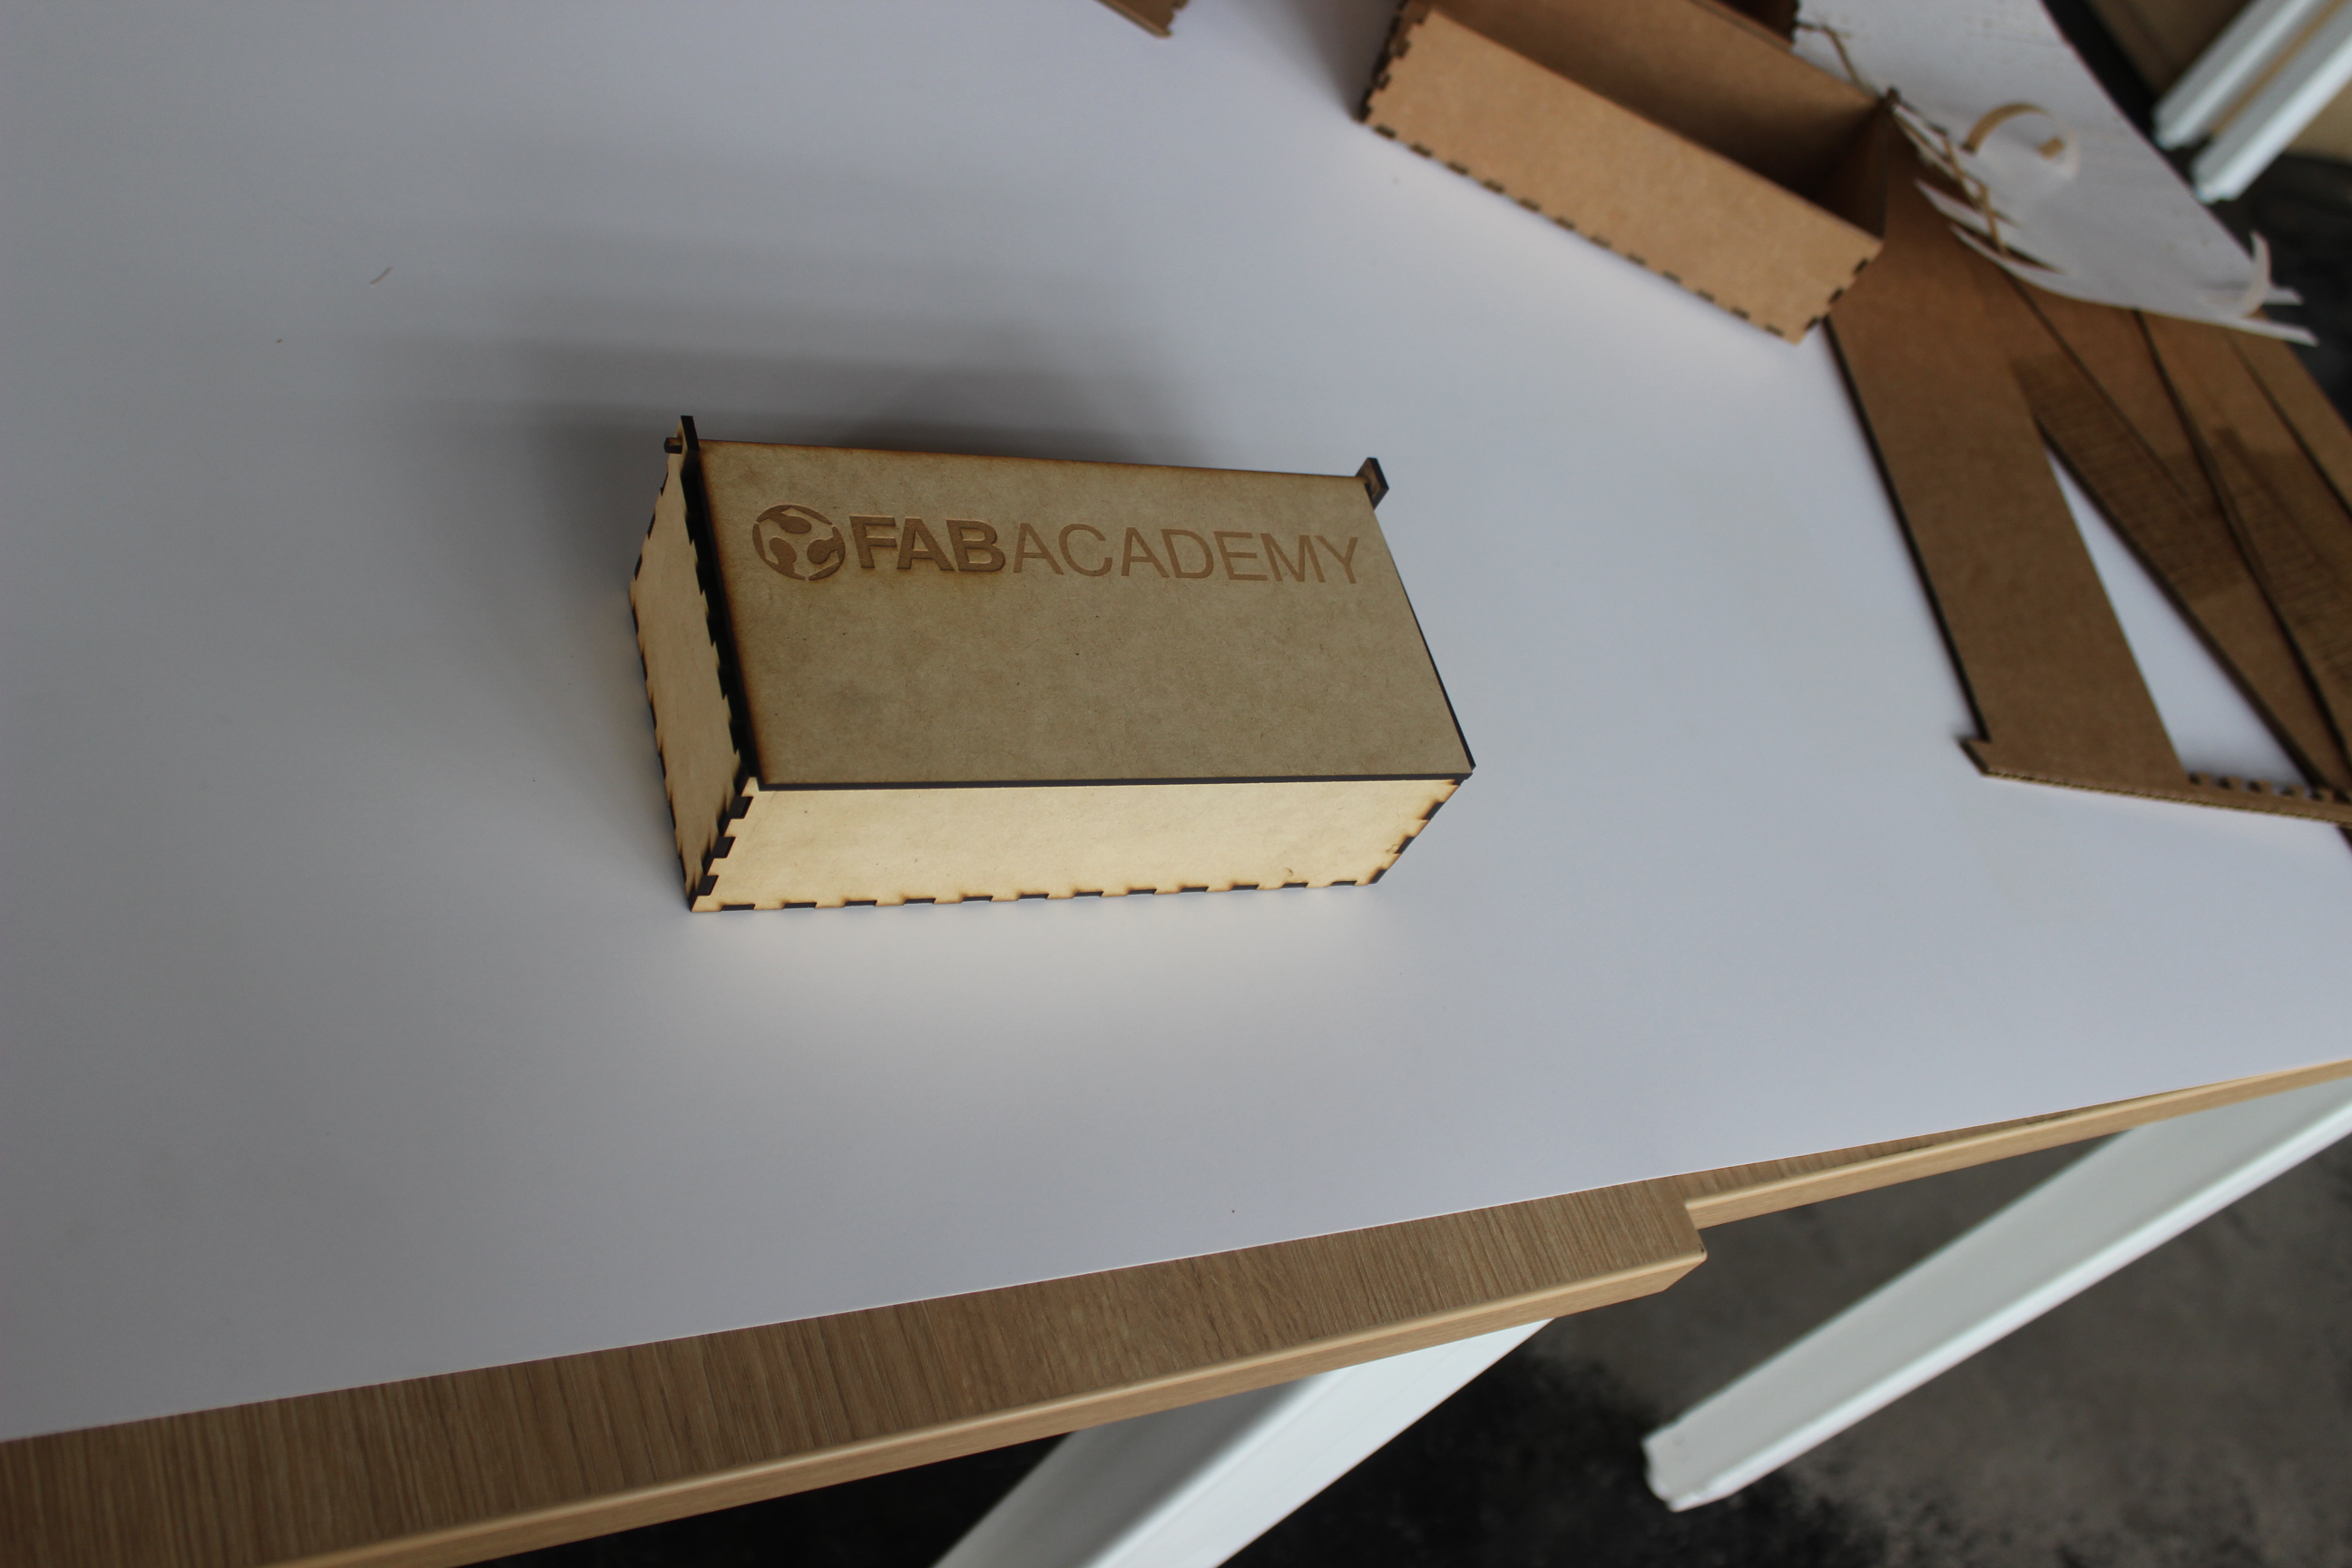
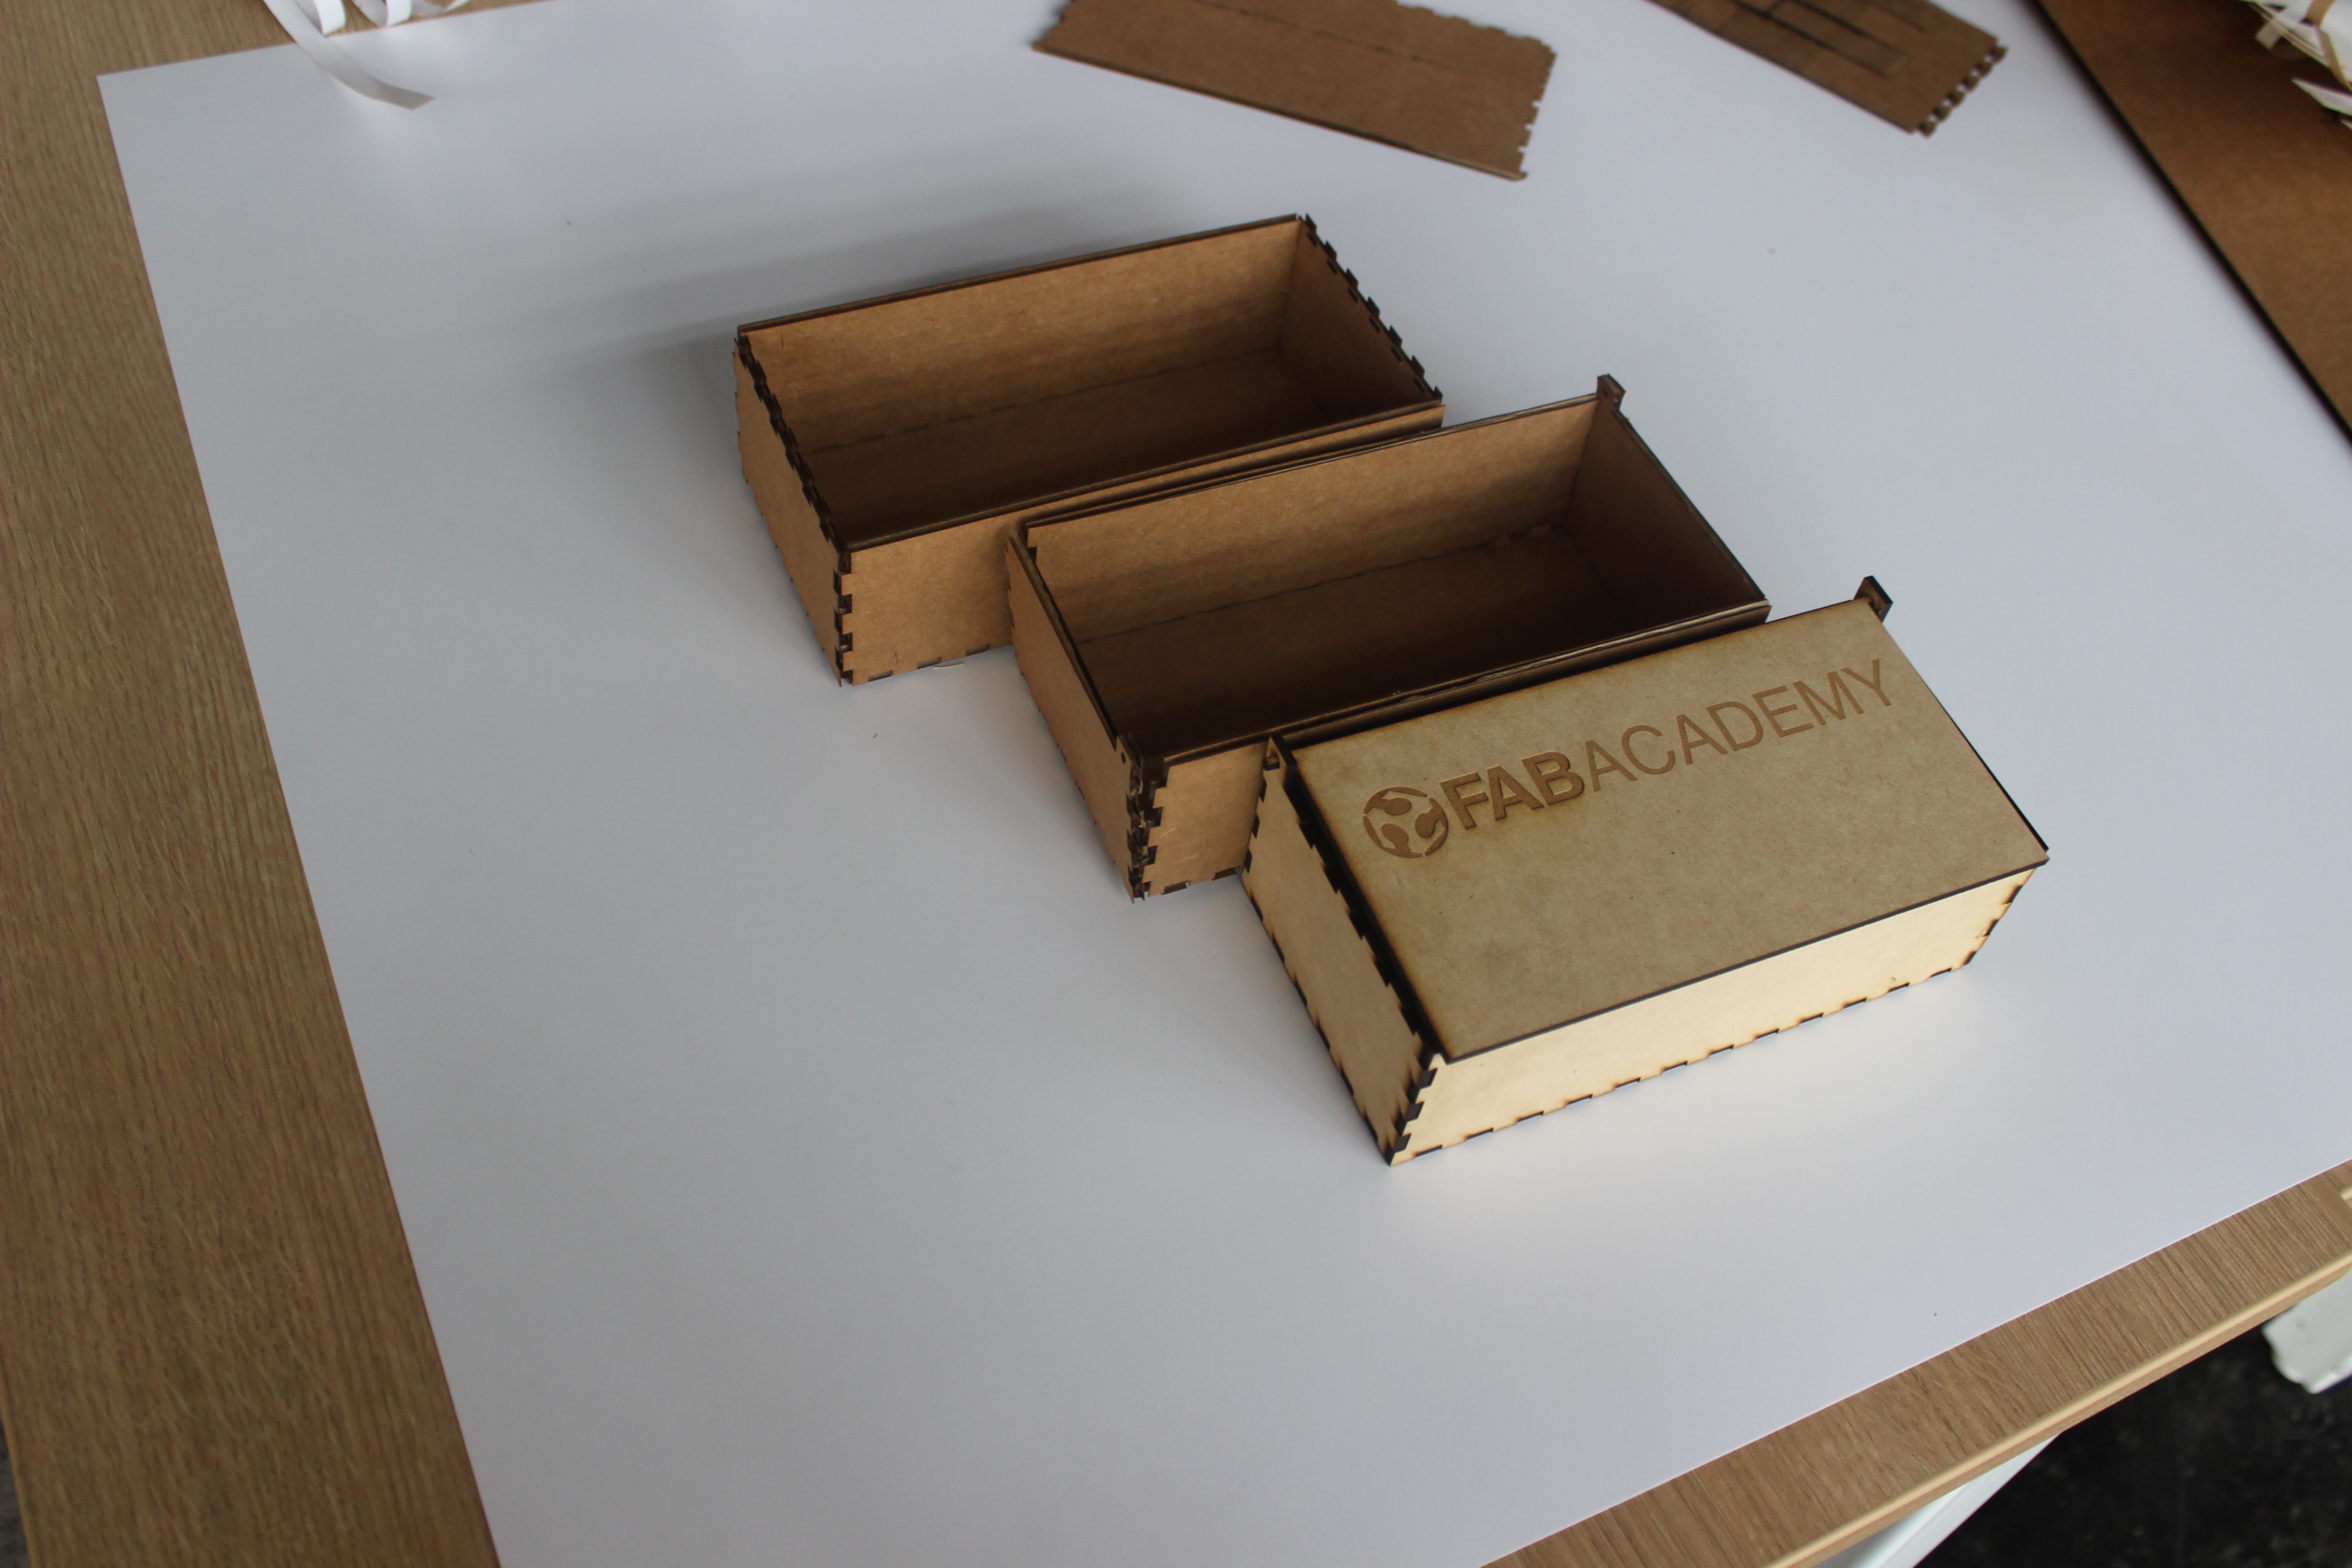
| after I did the cutting without the kerf correction and with the correction , I had these results |
Video 09-02-2015 08-41-55 a.m. from cesar on Vimeo.
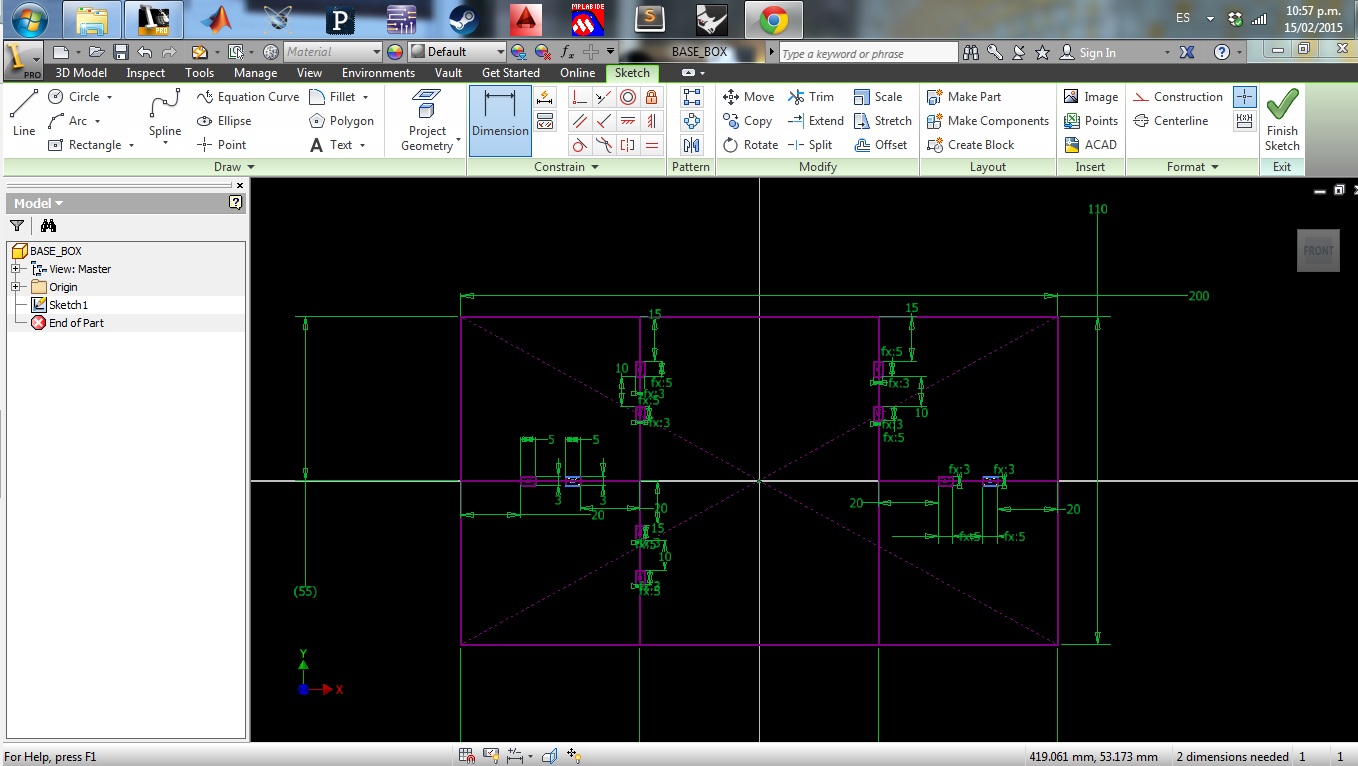
| then I designed my box on INVENTOR with parameters to change the values in each types of materials |
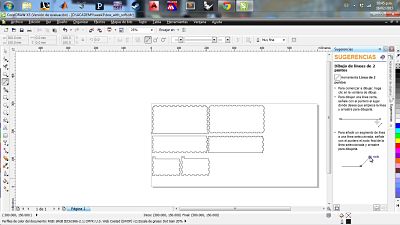
| then I exported to CORELDRAW, I did my proofs with cardboard |

| then I did the changes of dimensions for cutting and laser engraving in MDF |

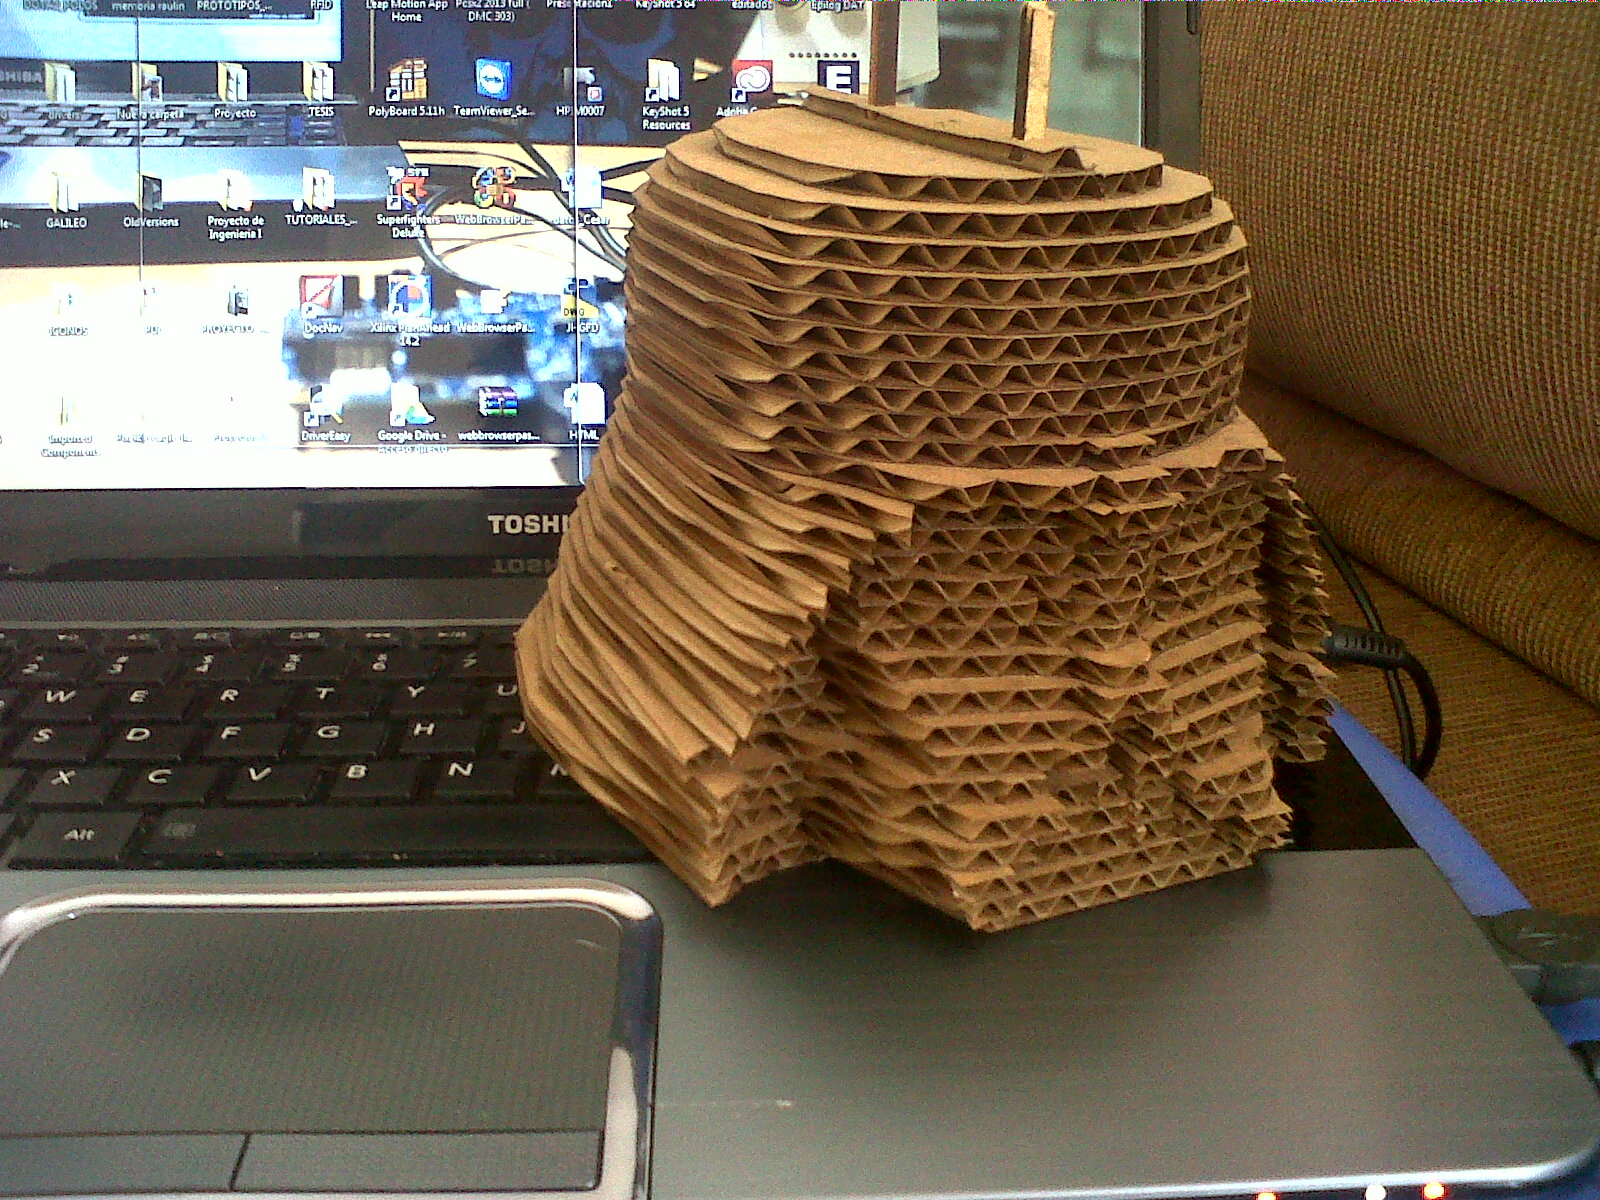
| after this experience I tried to design the main block of my project, like my first diagram on Inventor |

| I'll improve my design in base of this |

|
in the end, I did some experiment with software FLATFAB and 123Dmake , I did some changes on basic examples , it was result interesting , so I'll continue to use then design files l( DOWNLOAD ) |

