
|
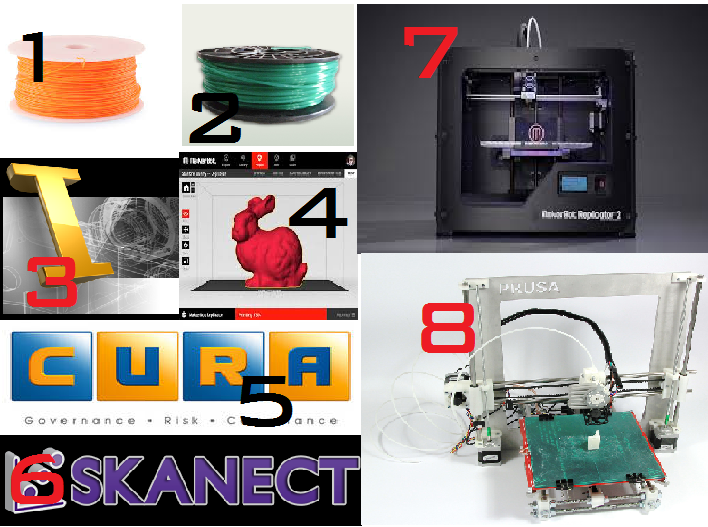
MATERIALS 1.-PLA 2.-ABS SOFTWARE 3.- Inventor 4.-makerdesktop 5.-cura 6.-skanect MACHINES 7.-3D printer Replicator 2 - makerbot 8.-3D Printer Prusa i3 |
|
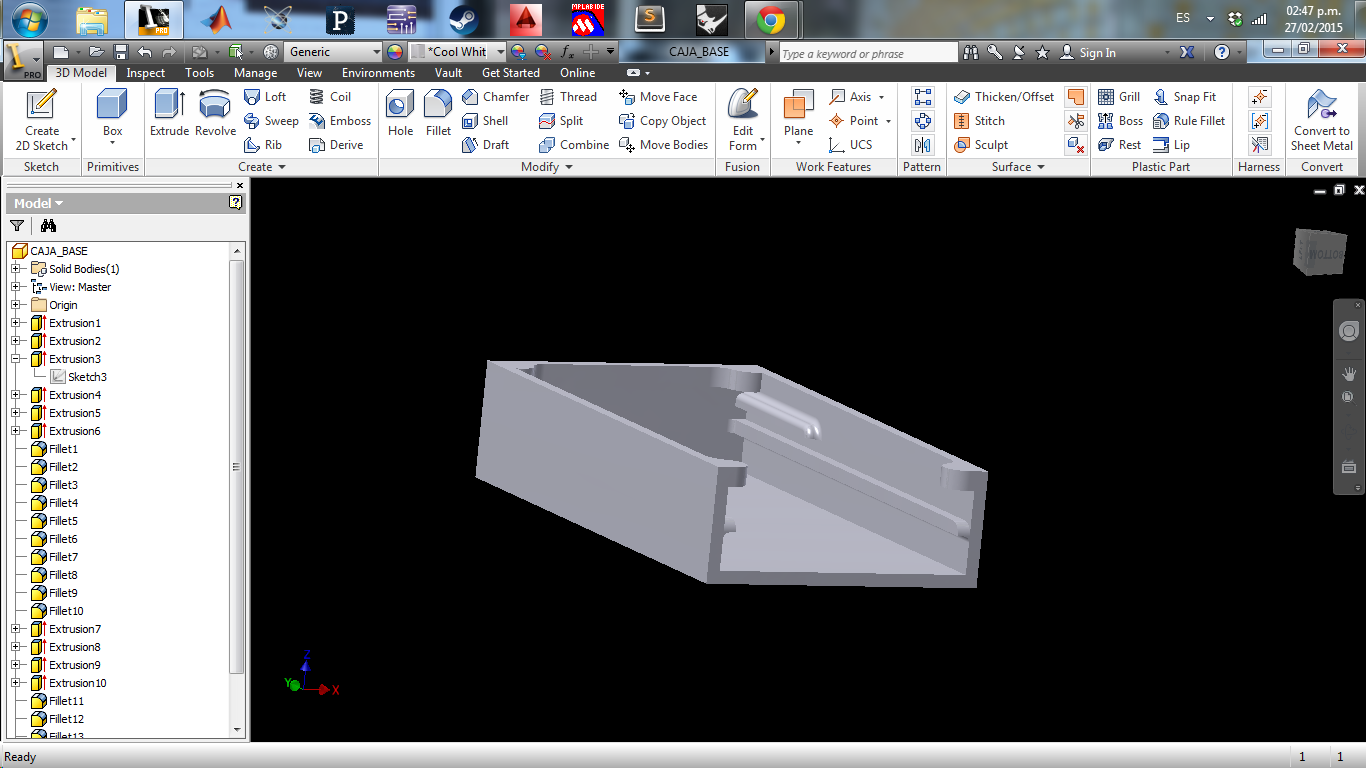
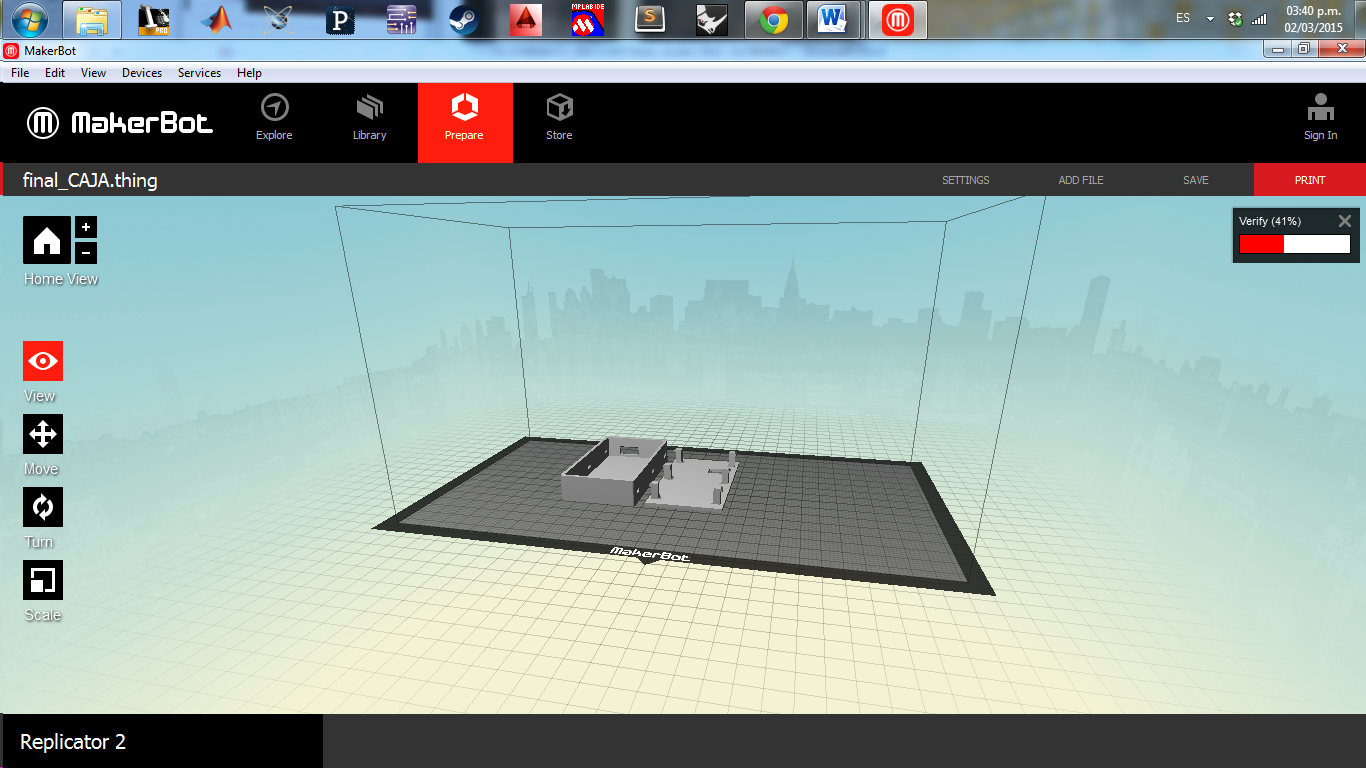
The overall pattern of my box consist of two parts if the box and lid for use design software Autodesk INVENTOR, |

|
I exported the model in STL format, open the file in the program MAKER DESKTOP because for the first impression will use the replicator model 2; edit the parameters for temperature, density and speed printing also activate the option of RAFT since this model has no warm bed and hinders printing, then choose the ideal print position and send print |
|
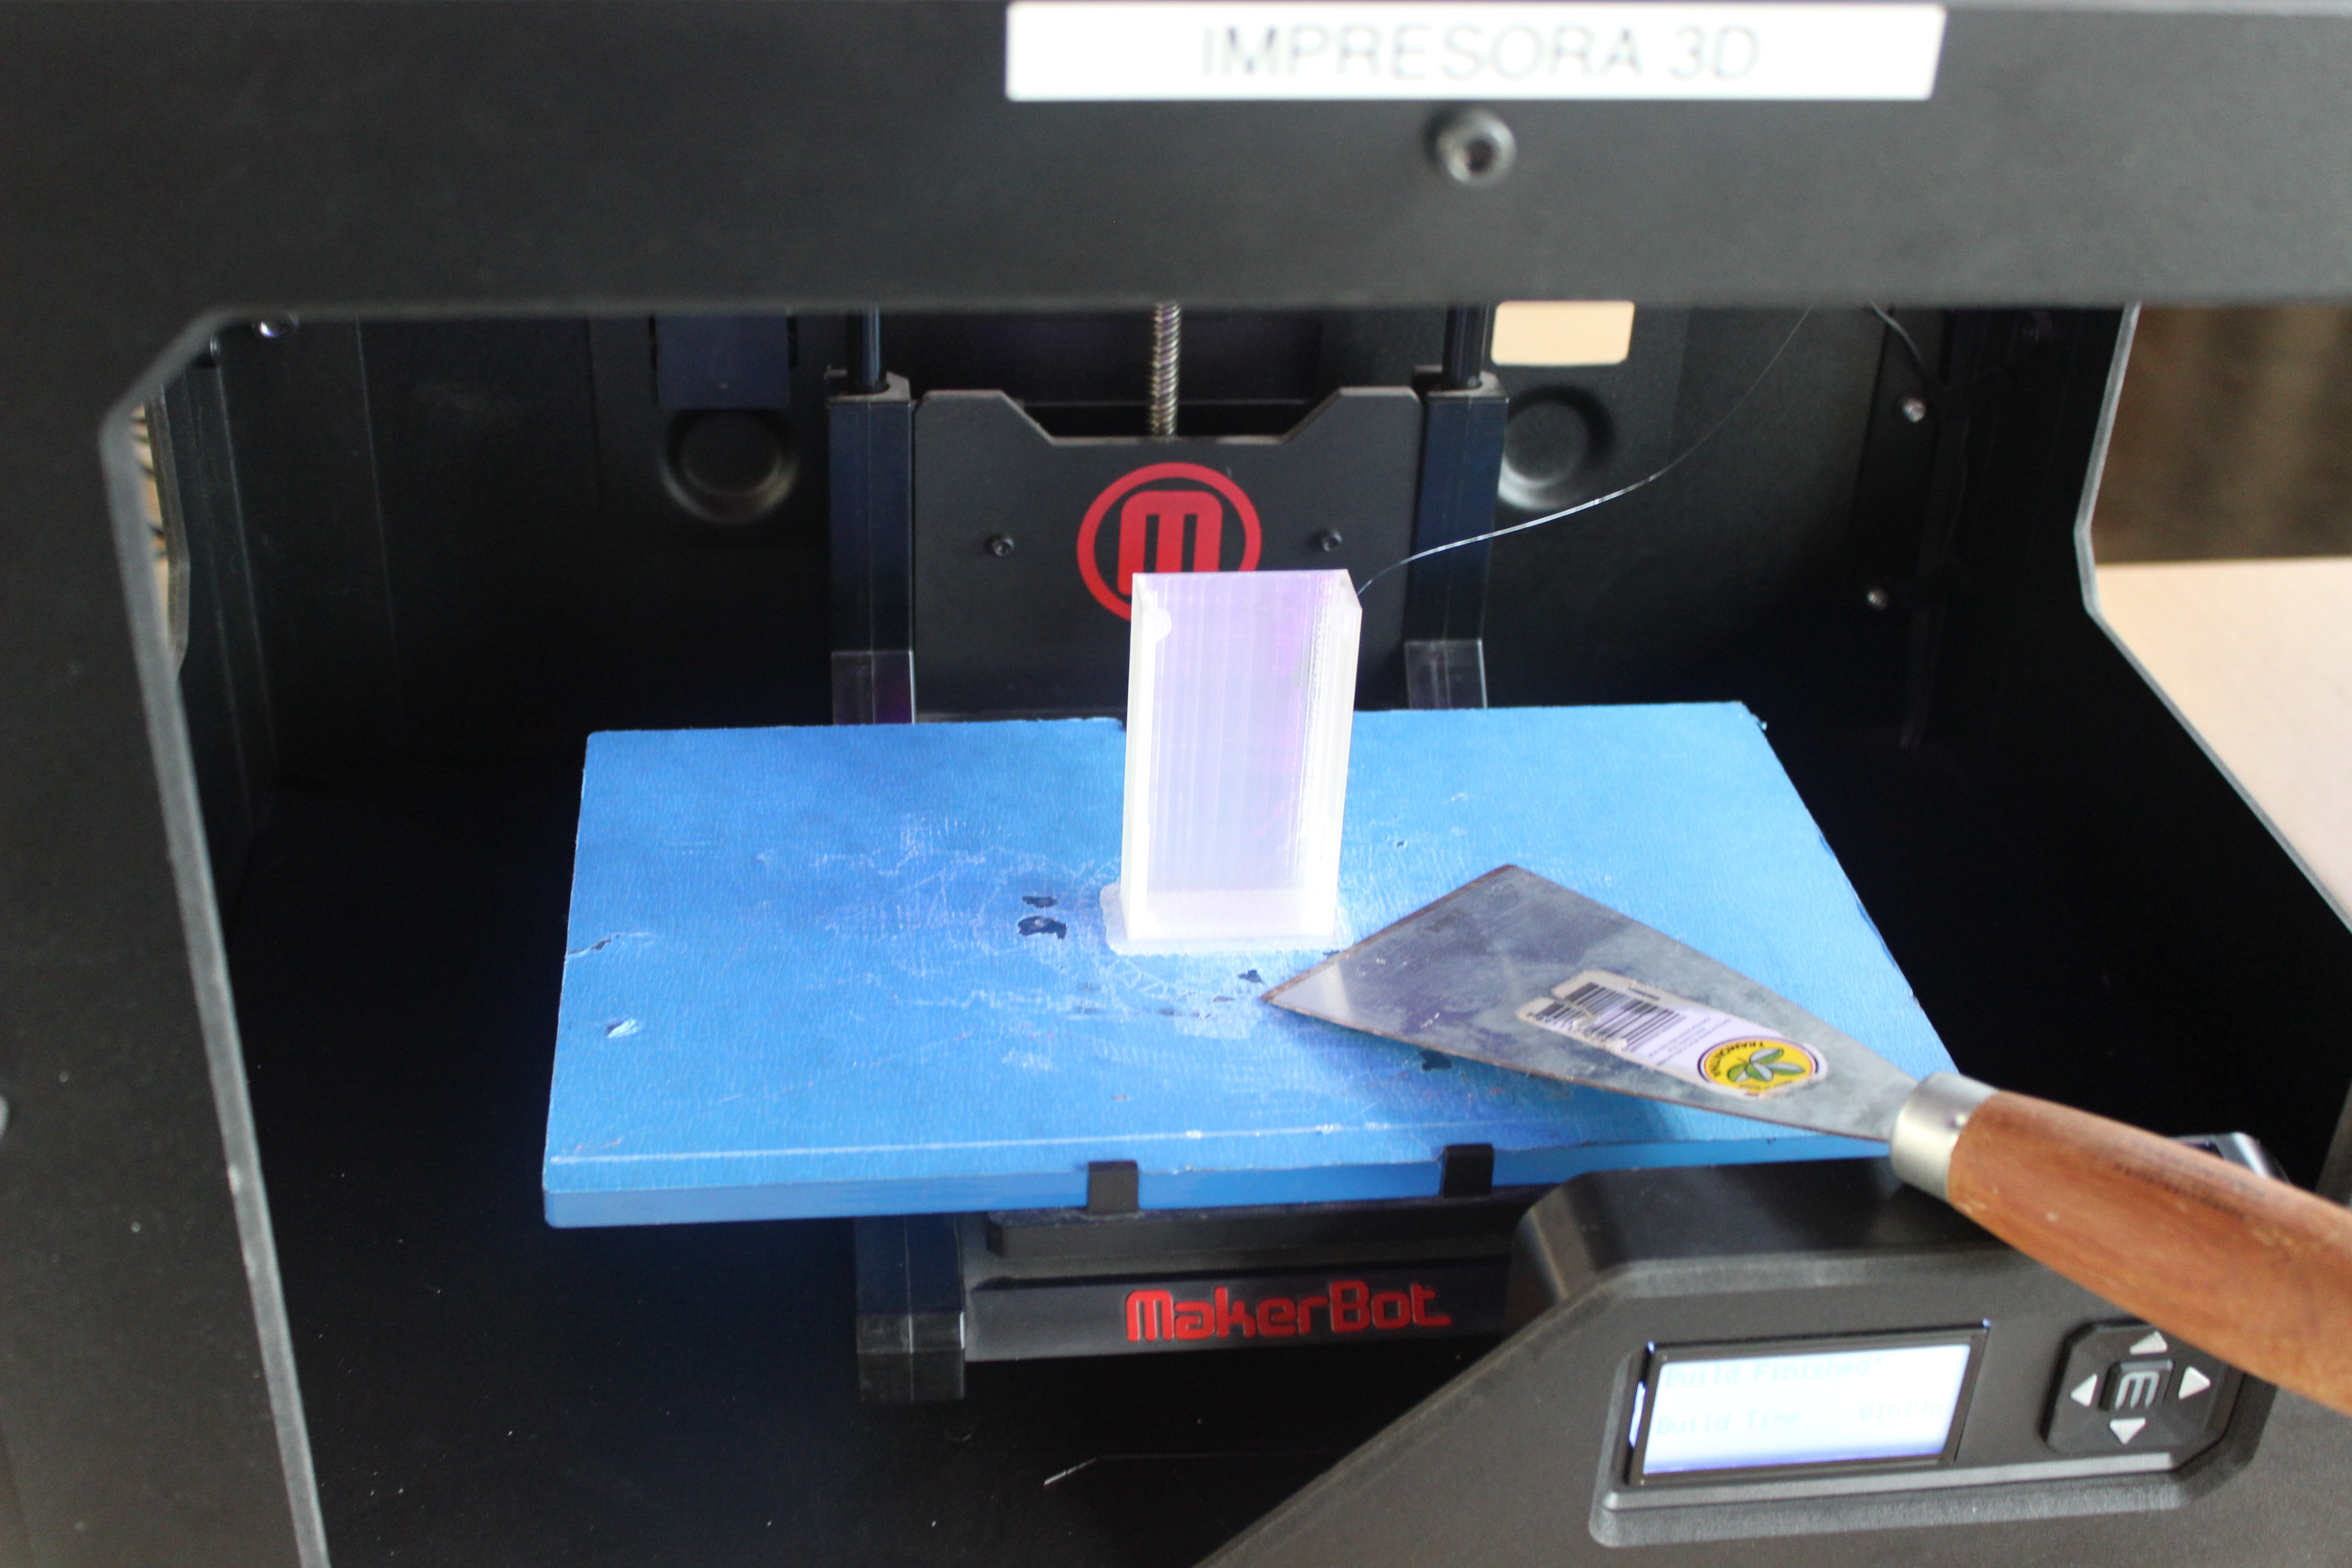
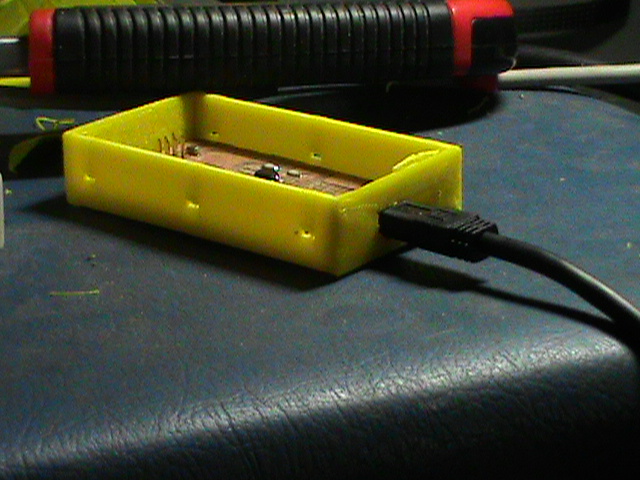
I removed the piece with a spatula to evenly remove without damaging the part |
| after trying the case with the fabisp, several problems for the possible engagement of the top piece that would serve as a lid was found, the error of not defining both sides of the piece had before construction | |
|

|
|
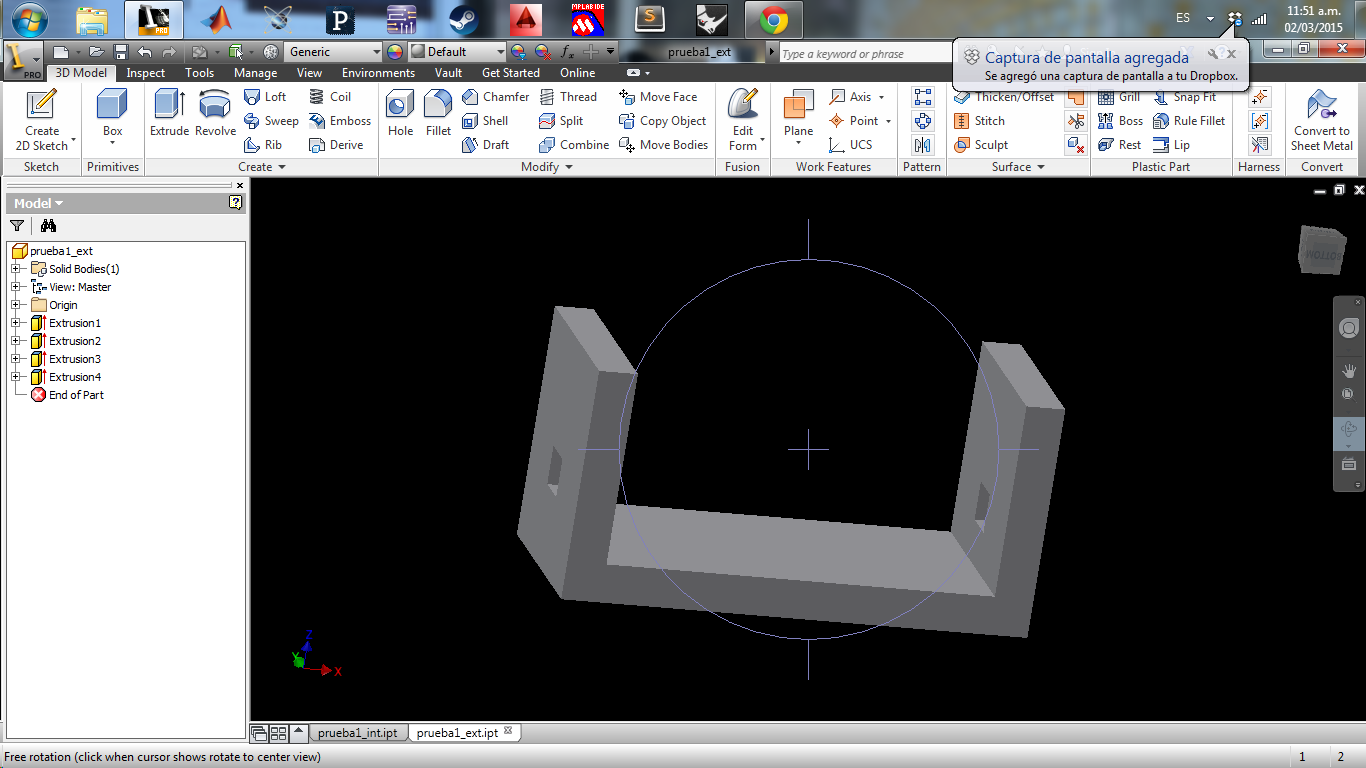
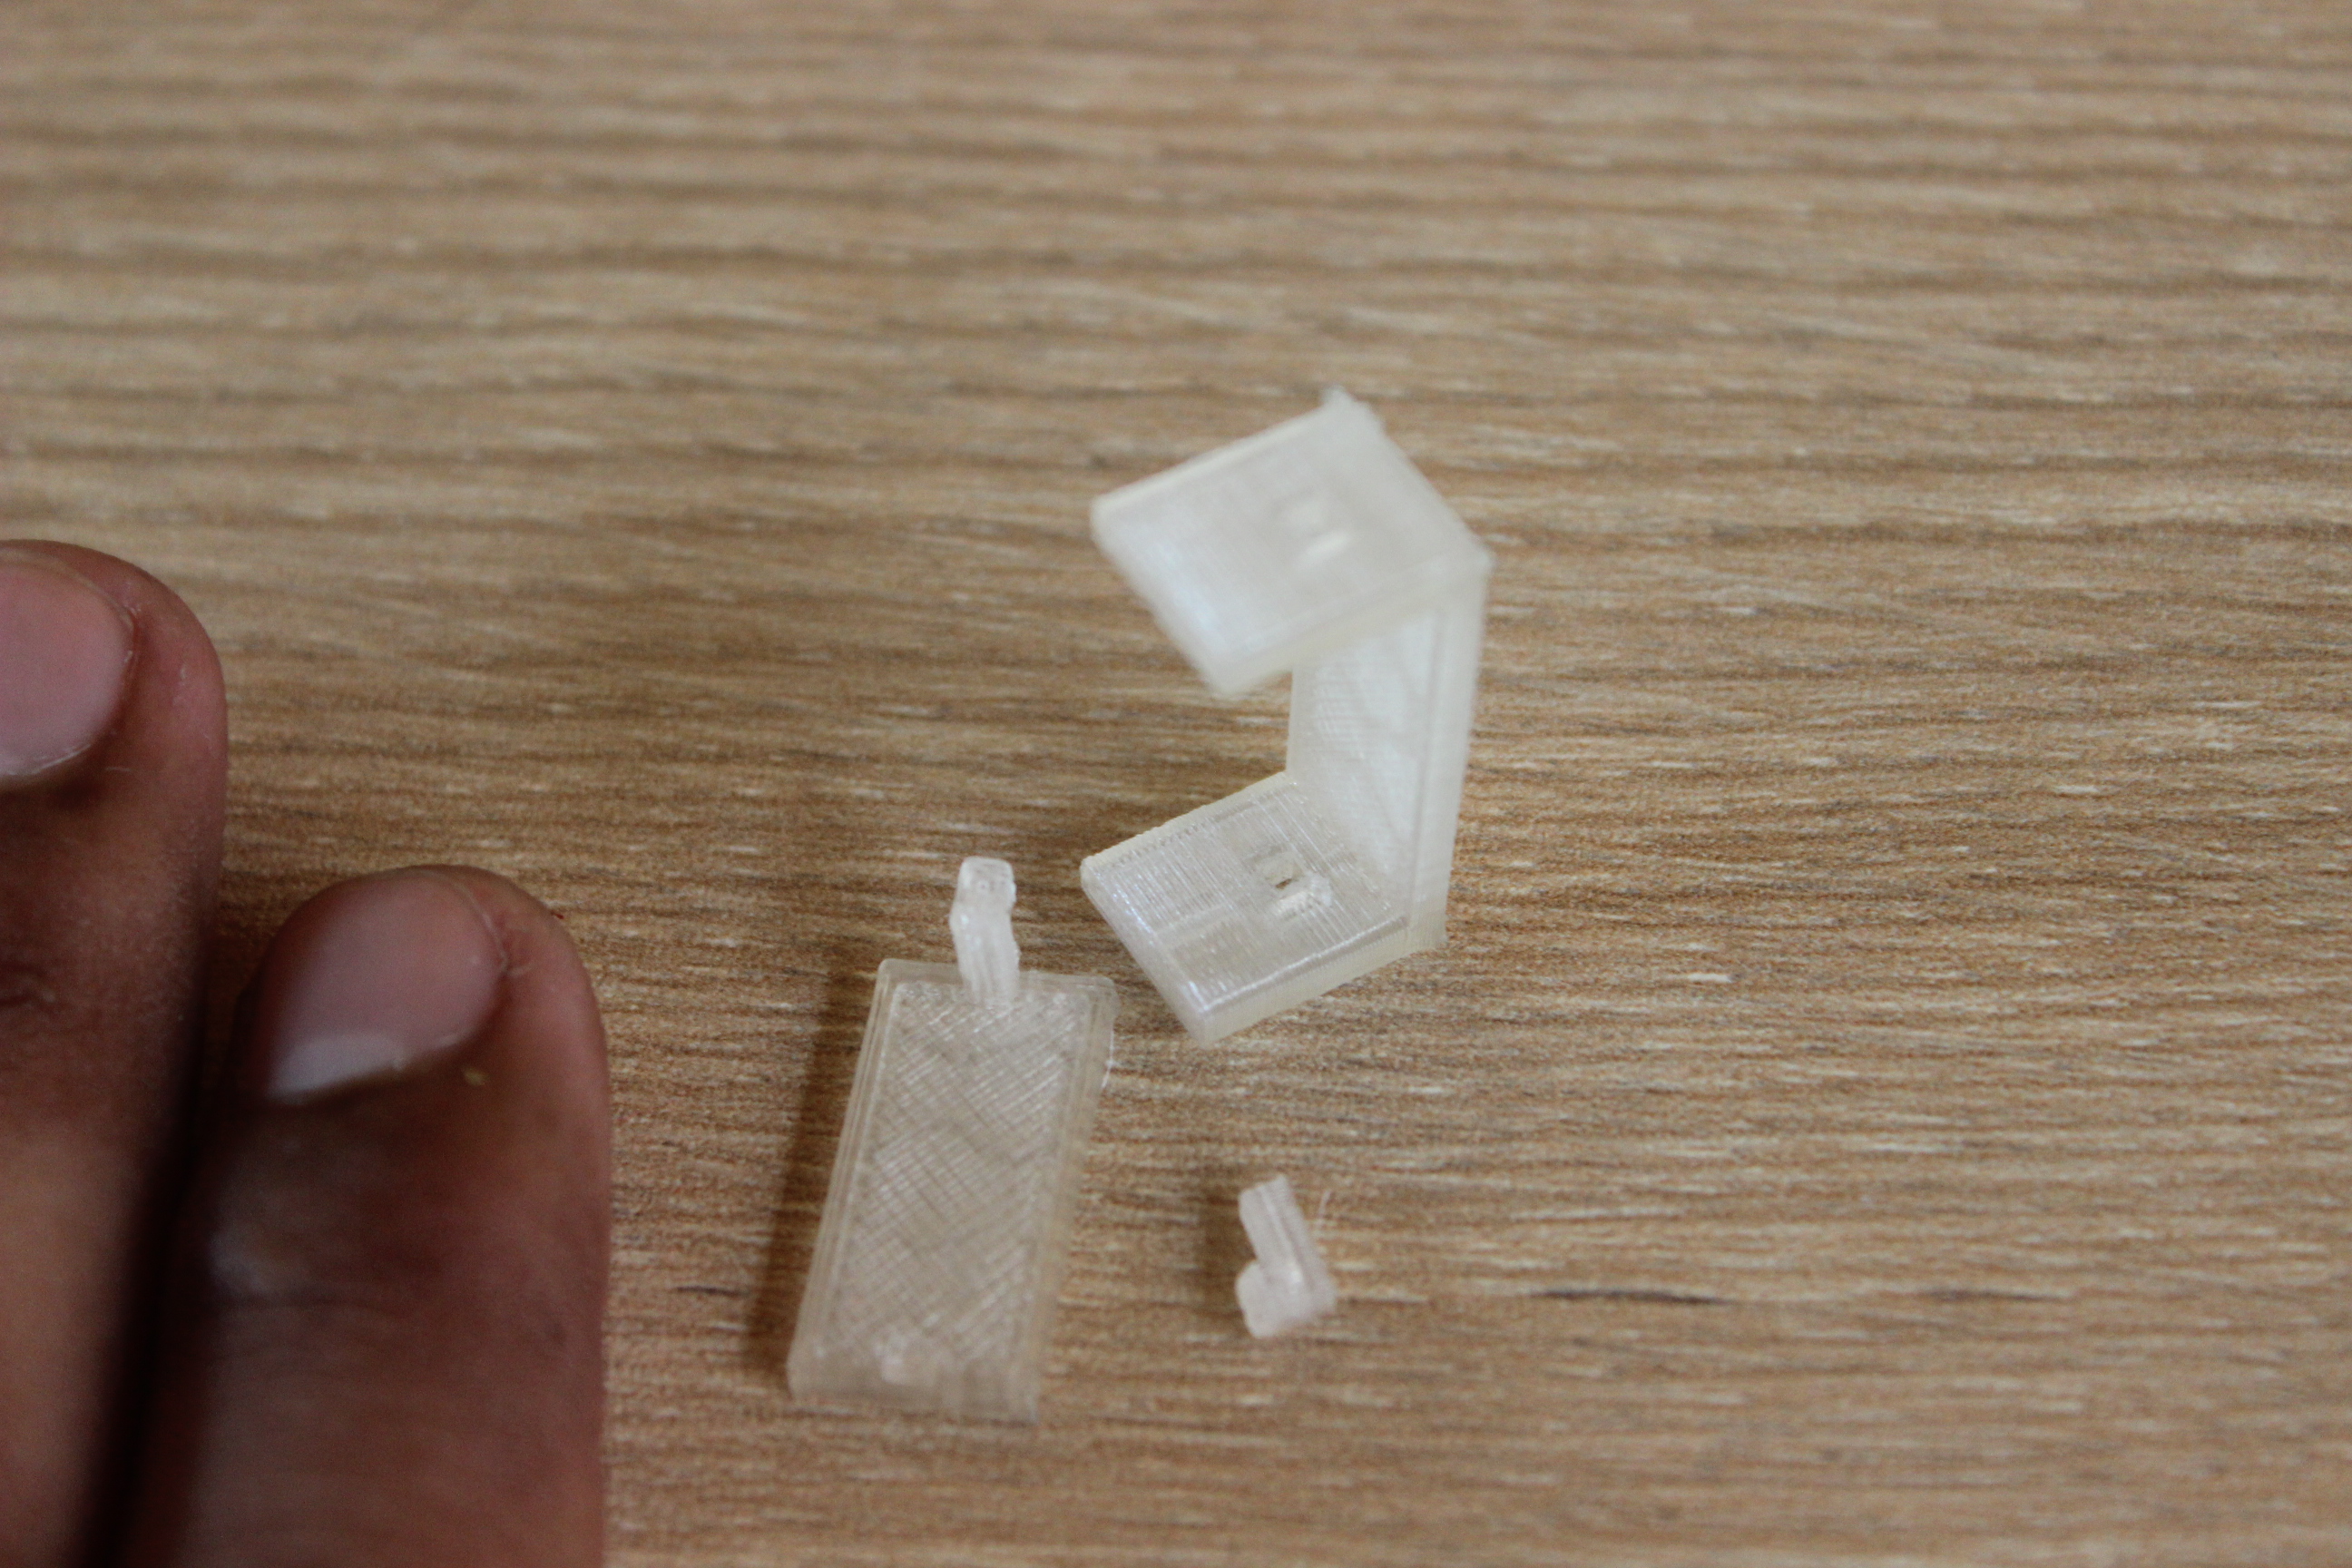
After testing the design could be obtained assembly, but after 3 times test piece weakened and broken due to the difficulty for entry into the base, after finding this problem the design of the new box was made for FABISP with corners lace hooks with a diagonal cut 30° |
|
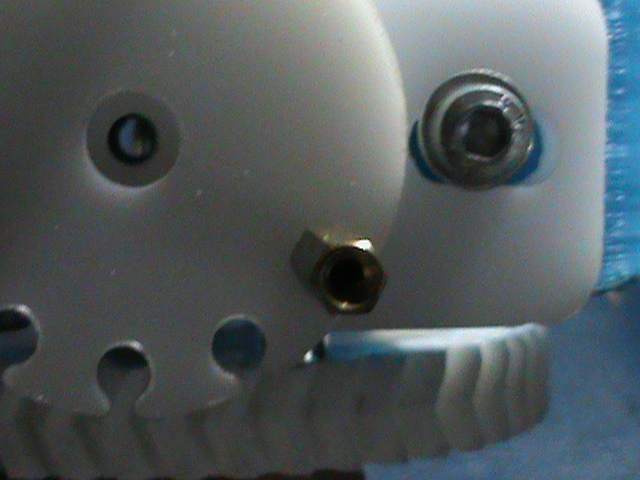
Here the full case design shown for FABISP with designing lace hooks and holes; Printing was performed by keeping the parameters of the first piece, after several attempts replicator printer with two printing lab was trouble was specifically problems extruder. |
|
I did tests with another printer "Prusa modified i3" a model built for me and my friends, the printer had several weeks of no use and present the same problem as the makerbot not extruia materials |
|
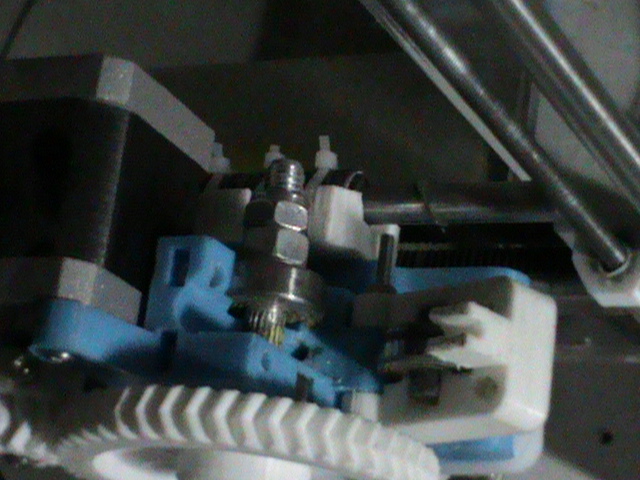
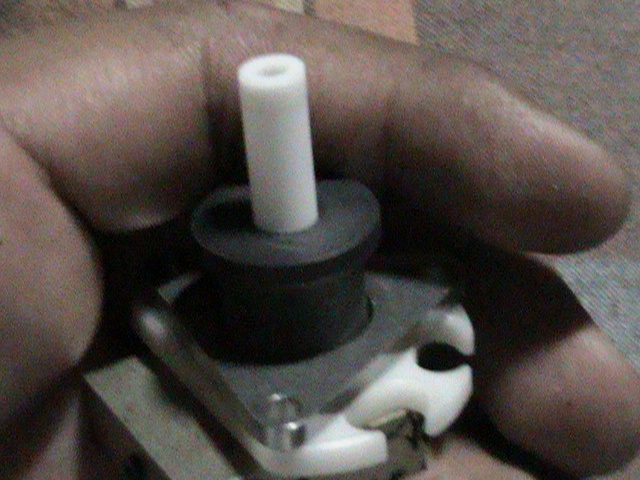
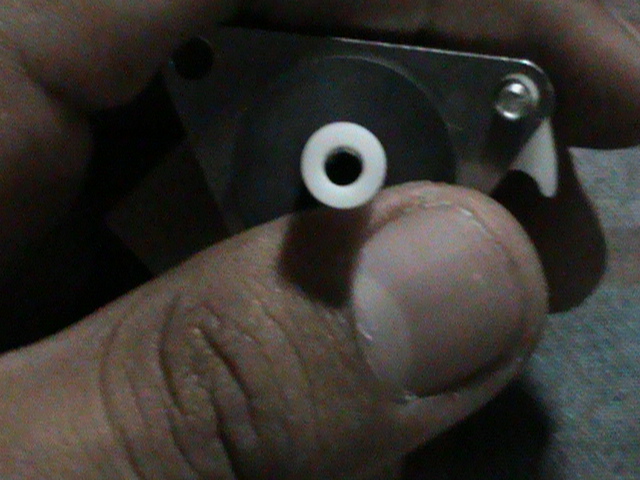
The problem was head and with a little more freedom than in the laboratory conduct a review to identify the problem by removing the media |
|
 |
|
Encontré una obstrucción en la vía del material, realice la limpieza de esta vía coloque nuevamente el cabezal para probar la impresora e imprimir |
|
I found an obstruction in the path of the material, you clean this place again via the head to test the printer and print |
|
I made the test of the first printed piece and had no problems with the fit of the plate |

|
The second piece supports needed because parts had no base, to remove media reaching the damaged piece is to break in the next printing try to place the least amount of support to avoid this problem |
|
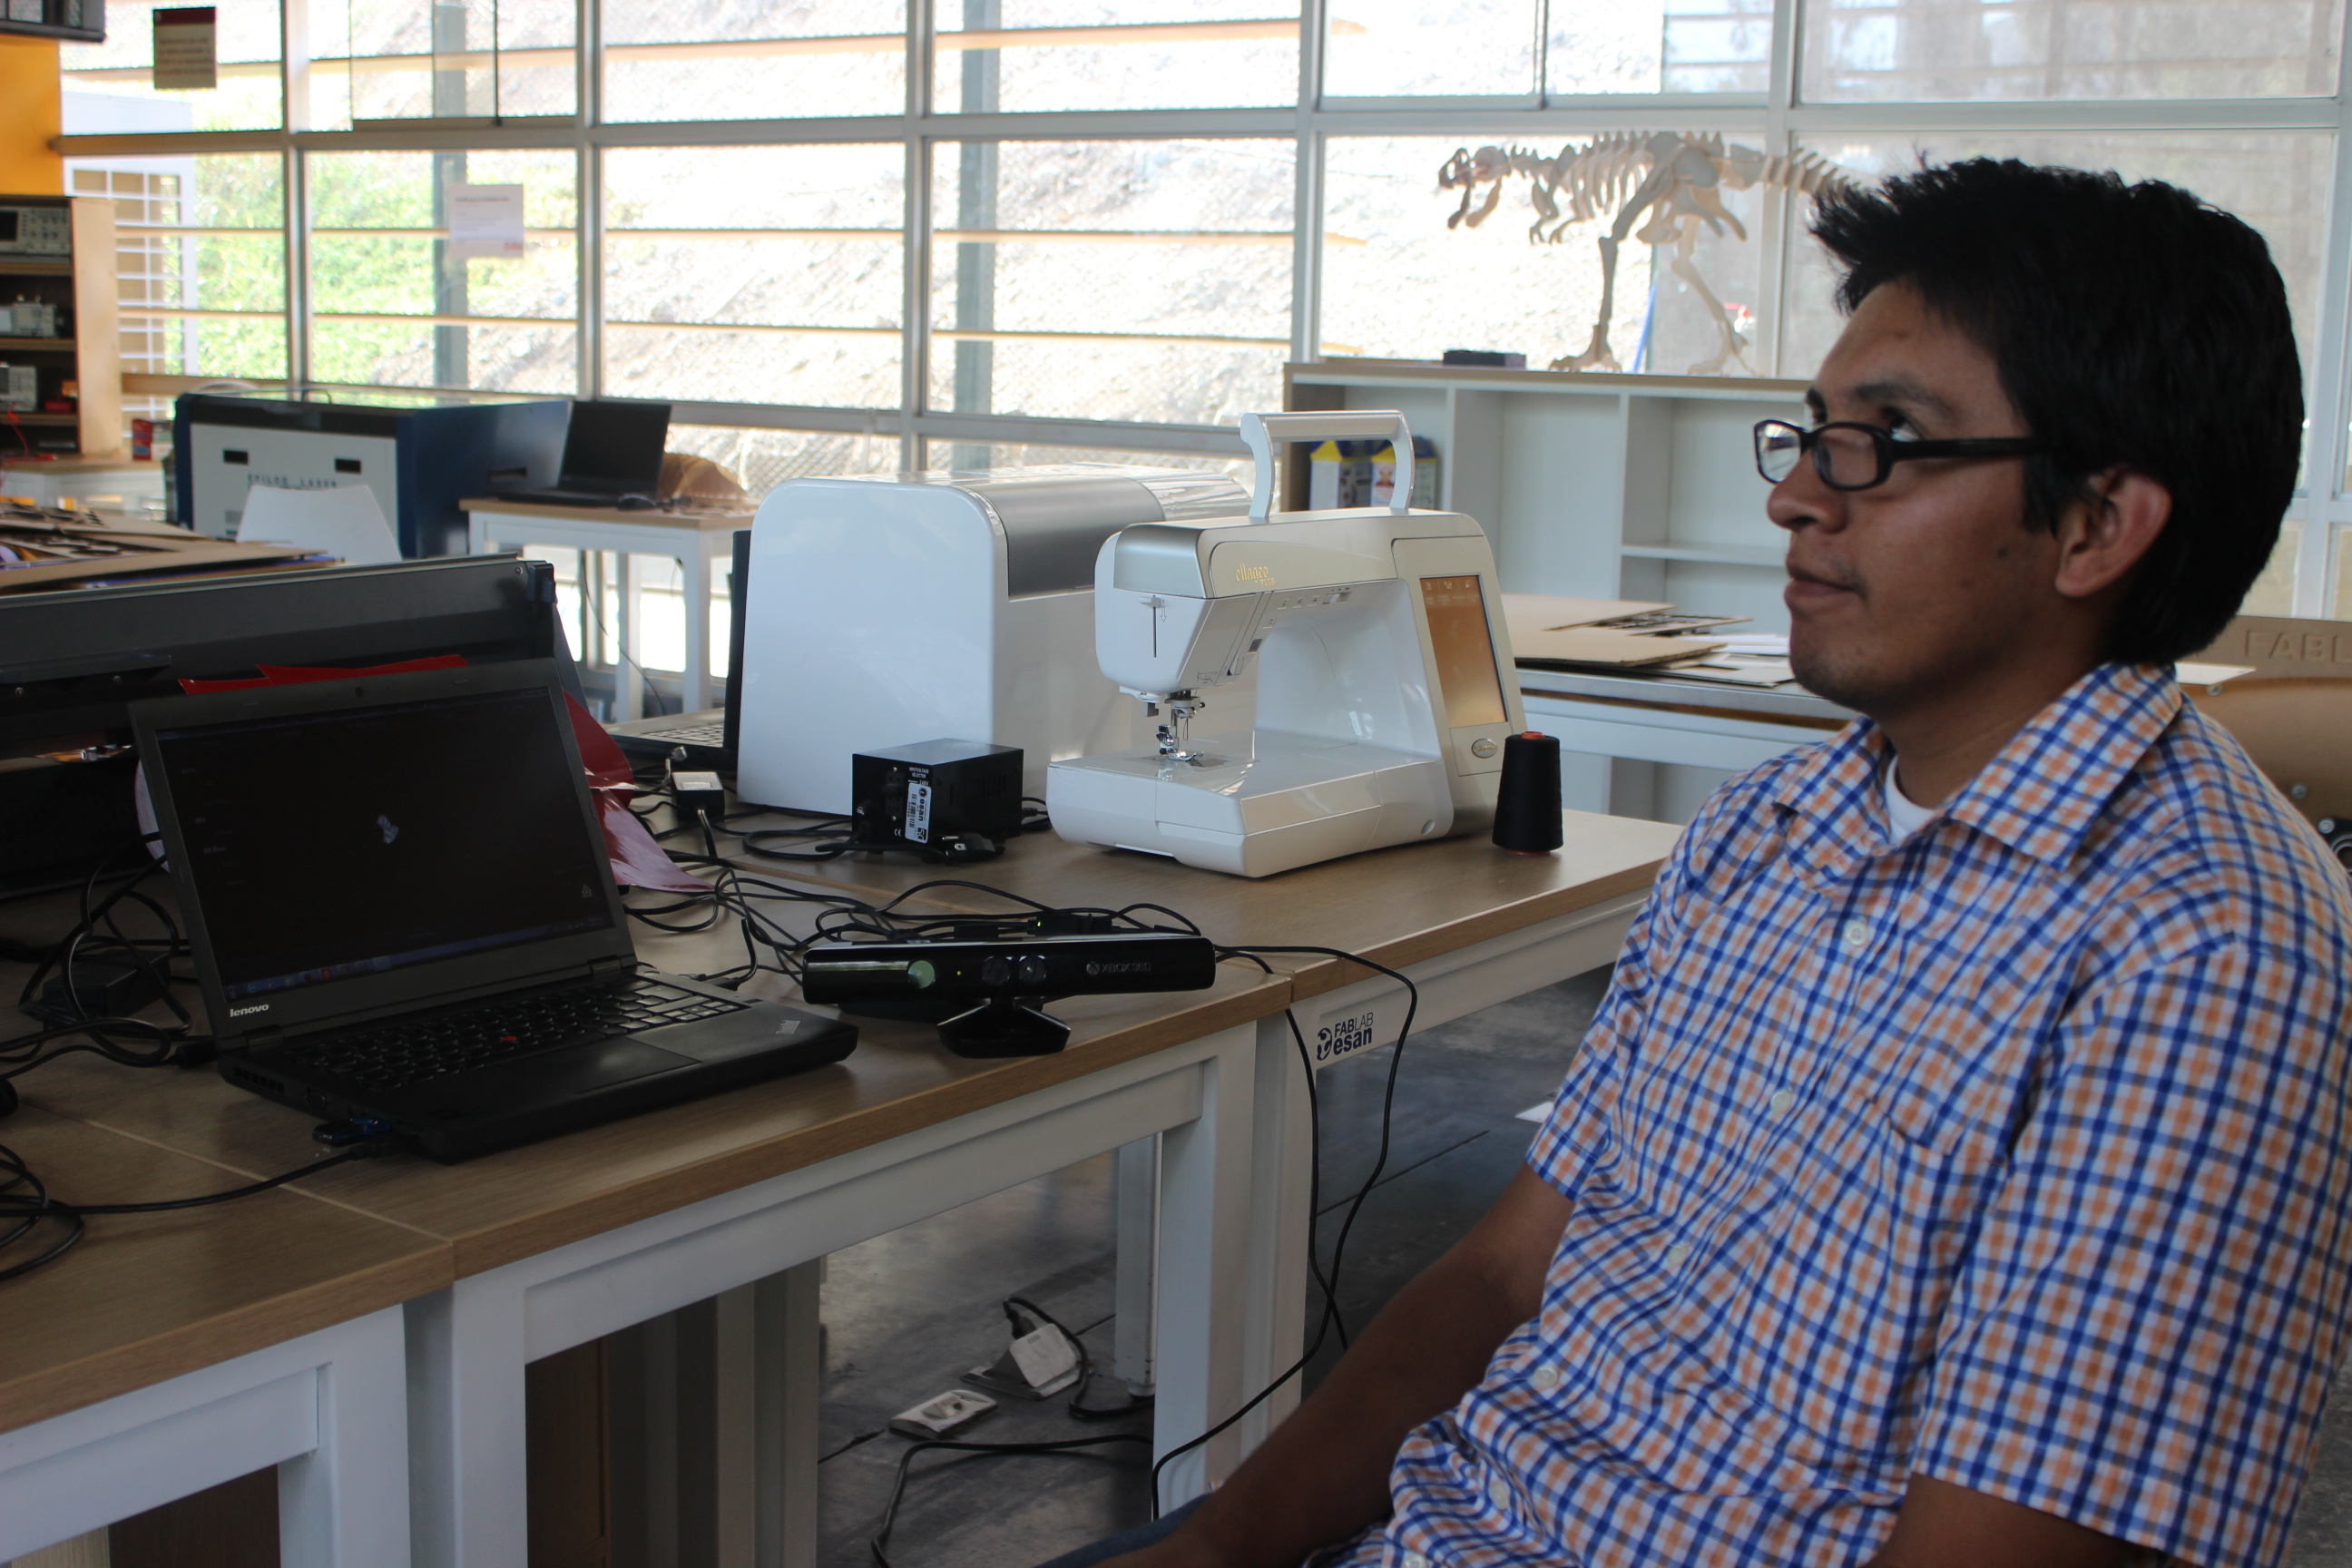
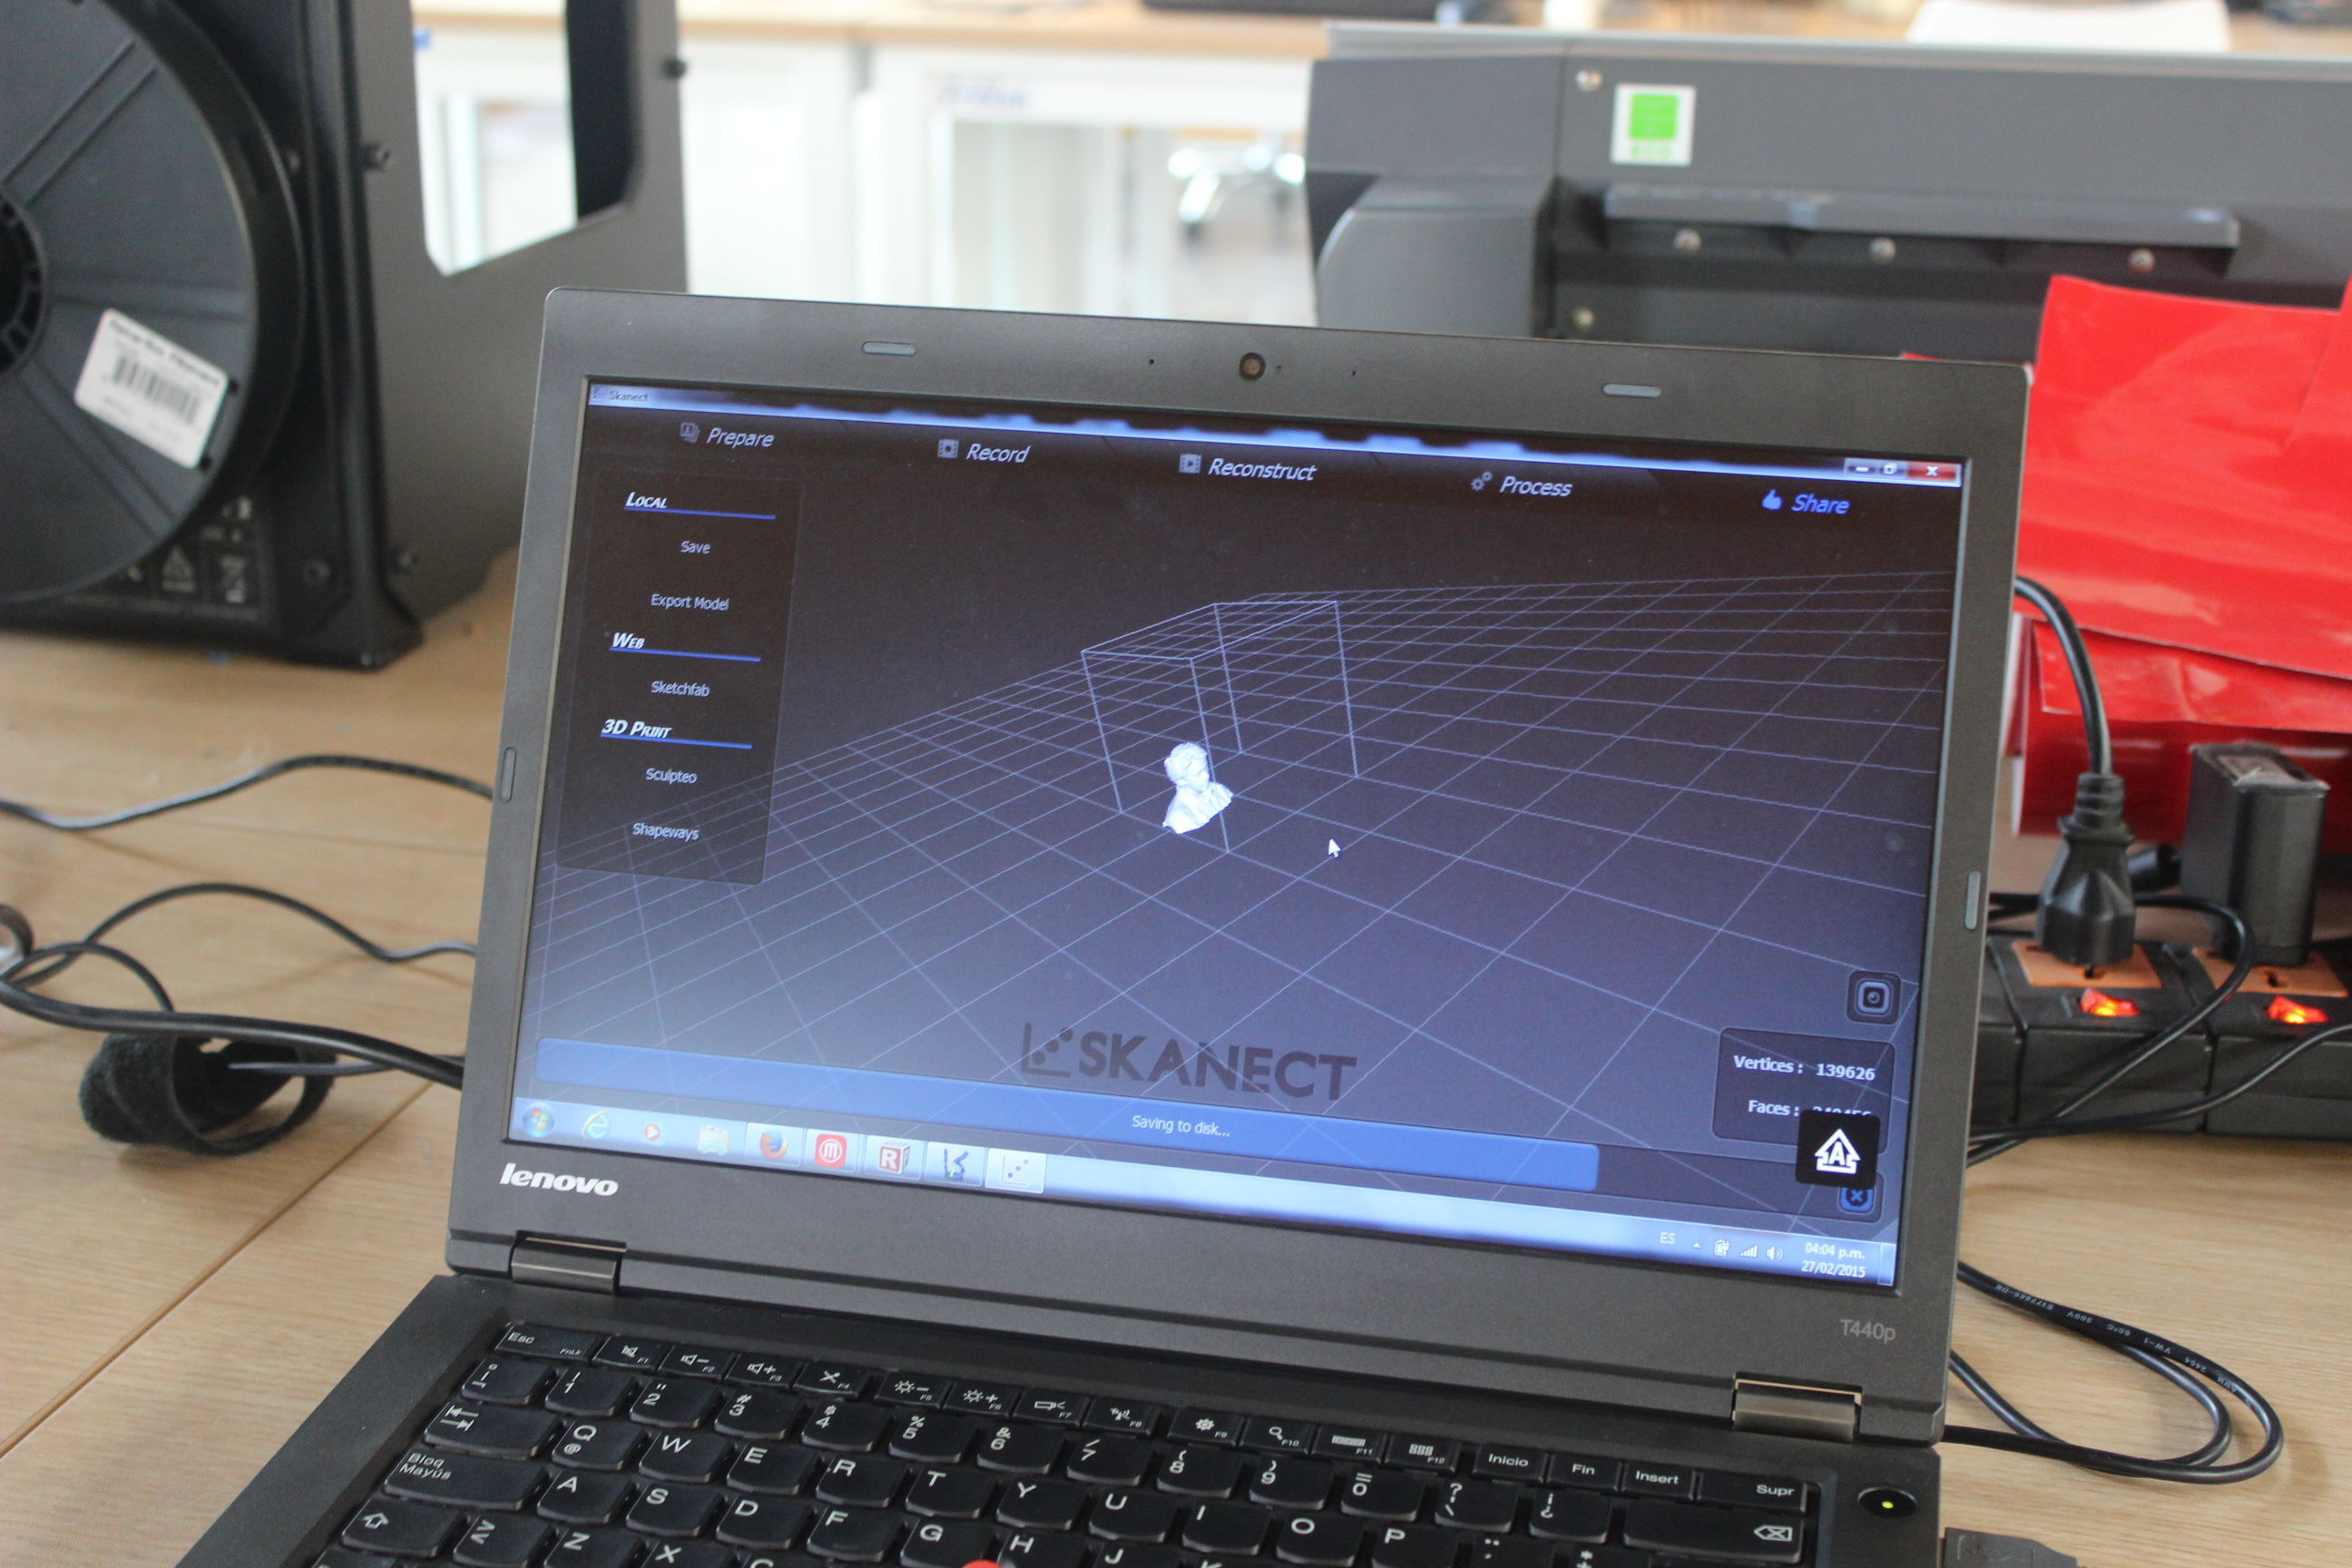
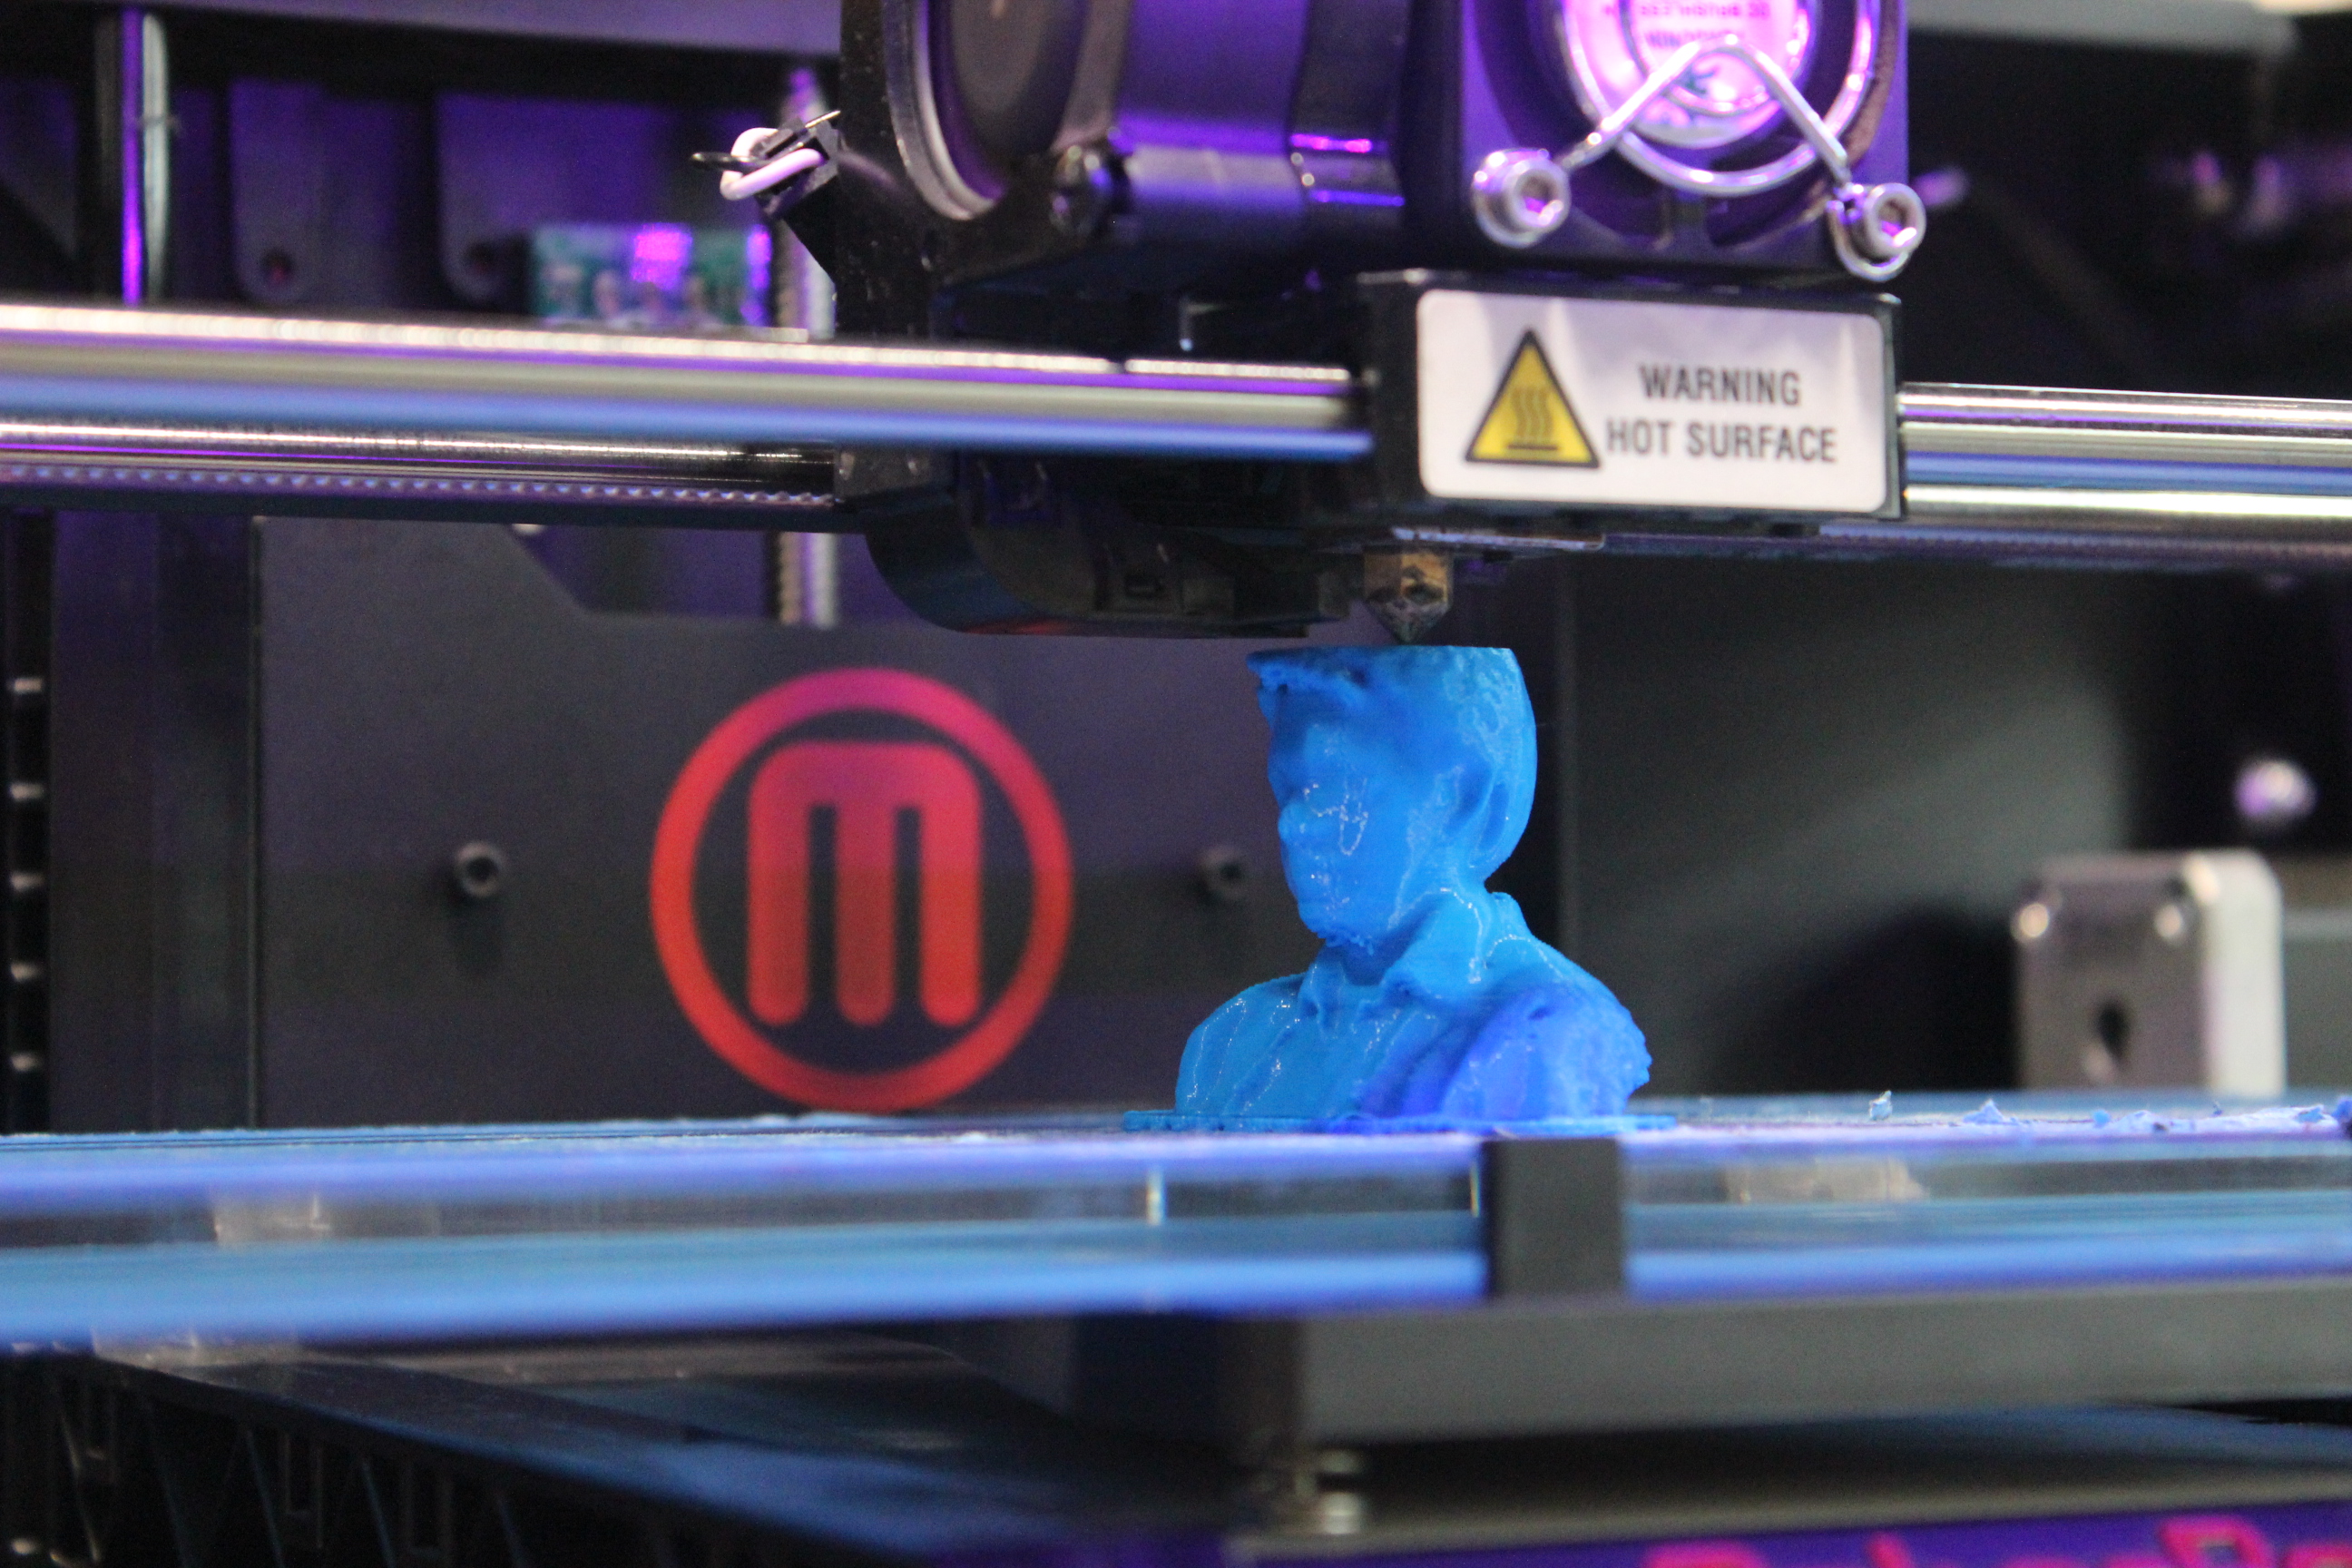
As second experience I did a scan of me, with the help of my partner Arely Amout, I used the kinect sensor and skanect software; to facilitate rotation using a swivel chair uniform |
|
skanect is of practical use, lets you choose the type of scan you want to perform if an object environment also after having the scan result allows you to edit removing imperfections around |
|
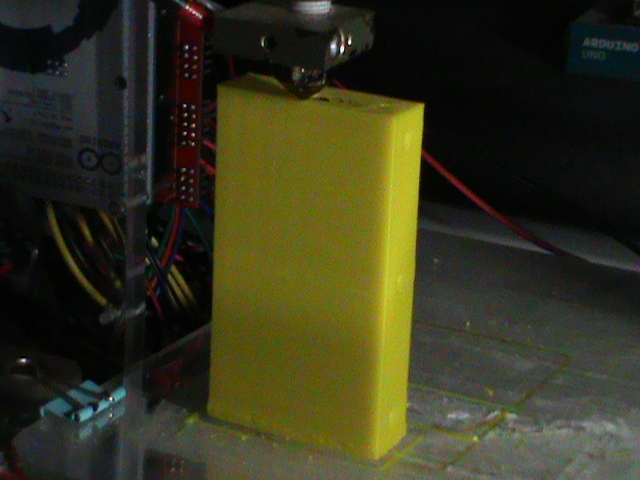
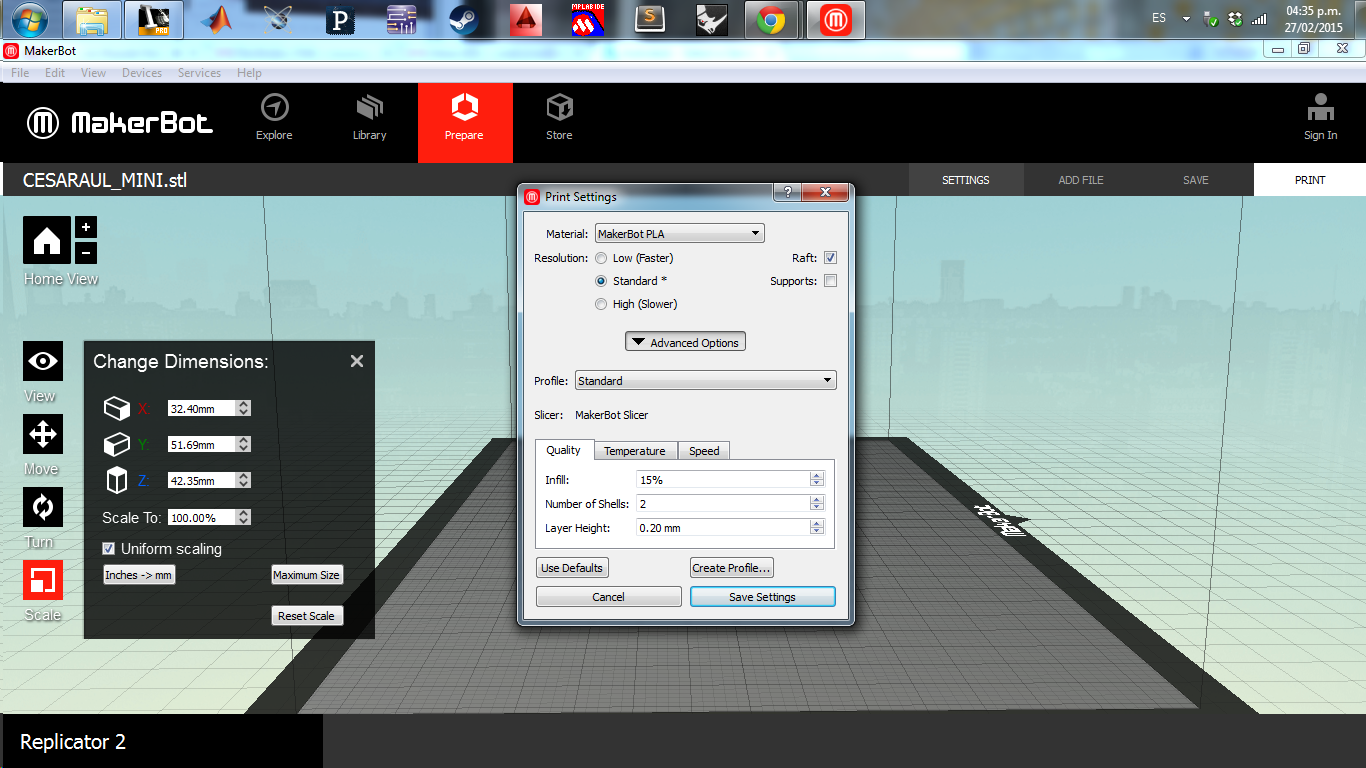
After export the file to STL, print settings are configured, in this case as the piece will not use more than decorative put a "infil" 15% |
|
I had no problems in the printing process and the final piece was obtained, mention that this work was prior to obtaining printer problems aforementioned
files STL ( DOWNLOAD ) design files IPT format AUTODESK INVENTOR ( DOWNLOAD ) |