STEP 9: MOLDING AND CASTING
Home
OBJECTIVE
- Design a 3D mold. machine it and cast parts from it
- Build the Motors' supports I need for my final project
PROCEDURE
DESIGN AND 3D PRINT
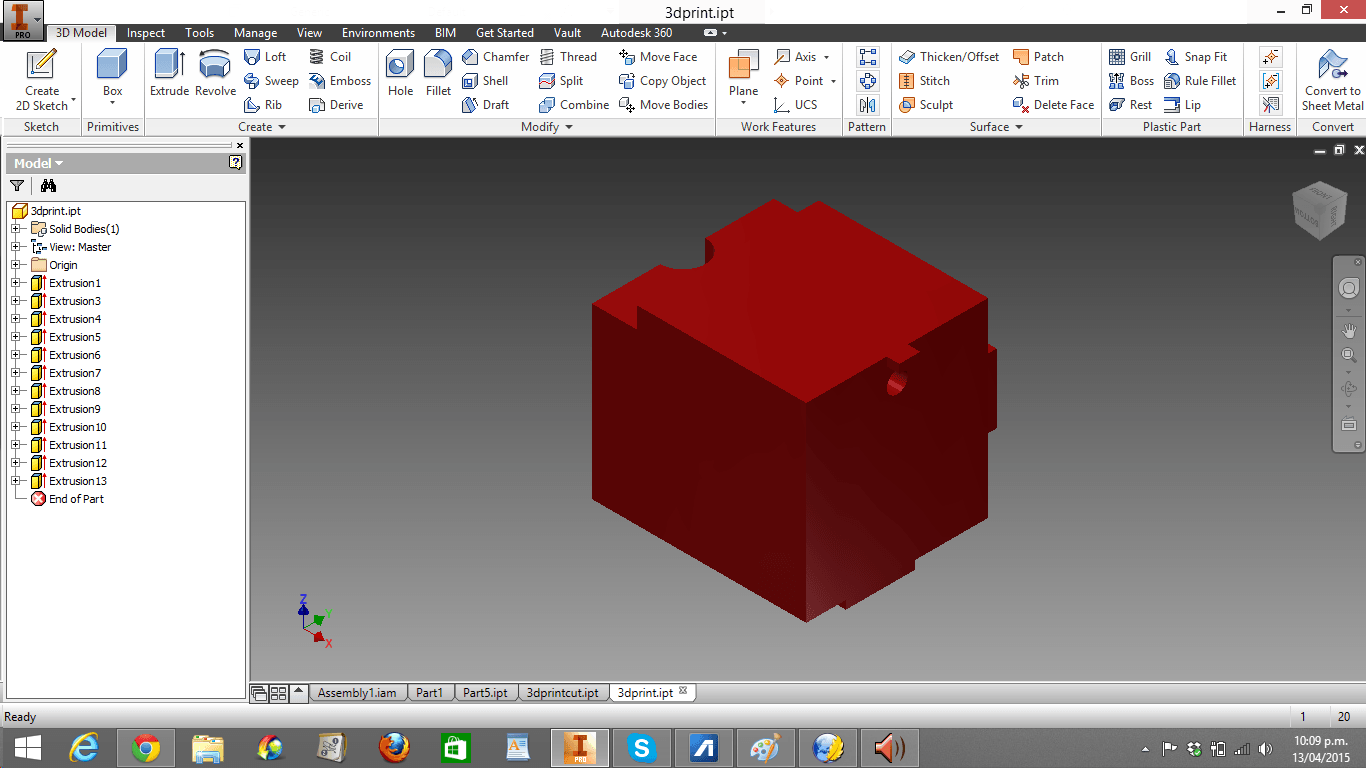
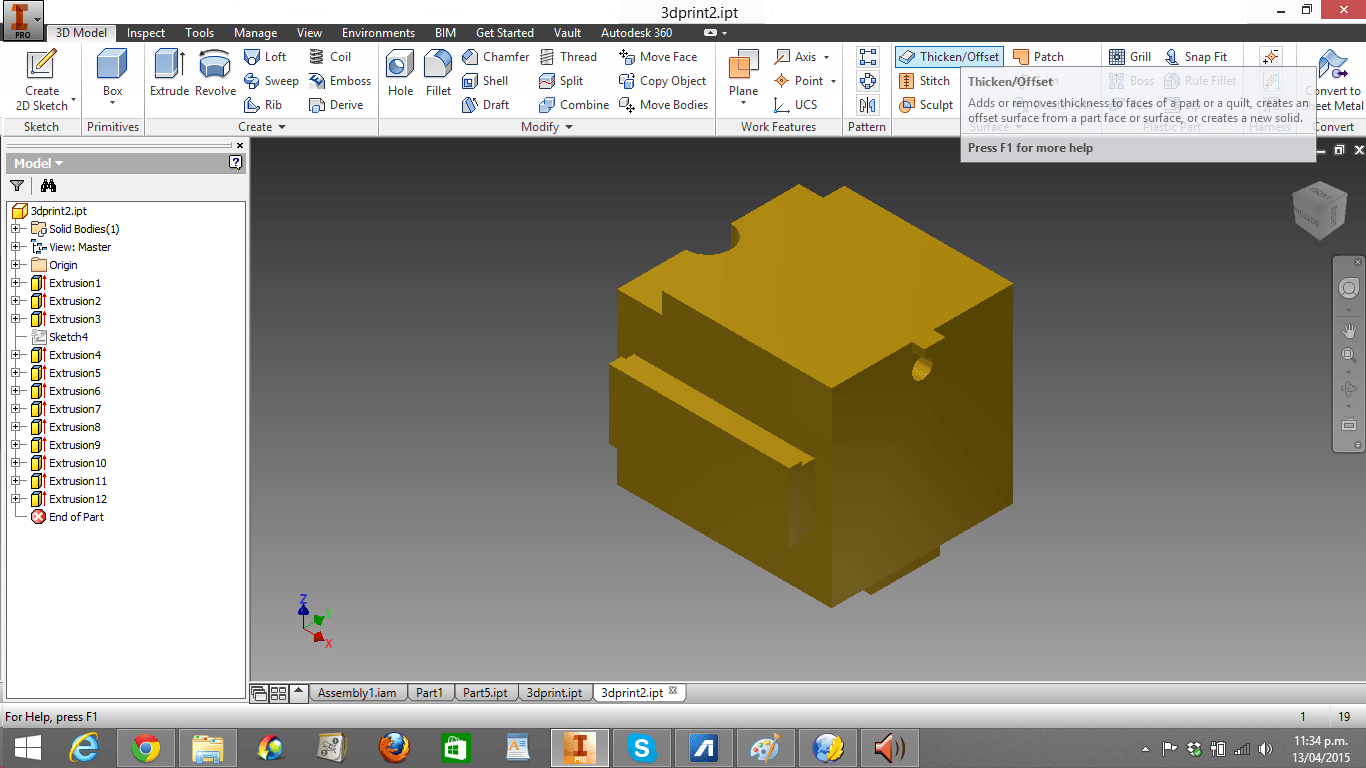
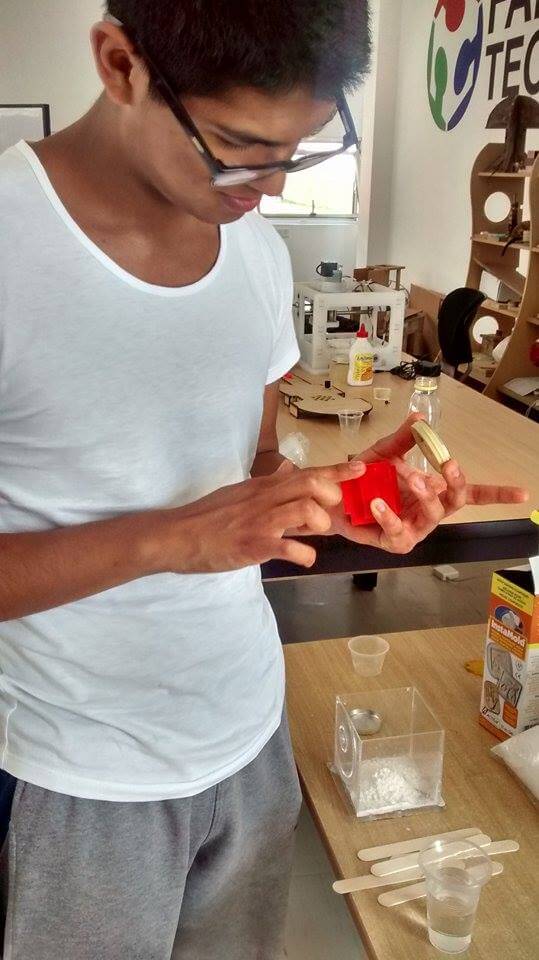
1. I designed the two Motors' supports I needed for my final project (It should be mentioned that I should have made them equal, so I would only have needed to print one piece many times reducing costs and time) and I printed one of them (the red one). Here is the idw. of my first cube and Here is the idw. of my second cube.
MOLD I
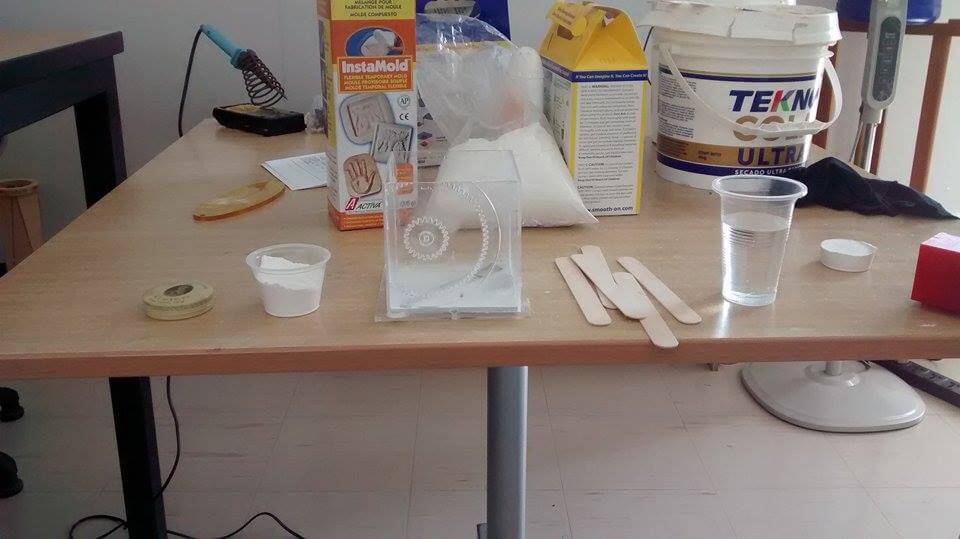
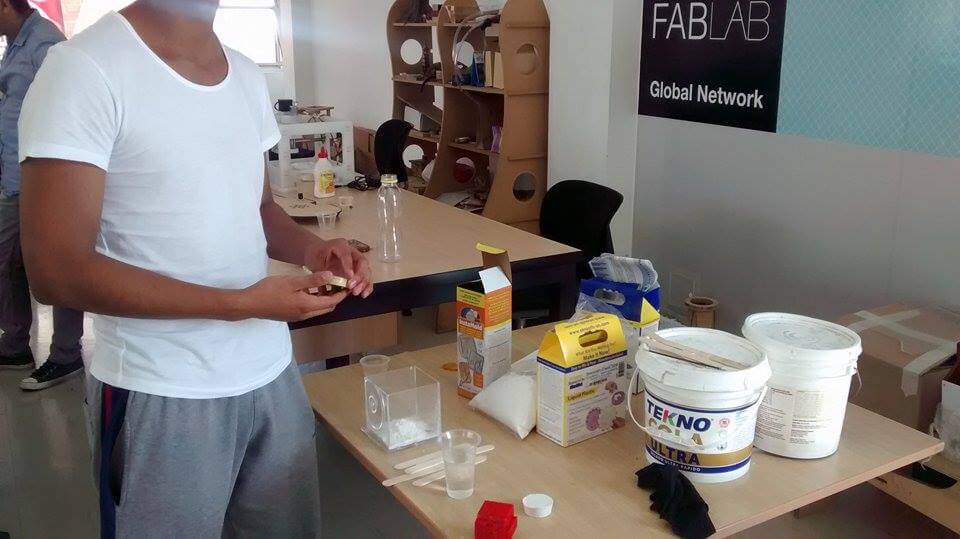
1. I identified all the materials I needed for my first mold:
- Vaseline
- Tekno
- Acrylyc box (for the mold)
- Wooden sticks
- Glass of plastic
- 3D Prited block
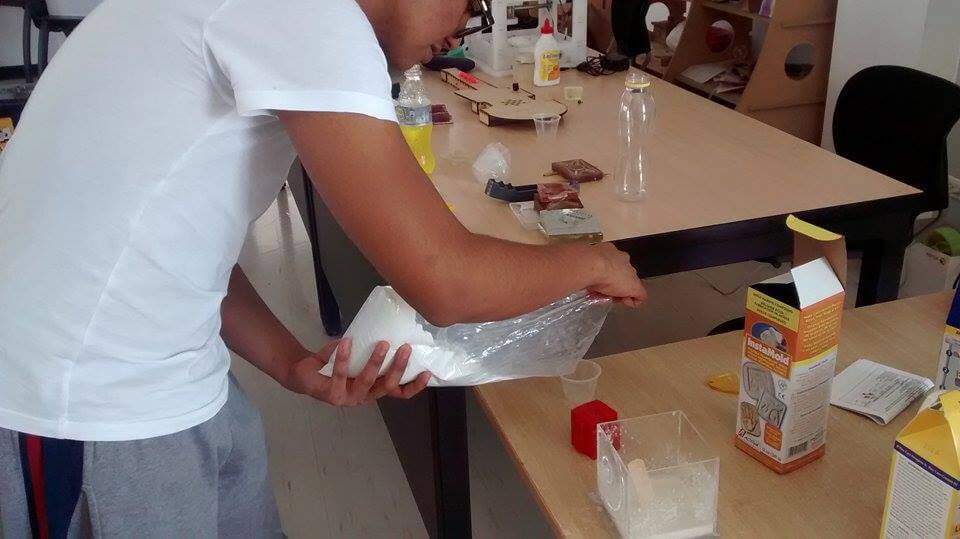
- InstaMold
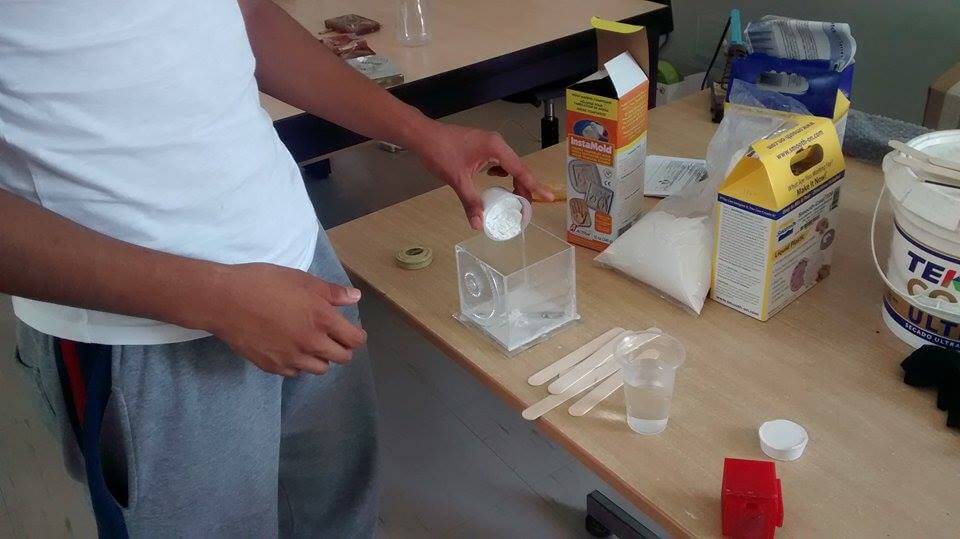
2. I poured the Tekno into the Acrylic box
3.
I covered the insides of the Acrylic box with vaseline for making the
mold slide easily out of the box. I should have done that before
draining the Tekno! Anyway, that was not a big trouble.
4. I covered the 3D Printed block with Vaseline for extra insurance that the block would slide easily.
5. I drained some Tekno in the glass and some water in the plastic glass (ratio 1:1).
6. I repeated the previous process until the Acrylyc box was half filled
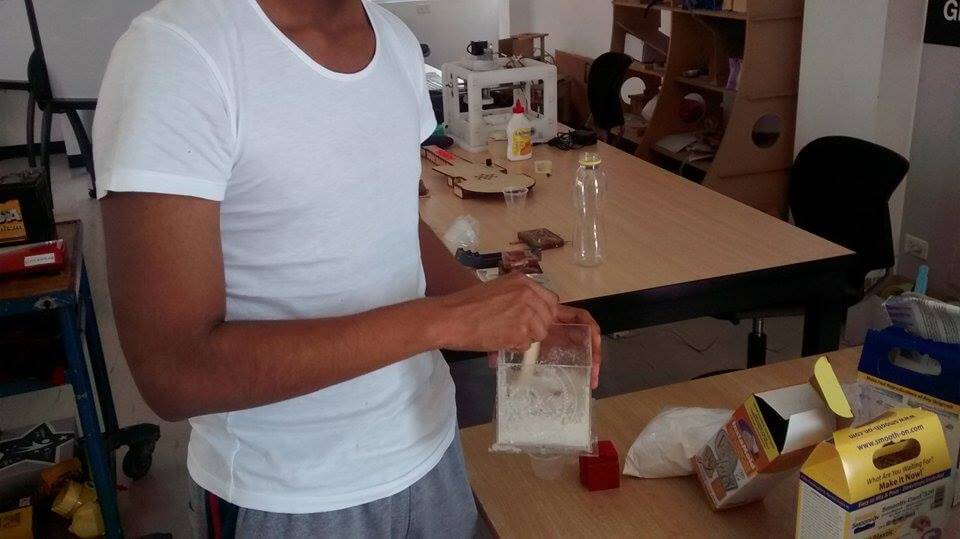
7.
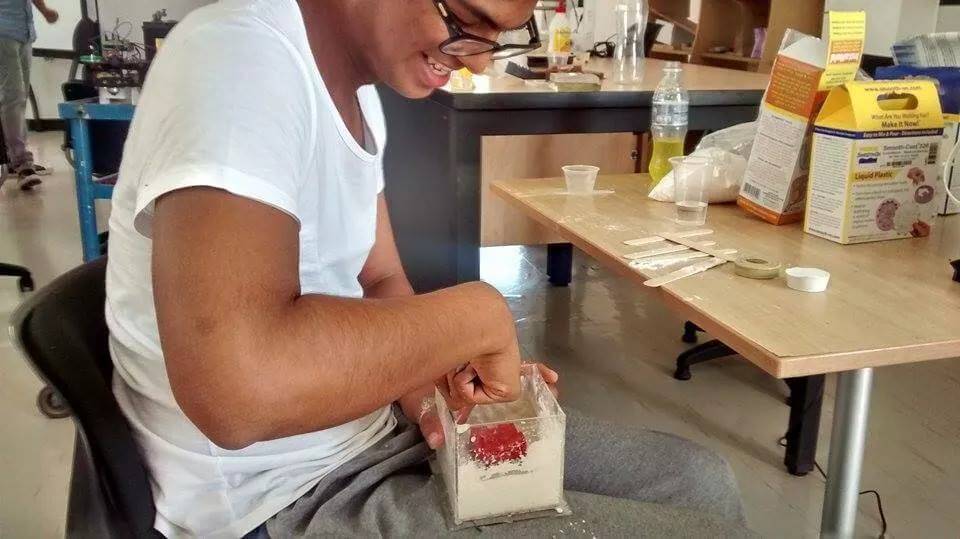
When the mixture is completely mixed (without cropuscules), I inserted
the 3D printed block in mixture. Although I intended to surround the 3D
Printed block by the mixture in Two Parts, I did not considered the
fact that the mixture's height was going to raise when I inserted the
3D Printed block, so it was completely surrounded.
8. After for a few hours, this was the result:

CAST II
1. When
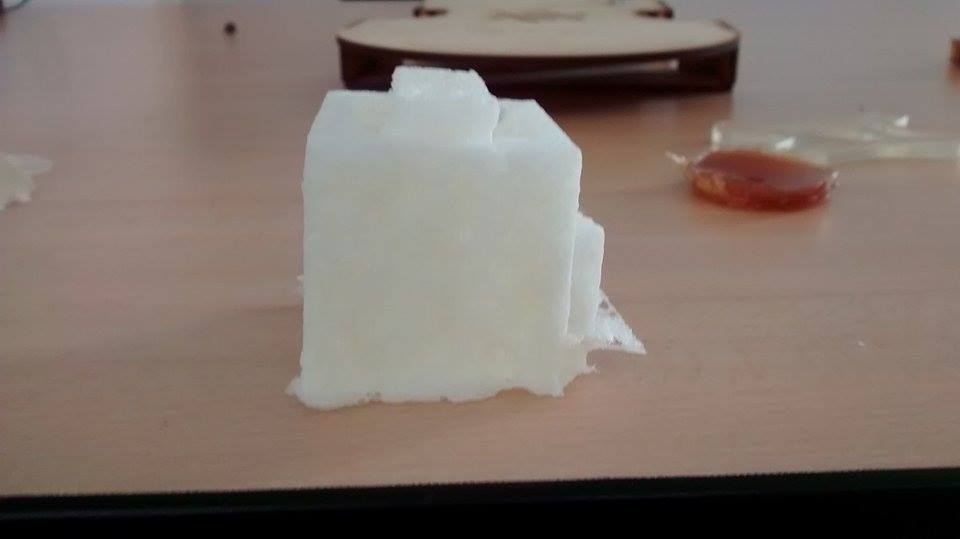
I poured the Instamold (it was hot!) and took it out of the mold,
this was the result: A white block filled with bubbles and kind of
broken in one side.
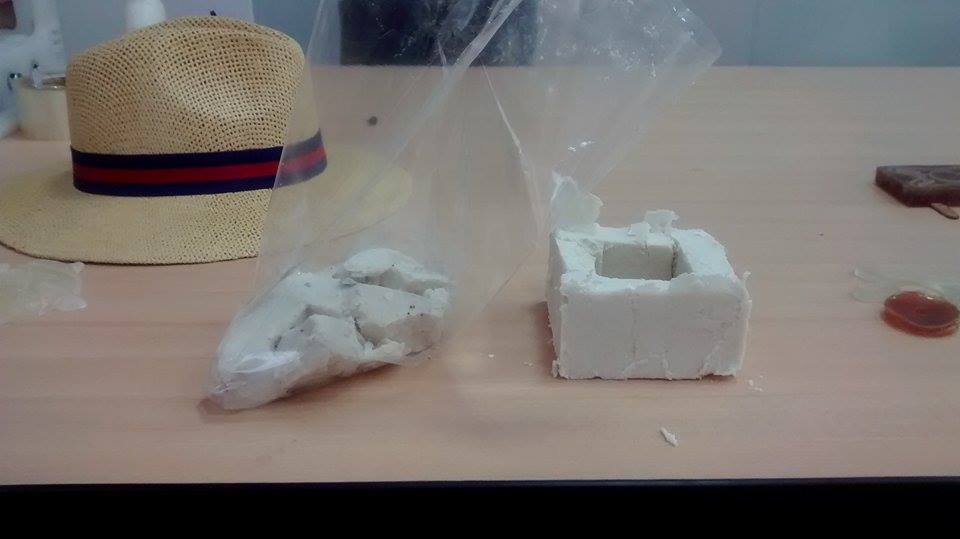
2.
I repeated the same procedure, but this time, using the electronic
balance, I made sure that I applied the same amount of Tekno and water
(100g for each one). As you can see, the right mold was still solid
when slided out of the Acrylic box. I believe that's because of the previous measurements.
MOLD II
1. I identified all the materials I needed for my first mold:
- Vaseline
- Acrylyc box (for the mold)
- Wooden sticks
- Glass of plastic
- 3D Prited block
- InstaMold
- Urethane (new)
- Vaseline
- Acrylyc box (for the mold)
- Wooden sticks
- Glass of plastic
- 3D Prited block
- InstaMold
- Urethane (new)
2. I poured Instamold and Urethane in the following ratio 5 (100g) : 1 (20g)
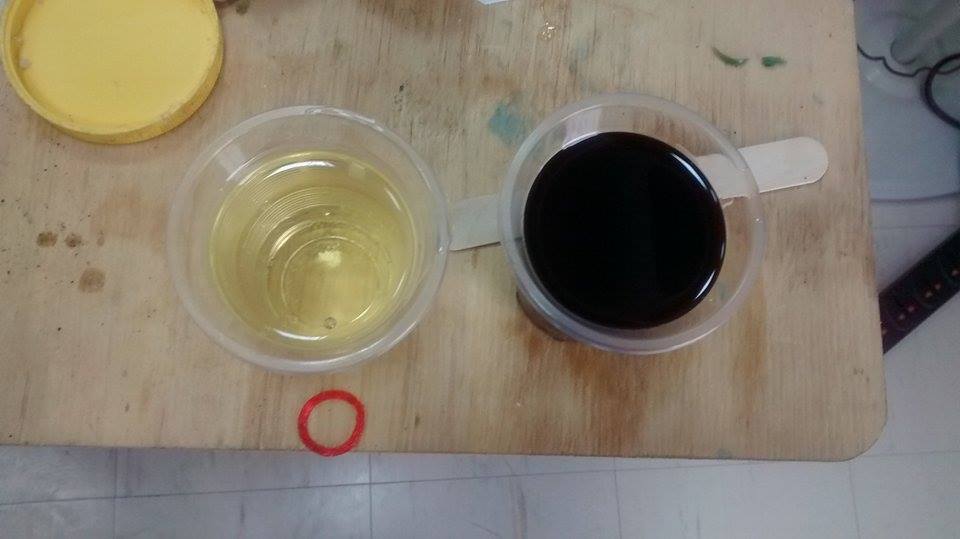
3.
I cut a bottle in half for pouring the Instamold and Urethane. I mixed
the new mixture until it had not much bubbles and was hot.
4.
I put the 3D Printed block in the Acrylic box and poured the new
mixture in it. Luckily, the new mixture reached just half of the 3D
Printed block.
5.
After letting my mixture dry up for three hours, I made a new mixture
of InstaMold and Urethane using the previous ratio until the 3D Printed
block was covered.
6.
I let this new micture dry up for other three hours. I covered the rest
of Acrylic box insides with Vaseline for letting the mold slide easily.

7.
I tried to take out the mold without cutting the Acrylic box in its
four sides, but I couldn't. Finally, I used a cutter to take out the
mold from the Acrylic box's borders.

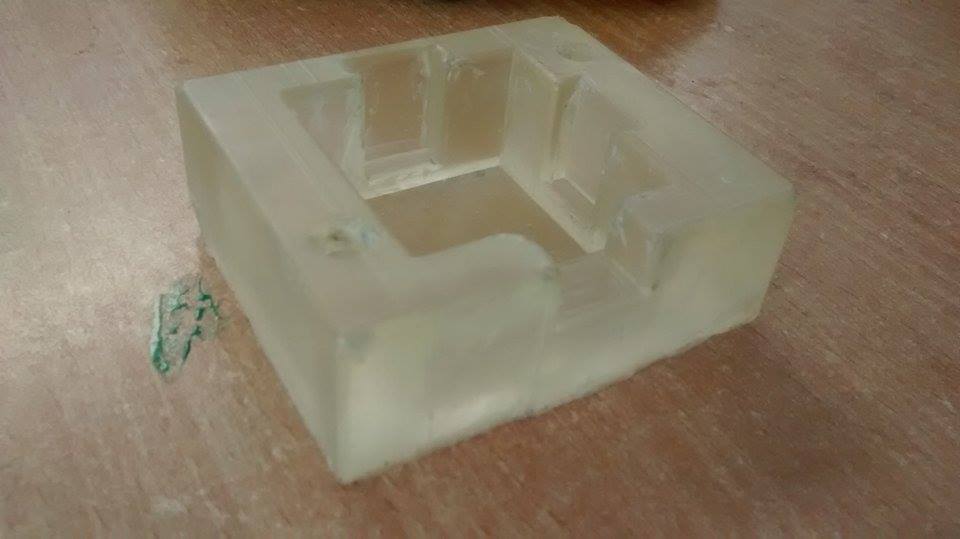
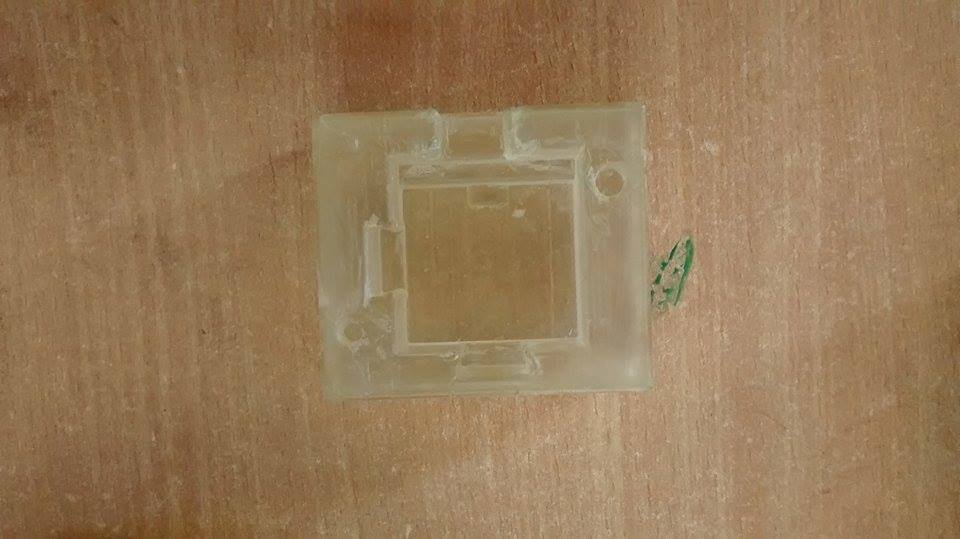
8. Anyway, the result was more than satisfactory!
CAST II
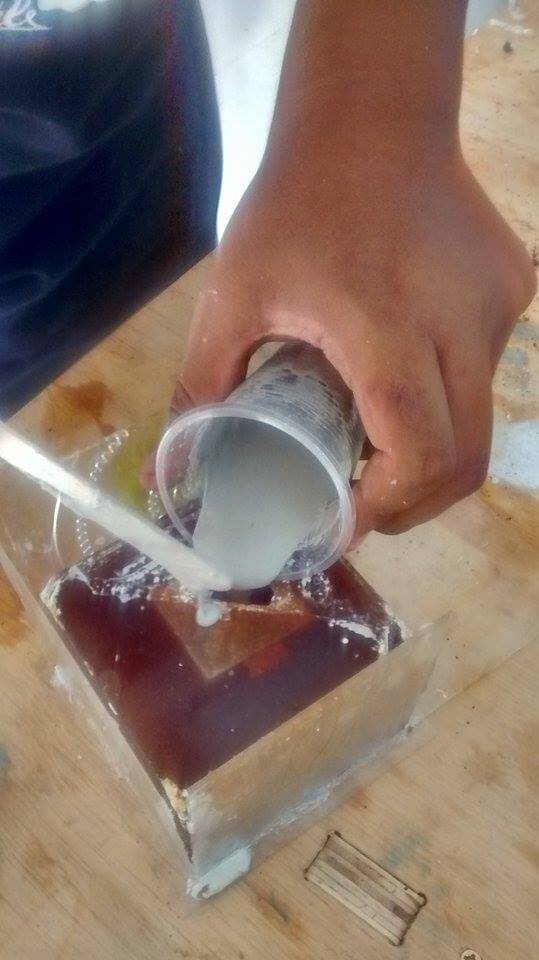
1.
I poured an equal ratio mixture of water and cement into the mold
through a hole accidentally made while the mold dried up. It should be
said that this mistake was due to the fact that the acrylic box had a
rectangular triangle shape piece of dried cement in its botton, which
caused the 3D Printed block to tilt to one side.
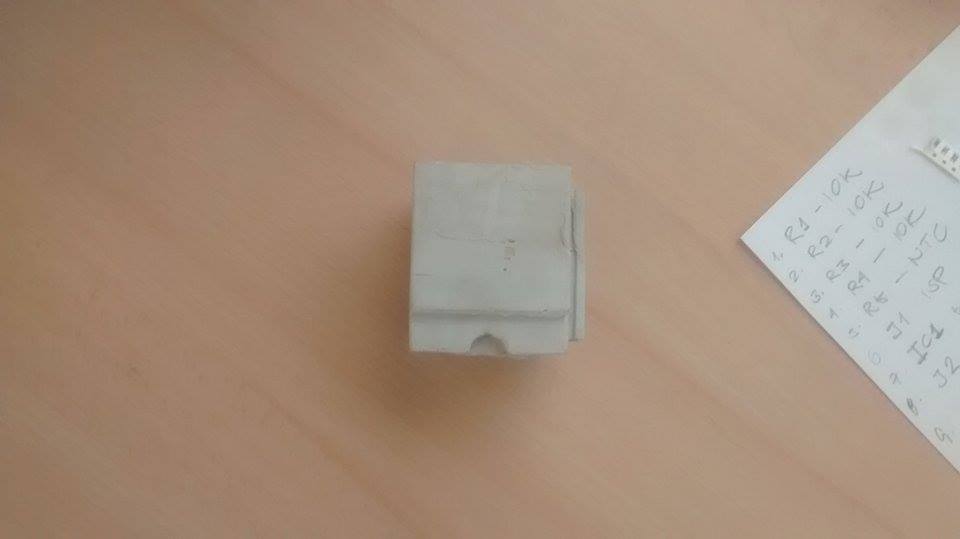
2.
After waiting for a day, the result was a defined cement block. It
should be said that I was told that the cement was going to dry like a
dough due to its high density; however, that was not the case.
PADWORKS 3D (employs the same tools of Week 8)
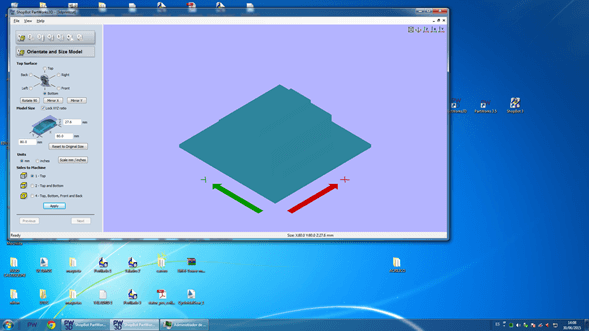
1. In Inventor, I divided my cube in half and put a rectangular surface over its (respective) plane side. Here you can download the first half and Here you can download the second half.
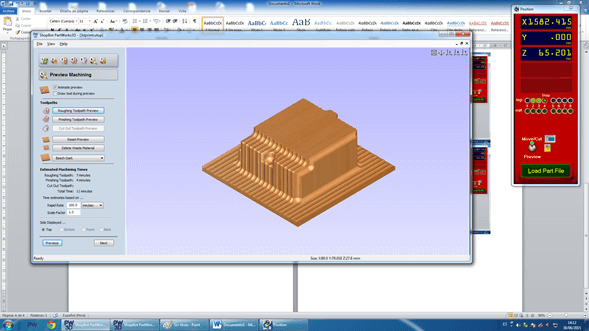
2. I opened Padworkd 3D
3. I opened my .stl archive (I exported my .idw archive to CAD in Inventor)
4. I clicked in Button (the option just below the head)
2. I opened Padworkd 3D
3. I opened my .stl archive (I exported my .idw archive to CAD in Inventor)
4. I clicked in Button (the option just below the head)
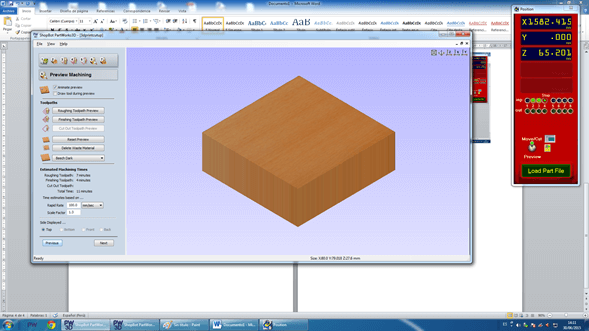
5. Click on Next and Calculate (when necessary) until a wooden box appears (step 7).
6. Click on the upper botton
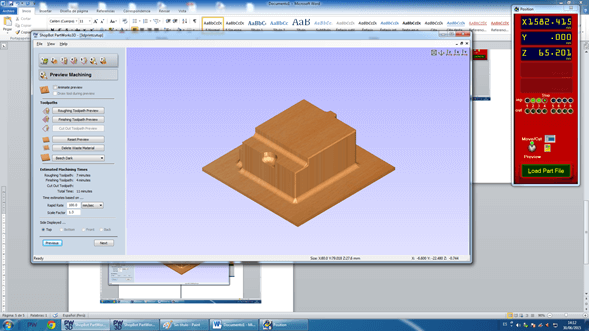
7. Click on Next.
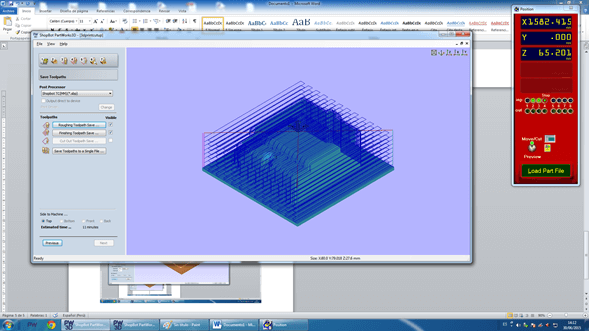
8. Save the cube
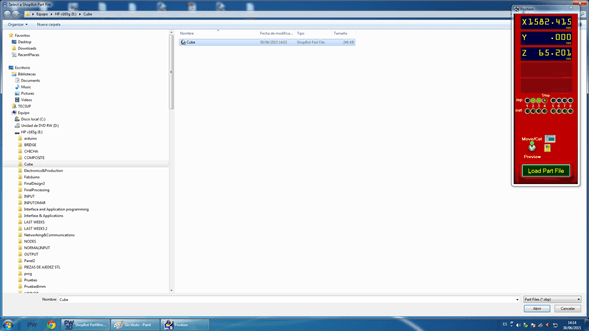
9. Load Part File -> Click on the smaller START button
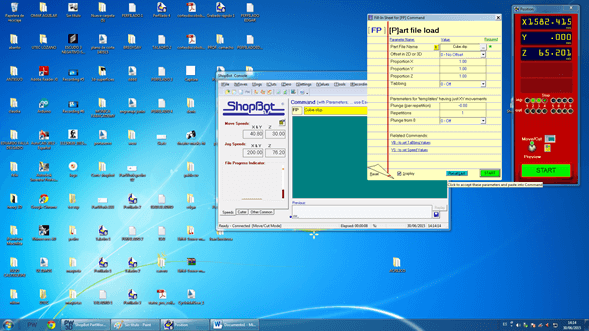
10. Click on 'Yes'
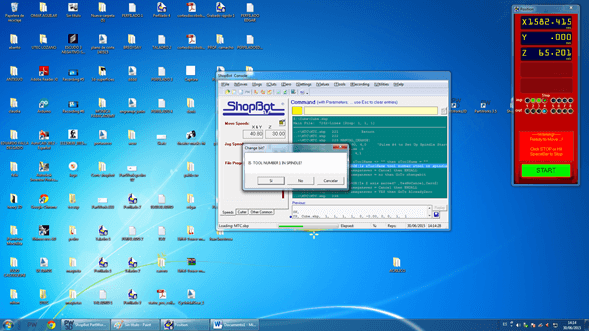


11. Click on 'Yes'
12. Click on 'Accept'
13. I repeated the same process for the other side of the cube.
MOLD & CAST III
1. I cut my 3D Printed design (positive side) in a wax mold using the Shopbot.
2. I put resin in the two pieces of my cutted wax to get the negative side of my design. I had the firmest mold, compared to previous ones; however I broke the walls of my wax
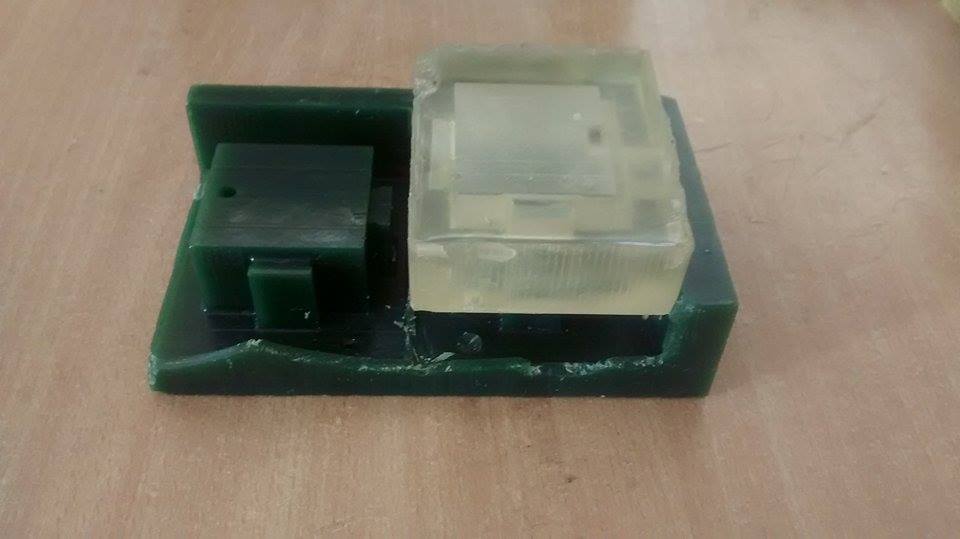
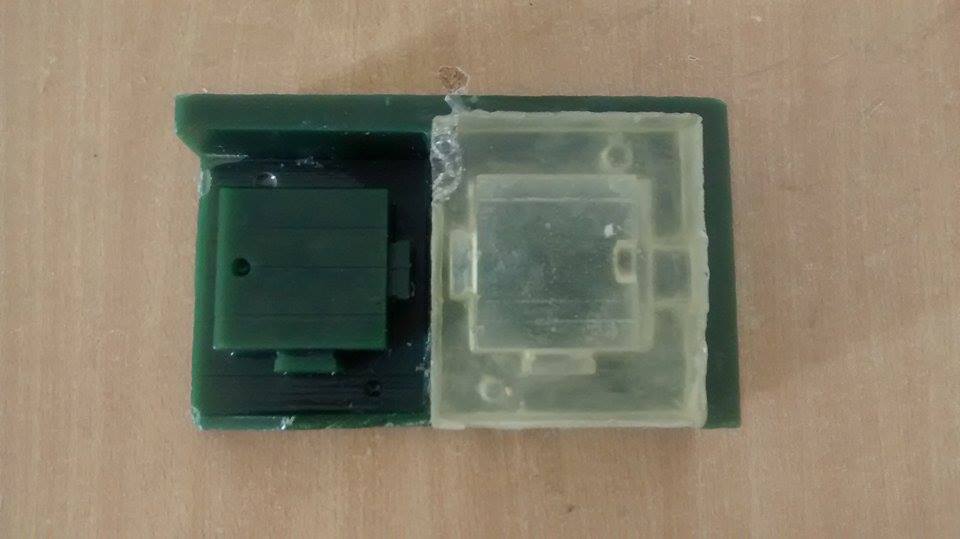
3. Now I have strong molds for whenever I want to reproduce my Cube.
CONCLUSIONS
1. I should always measure the substances I pour; otherwise, they will not solidify.
2. The density of a block is not a problem for solidification
3. Materials in order of solidification efficiency (from best to worst):
- Resin > Cement > InstaMold