PORTABLE 3D PRINTER-SCANNER
STEP 8: COMPUTER-CONTROLLED MACHINING
Home
OBJECTIVE
- Learn how to use the Shopbot
- Build a longboard that carry things
PROCEDURE
DESIGN
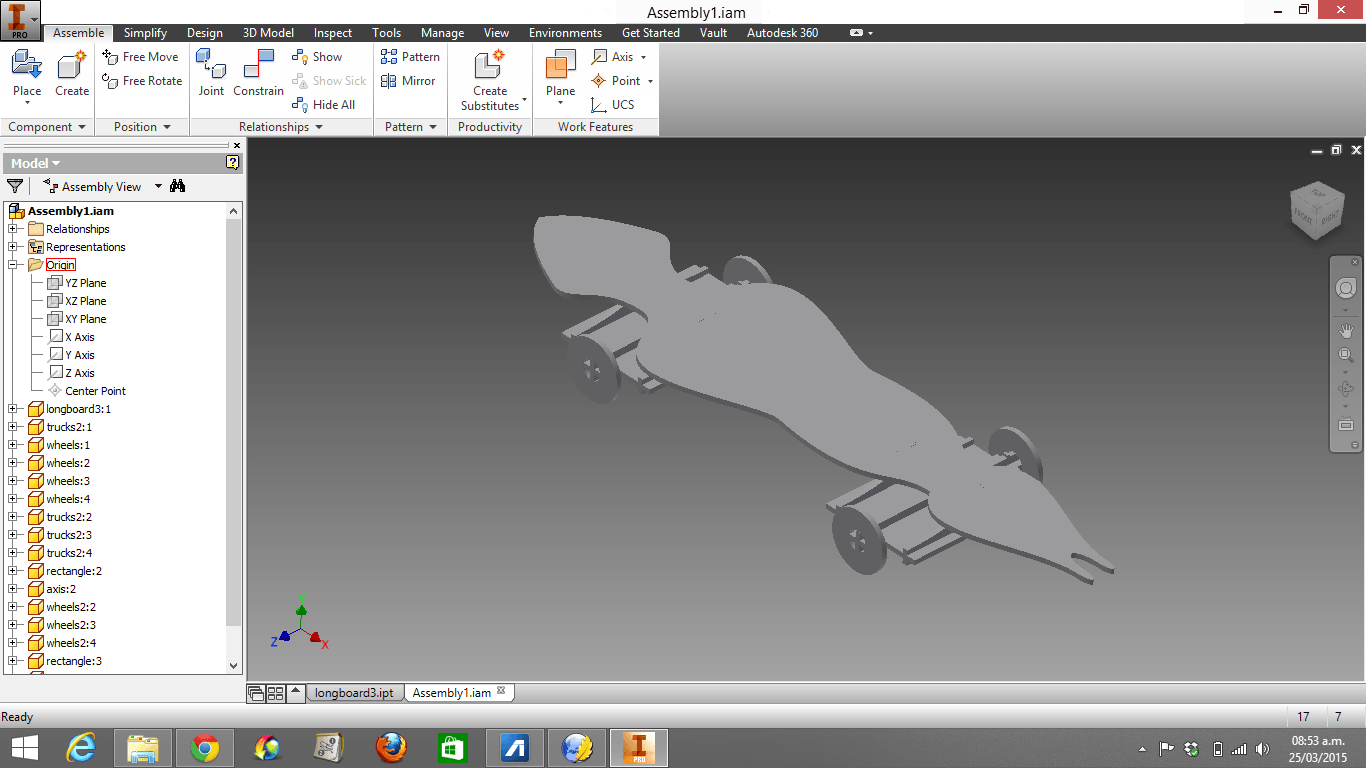
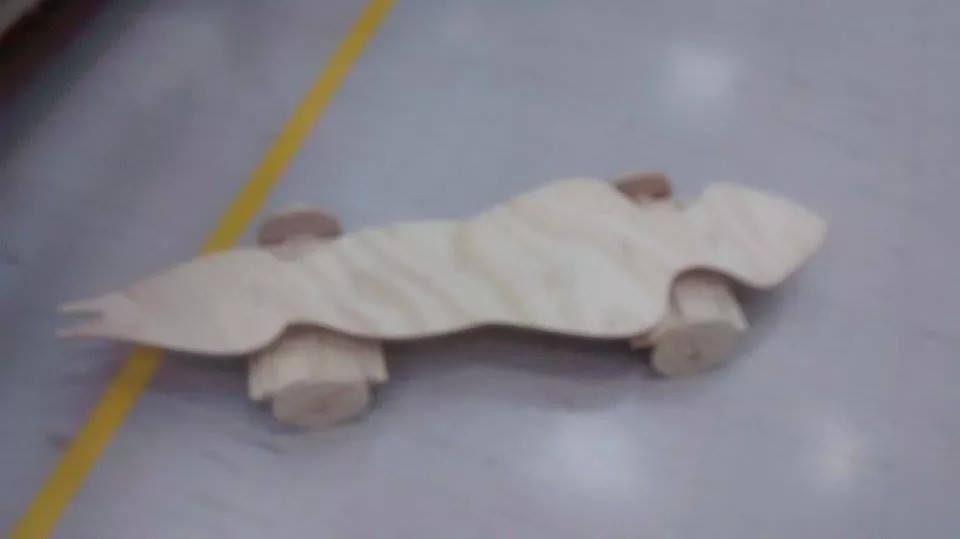
1) As always, I designed my assignment in Inventor. I knew I was not going to be able to make a real (curved) longboard, because I did not have the materials to do so; however I still wanted to make a light vehicle for carrying things quickly. Here is my design file and Here is my DXF file.

SHOPBOT SOFTWARE
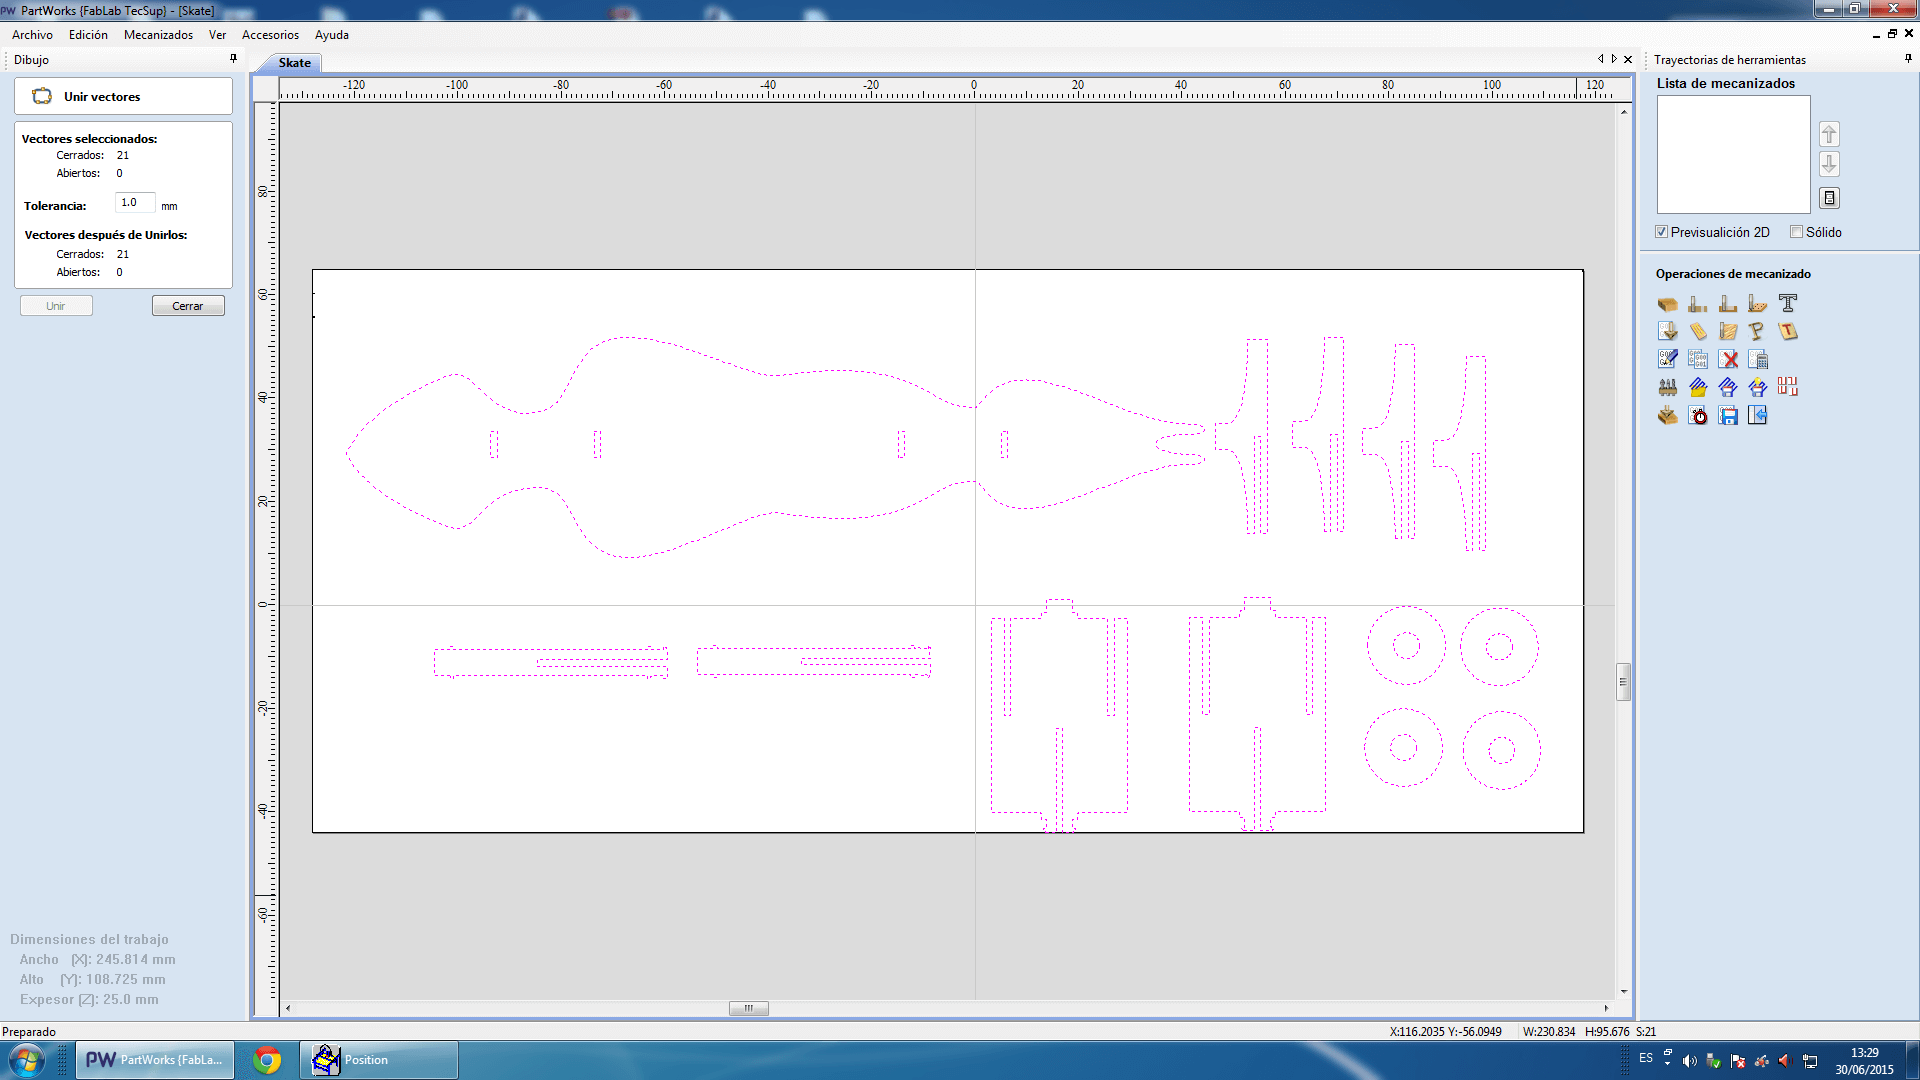
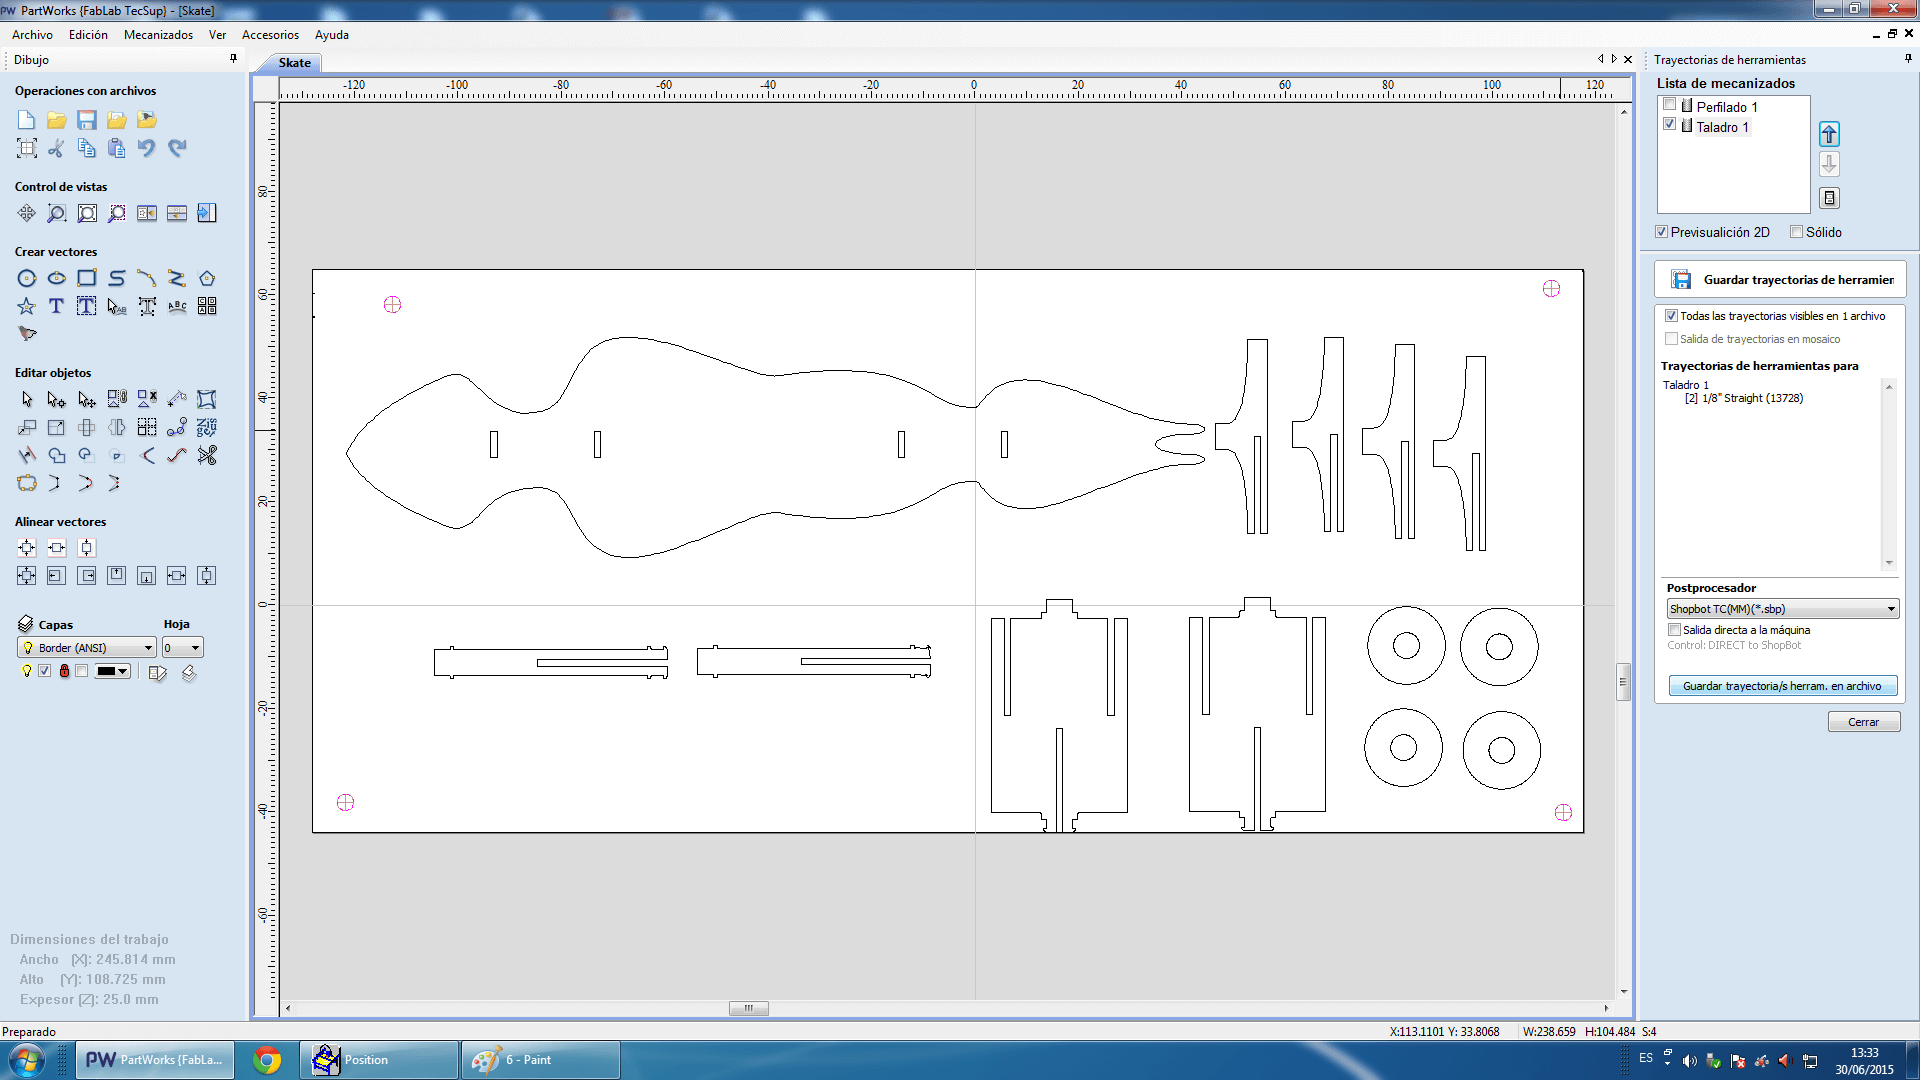
1. Import Skate.dxf -> Join Vectors
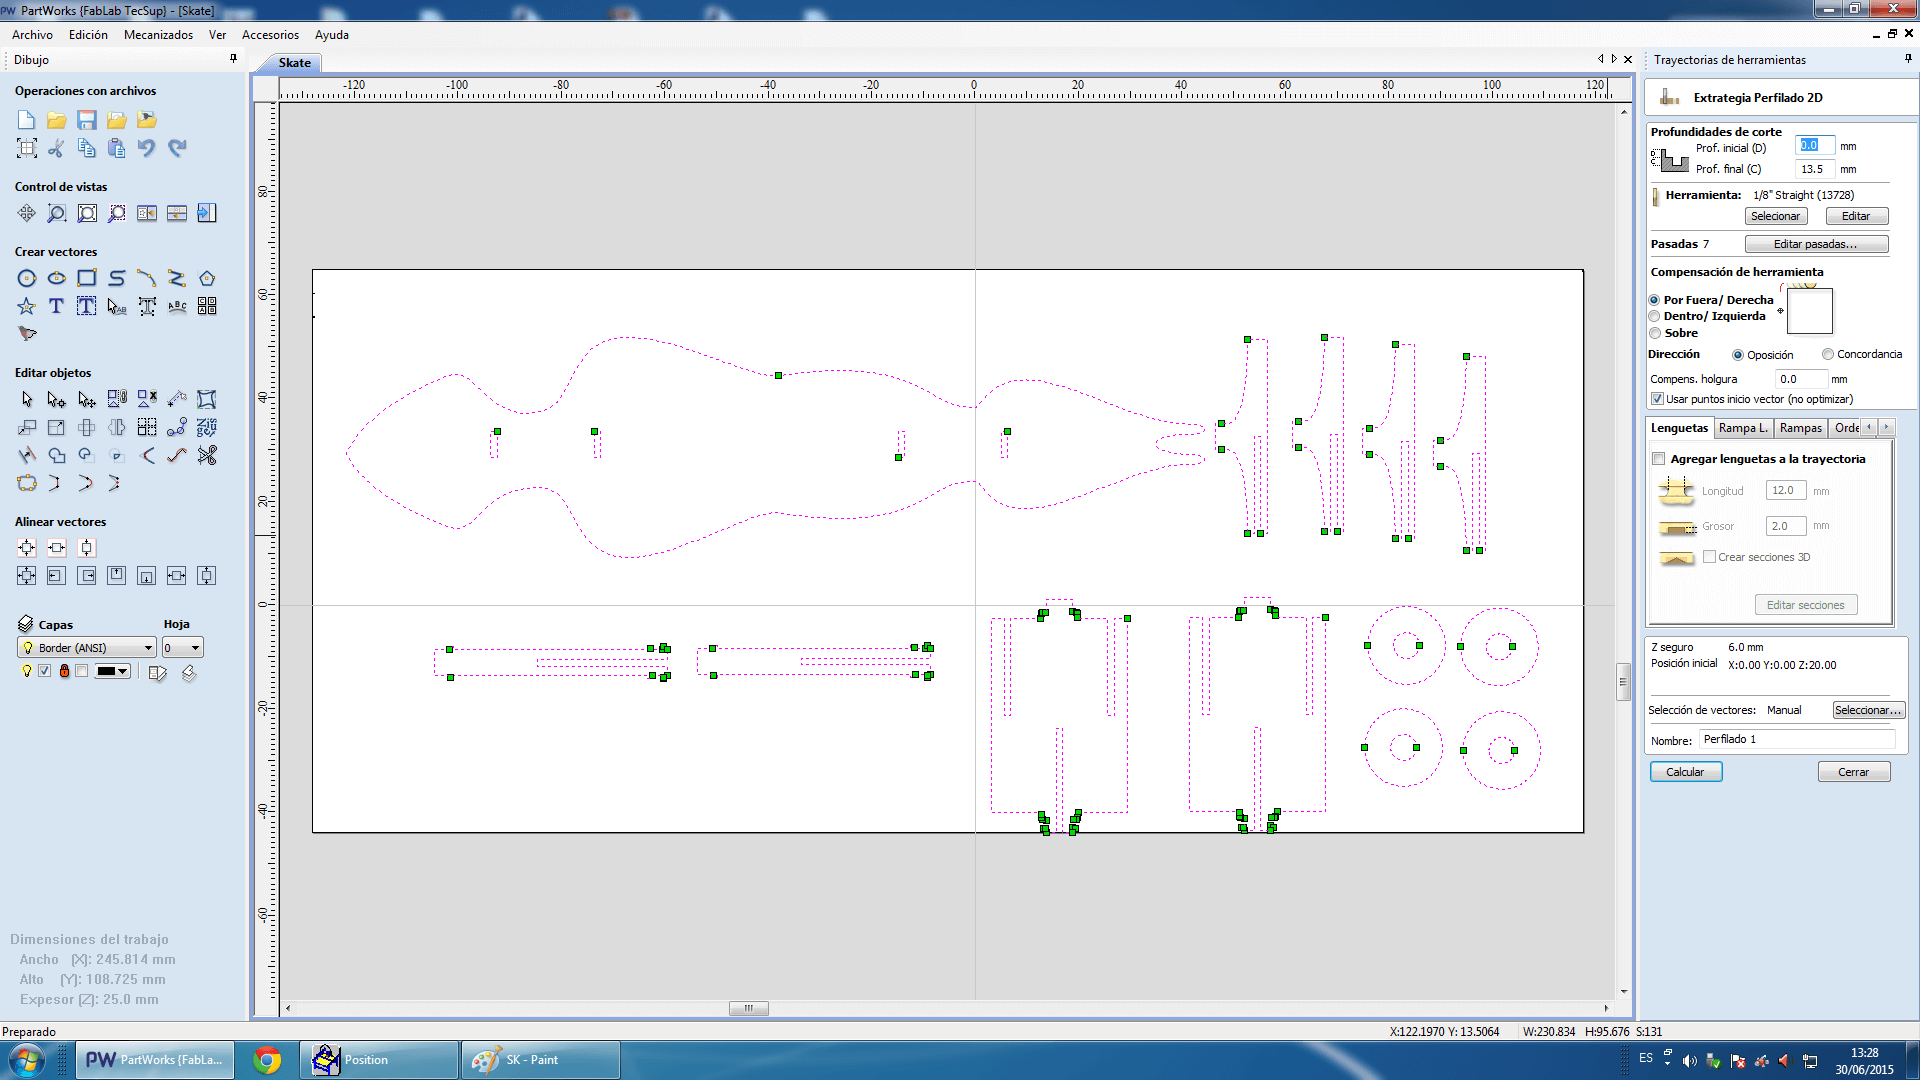
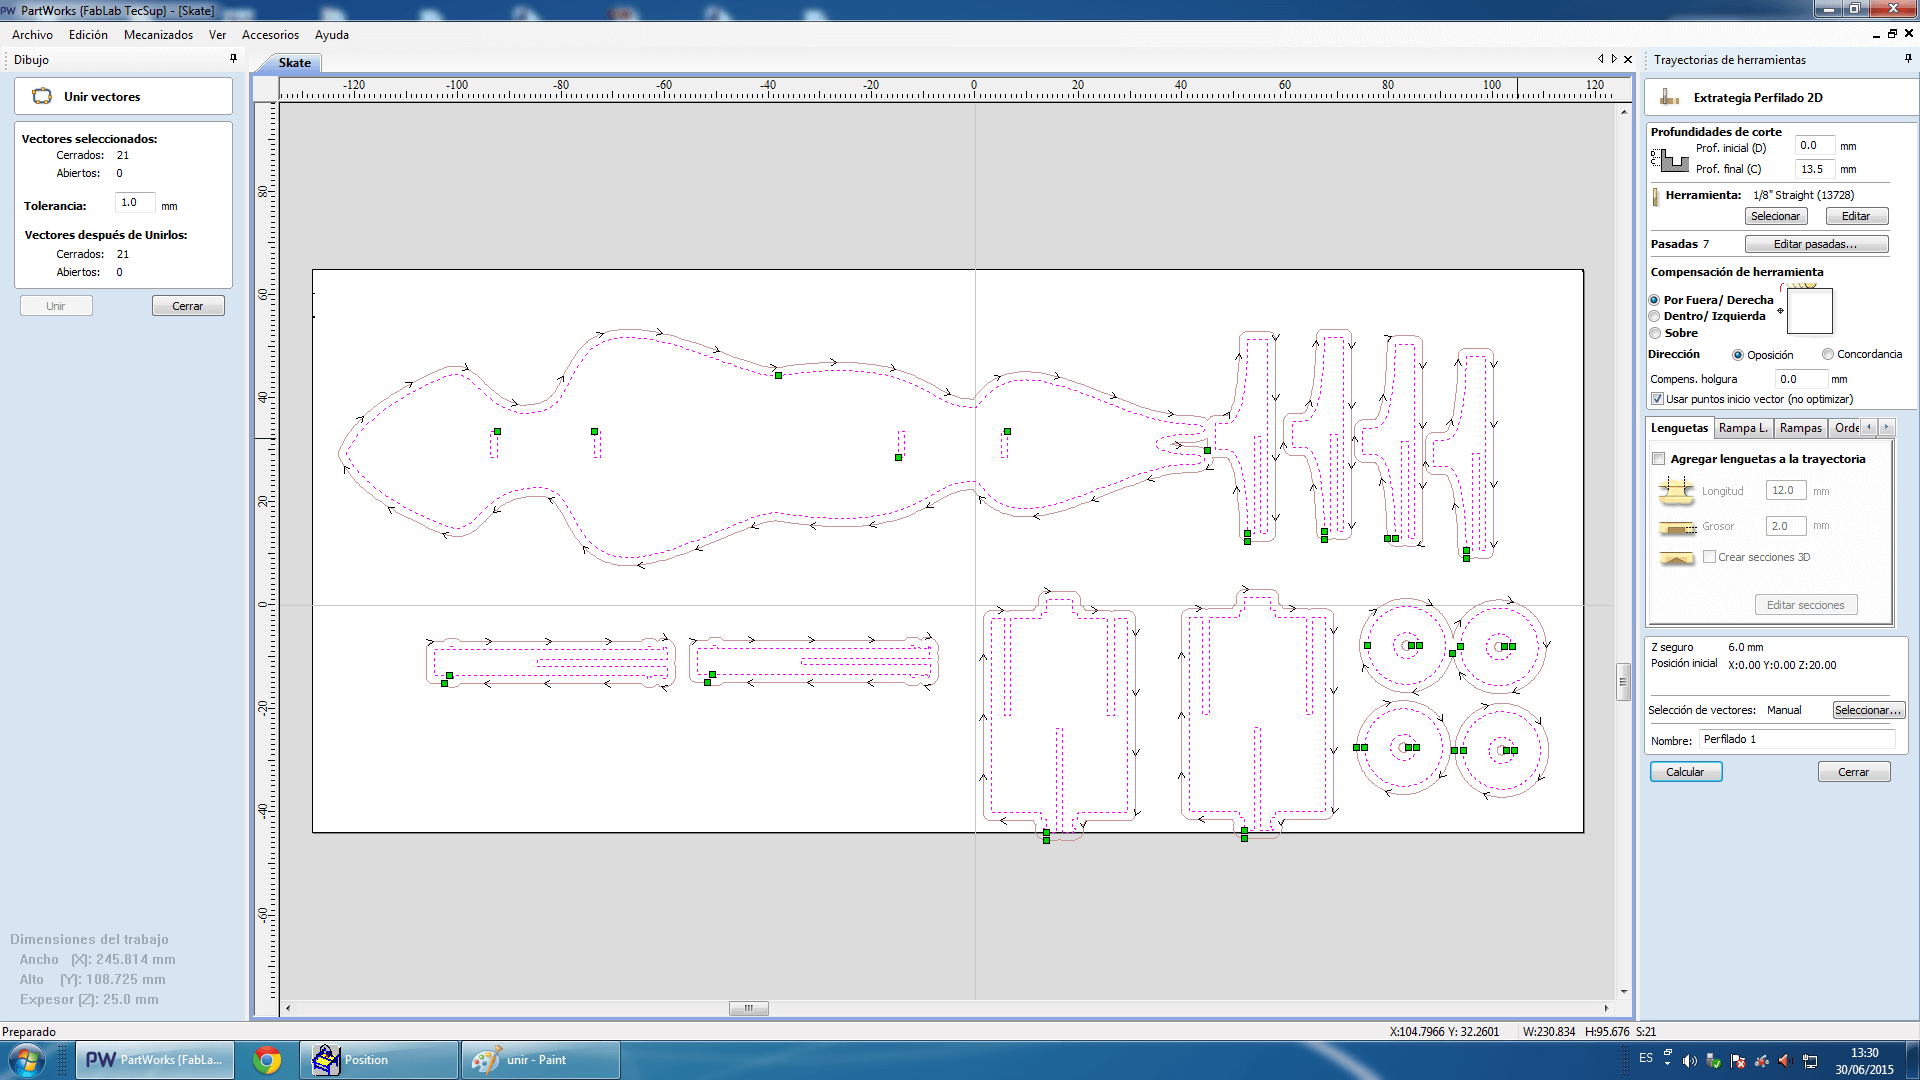
2. Apply "Estrategia de Perfilado 2D" of the left corner and Calculate
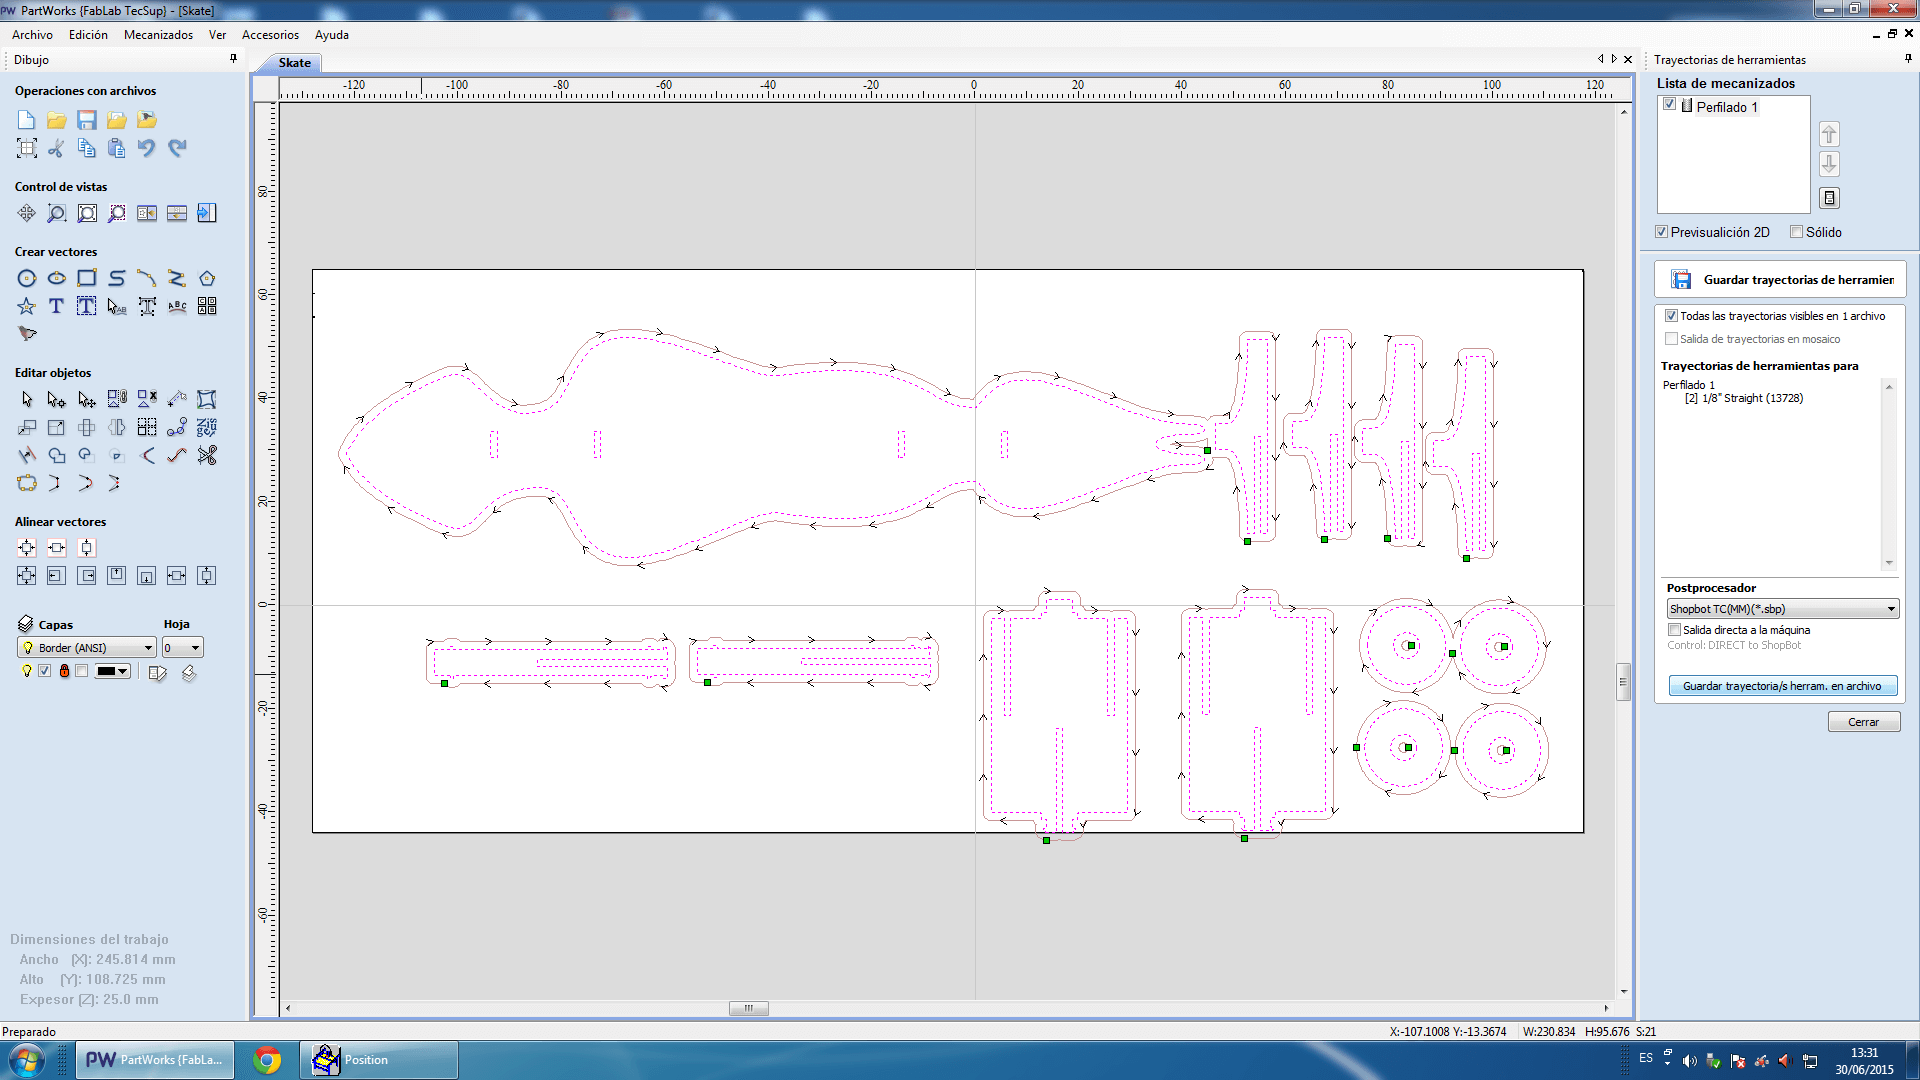
3. Click on the Save button
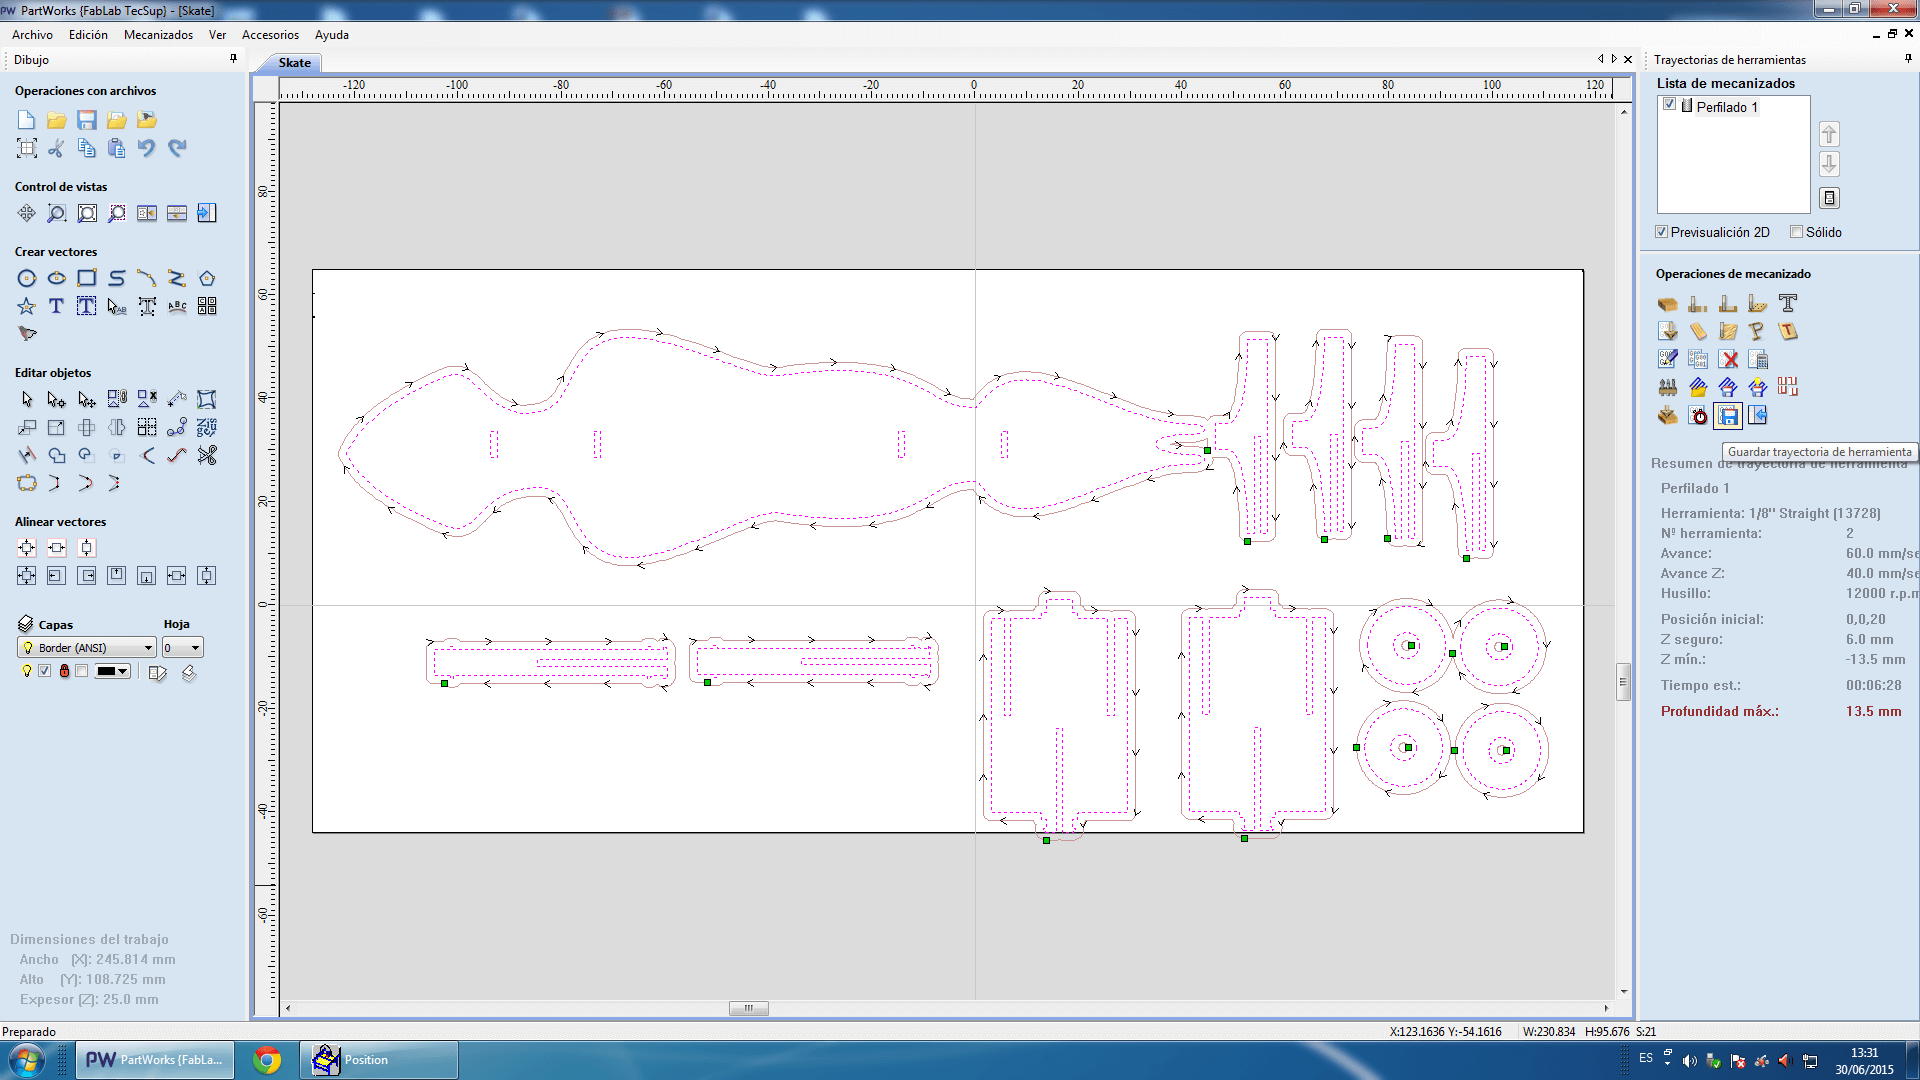
4. Save the trajectory
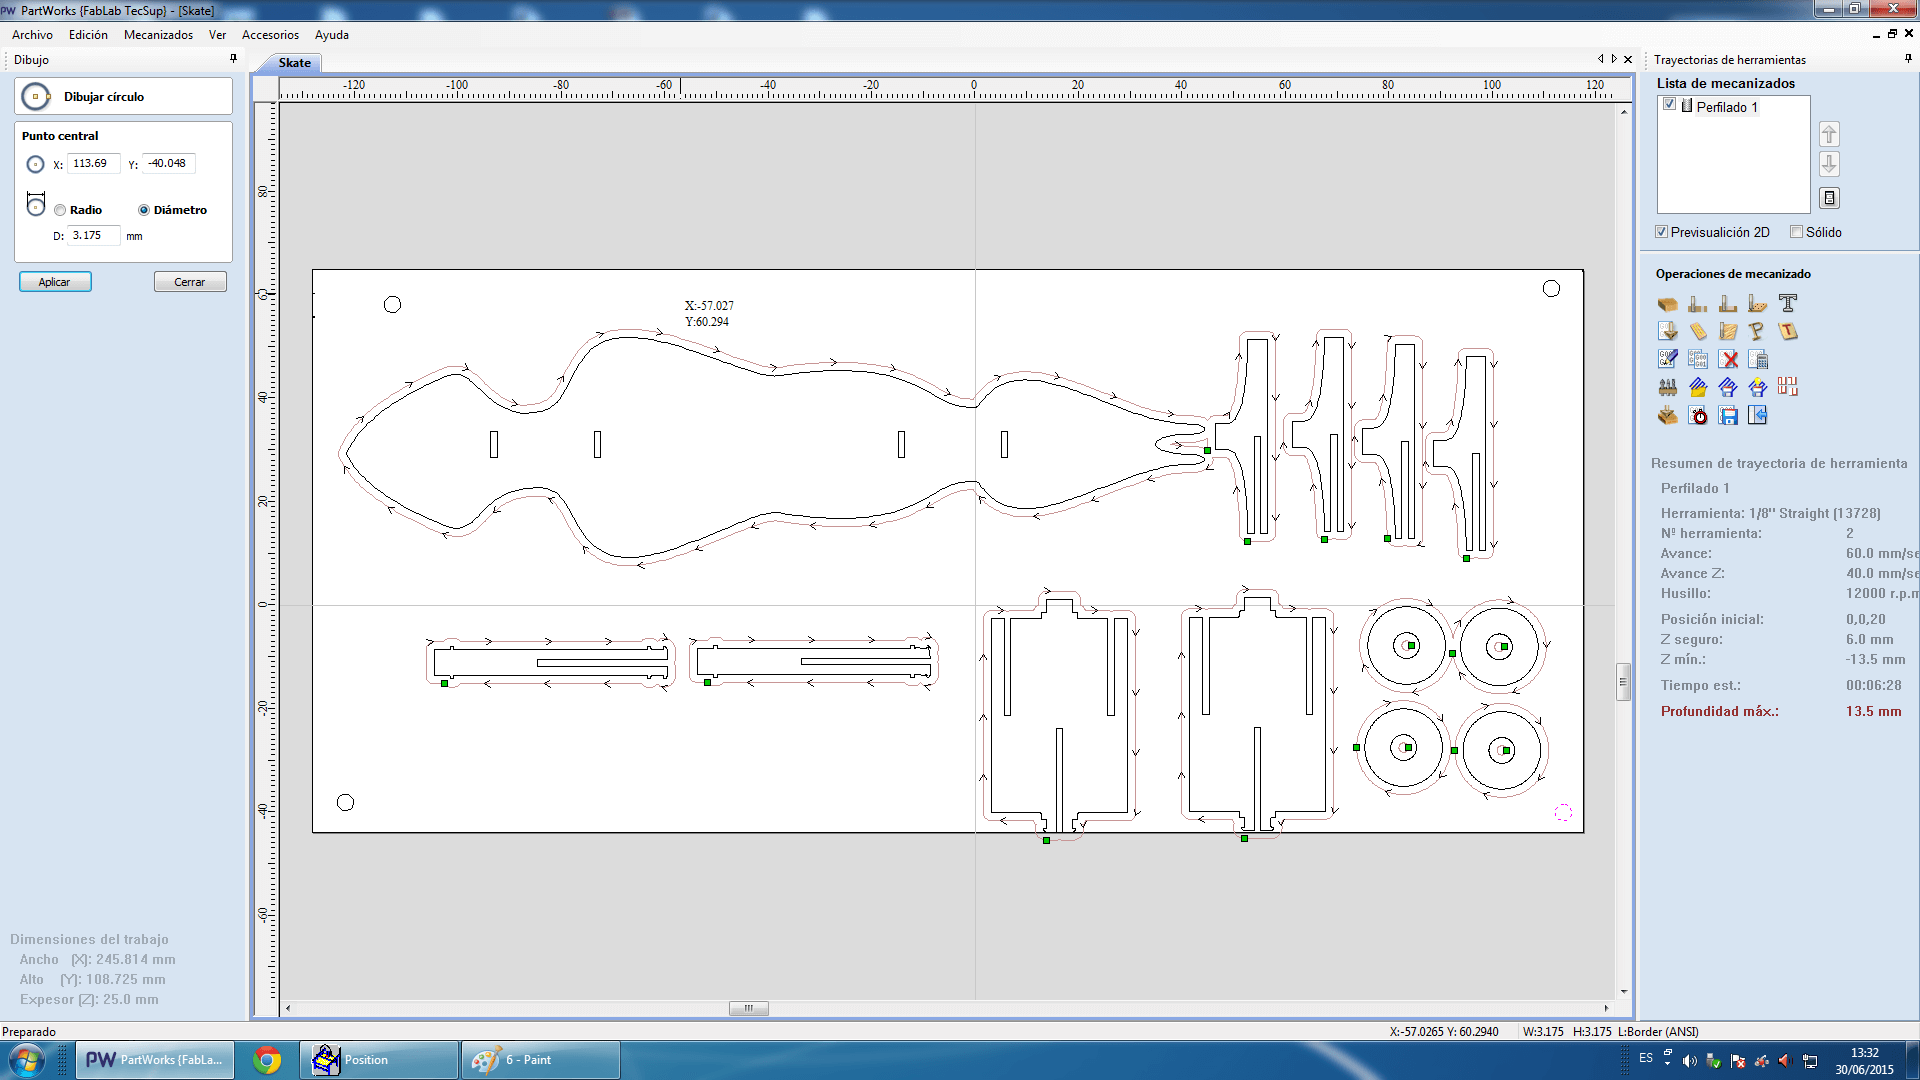
5. Once the "Perfilado" is saved, draw circles in the sketch for the screws.
6. Apply "Estrategia Taladro" of the left corner.
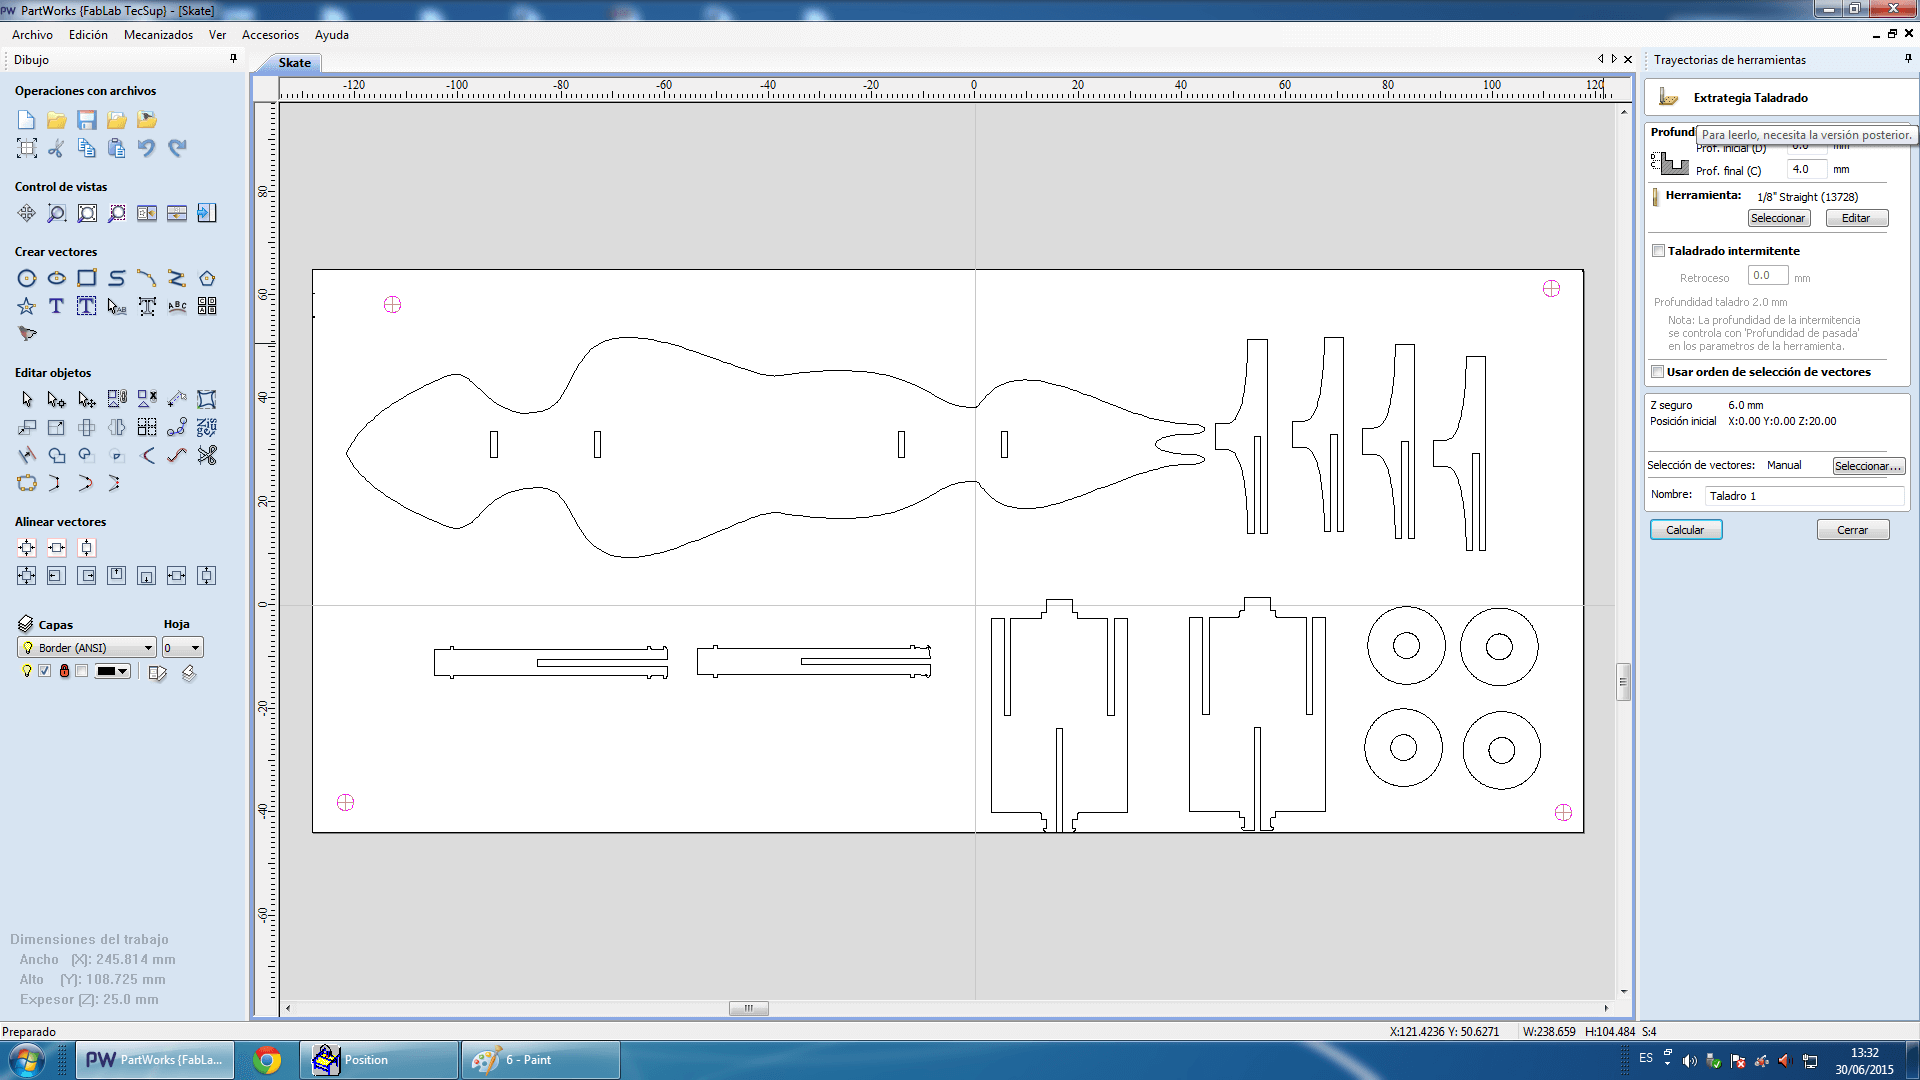
7. Save trajectory
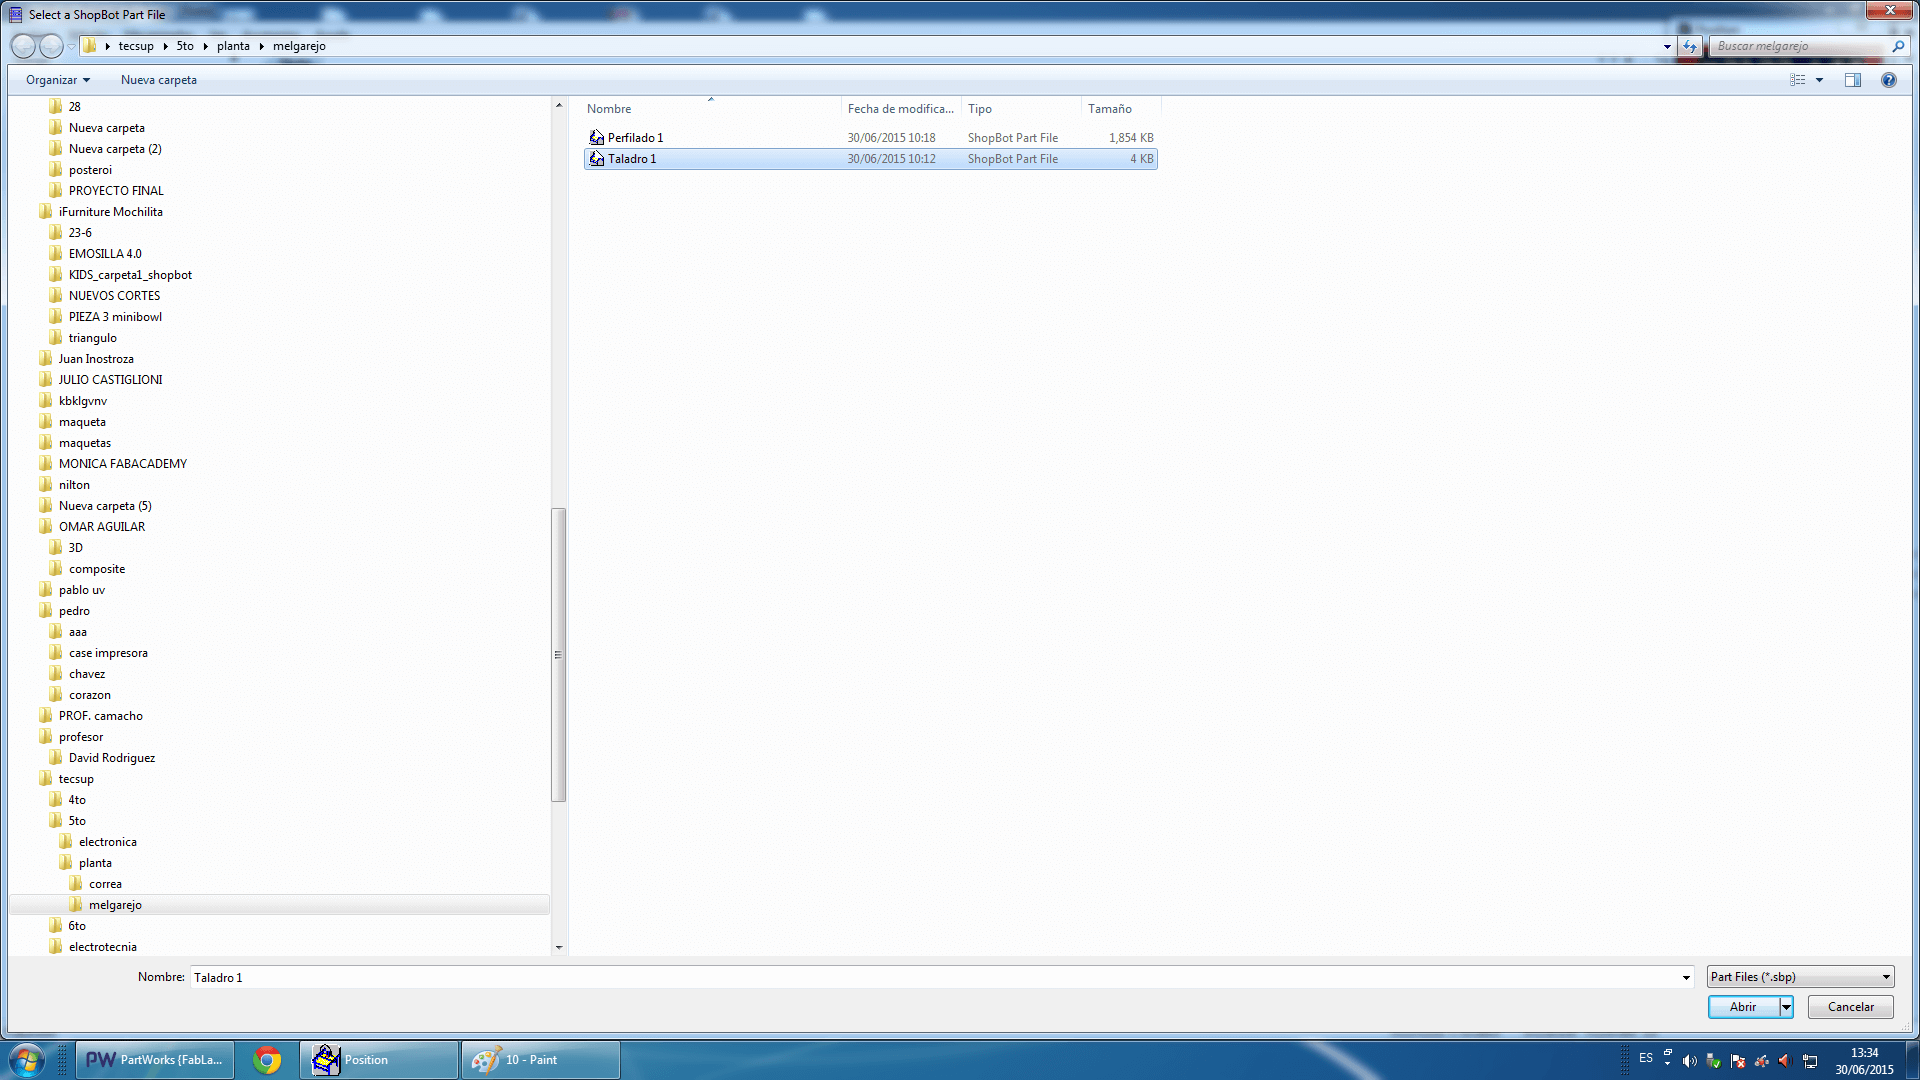
8. Load Part File
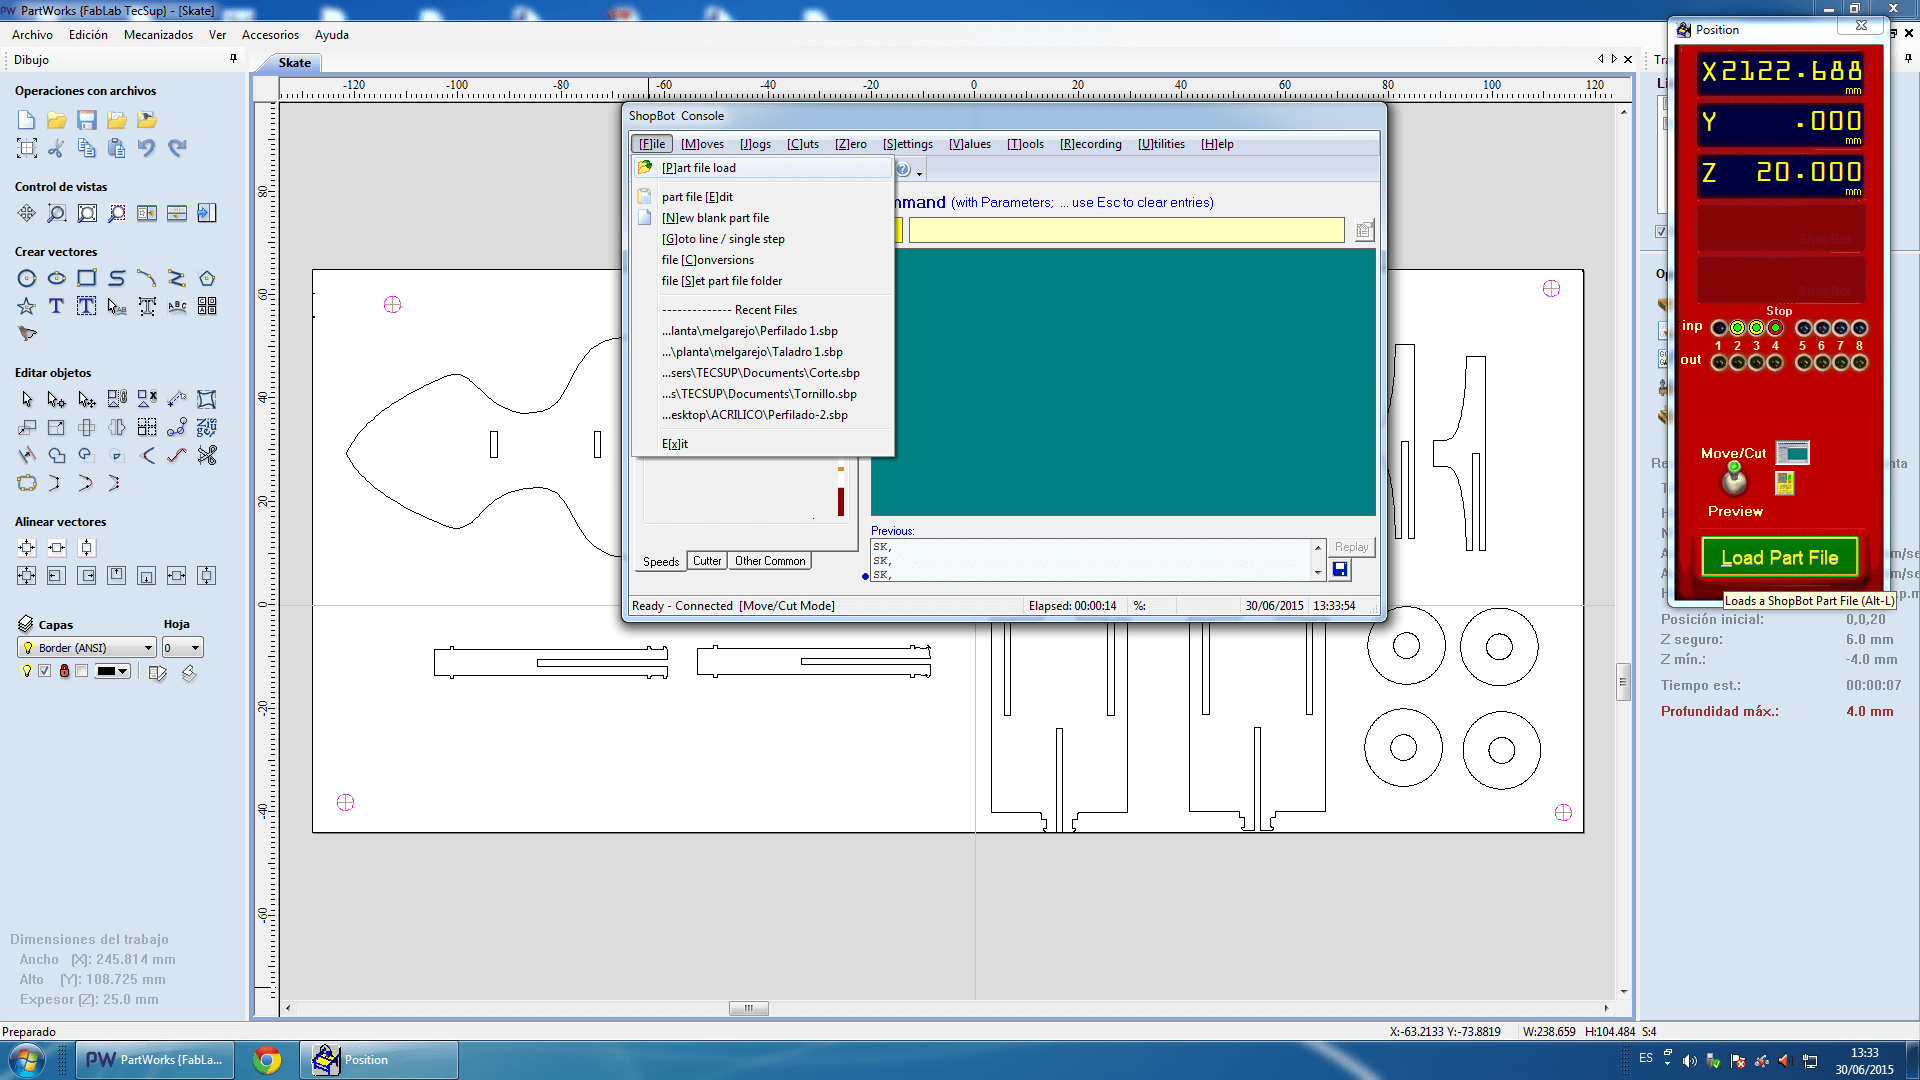
9. Charge "Taladro"
10. Make sure that the Machine (tube) is turned on -> Click "Accept"
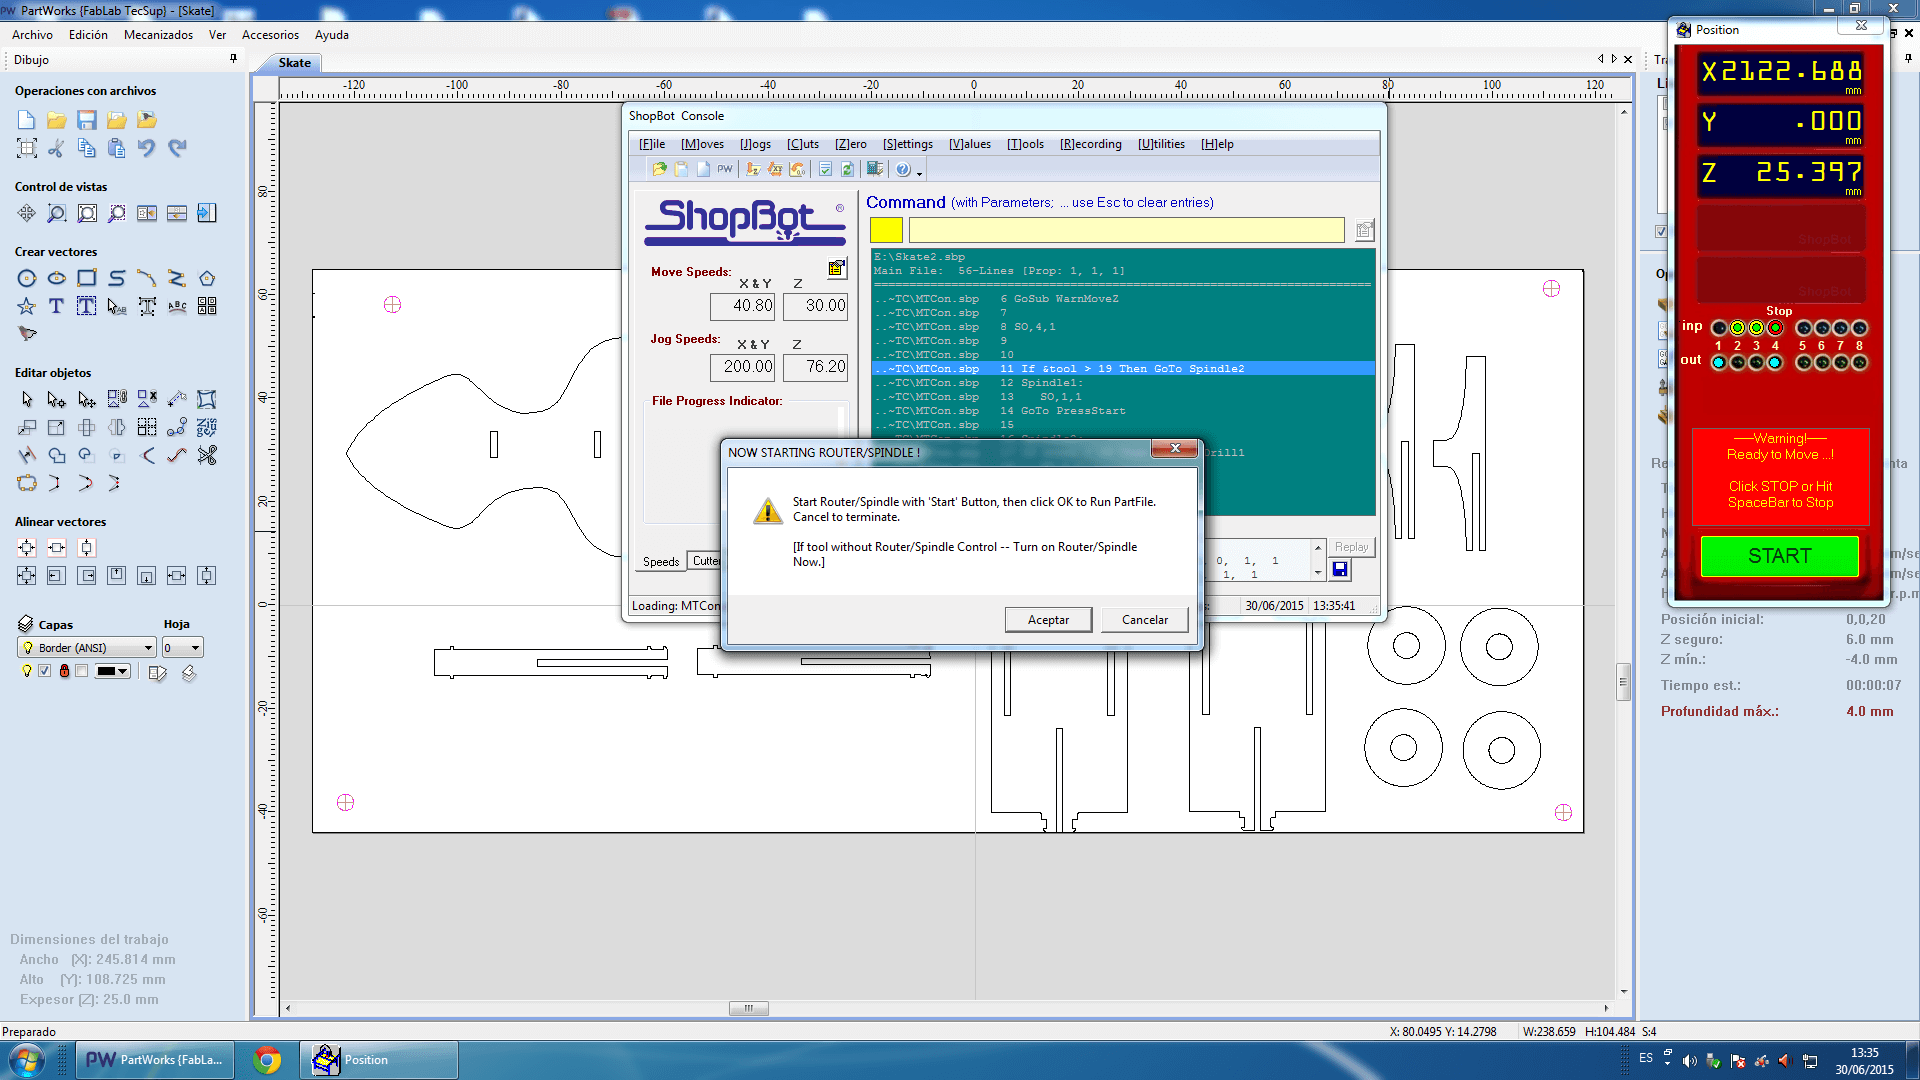
11. Click "Accept"
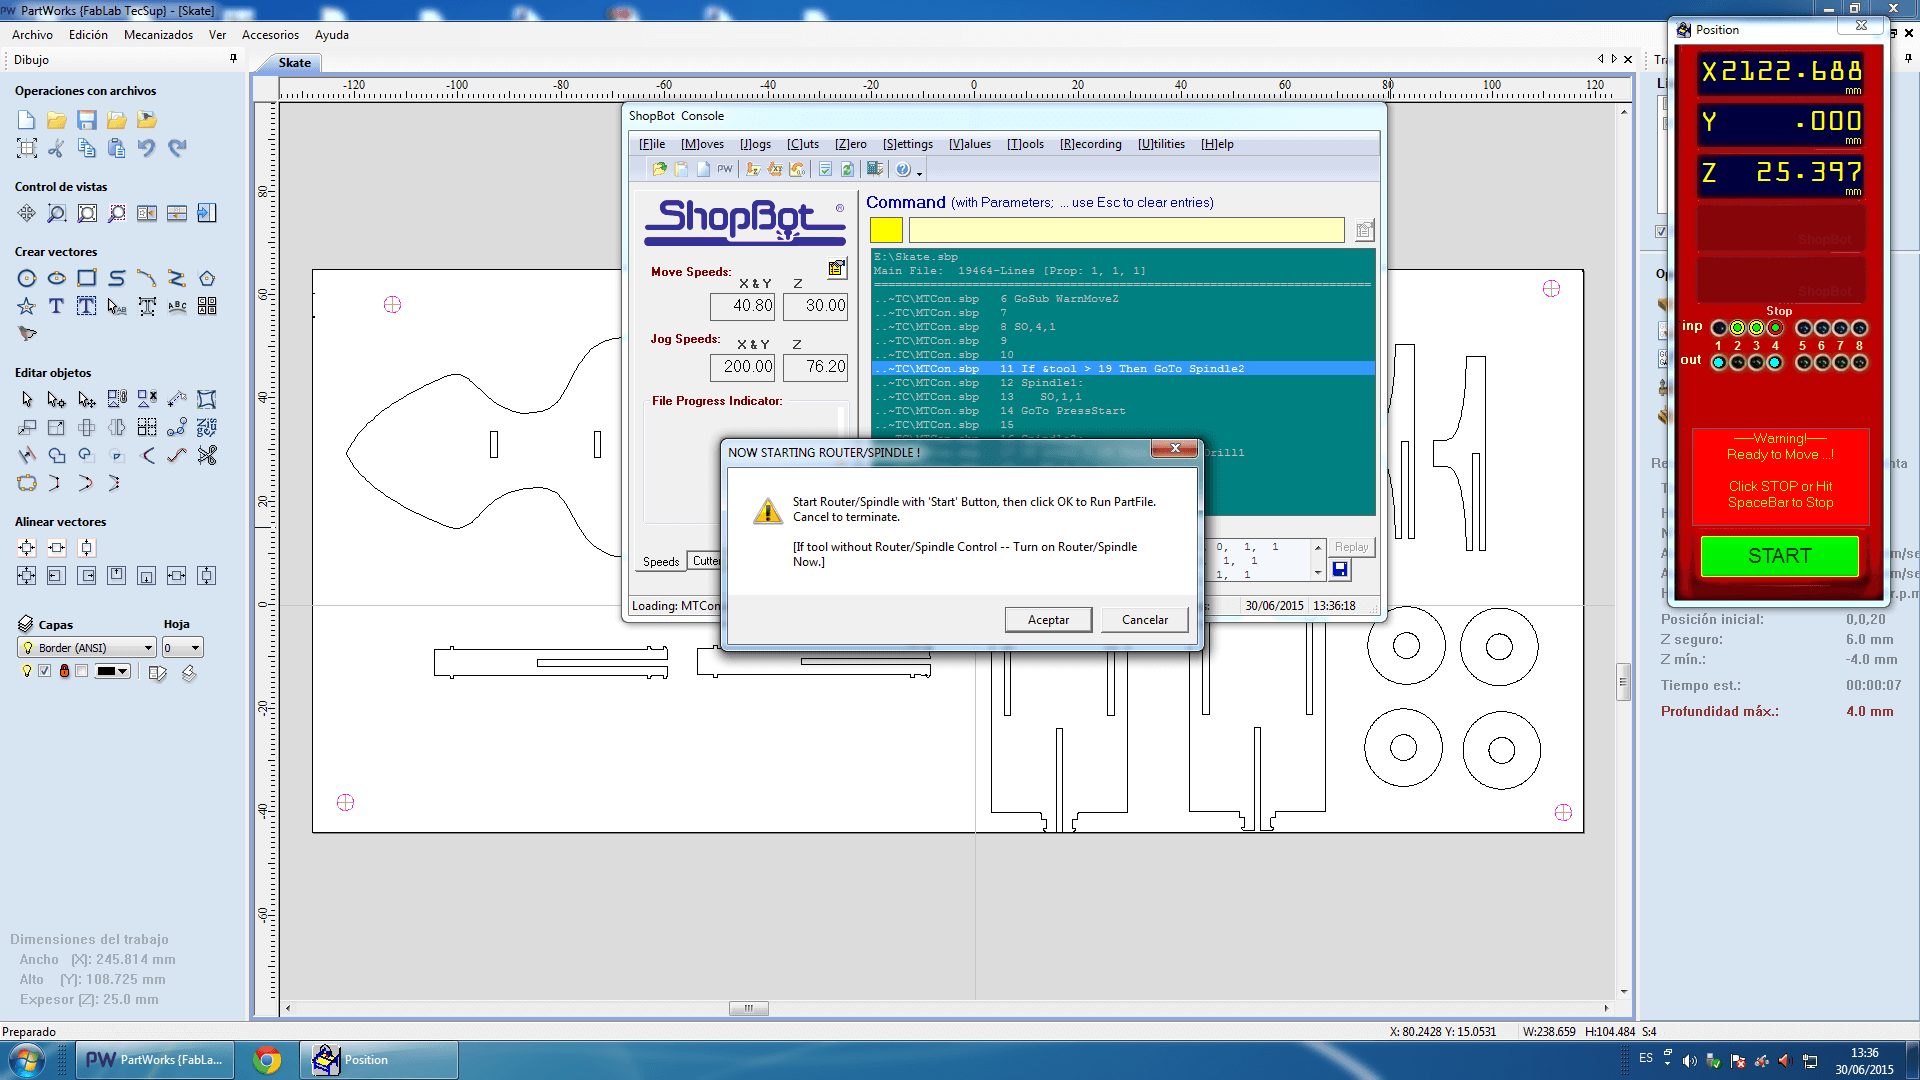
11. Press the green button -> It works!
TOOL
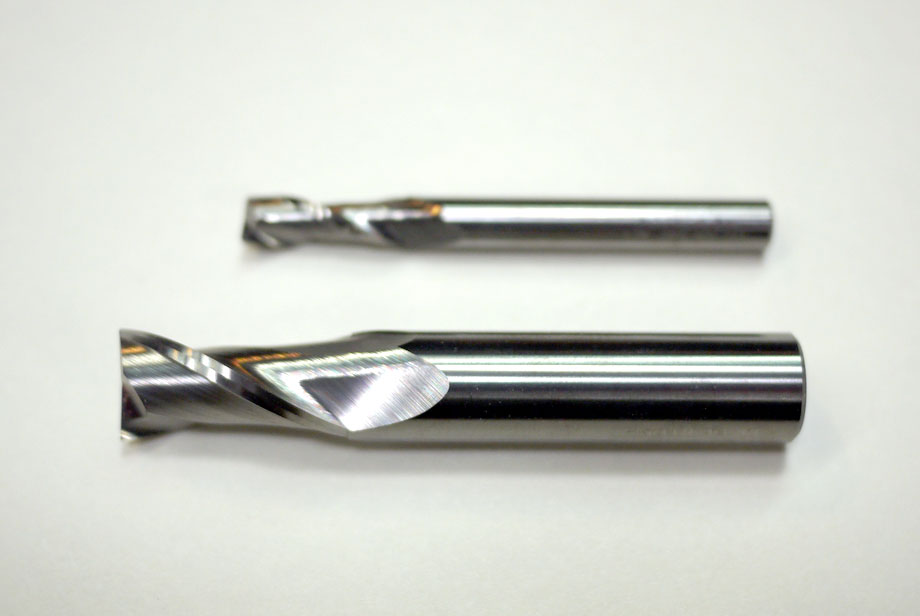
For the 12 mm playwood I am using, I will need 1/4 bit with two flutes. I would take this in account when cutting.
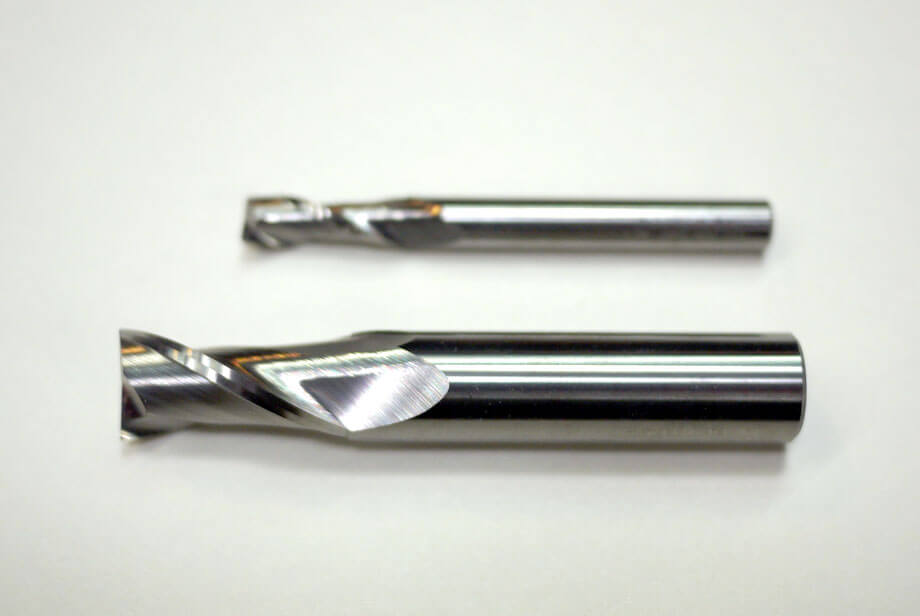
This picture with great resolution (for allowing the user to distiniguish it from other types of mills) was taken from this link.
SHOPBOT CUTTING
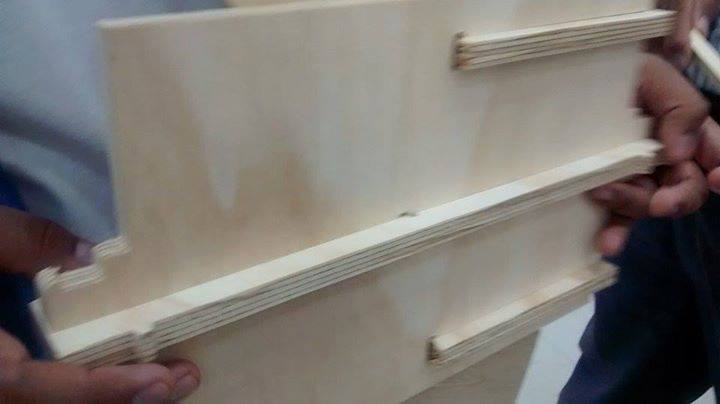
1. My skate pieces were cutted
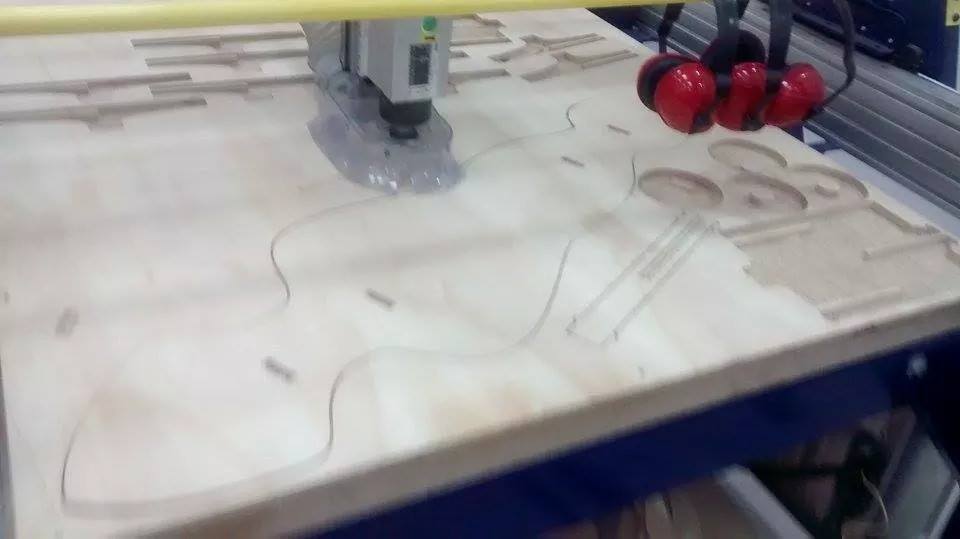
2. I pressed them until joining them.

3. However, I broke a leg a wooden piece. I learned that from now on, I would have to make more thicker pieces.
It works!
CONCLUSIONS
1. You have to designer thicker (At least more than 4mm) pieces for the Shopbot
2. The Shopbot is a very efficient machine, that does not need a constant changes of parameters (depending on the material) for achieving its goal
3. The Shopbot process is composed by two major steps: "Taladro" and "Perfilado"