PORTABLE 3D PRINTER-SCANNER
STEP 5: 3D SCANNING AND PRINTING
Home
OBJECTIVE
- Scan and object using a 3D Sense Scanner
- Design and print a not substractive object
PROCEDURE
SCANNING
1. I entered to this link: http://cubify.com/products/sense, logged in, clicked on "Activitate" and downloaded and executed the 3D Sense software
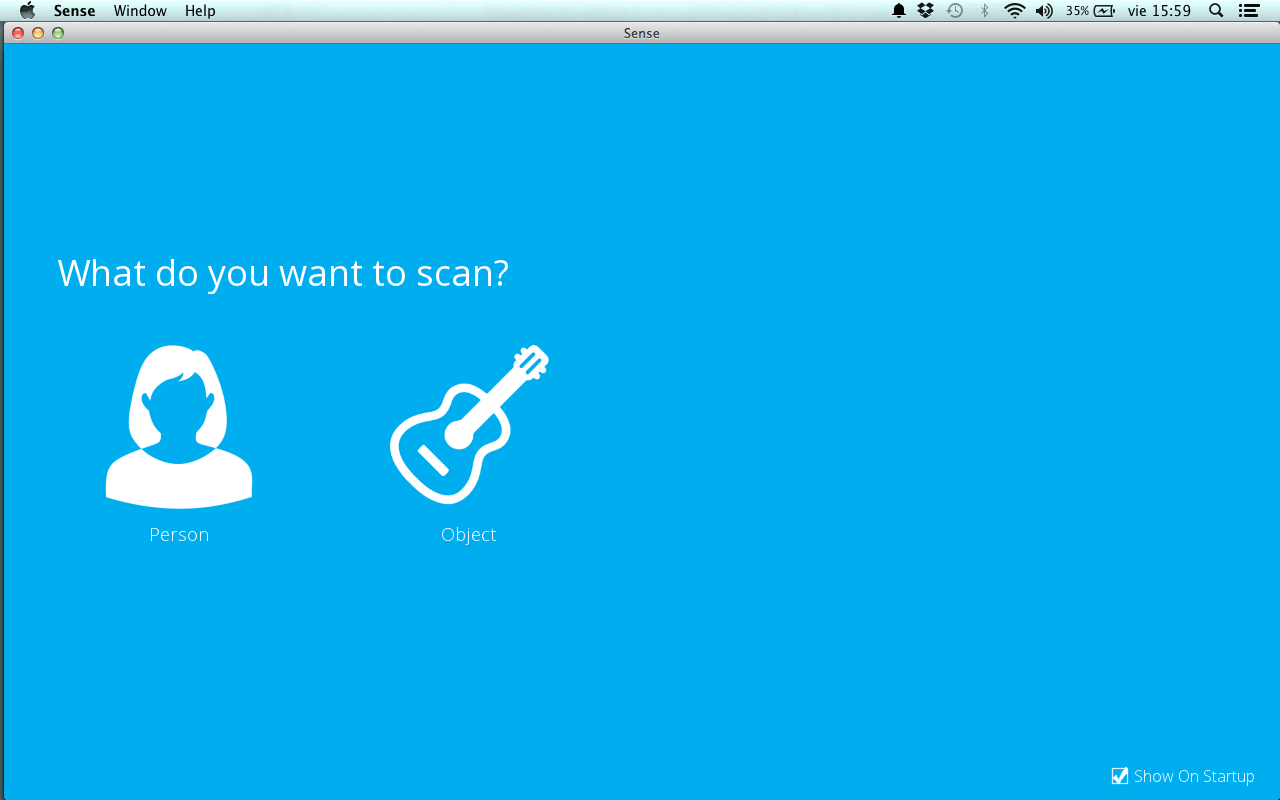
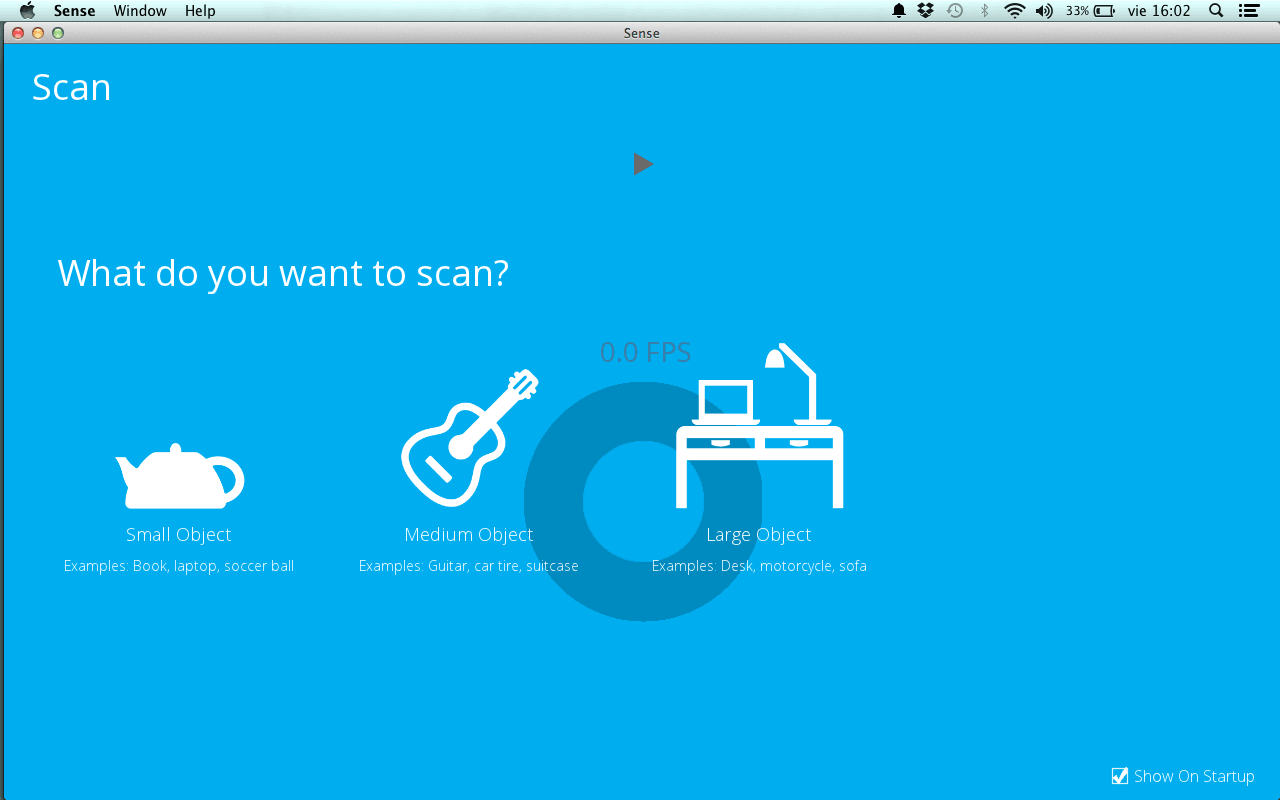
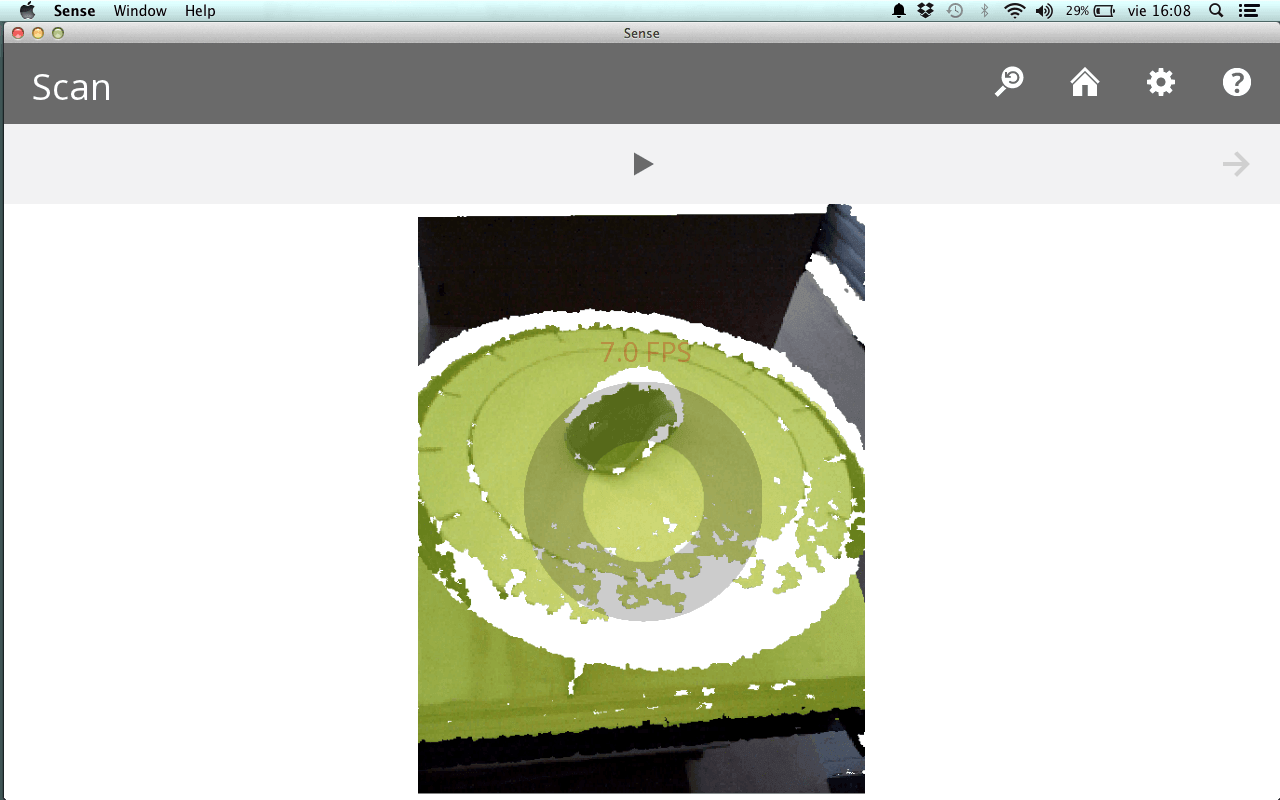
2. I clicked on Object and then on Small Object. I was not able to get a descent picture in the desk I was sitting in, so I moved toa darker place next to the Shopbot.
4. In my First and Second try, I scanned the mouse and the entire surface. I Think this accident was due to me being to near from the mouse.
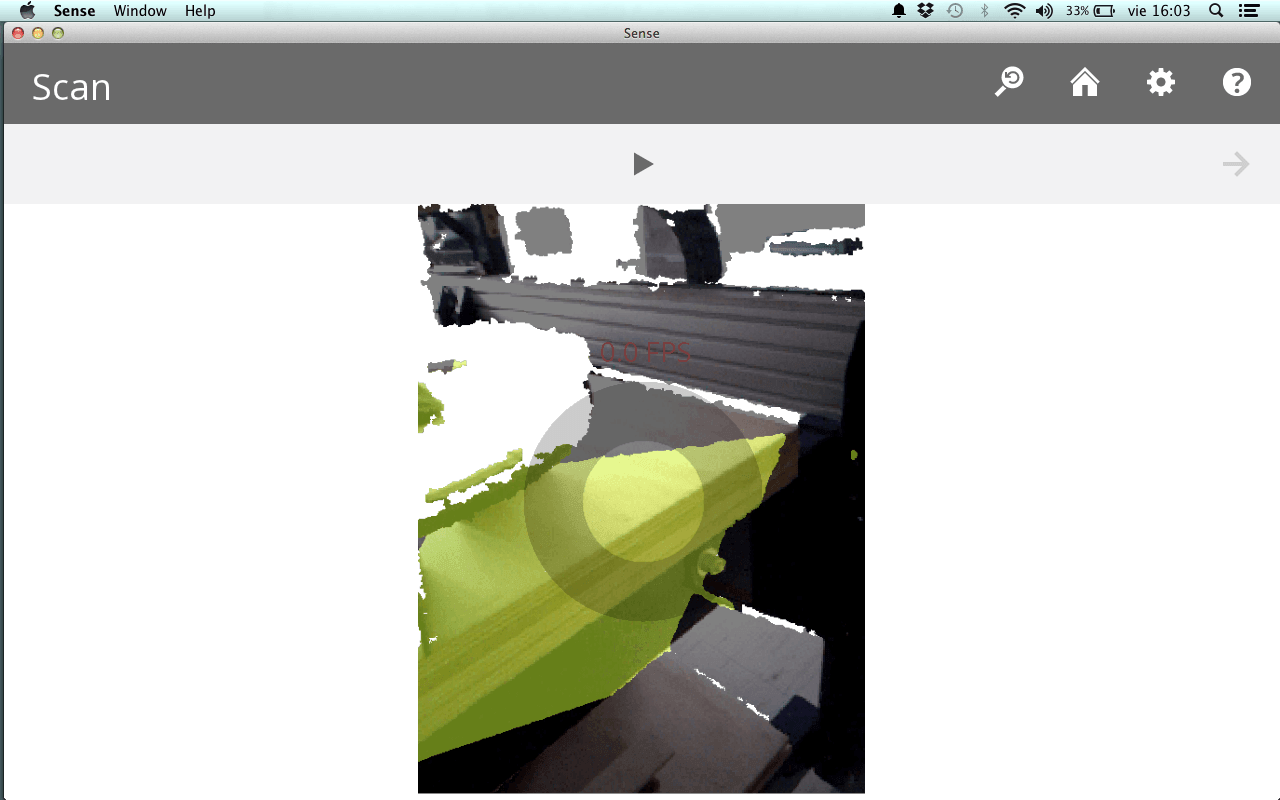
5. In my Third try, I was able to scan just the computer mouse, though I had some white spots.
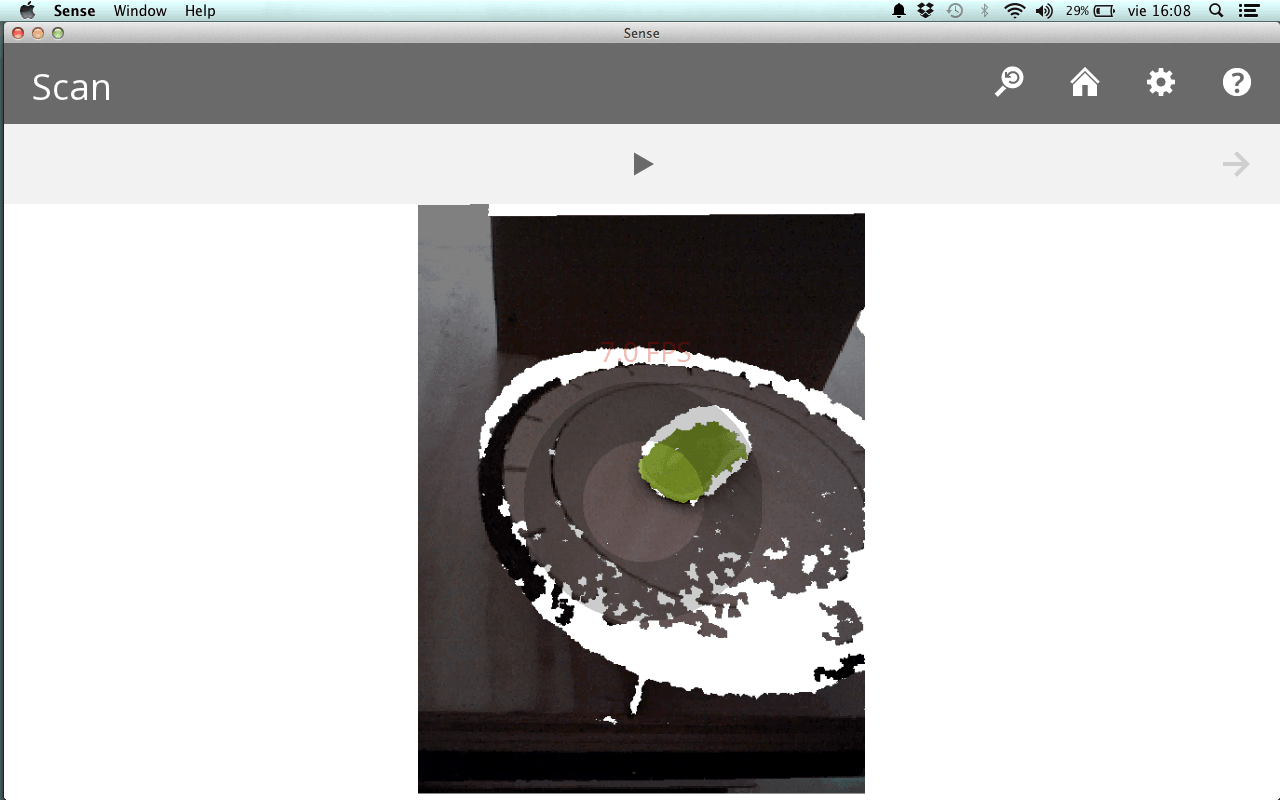
6. As a joke, I scanned the surface; however, it was clearly recognized without white spots.

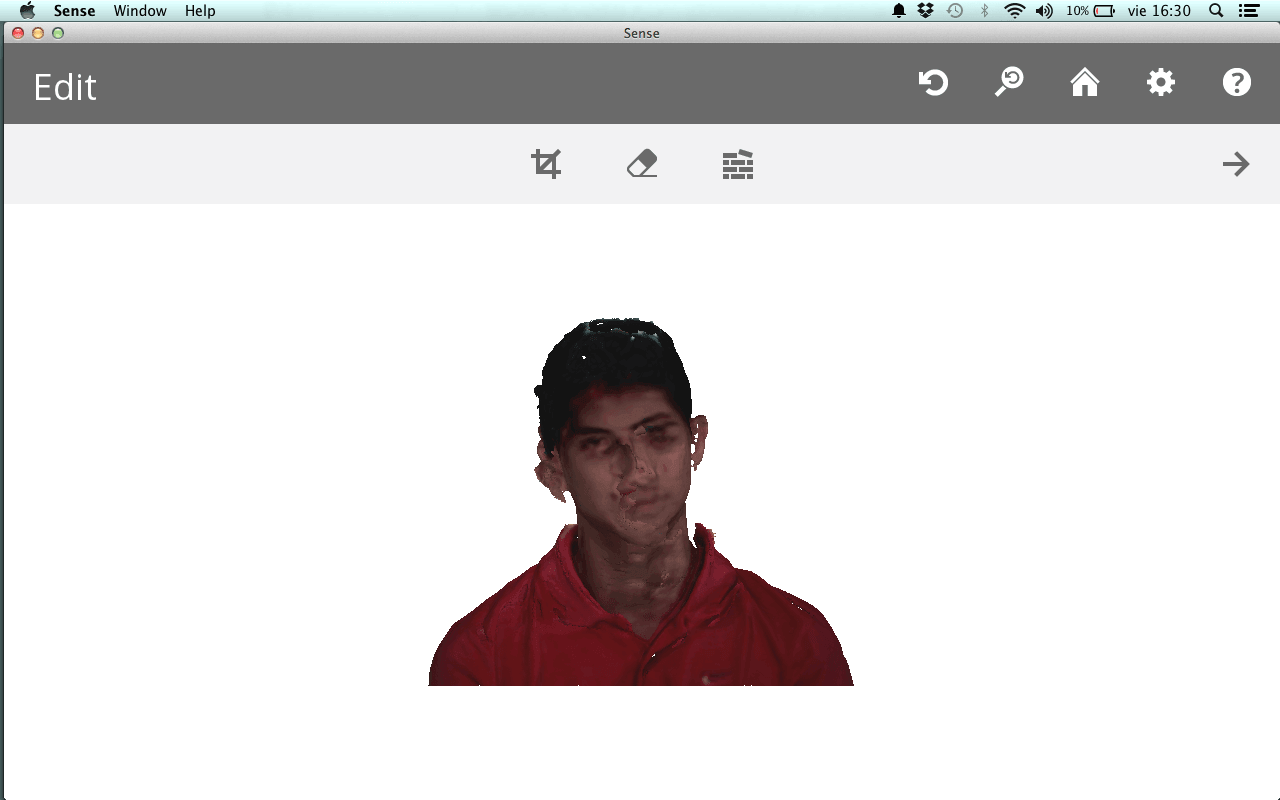
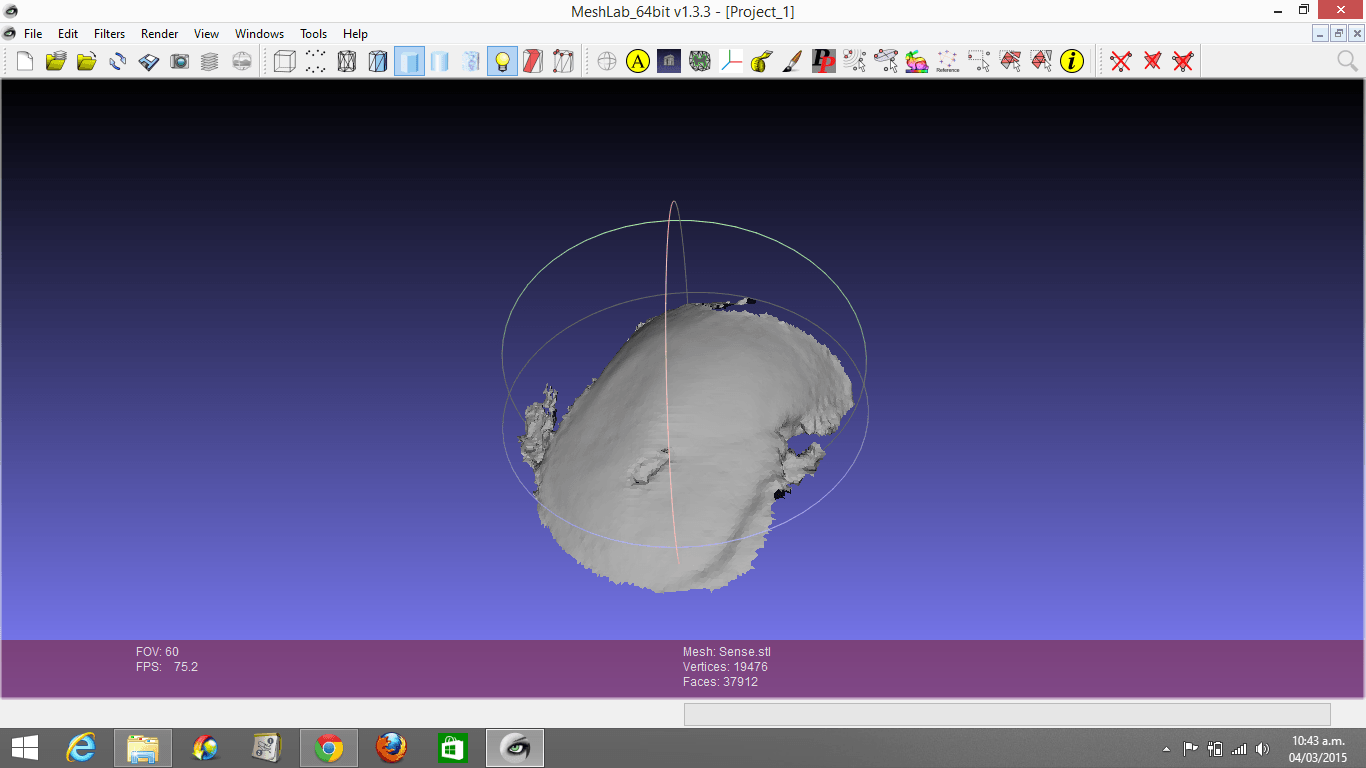
7. I repeated the same process for scanning a person and this was the first result:
8.
I did not take screenshots of my following results, because. I trusted
that just by clicking "Save" I will be able to open my scanned images
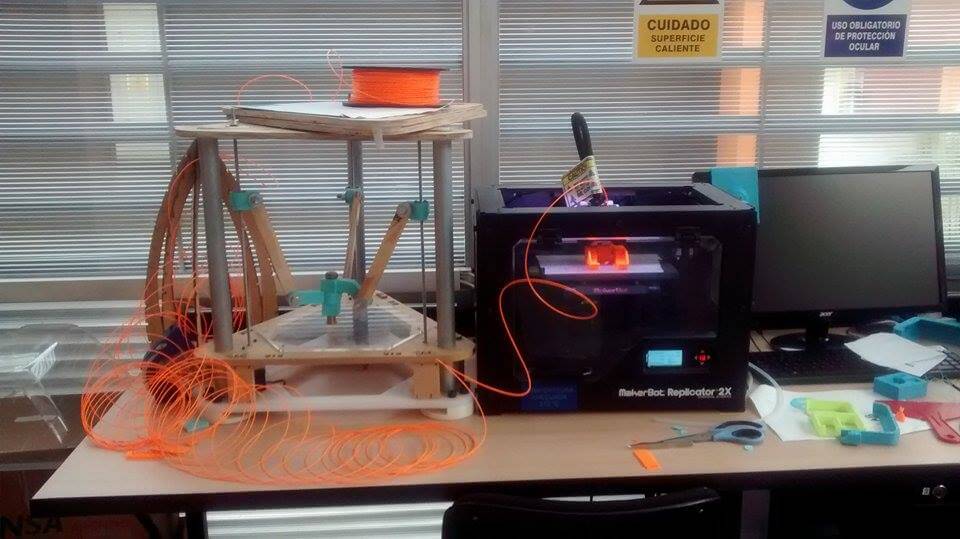
again.
9. I later realized, that I couldn't open my images because they were in ply format.
10. I opened my images in Rhinoceros and then exported them to Meshlab, but the result was not what I expected (It was gray, instead of multicolor)
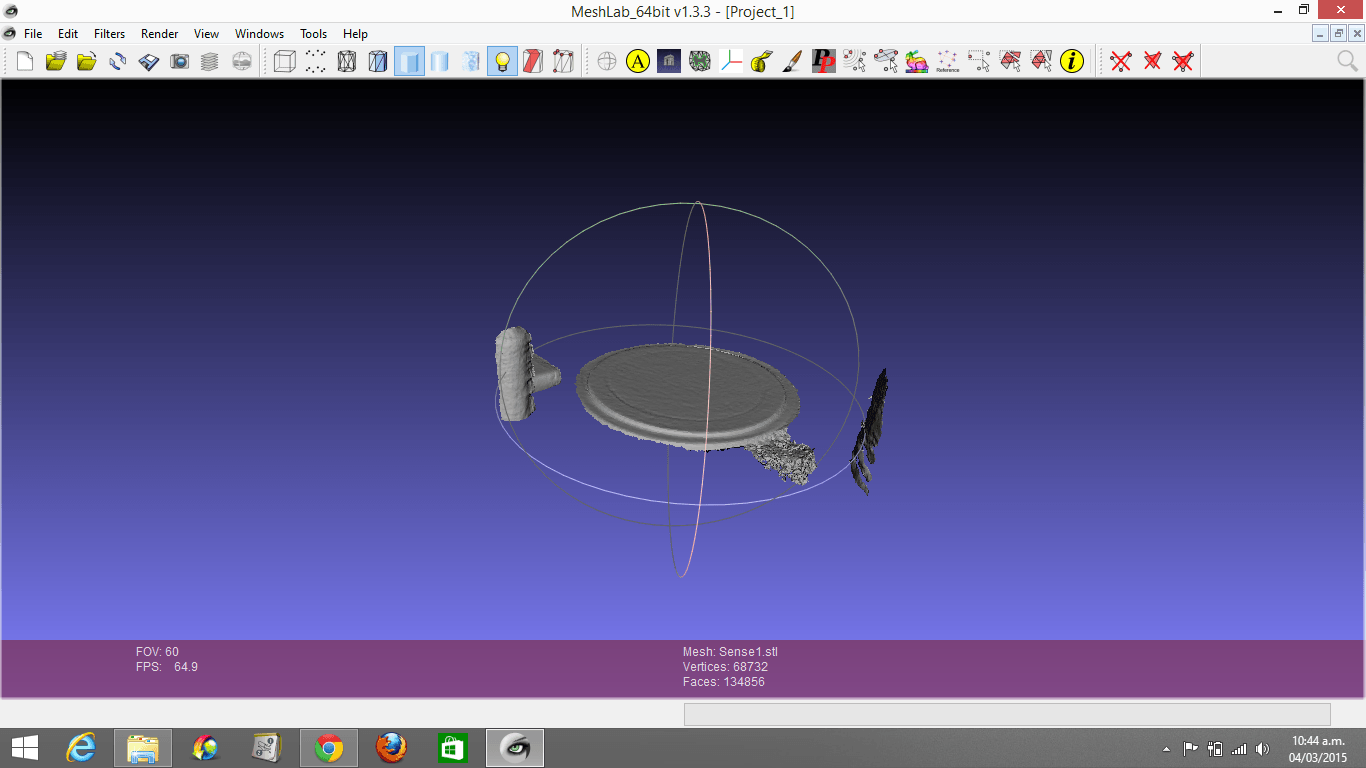
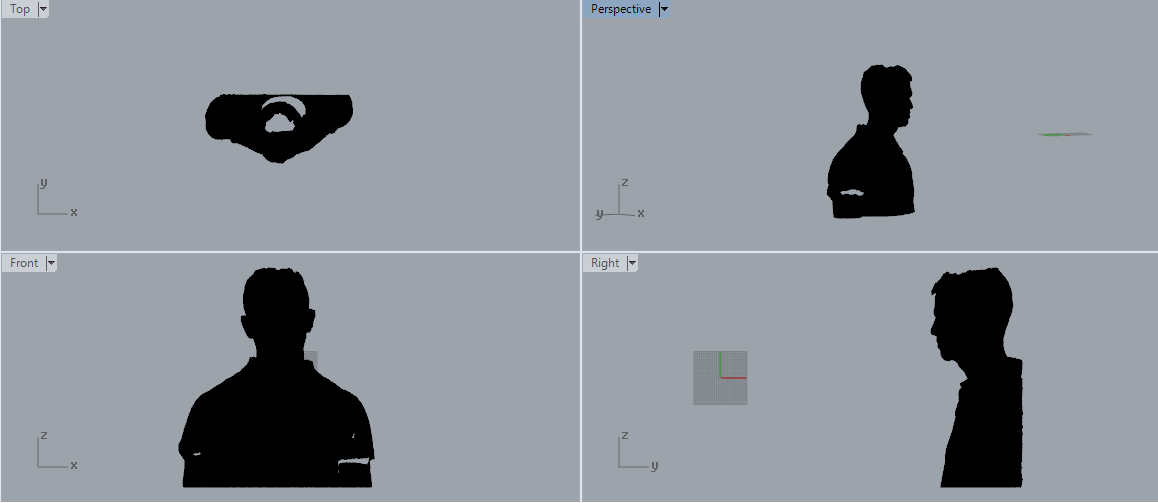
11. I was not able to open my second human scanning (maybe, because of the size), so I'm just showing the image in Rhinoceros.
3D PRINTING
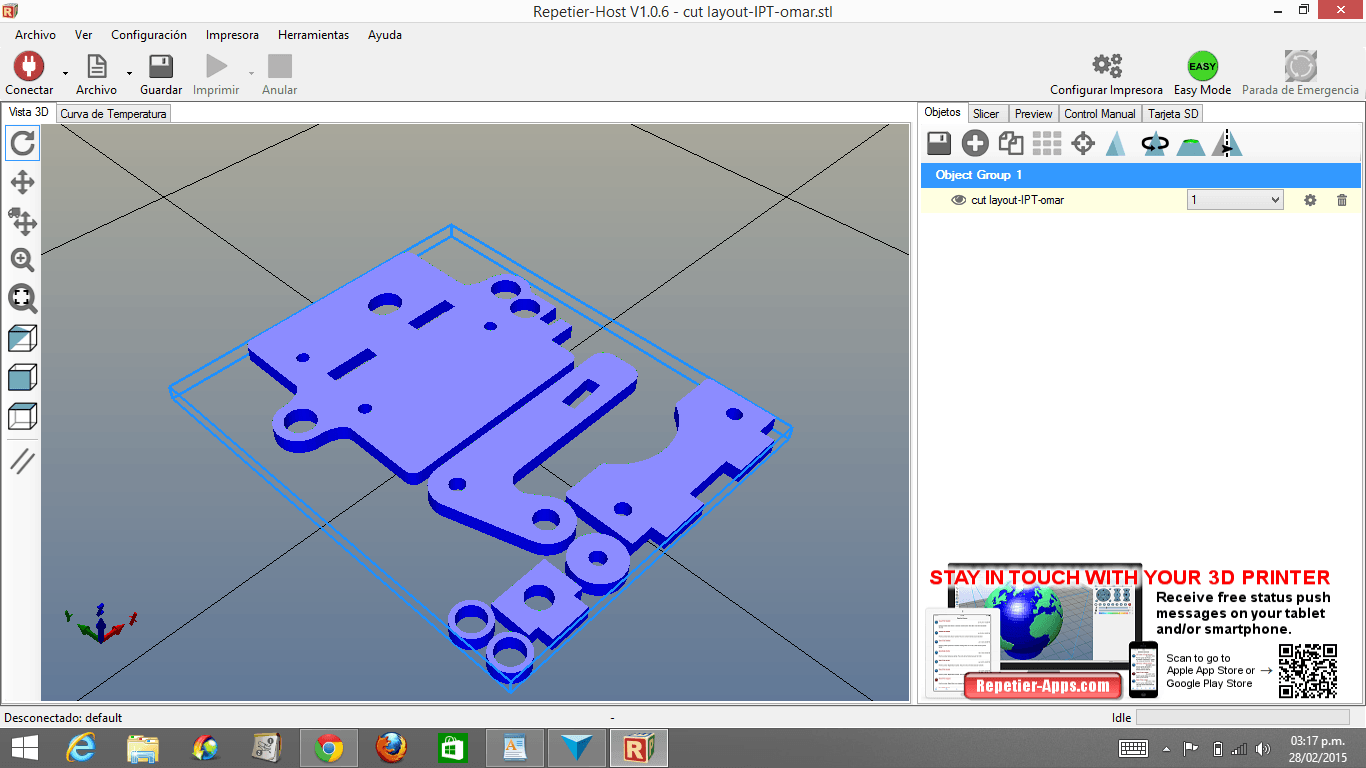
5. I made a "safety" design for the 3D Print assignment

9. I later realized, that I couldn't open my images because they were in ply format.
10. I opened my images in Rhinoceros and then exported them to Meshlab, but the result was not what I expected (It was gray, instead of multicolor)
11. I was not able to open my second human scanning (maybe, because of the size), so I'm just showing the image in Rhinoceros.
3D PRINTING
1. I wrote to Dglass3D, but they didn't answer. I wrote to ATOM, which is
an opensource 3D printing company in Egypt and asked them for the
extruder design. I tried to print it, but the machine stopped working
5. I made a "safety" design for the 3D Print assignment
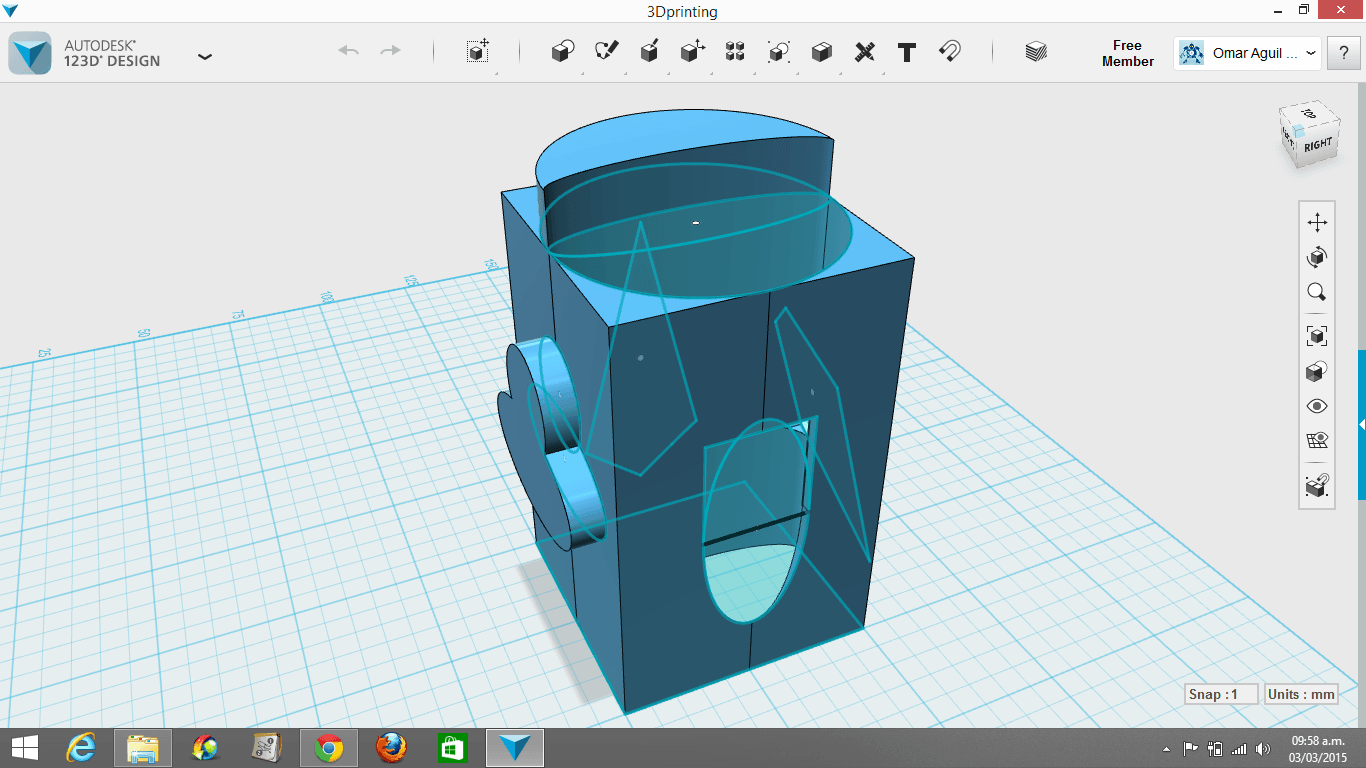
7. I made a 45 degrees cellphone case for creating a more complex figure.
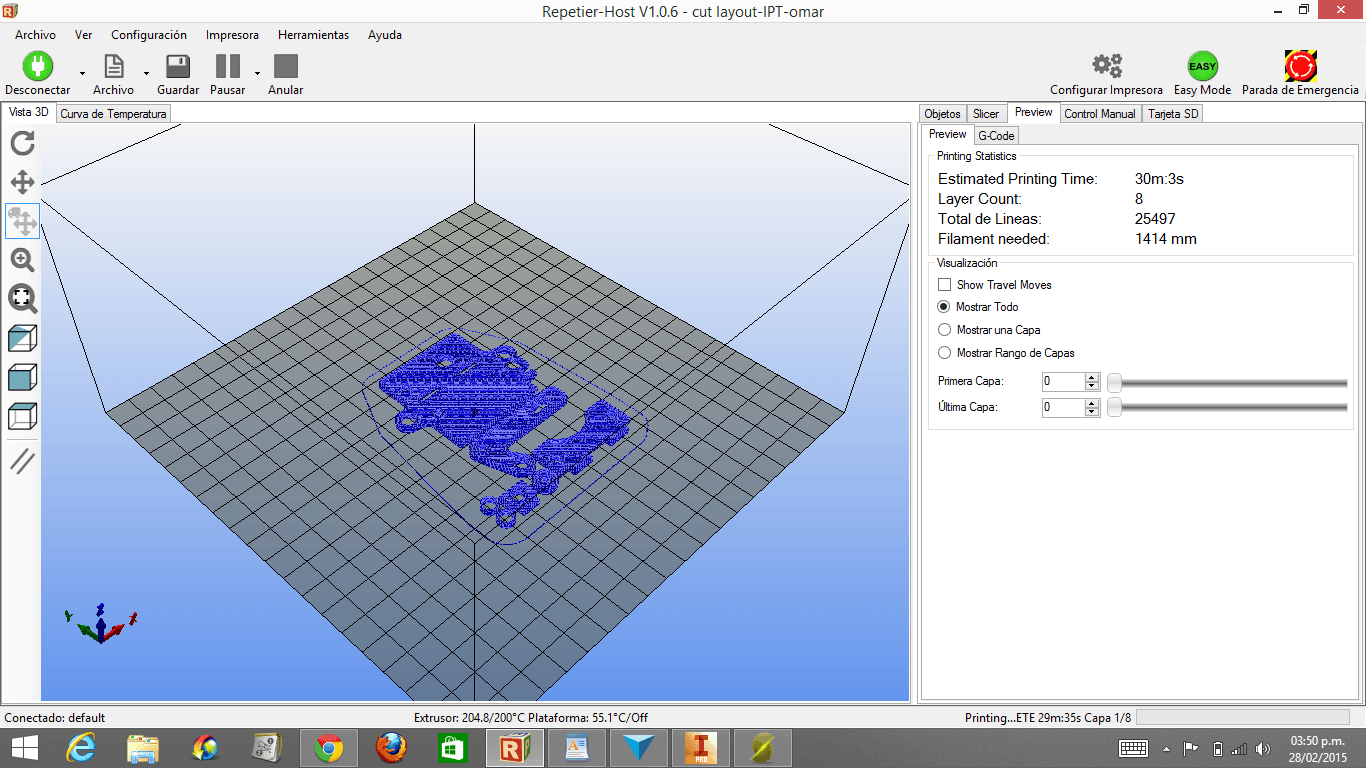
8. I exported the archives in .stl format and opened them in the Makerbot software
9. I moved the object using the 3 vertical buttons in the left.
10. Once opened in the Makerbot software, I exported the files to a SD card using this parameters:
11. Put the SD card in the Makerbot
12. Click the Centered Button
13. This will appear:
14. With the UP and DOWN arrows choose the archive you want
15. If you want to cancel the operation, clickeas in the left arrow
16. This will appear:
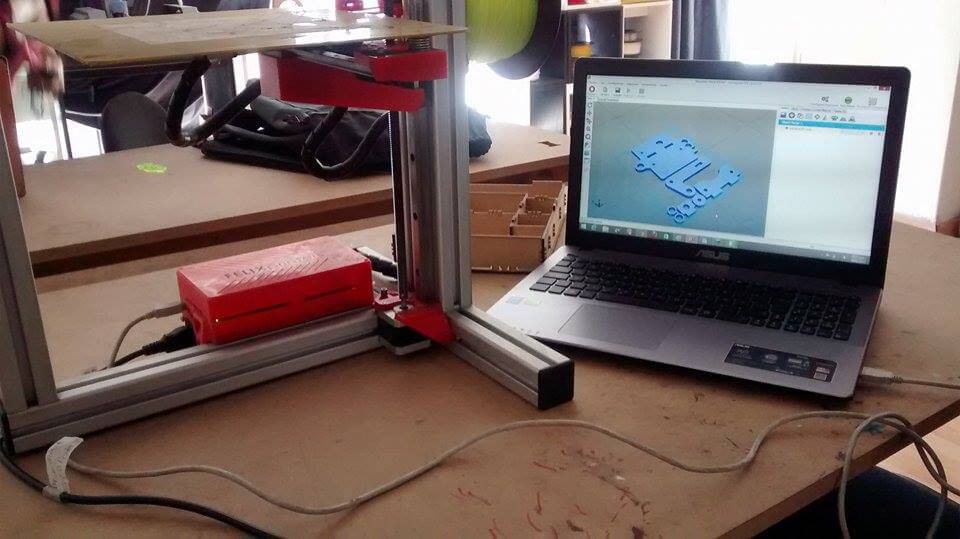
17. It didn't print well, because the PLA tangled. I could not examine the printing carefully, because the Fab Lab closed at 6:00 p.m. and the 3D Printer was going to finish working by 8:00.
8. I exported the archives in .stl format and opened them in the Makerbot software
9. I moved the object using the 3 vertical buttons in the left.
10. Once opened in the Makerbot software, I exported the files to a SD card using this parameters:
Right: MakerBotPLA
Raft: Off
Supports. Right Extruder
Temperature:
Left Extruder: 210 °C
Right Extruder: 210 °C
Export!
Raft: Off
Supports. Right Extruder
Temperature:
Left Extruder: 210 °C
Right Extruder: 210 °C
Export!
11. Put the SD card in the Makerbot
12. Click the Centered Button
13. This will appear:
Replicator 2X
->Build from SD (Click here)
Preheat
Utilities
->Build from SD (Click here)
Preheat
Utilities
14. With the UP and DOWN arrows choose the archive you want
15. If you want to cancel the operation, clickeas in the left arrow
16. This will appear:
Pause
->Cancel build (Click here)
Waiting for Homing
Waiting for Homing
->Cancel build (Click here)
Waiting for Homing
Waiting for Homing
17. It didn't print well, because the PLA tangled. I could not examine the printing carefully, because the Fab Lab closed at 6:00 p.m. and the 3D Printer was going to finish working by 8:00.
18. Here is my idw. file that evidences my design in Inventor, Here is my .stl file opened in MakerBot software and Here is my .thing file.
CONCLUSIONS
1. Printing a safety or regular design instead of a reach design does not vary much on time investment.
2. You will feel much more satisfied if you attempt your reach design.
3. 3D Sense does not work as well as it is advertized.
4. Makerbot is really hard to calibrate and does not always paste the plastic efficiently.
5. It is not feasible to print a diagonal structure like my cellphone case.
6. You need to calibrate the machine everytime you use it.
7. You need to stay while the machine processes the PLA; otherwise it may be working in the air; thus, getting damaged.