STEP 12: COMPOSITES
OBJECTIVE
- Make the foldable piece of my final project
PROCEDURE
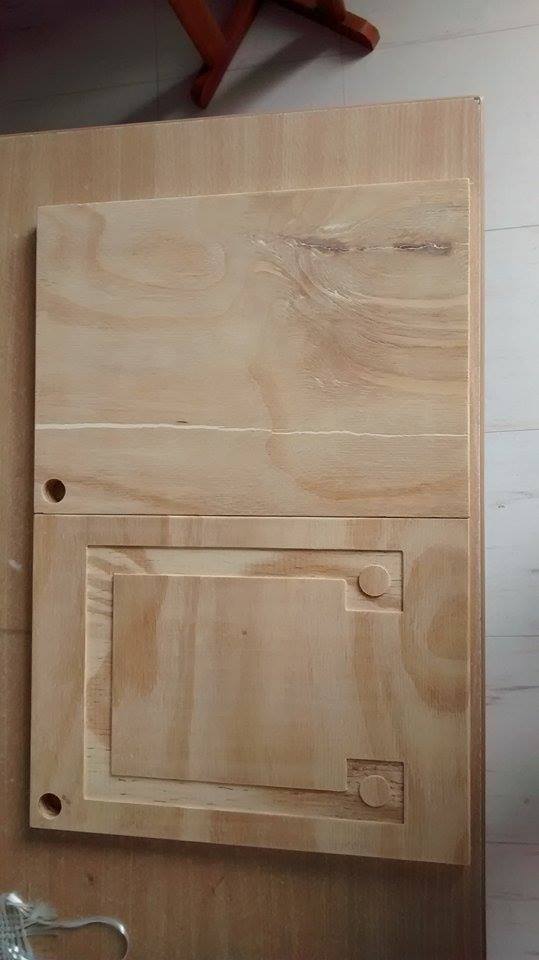
1. I cutted my 3mm thick design in the Shopbot using a 18mm thickness wooden rectangle and following the same procedure of the Week 8 assignment.
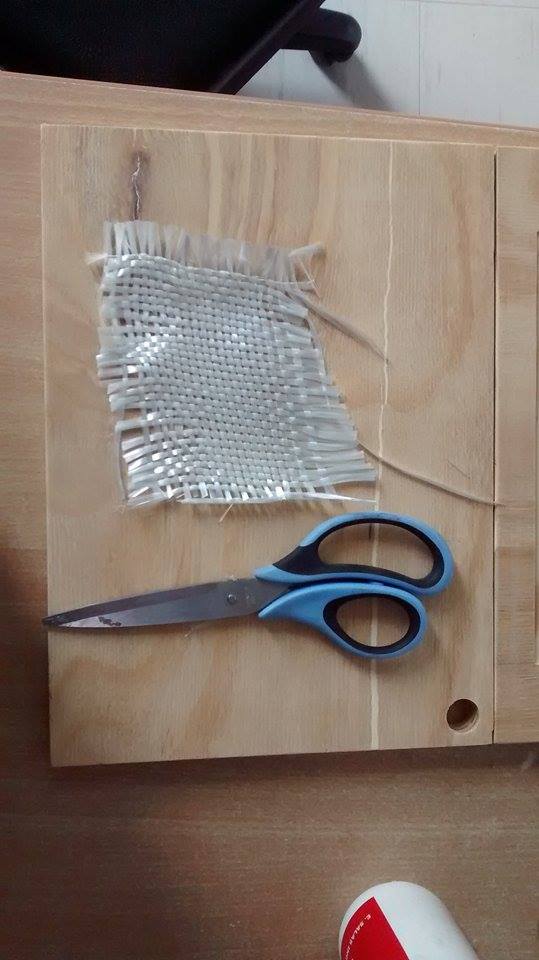
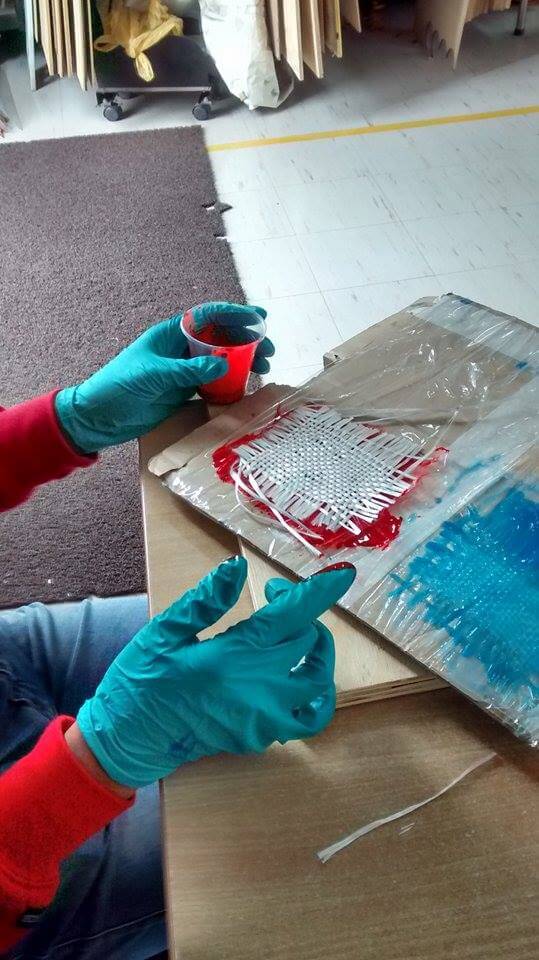
2. I cutted 4 10x10cm fiber pieces for experimenting with different quantities of resin.
3. I opened paint from four different colors: red, blue, green and white
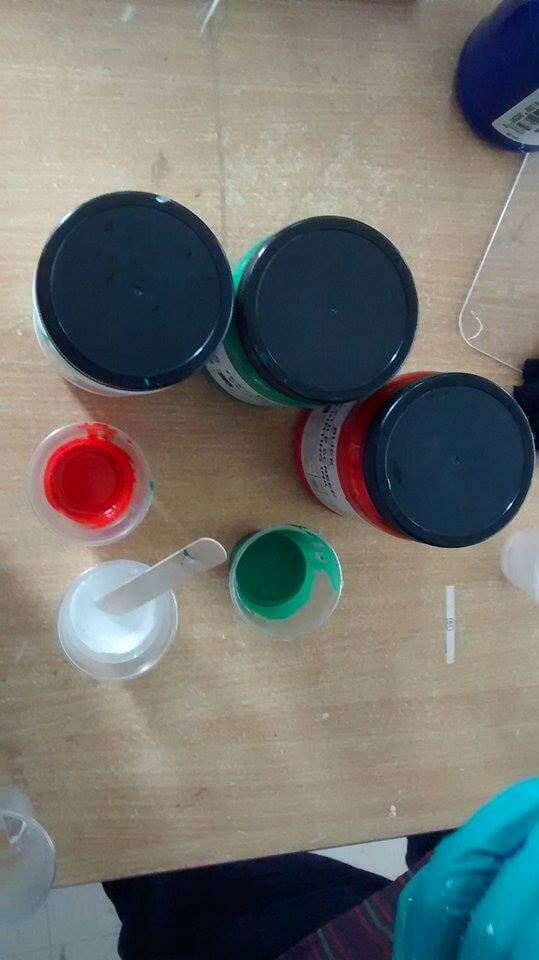
4. I poured the white, red, green and blue paint in each of the four fiber pieces
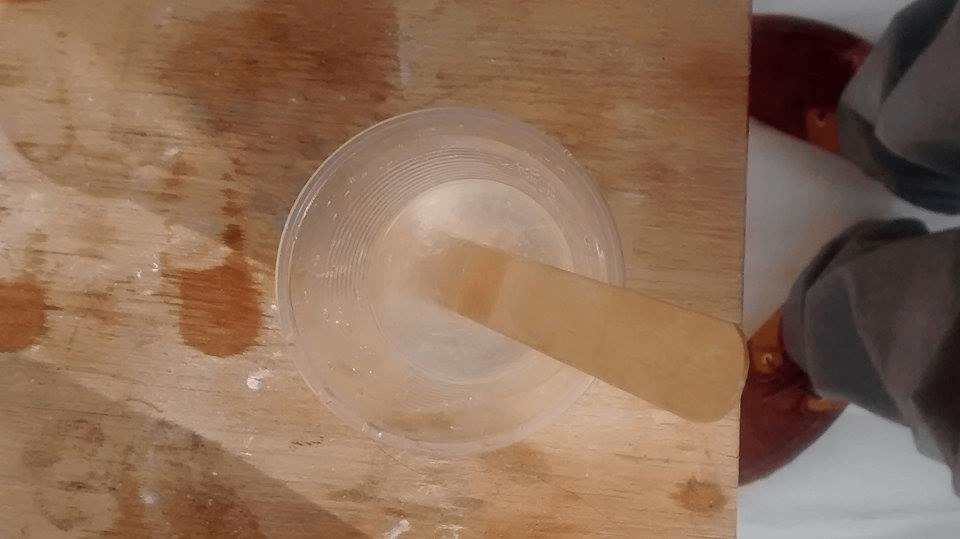
5. I poured resin in this quantity order:
- white (10% of the mixture) < red (20% of the mixtur) < green (50% of the mixtur) < blue (75% of the mixtur)
6. I realized that I could combine resin and paint in different ratios and the mixture would be rigid with just a little bit of resin.
5. I poured resin in this quantity order:
- white (10% of the mixture) < red (20% of the mixtur) < green (50% of the mixtur) < blue (75% of the mixtur)
6. I realized that I could combine resin and paint in different ratios and the mixture would be rigid with just a little bit of resin.
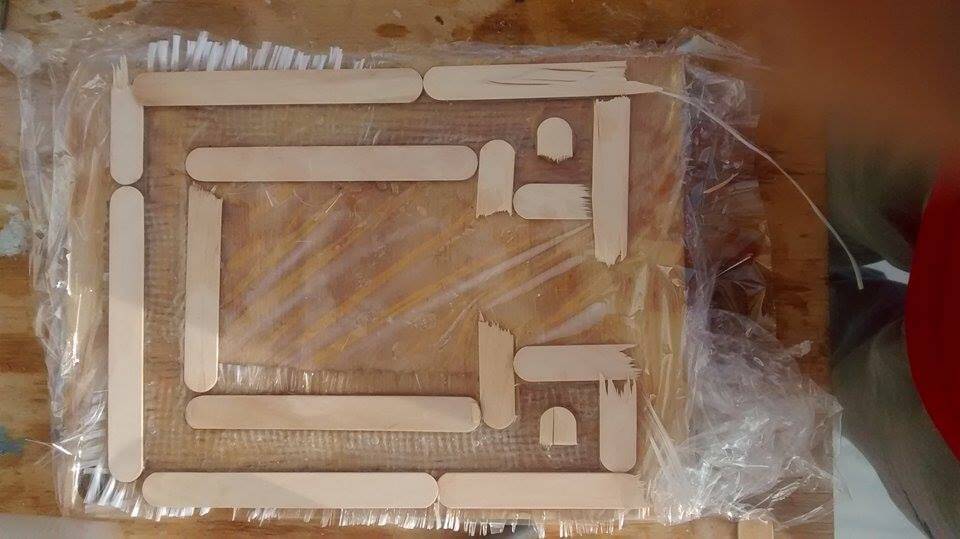
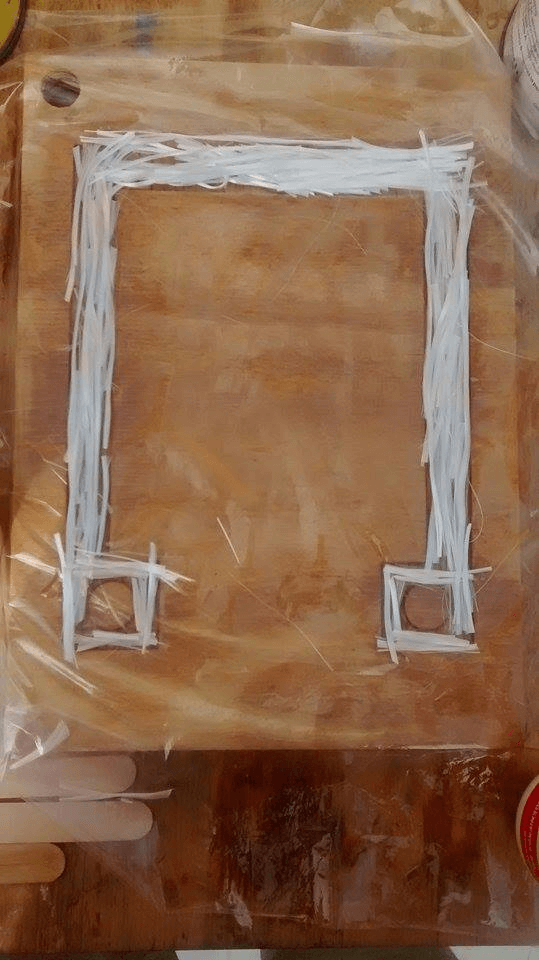
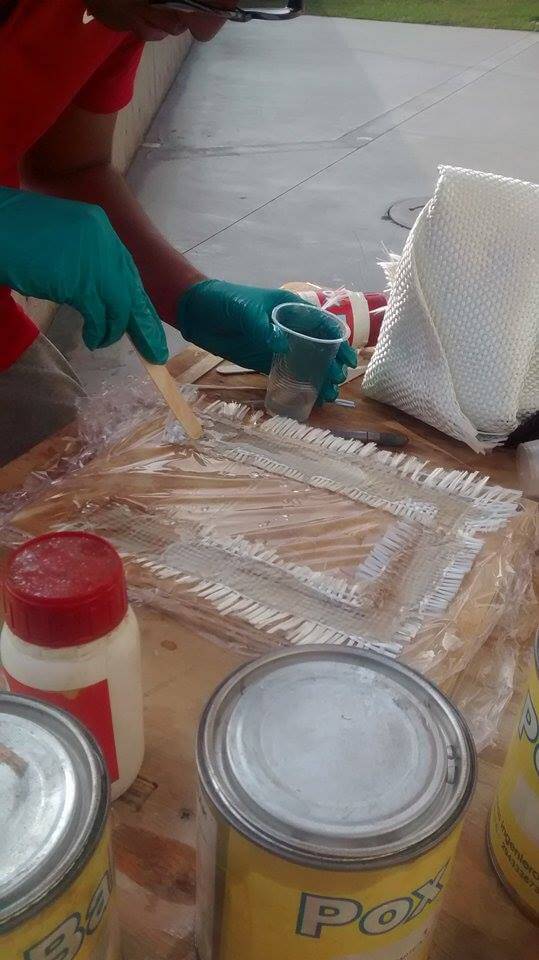
7. I put celophan in my Shopbot design, so I would be able to take the celophan and the mixture out of design...and use it,

8.
I cut fiber line pieces and put them over the celophan.. However, when
I poured resin in the fiber line pieces, they moved and I got a mess.
9.
So...I cut bigger fiber pieces: 3 thick rectangles that can create a
'U' shape. I poured resin in the center of the pieces for cutting the
outsides of the pieces once the resin is dry.
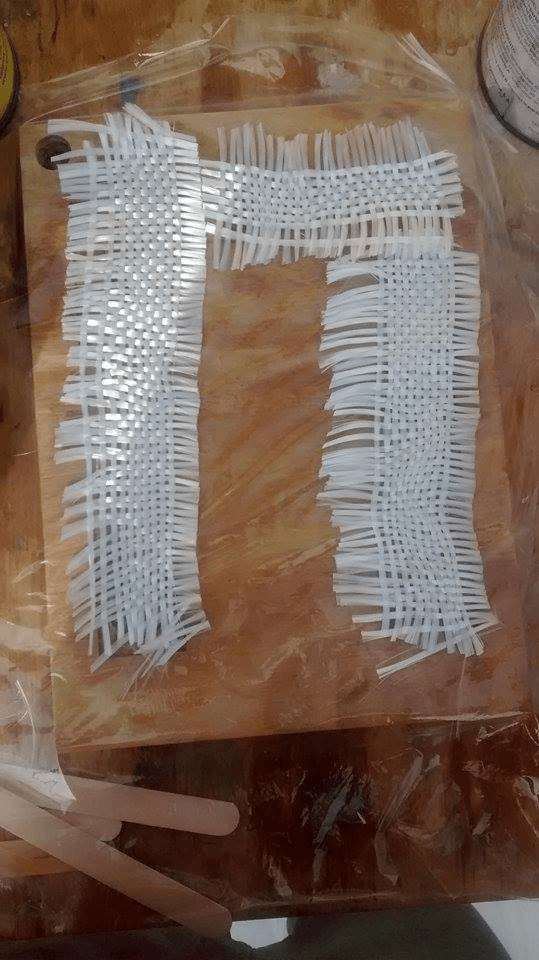
10. This was the result!