.
WORKFLOW
To start with this weeks group assignment we identify four main activities: downloading and understanding the files, machining the necessary parts for the project, programming the gestalt and finally testing the machine.
All of this depending upon the kind of machine we wanted to make. For this we decided to build a FOAM CUTTER machine as got inspired with the Slashbot example.
We assume that understanding this as an exercise will help us in future projects.
-
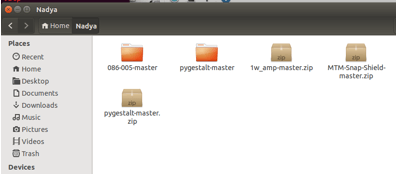
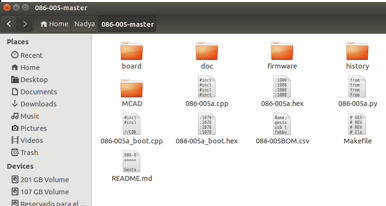
Download Files
-
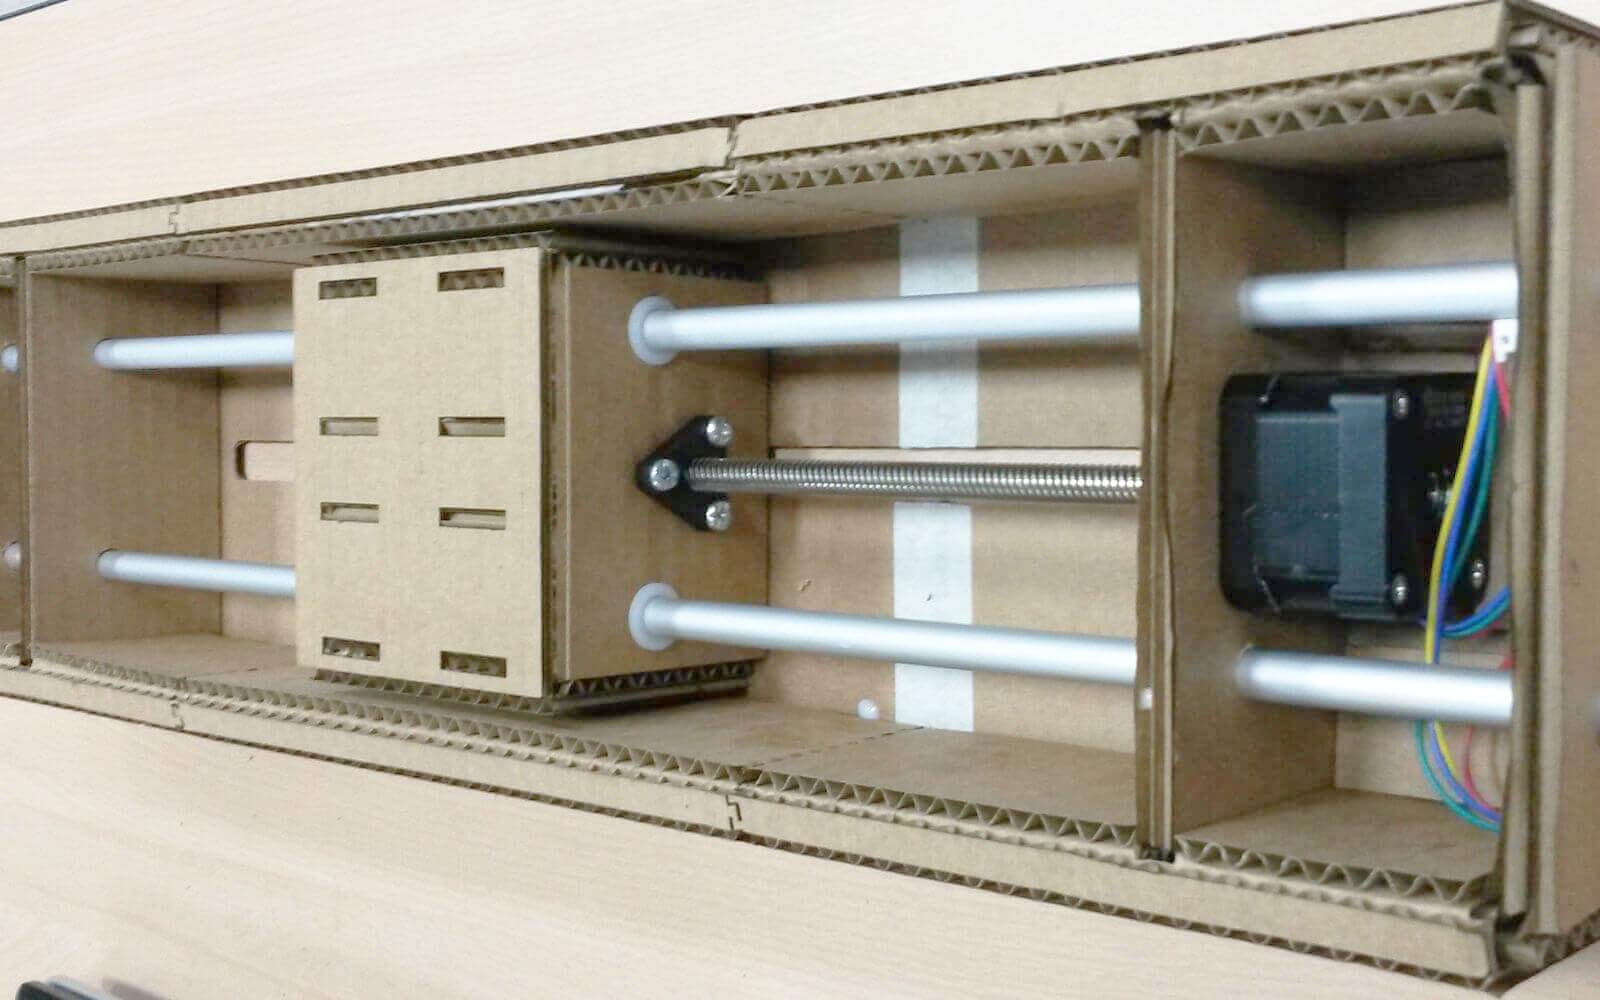
Machining parts
-
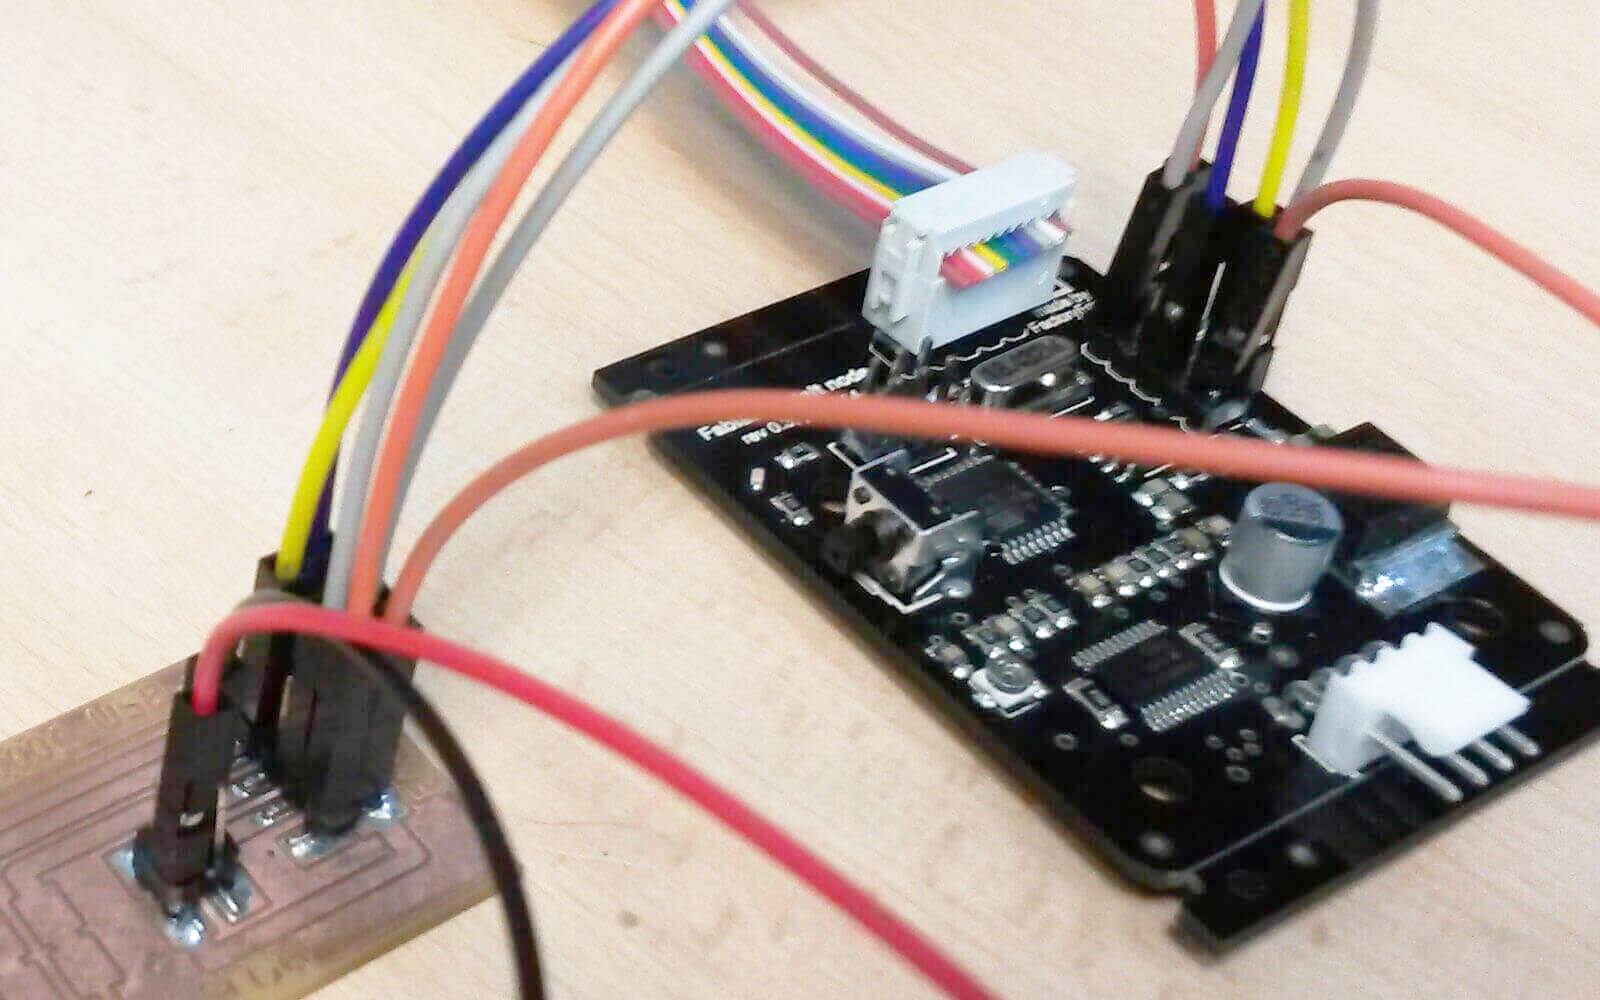
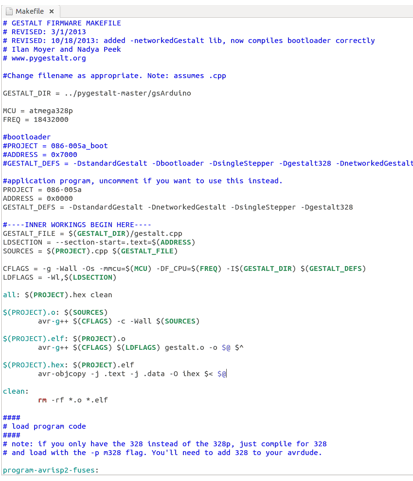
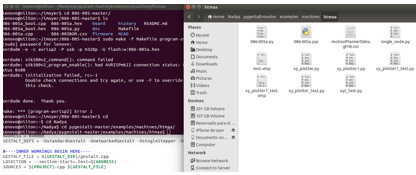
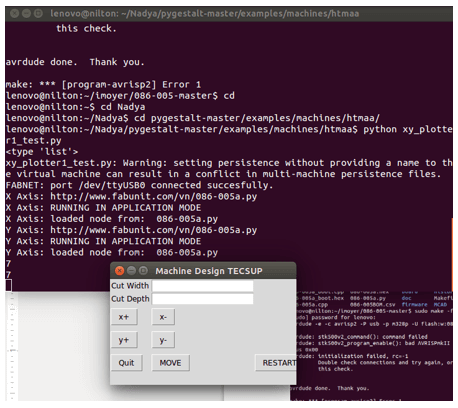
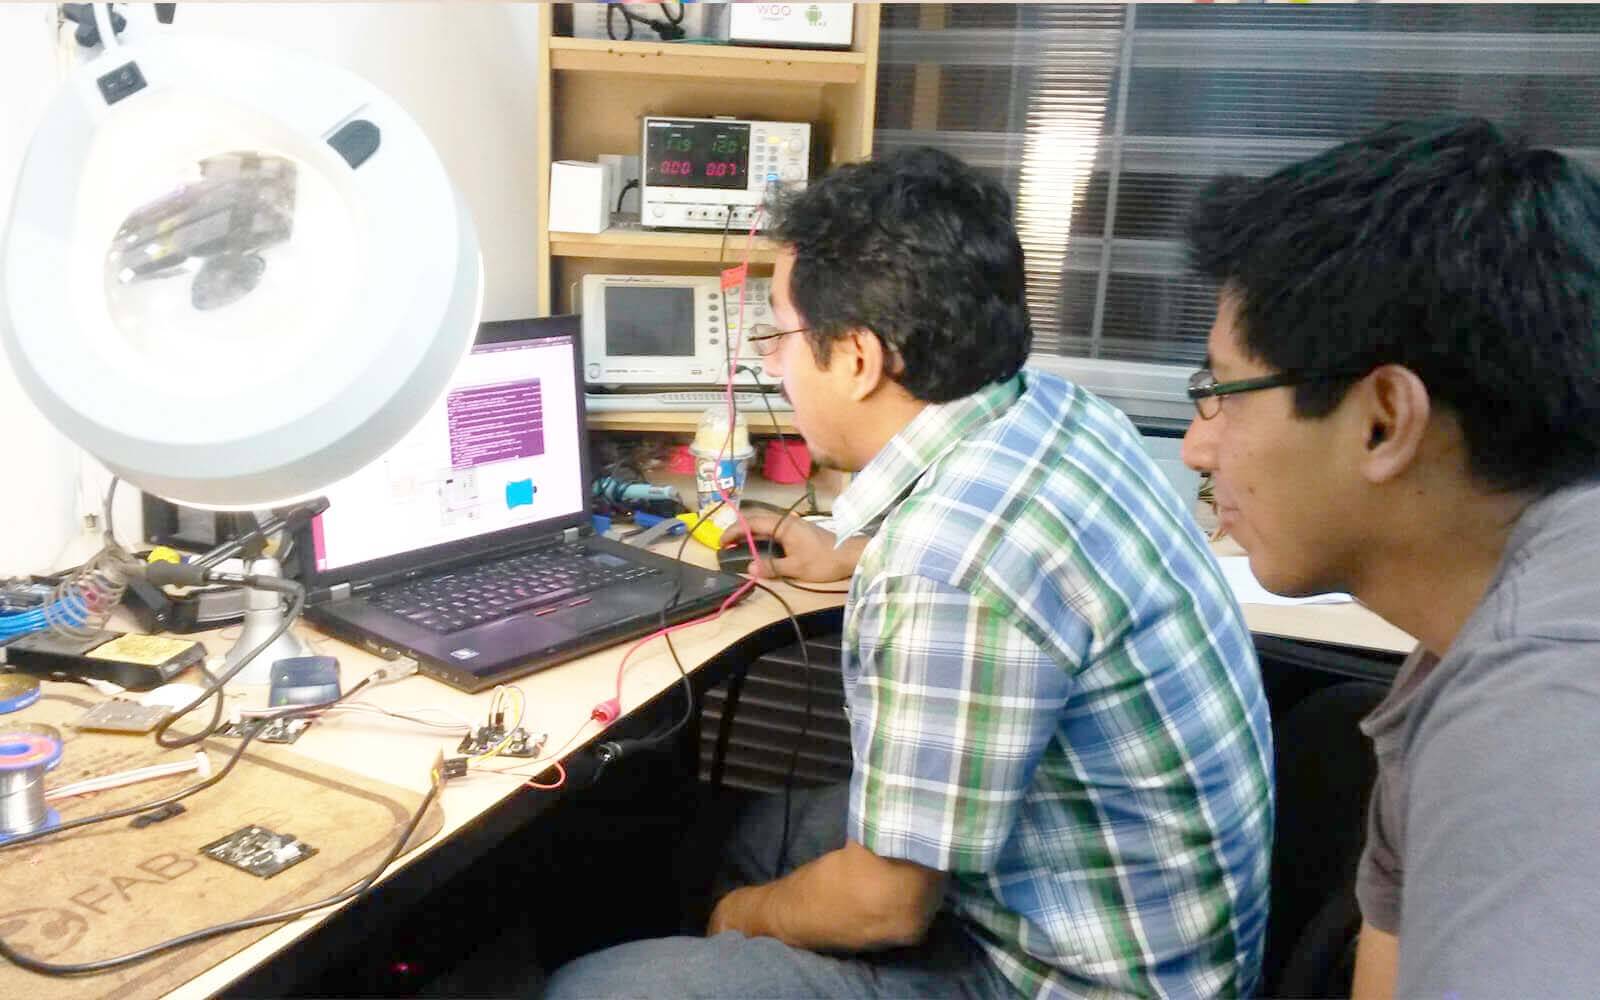
Programming
-
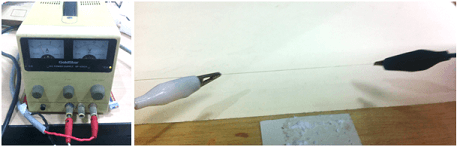
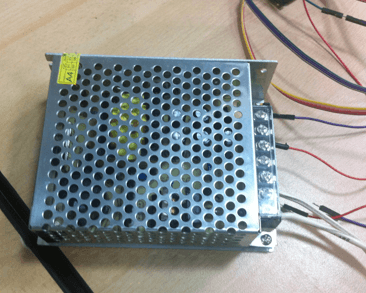
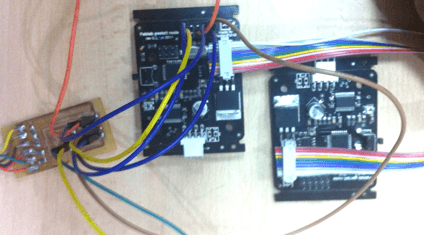
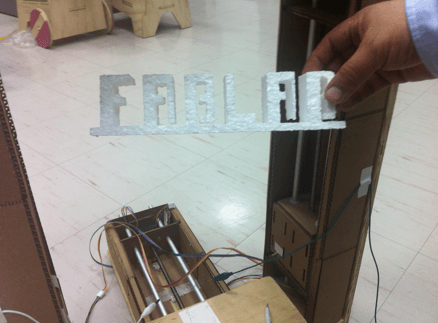
Testing