An Introduction + Mercurial
First Thoughts on a Final Project
All the things! And it's probably going to need to incorporate this video somewhow:
Setting up this site
After way too much internetting I've decided to use Ghost to create this site. After trying out miltiple a number of blog creation tools I found I agreed with this analysys about how most of them appear to both be marketed and function in ways that make developers comfortable. Ghost actually seemed focused on just providing a clean blogging platform that would let me focus on content.
Mercurial
For our local repository we decided to use a shared google drive folder that we could all sync with. Then our local instructor could push the directory with Mercurial to the fab lab archive once a week. So to get some prectice with mercurial myself I setup a free hosted account on pikacode.com and went through the steps of cloning and updating a project from there.
The setup
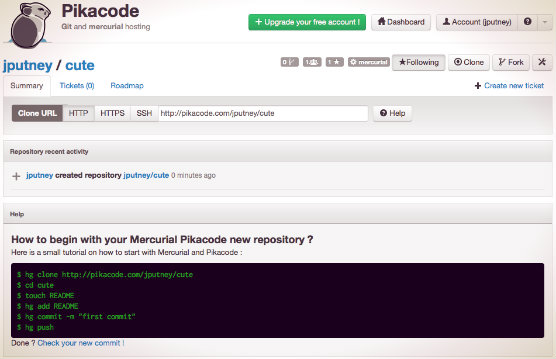
I first created an account on pikacode.com and added a public project called cute.
 I then installed mercurial on my macbook air by just downloading the latest install package and running it.
Next I cloned the the cute project using the command:
hg clone http://pikacode.com/jputney/cute
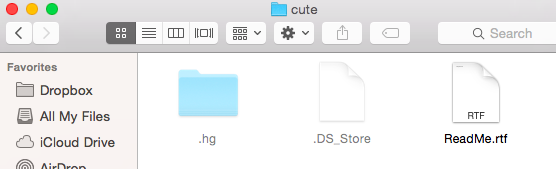
 I then created a ReadMe.rtf file in the cloned cute directory.
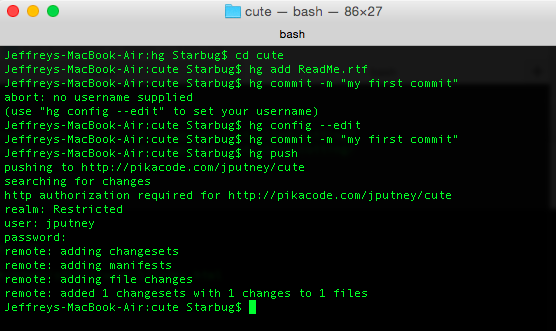
 Then I added the ReadMe.rtf to the directory and commited it back to the archive:
cd cute
hg add ReadMe.rtf
hg commit -m "my first commit"
hg push
This only issue I had was that I had not setup my username at first so I had to do that using
hg config --edit
This opened a terrible text editor that let me set a username in the config file by using the following steps
- Press 'i' to get into editing mode
- Add a username and email like the example in the file shows
- Press 'esc'
- Type ':wq!' to save and exit the stupid editor program.
Here is what that all looked like in the terminal(without the text editor part shown):
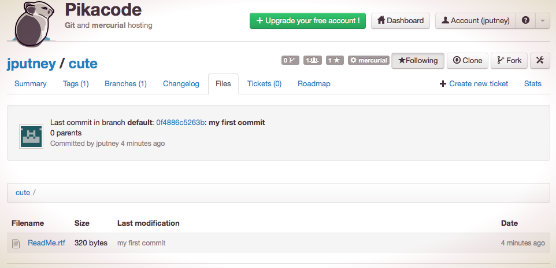
 And checking the online repository we can see the change went through with the comment and everything.