06 Embedded Programming
Datasheets and Software Serial
This week I read through the ATtiny summary datasheet. The main thing I learned is why the standard serial communication library can't be used with the ATtiny44. Looking at the Arduino Serial library I saw that it mentions it uses a chips UART for communication. But our ATtiny's apparently don't have UARTs. As you can see if you search the ATtiny summary datasheet you won't find a UART. Luckily the SoftwareSerial library has been written which impliments the UART functionality in software and that library has been bundled into the Arduino environment.
The Datasheet also mentioned the QTouch library which I would like to learn more about in the future.
This weeks project
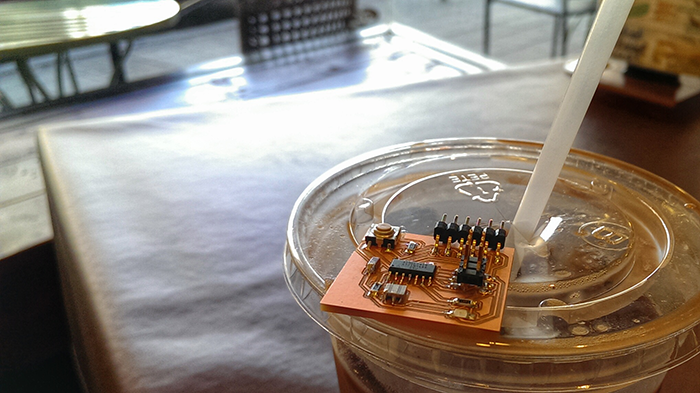
This week the plan is to create a microcontoller board that provides 2 way communication with the serial port on the computer.
I started testing by opening the Examples->SoftwareSerial->SoftwareSerialExample. At first this refused to comile for the ATtiny44. I realized from the code comments that this example file was attemting to also use the hardware serial port:
//Receives from the hardware serial, sends to software serial.
//Receives from software serial, sends to hardware serial.
So I went through and removed all the references to the Hardware Serial connection, which look like this:
Serial.begin(4800); //Start Hardware Serial Connection
Instead of this:
mySerial.begin(4800); //Start Software Serial Copnnection
In other words we only want to work with the mySerial object, and not the Serial class.
2-way Serial Communication Code
#include <SoftwareSerial.h>
SoftwareSerial mySerial(0, 1); // RX, TX
const int buttonPin = 2;
int led = 7;
int incomingByte = 0;   // for incoming serial data
// variables will change:
int buttonState = 0;         // variable for reading the pushbutton status

void setup()
{
    // Setup our button and LED
    pinMode(led, OUTPUT);
    pinMode(buttonPin, INPUT);
    // set the data rate for the SoftwareSerial port
    mySerial.begin(4800);
    mySerial.println("Hello, world?");
}

void loop() // run over and over
{
       buttonState = digitalRead(buttonPin);
    if (buttonState == LOW)
    {
          // button was pressed
           mySerial.println("Button!");
    }
    if(mySerial.read() == 'a')
    {
          digitalWrite(led, LOW);
          delay(100);               // a was pressed
          digitalWrite(led, HIGH);    // Blink LED
    }
}
Once the code was running I opened the Arduino Serial Monitor and set the communication date rate to 4800. Then I pressed the buttin and saw this on my screen:
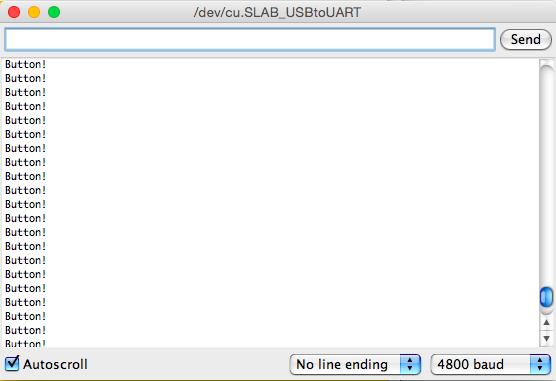 Here's a little video where you can see that when I type an 'a' into the serial monitor the blue light flashes on my board. Then when I press the button the the board starts yelling "Button!" at the serial monitor until you let go.
Design Files
All the Eagle CAD design files can be pdownloaded here.