03 PCB fabrication
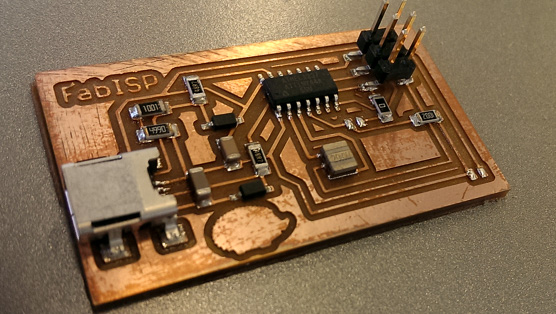
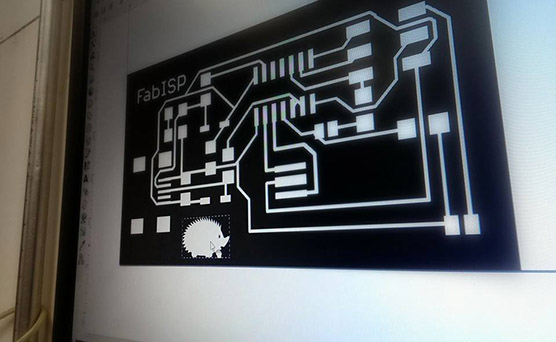
This week we created and populated FabISP boards. I followed the instructions provided here. The only change I made was to edit the original design slightly so use an oscillator instead of a crystal. I Also added a hedghog to the board to make it clear which FabISP was mine.
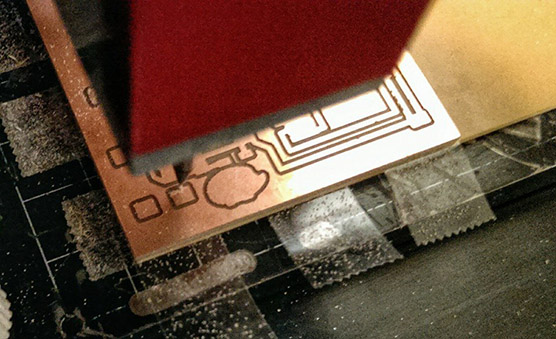
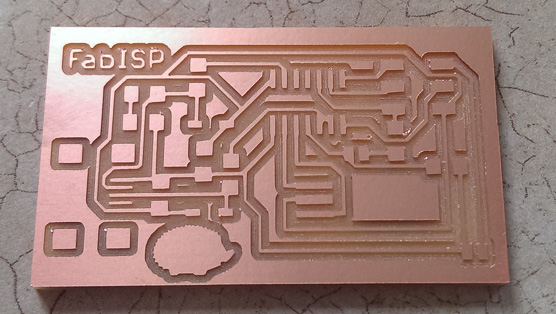
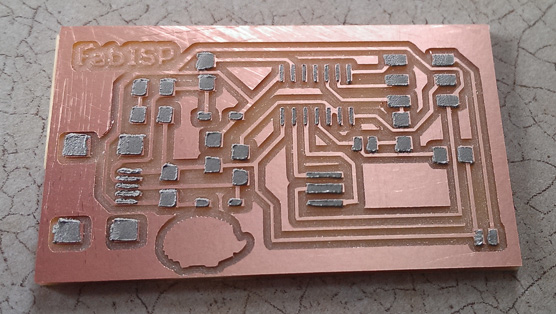
 Next I cut the board on the Roland Modela.
 I then used the the tCream layer from Eagle cad as a template for a solder mask I created on the vinyle cutter.
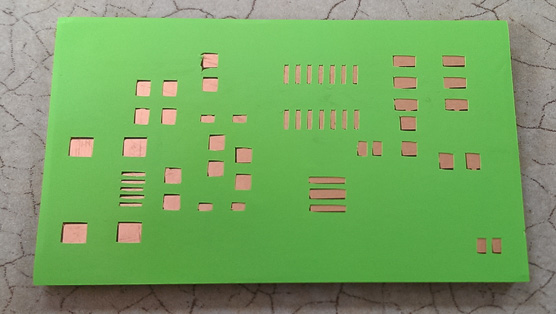 This allowed me to nicely screen print solder paste onto the board.
 Then it was time for the oven.
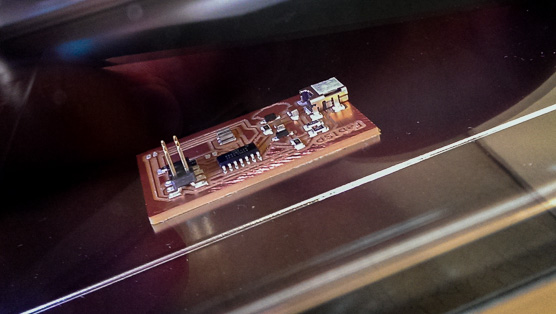 I plugged in the board and it passed the smoke test. I was then able to use Crosspack and Xcode to program the progremmer with another programmer. Once programmed the extra solder bridge and resistor was removed and the board was ready for use.