
Race Ready's Inspiration
I am an elementary school teacher, and my recent "thrust" into the STEM world was certainly
not gradual. I attended a two week training last summer and...BAM! I began to incorporate the design process
into my teaching, by choice, of course. I couldn't get enough of it, nor could my students. Many of the challenges
we got ourselves into involved racing, which continued to be a popular theme throughout this past school year.
As planning of my final project changed over the course of FAB Academy, I decided to turn to what my students liked best and was motivating to them....RACING!
My original plan was to create a race timer that would use an LCD screen as an output to display times for the cars as they
finish the race. I had made a microcontroller board connected to an LCD for Output Week, but ran into some difficulties with that (see OUTPUT WEEK).
So, I eliminated the LCD display and instead of displaying the time it takes a toy car to get from the START to the FINISH, I decided to go with a
more simple option and design a race START and FINISH line that would determine which object would pass the FINISH line first. The input is an led and
photosensor in opposed mode and the output is an LED. "RACE READY" consists of 2 abs plastic strutures, one for START and one for FINISH, as well as 1
microcontroller board, 2 LED satellite boards and 2 phototransistor satellite boards, 2 pin LEDs, wiring, and a 9 volt battery and holder (see parts list below for specifics).
Structural Design and Construction
I needed a structure to span over a 2 lane race track. I waivered between acrylic and ABS plastic as the best material to use and I decided to go with
ABS plastic because of its durability. I chose to design in Corel, as I am most proficient in that (structure files below). There was a lot of trial and error
in order to get the side and top pieces to fit snugly, and it was vital to have a tight fit for overall stability of the structure.
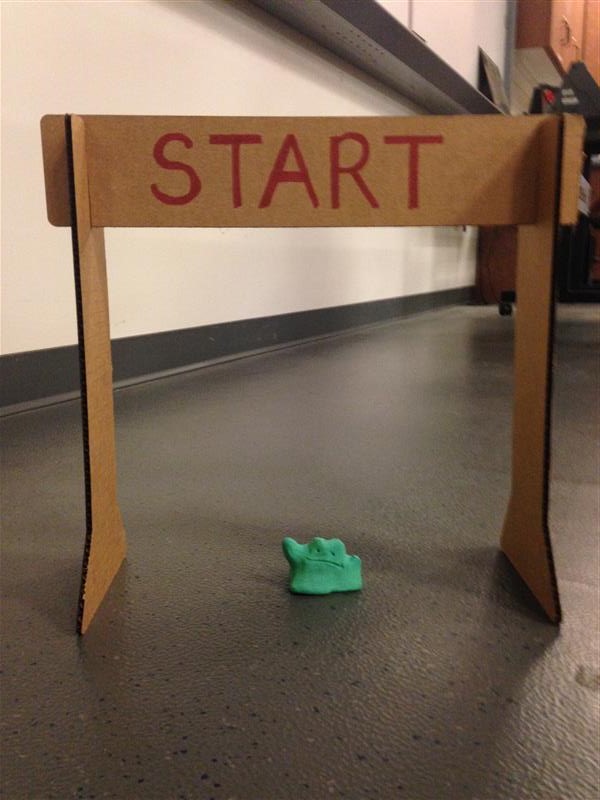
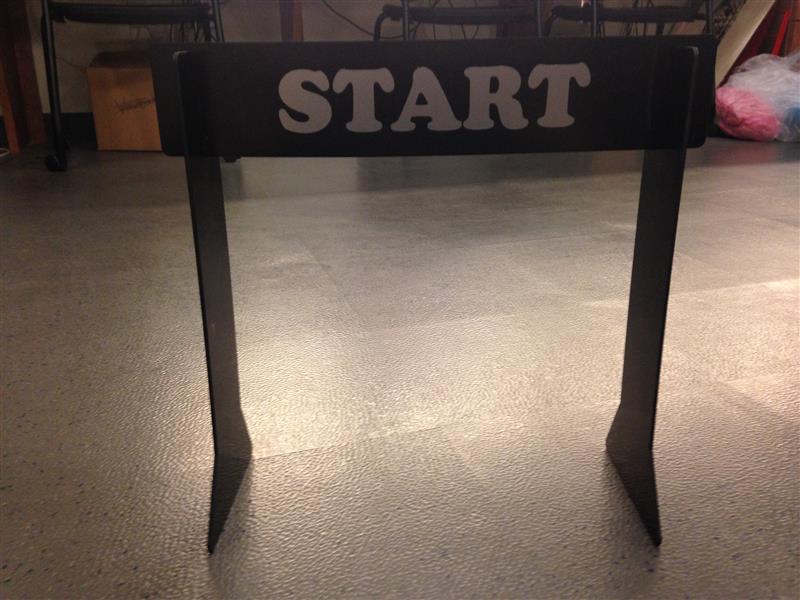
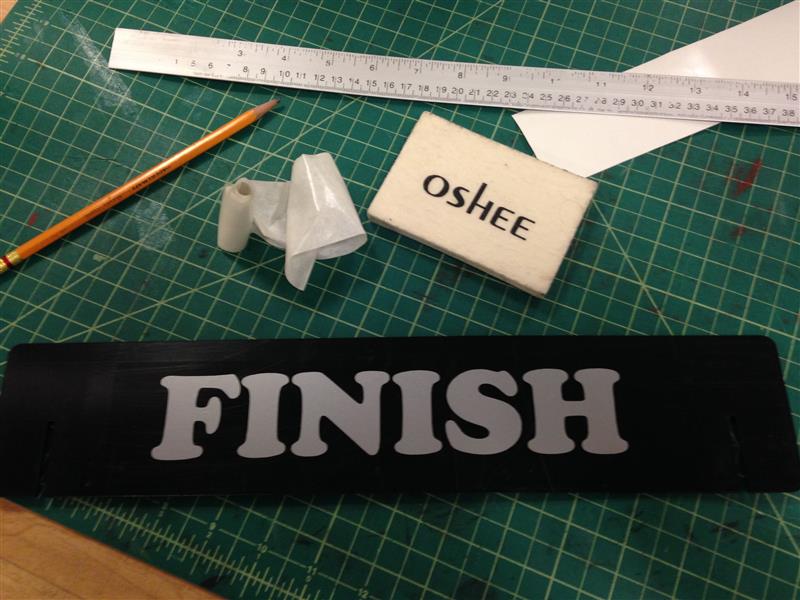
Left to right: 1st cardboard prototype, Start structure,
after applying vinyl cut letter to Finish

Electronics Design
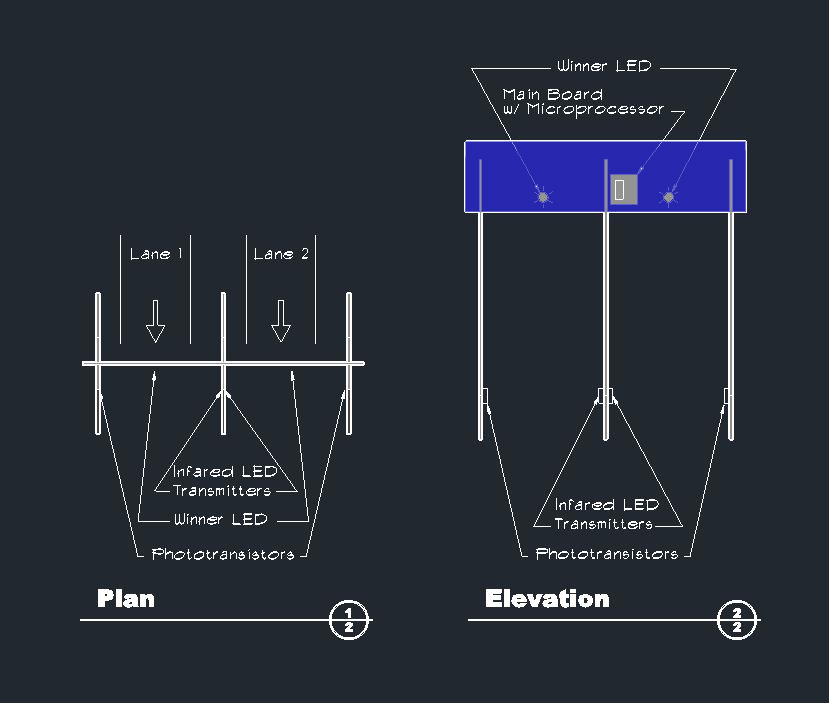
I designed my boards using Eagle. Pictured below are the schematic and board for the main circuit board
and the schematic and board for the LED and phototransistor boards. There is no difference between the 4 satellite boards except that 2 have
phototransistors and 2 have LEDs instead. If you study the diagram, you can see how the phototransistor boards and LED boards are mounted in opposed mode.


Schematic and board for main circuit board
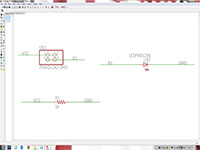
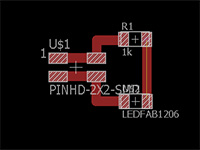
Schematic and board for satellite boards
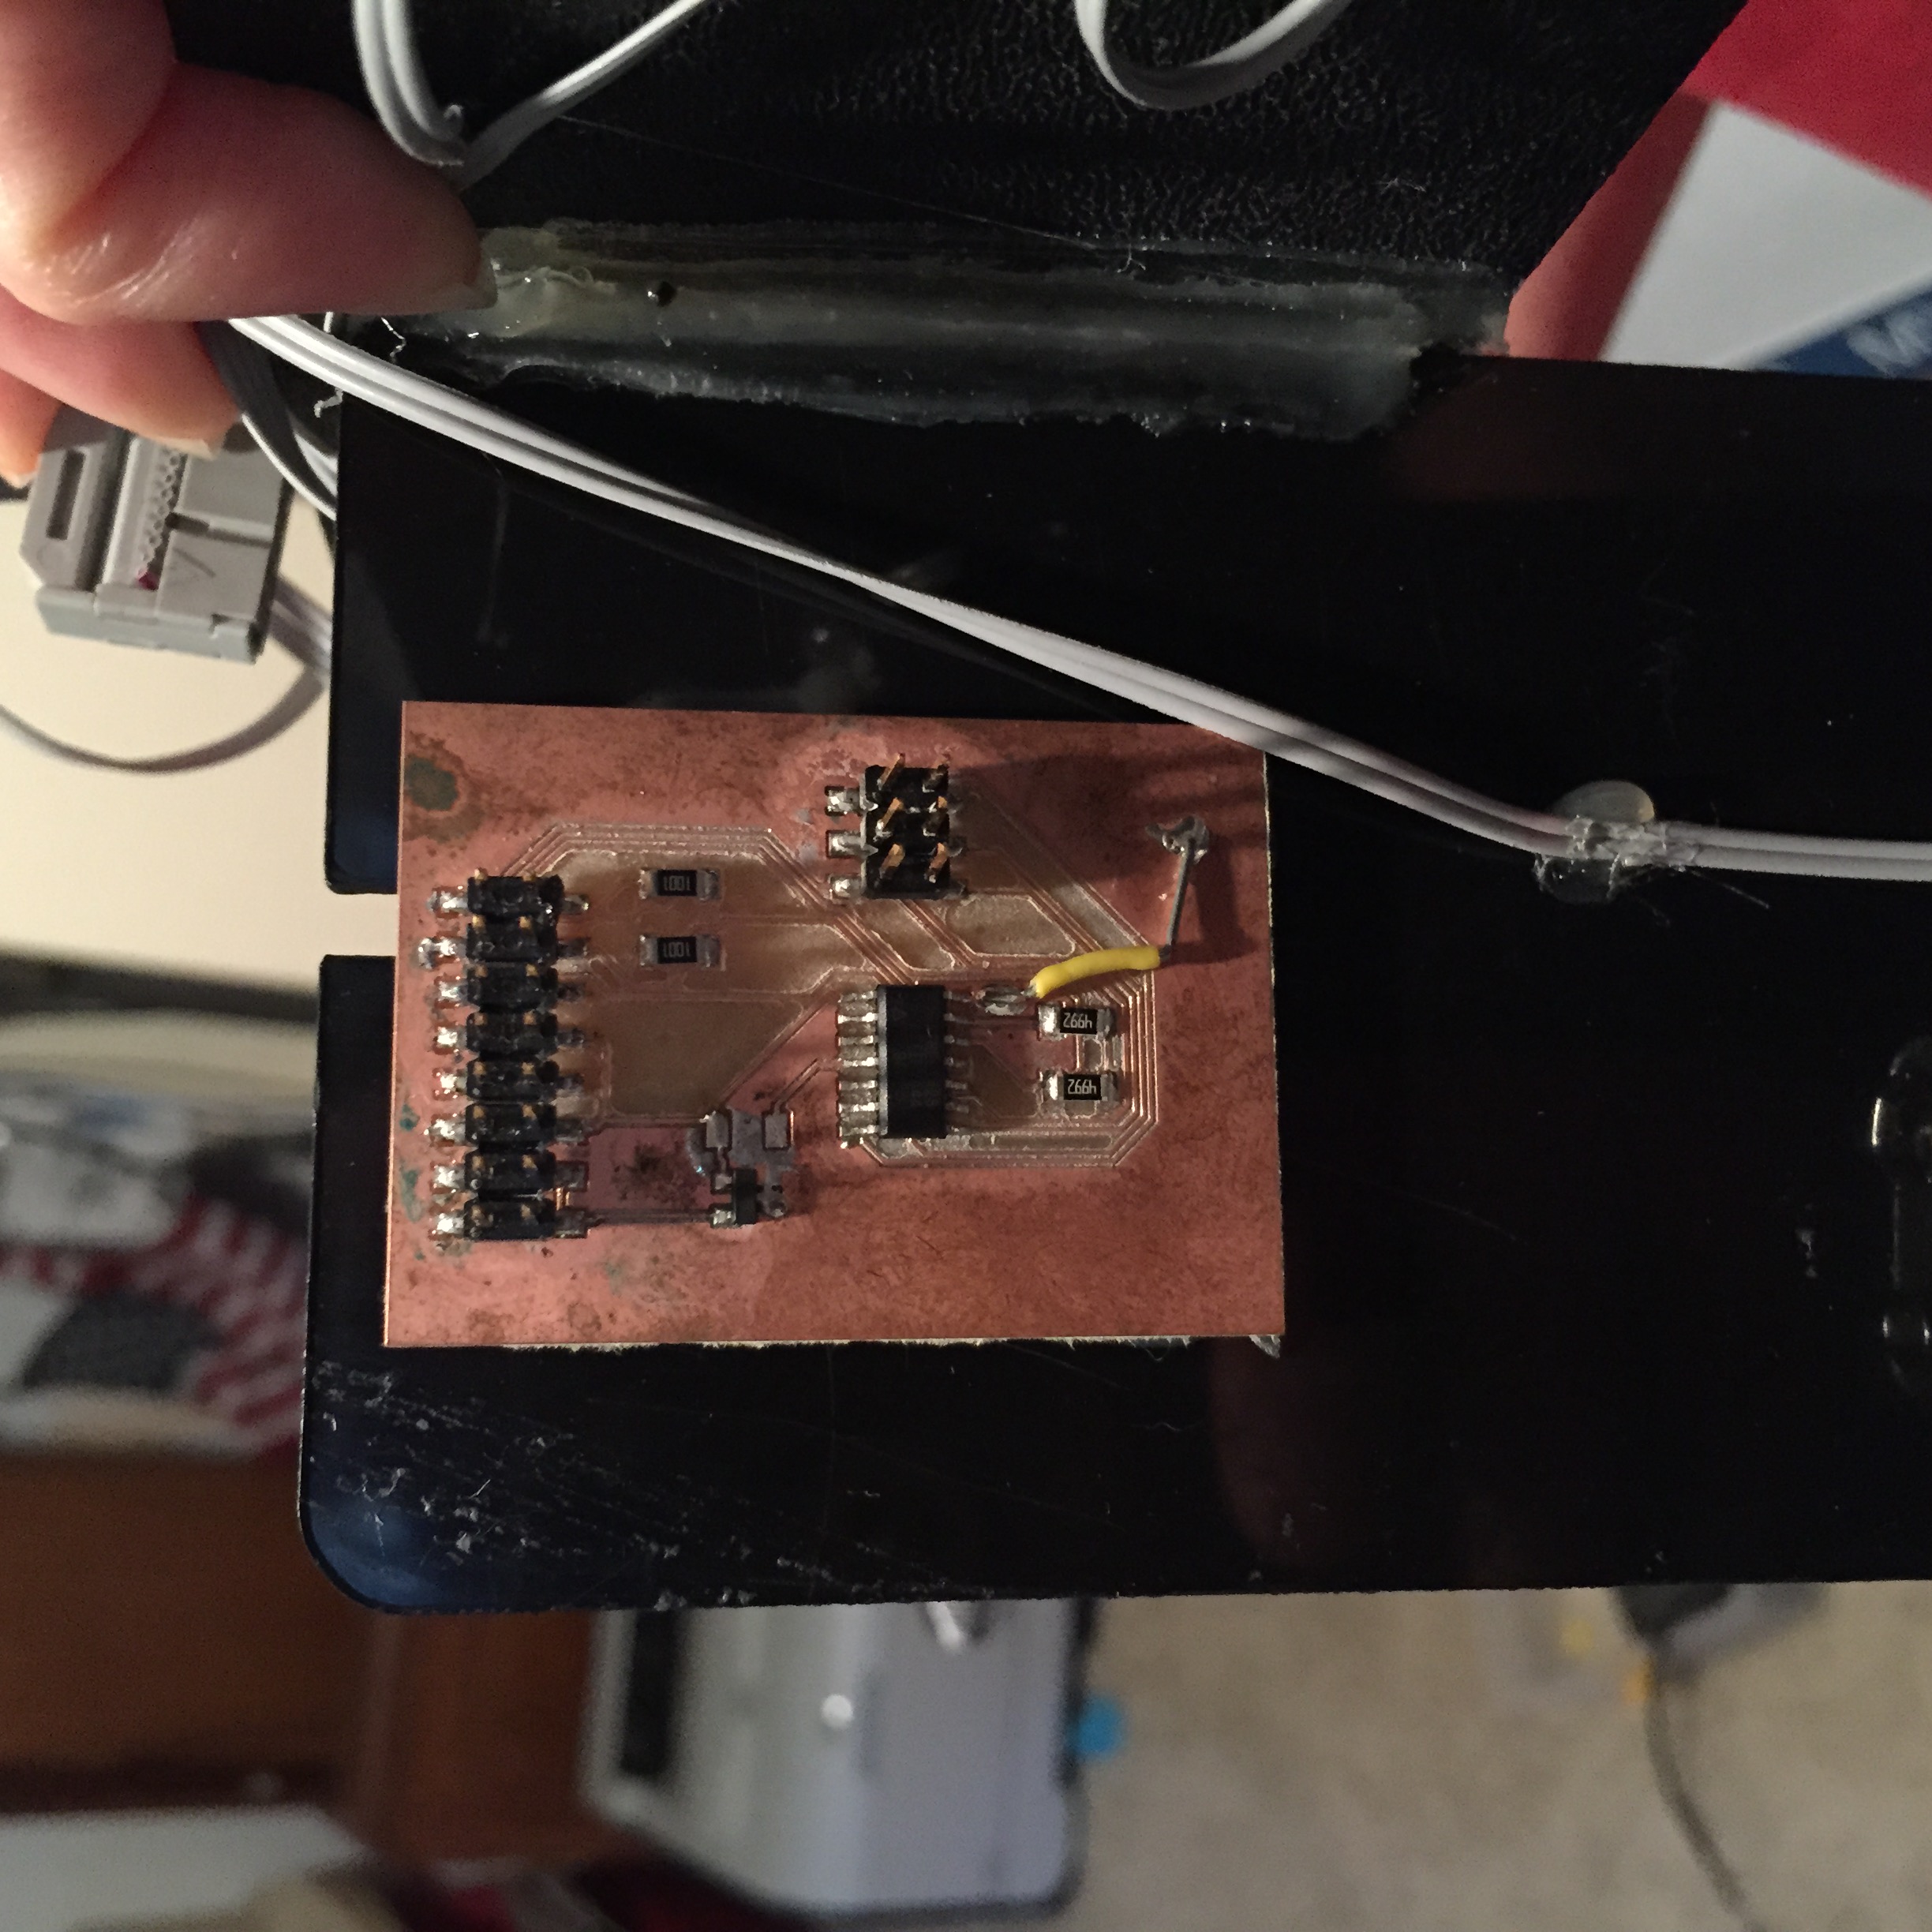
Main board with microprocessor
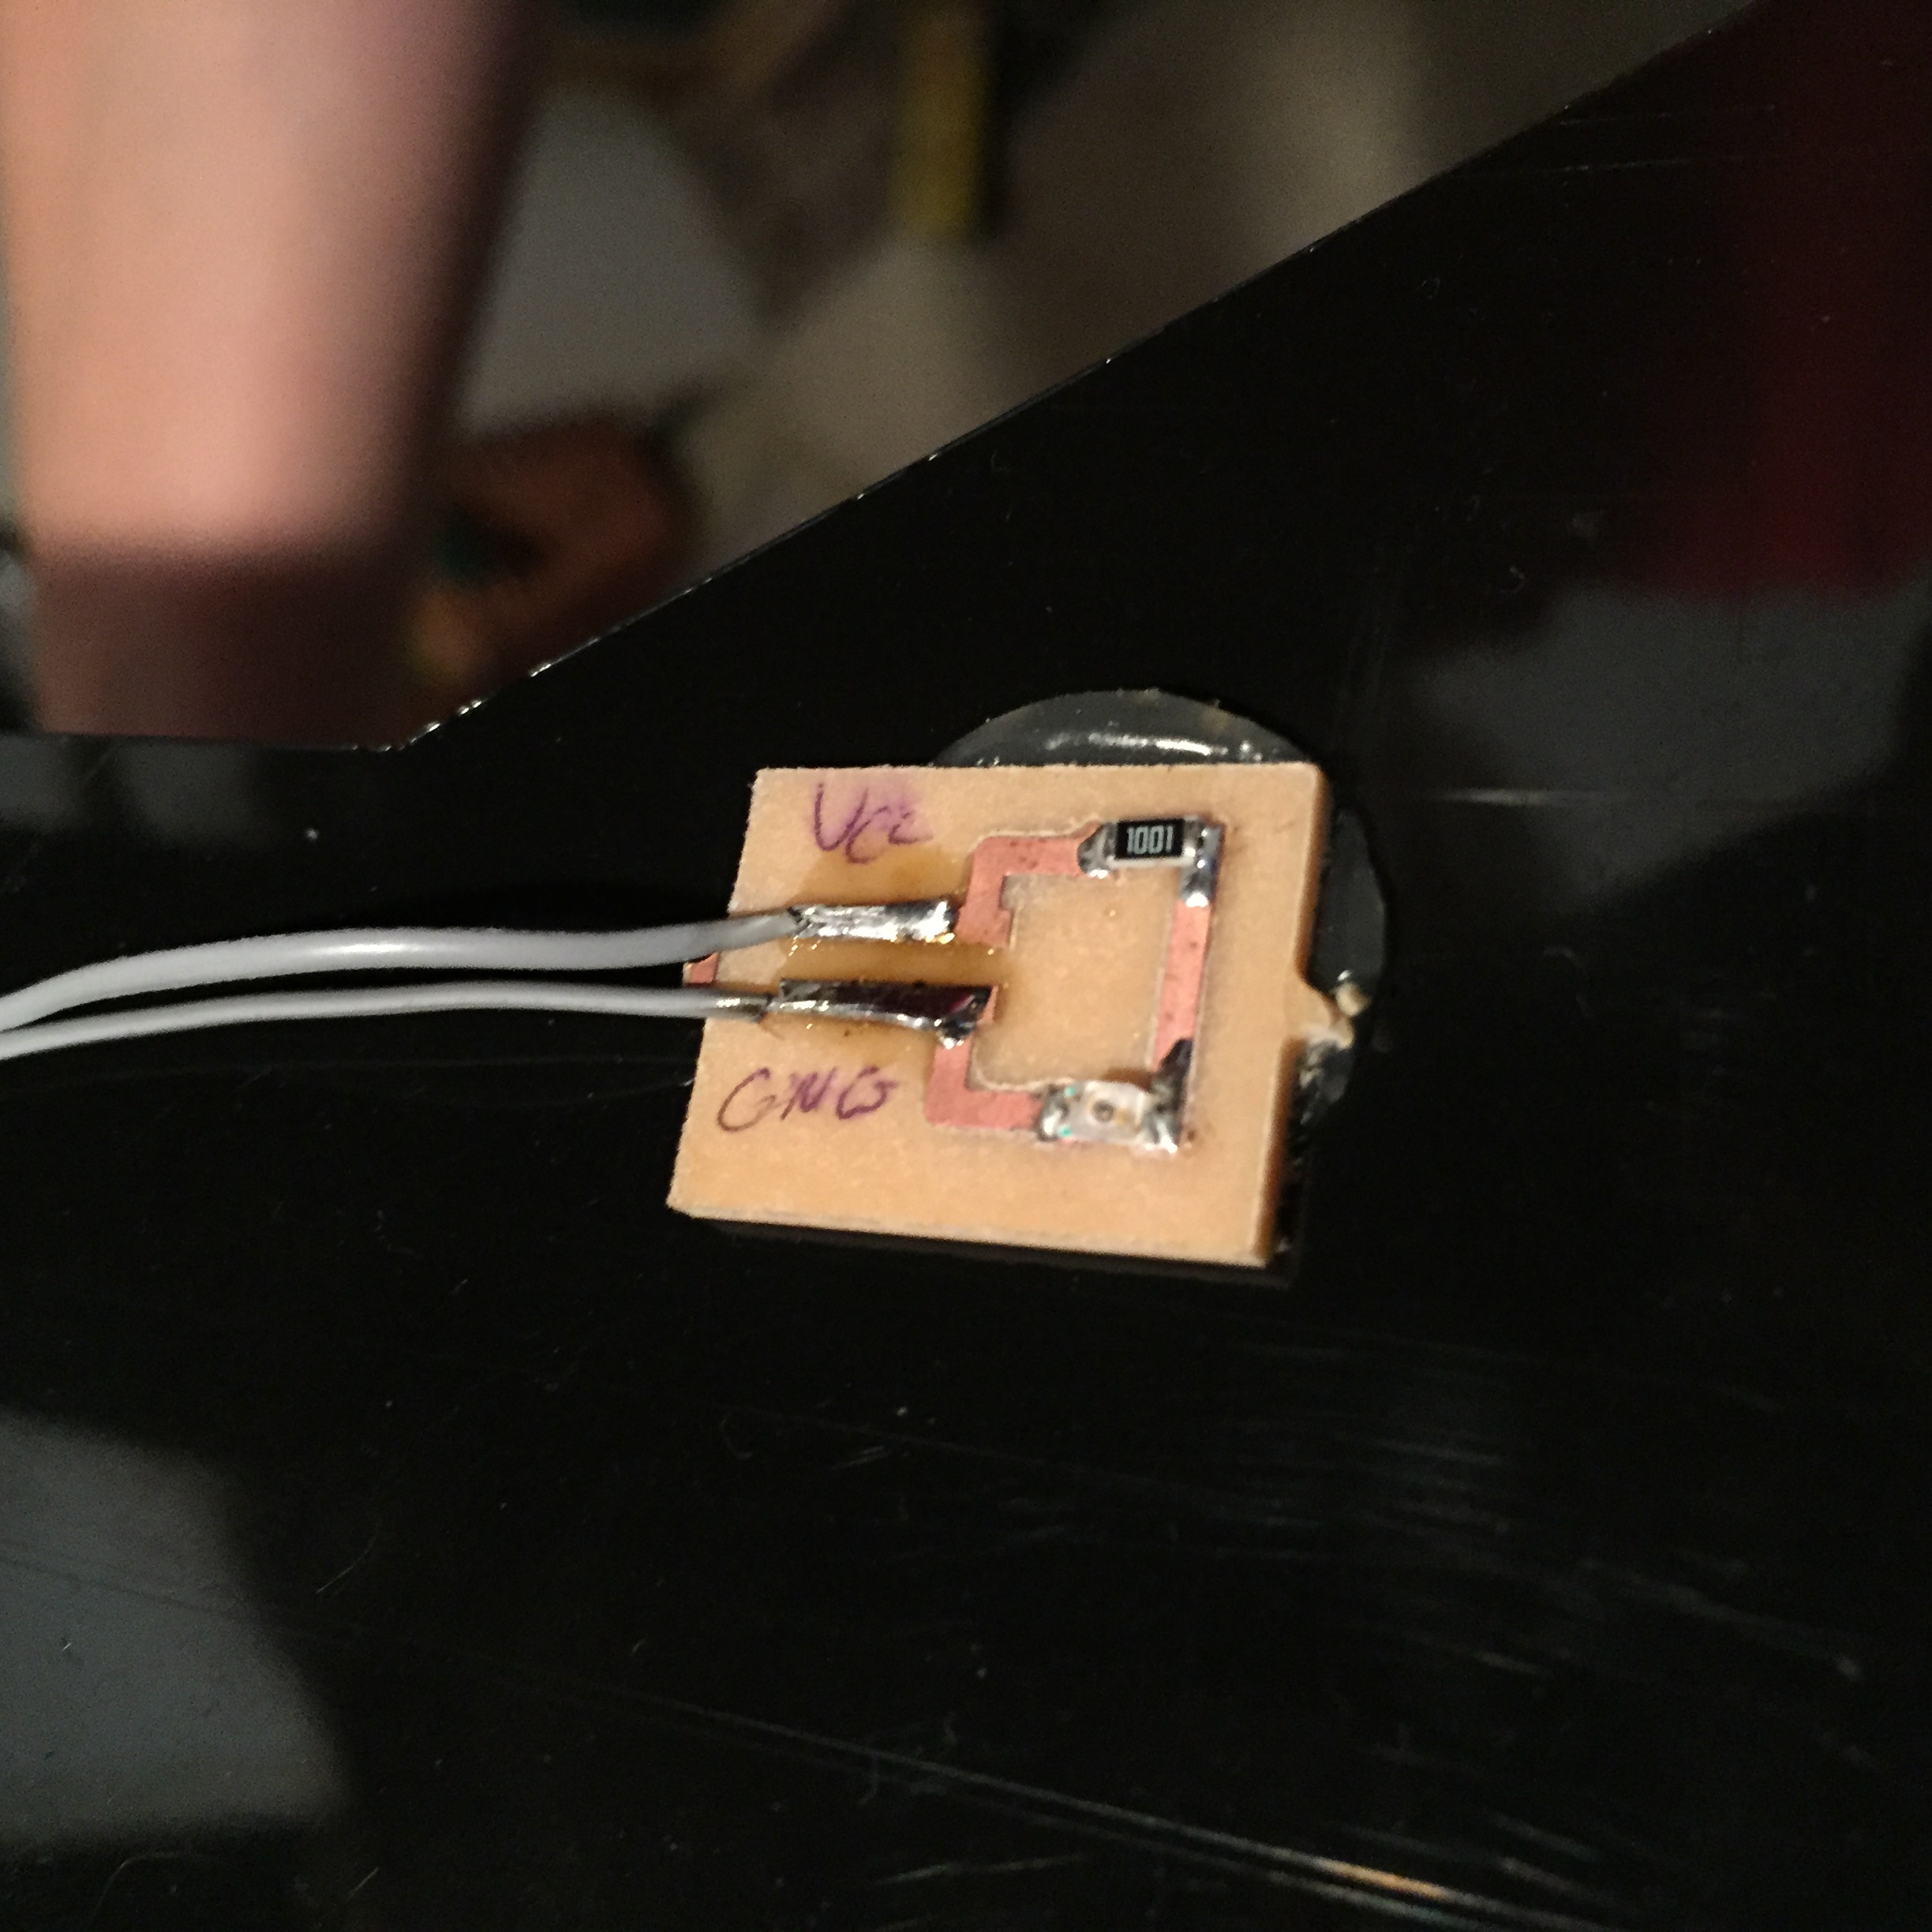
Satellite board with infrared LED phototransmitter
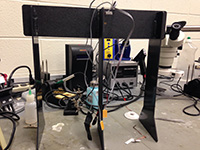
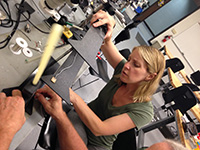
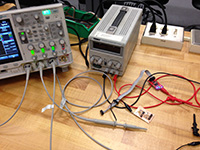
Above from left to right: final wiring, attaching satellite boards, checking for power
Success
Designing in Corel went very well. I was able to apply the skills I have learned since January to
design independently. Vinyl cutting using Cut Studio was easy and weeding, using transfer tape, and measuring to get my
lettering perfect was fun. I independently worked the laser many times during my final project.
Designing in Eagle is much easier after you've practiced it A LOT! It still stumps me, though. The overall assembly of the structure, attaching
the electronics,
and figuring out how it would all look was the most fun. The highlight, of course, was the first time I tested it after assembly using my hand. Watch below....
How It Works
RACE READY suspends across a race track of your choosing! Toy cars, boats, animals, or whatever else you dream up could race in the 2 lanes.
Racers must propel their device toward the FINISH, and the first object to cross the FINISH will be the winner AND a red LED light will illuminate
the moment the winner crosses the invisible plane created between an LED and phototransistor pair across the lane from each other.
LADIES AND GENTLEMEN.........WE HAVE A WINNER!!!!!
Every Road Has Bumps Along the Way
My first LCD board that I made during input week DID NOT work. I think the traces were too small and it
seemed to have a short. That was a setback that would affect my final project idea, since I really wanted to display the race times. So, I adjusted my thinking and decided to, instead, create
a race winner indicator. My next huge hurdle was gaining a sense of how the electronics would all jive together. That period of about a week
left me feeling hopeless at times, but after much research and advice, I came up with a plan that I thought could work and that plan stuck. I sailed through the designing
of the structure and electronics without too many hiccups and then another challenge presented itself. I developed a simple code that had a light come on
when it sensed something cross the invisible plane between the phototransistor and LED. The light was set to stay on for 20 seconds and then turn off. It worked,
but there were struggles with the lighting in the room, which ultimately, made Race Ready unpredictable. Troubleshooting consisted of various materials
used to shield the phototransistors from the ambient light in the room: electrical tape, toilet paper rolls, and finally, 3D "blinders" that I designed (see below for files). My big mistake was not making a circuit with synchronous detection spread spectrum which would probably help reduce the ambient light issue.
Structure stability?
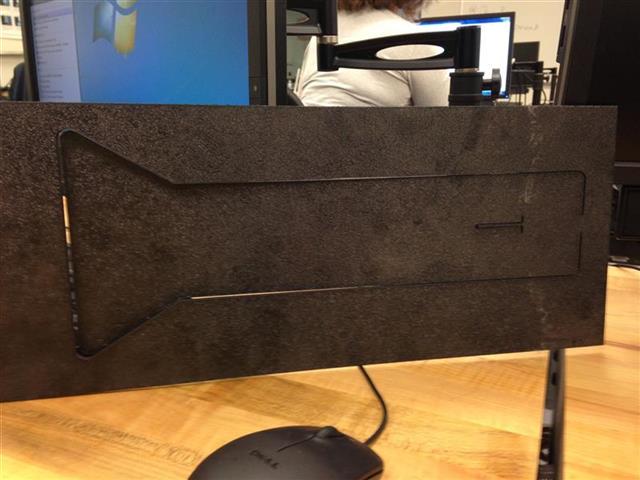
Corel "Oops"....Always group your objects!
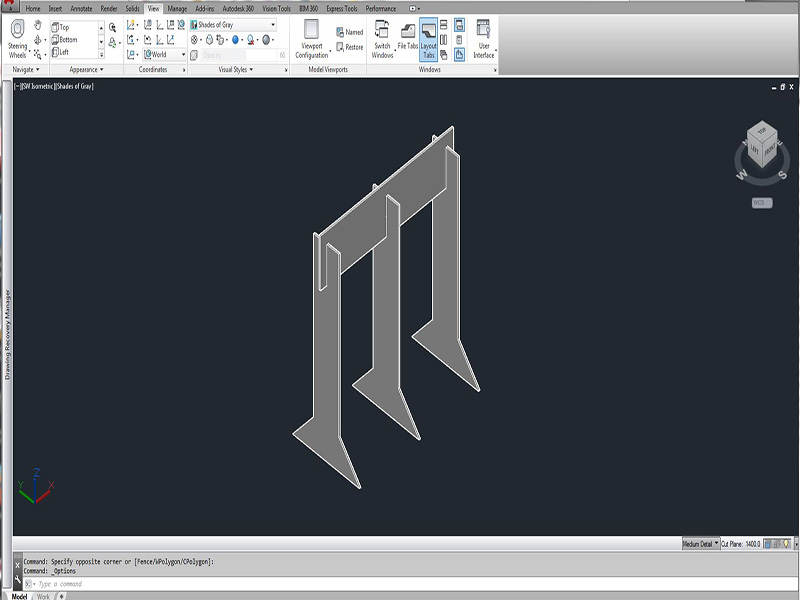
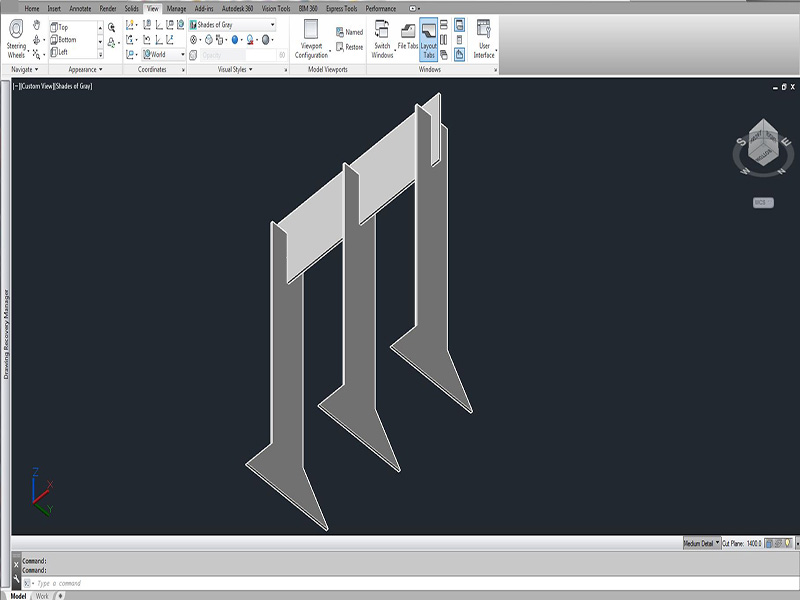
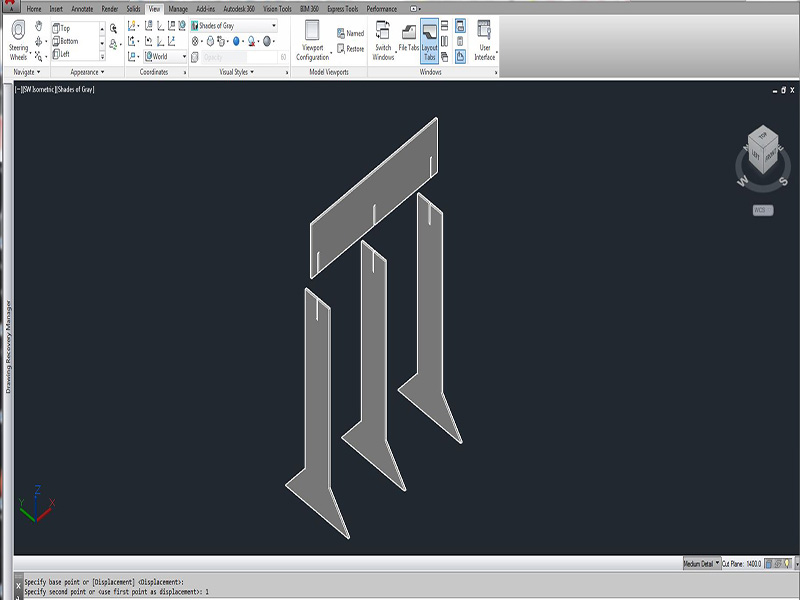
Auto CAD race structure design files
Conclusions
Designing and creating RACE READY has been the design process in ACTION for me. This past school year, I tried to teach
my students what it meant to follow the same process and what types of strategies and skills need to be applied throughout. FAB Academy has
provided me with the most perfect example in challenging me to create this final project. If I could go advise someone who is about to embark
on FAB Academy or any other challenge similar to this project, I would have plenty to say. Iterate, iterate, iterate! There is no limit
to how many times you can make something better. Stay organized.....enough said. Document as you go! I'm so much better at that now than I was at the beginning of the semester.
Become proficient in just a couple CAD programs after having explored many. Beginners should focus on finding a limited number of programs or tasks that are
applicable to the tasks that need to be done and learn more later. I struggled with the pace of the class because every time I tried
to learn something new, another new program or task was presented and I felt like I never got to be really good at anything; however,
now that it's the end, I'm amazed at how many things I HAVE learned!
ASK FOR HELP MORE THAN YOU THINK YOU SHOULD! Worrying, researching, worrying about your researching, and worrying about your failures gets you NOWHERE!
Learning on your own is definitely admirable in some cases, but the learning process and the design process BOTH require collaboration.
Keep it simple until you're ready for more. I often put pressure on myself to be perfect OR others want you to go beyond what is really necessary. Learning is a work in progress.
and I try to teach my 3rd graders that every day.
Don't ever give up! There were many times during FAB Academy that I told myself I didn't belong and I felt like quitting, but here I am in late June finishing up my work to be evaluated. The truth is, I want to
graduate more than anything, and no matter what the result is, I KNOW I gave it my best effort and I learned more in 6 months than I have learned
in a long time.....Maybe ever.
The Future of Race Ready
The purpose of creating RACE READY was to make racing and electronics fun for kids at a LOW cost. If you were to buy a similar product
online, it could cost $400! RACE READY could be constructed for $20 or so and is "open source", so anyone can have access to its designs here in my FAB Academy archive.
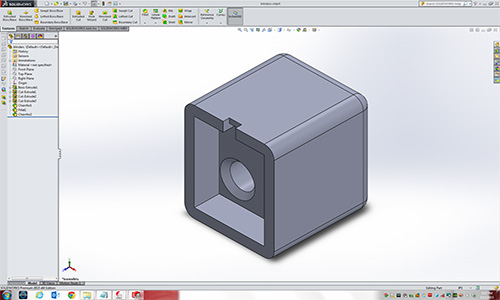
Phototransistor "blinder" that will lessen ambient light issue
Bill of Materials List for Final Project
- phototransistors 1206--2
- infrared LEDs--2
- ATTiny 44--1
- capacitor 1 uF 1206--1
- 1k resistor--1
- 10k resistor--2
- 2 pin connectors--2
- 4 pin connector--1
- 6 pin connector--1
- ABS plastic sheets to laser...could use acrylic
- vinyl for vinly cutter
- 2 red LED pin lights
- 9 volt battery and holder
- appropriate cabling that you have on hand
- FTDI and ISP for programming
All electronics components are standard FAB approved parts and can be identified in the
FAB Lab Inventory
. Batteries, cabling, and ABS plastic, or whatever
material you choose for the structure, may be on hand in your FAB Lab or could be be purchased at Lowe's or a similar home improvement store.
Code
Gail's Arduino Race Code txt format
Gail's Arduino Race Code ino format
Design Files
Race Structure Files
Start and Finish Labels
Race Structure Corel Files
Race board
Race schematic
Main race board pinouts table
Race satellite infrared transmitter board
Race satellite infrared transmitter schematic
Race satellite phototransitor receiver board
Race satellite phototransitor receiver schematic
Photo blinders stl
Photo blinders Solid Works
Race diagram
Copyright
# Gail Myers
# 7/1/15
#
# (c) Willoughby-Eastlake School of Innovation
# Permission granted for experimental and personal use;
# license for commercial sale available from Willoughby-Eastlake School of Innovation.
(c) Gail E. Myers 2015 Permission granted for experimental and personal use. License for commercial sale available from Gail E. Myers
Back to Home


