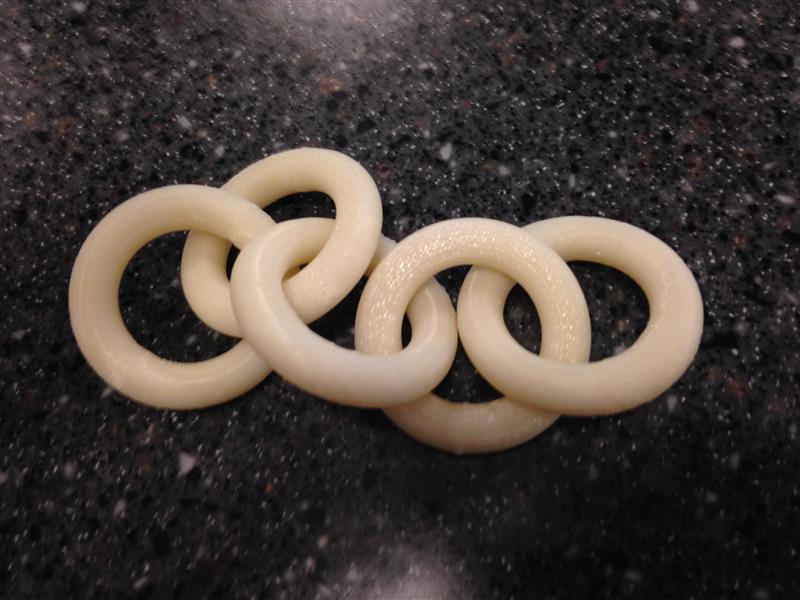
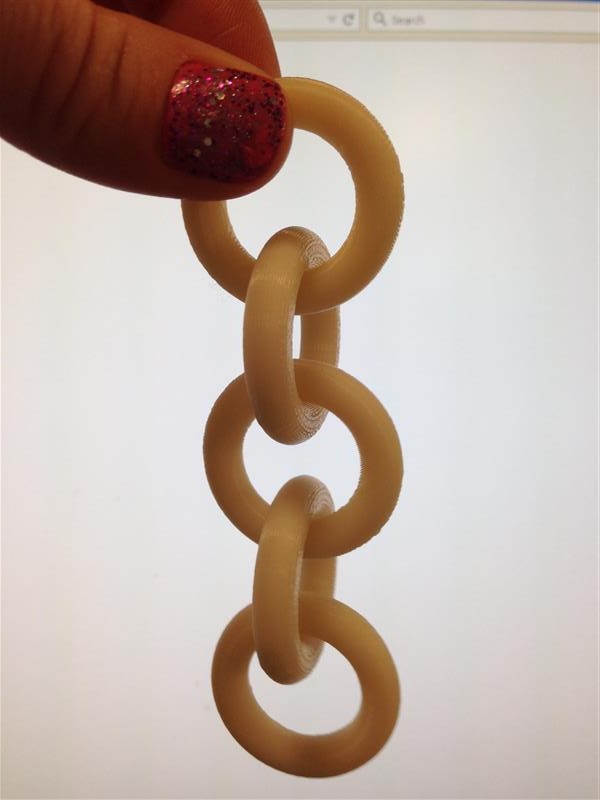
My job this week was to design a small 3D object that couldn't be made subtractively and then print it. Secondly, I had to scan and print a larger 3D object. This assignment was a lot of fun, yet frustrating at times.
Challenges
--Finding the right object to scan was tricky
--Worked on a large hippo model and struggled because it was too shiny
--Tried my starfish and it started off well, but then became too hard even with using dots as reference points
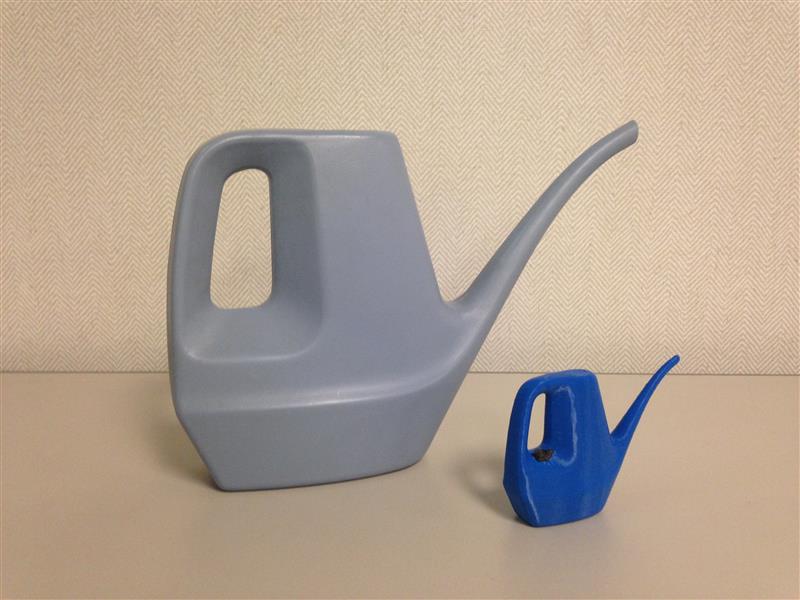
--Ended up scanning a watering can which was easy to scan
Scanning a 3D Object
1. I used VX Elements (scan software) and VX Model (creates mesh).
2. I started VX Elements and hit scan.
3. It was difficult at first to keep the scanner perpendicular to the object AND keep it the proper distance away, not to mention the fact that my arm started to HURT!

4. I had a fellow student turn the black glass turntable as I scanned, making it easier to stay locked in to the object with the scanner.
5. When my teammate did his hippo, there were 416,000 triangles OR 1.61 gig in the hippo mesh.
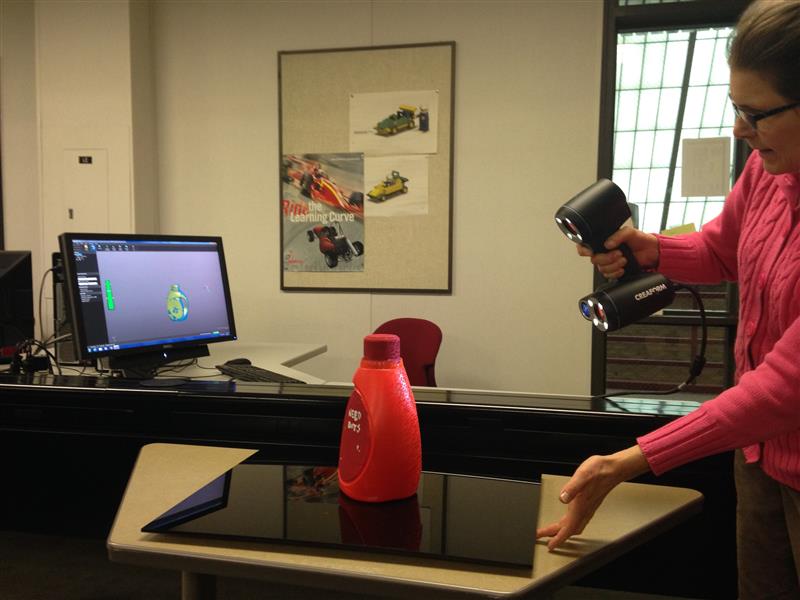
6. Scanning the watering can went quickly, and I used dots as reference points.
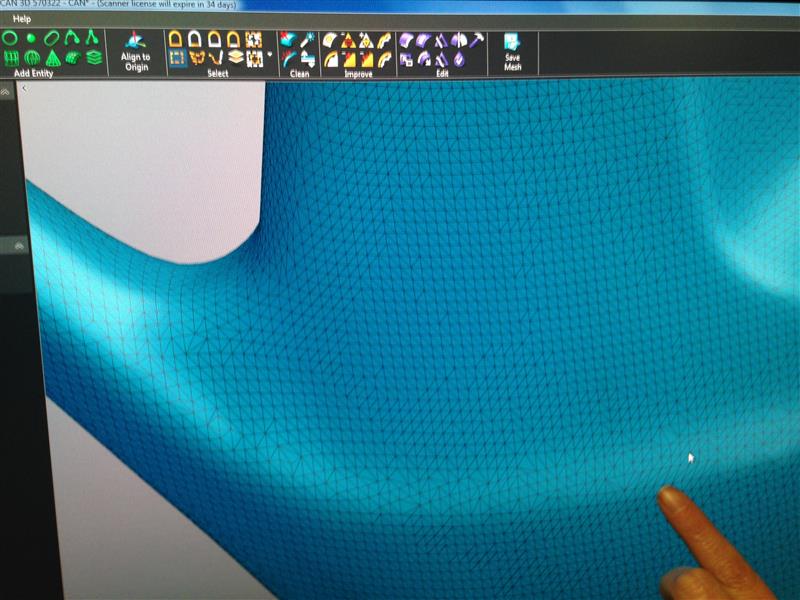
7. After the scan was done, I went into VX model and used the "remove isolated patch" command to get rid of the scan of the table I accidentally added. I healed the mesh and saved the scan.
8. I opened the stl file in Solid Works to make sure the watering can was watertight and solid.
9. When I opened the file and selected Options then Solid Body, it didn't work, so I had to go back to VX and create a second mesh layer.
10. Next, I chose decimate to make bigger triangles where the watering can was smooth and smaller triangles in tight spaces.
11. I had to create a new plane so that the can would sit flat and parallel to the xy plane. (vertex selection, picked 3 points, align to origin)
12. Finally, I opened the 3D printer software Catalyst EX and sent the job to the printer (sparse, low density, 16th inch shell).


Creating My Small 3D Linked Rings
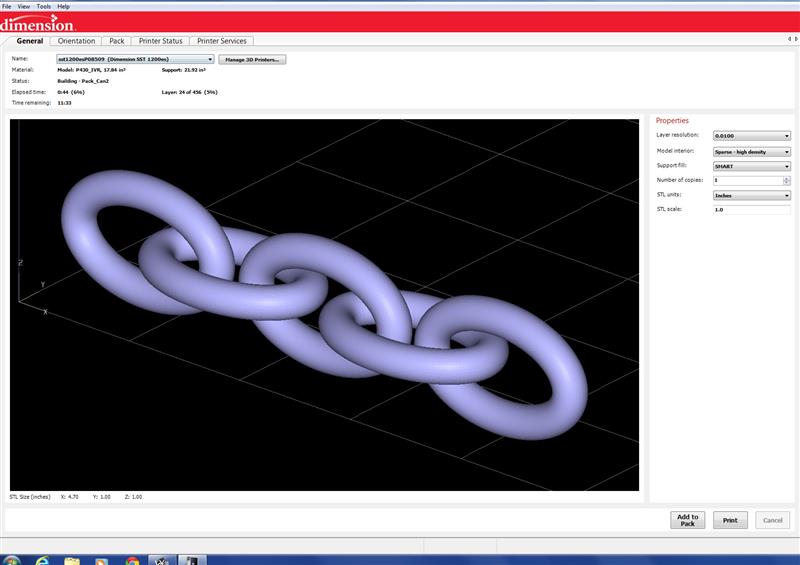
1. I used Solid Works to design my linked rings.
2. It was so cool to see how my cirle had to be intersected with another circle, which appeared to be an ellipse while 2D, to then create a 3D ring.
3. Once I had my ring, I created copies of it and placed it on either side of the original.
4. I had to be sure the front, top, and bottom planes were mated properly AND be sure that each ring had clearance from the other rings.

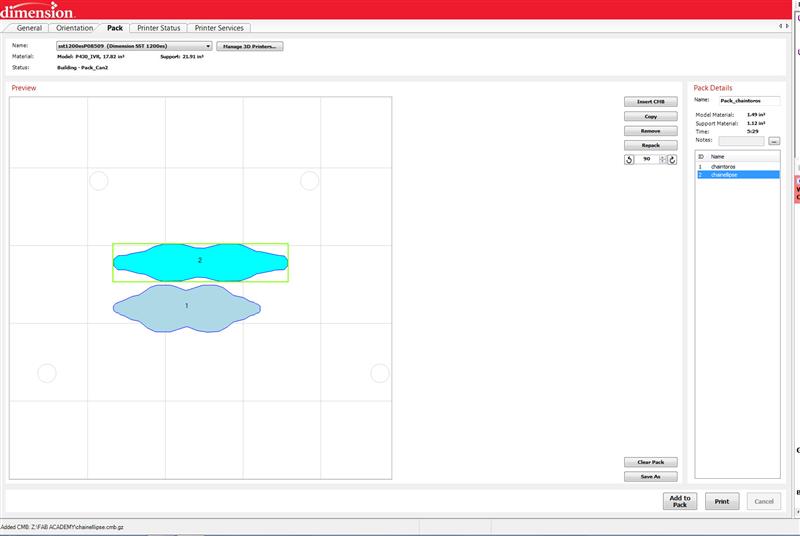
5. I couldn't get over the fact that I could create something solid from the bottom up that would eventually be able to come apart after the support material was removed. I designed both circle rings and ellipse rings. Incredible! My students will LOVE to see what I created.
