Moon Tracker allows you to input habits that you are changing in your daily life. By pressed "Yes" or "No", you will change the face of the moon display. and will be able to see 6 days of progress reporting at a time.
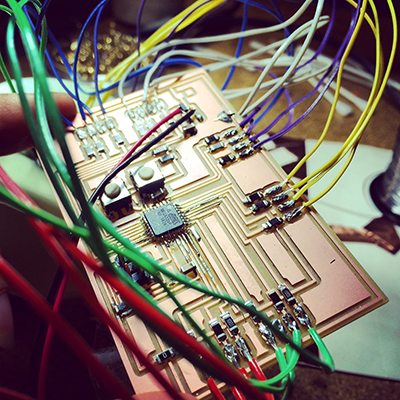
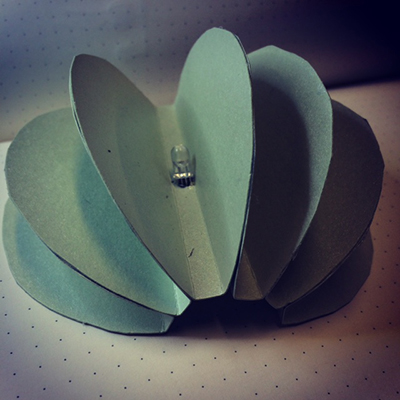
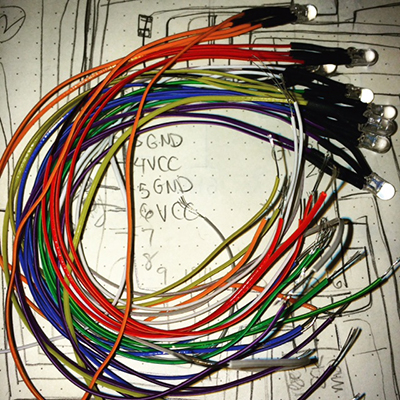
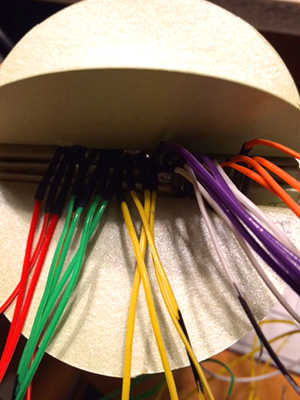
I designed the circuit board in Eagle, 3D modeled the moon in OpenSCAD, designed the press fit enclosure in Illustrator, laser cut the enclosure, 3D printed and cast the paper moon and created the program. While wiring up the RGB LEDs, I quickly learned that I would never use that many wires on a board again. It was too complicated to maneuver and the lights were coming undone very easily. For the next version, I am going to use strips of soft white LEDs to reduce the amount of wires that I need.
I was able to wire each of the 4 pins of the LED individually. I then used the heat shrink tube to make sure that they wouldn't make a connection while in the paper skeleton. I silkscreened the cardboard that I was using to be a black flat of color on the cardboard.
I decided to keep it simple for the first round and stick to green for "yes" and red for "no". The color that is the idle state is a mix of green and red, so it appears as a bright yellow-green color. I ended up not using the blue pin of the RGB LED, but it is all wired and commented out on the board in case I change my mind.
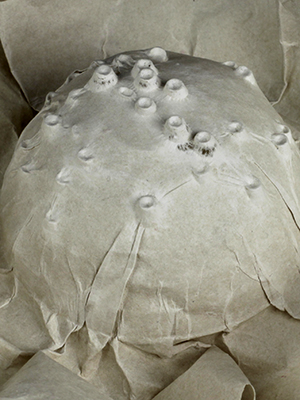
After many test to see what type of handmade paper would be the best, I decided to using handmade abaca paper. It is incredibly thin and strong. It also holds detail beautifully. It shrinks when it dries, which allows it to become drum tight over the 3D printed mold as it dries.
My schedule, for the most part, went as planned. Everything took longer than I thought it would, but that was to be expected. I was able to finish the final prototype one day earlier than I thought I would, so I was able to help a couple of my classmates with photographing their piece using the facilities at the AS220 Media Arts program. It felt good to help people out, especially after how much they all have helped me.
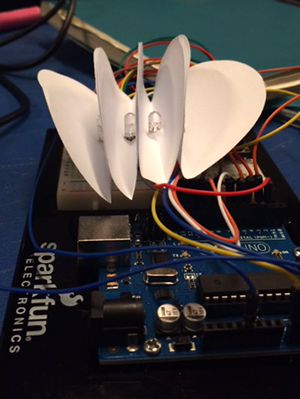
The board took a little bit of work, but I was finally able to get it working. There were many issues with programming the bootloder. Because I did not have an external clock, I had to use the internal clock of the ATMega328. But because I tried to burn the bootloder so many times before realizing I had it set incorrectly, I burnt ouf the microcontrolled and had to solder on a new one. I am happy with how the interaction between the buttons and the changing of the moon works. It is satifying to see the moon cycle through all of the phases. The buttons are easy to access. It worked out well to put the buttons directly on the board and to have the board pressed against the front of the press fit enclosure.
The electronics and the program are both working correctly.
Files