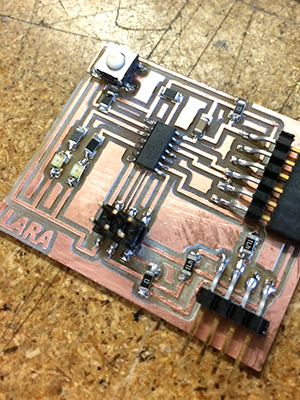
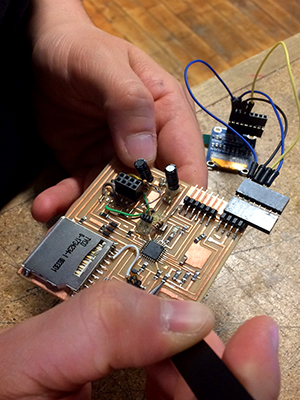
By this point, I am starting to feel more confident in my skills of making boards. I still move relatively slow, but overall it is going much more smoothly. I those to have my pins on the I2C be in the same order as the display screen. That was I could easily attach the screen and use it with my board.
I was shocked at how many issues I had with milling my board. It was either cutting too deep and tearing up my traced, or there were areas that wouldn't mill. After 5 tries, I finally got one that was working. I stuffed the board and was so suprised when the bootloader programmed on the first try. That was the first time that happened!
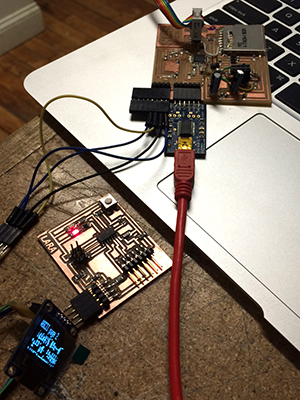
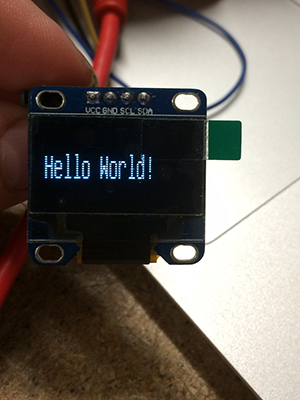
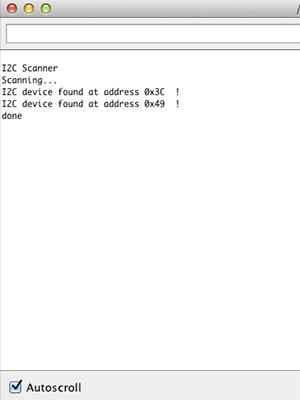
I then followed the tutorials and loaded the TinyWire Master and TinyWire Slave files. I connected my board to my classmate Kenzo's board to the monitor. I was running into an issue where I had to use an ATtiny 44 because we were out of the ATtiny 84. Because of that, a lot of the test files for the display were too large to load. For that reason, I used my classmate Kenzo's board as the master and the other two displays as the slave. It was very exciting to see the screen display that everything was connected. Very special thanks to my classmate Kenzo for showing me how to network the boards and also for lending me a board to network to mine.
Files
I2C Board. Eagle File
I2C Schematic, Eagle File
Traces, PNG
Board Cut out, PNG
I2C Application, Graphic Test