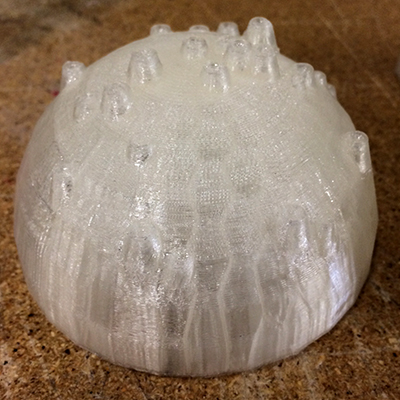
Since my final project will have a cast moon that will need to be strong, I decided to return to the model that I had built of the moon in Open Scad and made a new 3D print of it. Shawn taught us how to use the difference of the shape to create a negative half of the mold. I struggled at first to have both halves of the mold scale to the same proportion so that they could be cast. The way that I found around this challenge was to include them both in the same file and print them on the bed at the same time. The print job for both the postive and negative forms of the two part mold took about 8 hours to print. I realized that most of this time was due to the fact that square mold was so large. I changed my file so that instead of being in a large square, the mold was instead a slightly larger sphere. This saved 3 hours off the printing time and a significant amount of material. For the casting of the compostites, I used my first print, which was the model wit the square.
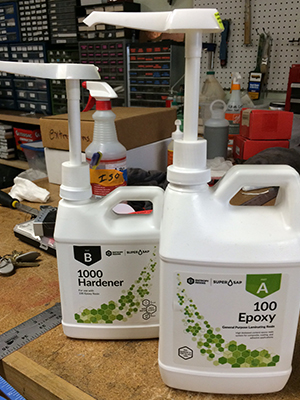
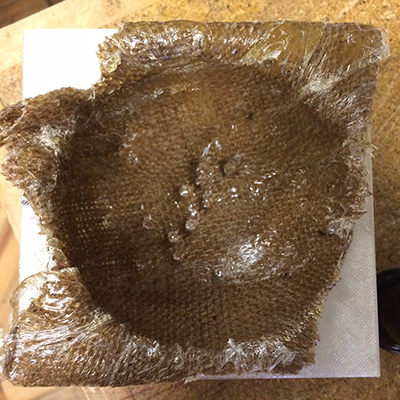
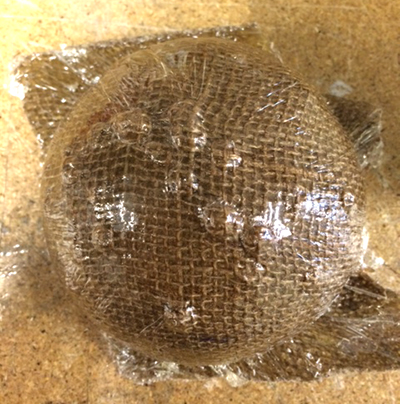
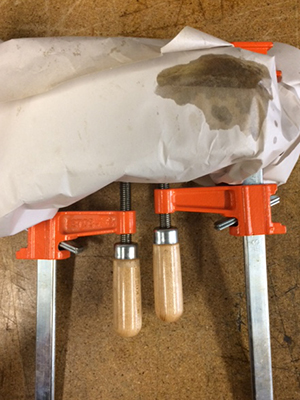
I used burlap to cast the form, although in the future I would like to use layers of thin paper and see how translucent I can get the form to be. I used to scraper to impregnate the layers of burlap fully before pressing them together. I sprayed mold release onto the 3D printed form and then I then layed syran wrap on both halves. I pressed the burlap into the negative half of the mold and smoothed it out with my hands, while wearing gloves, as much as I could. I was suprised how quickly it was getting warm. The epoxy soaked burlap was pretty malleable and allowed for me to smooth it on to the form pretty well, without a lot of bunching. I then pressed the two forms together, wrapped it in newsprint as to not get epoxy on everything, and put it under pressure using two clamps.
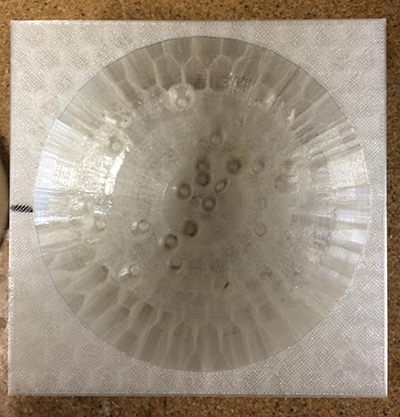
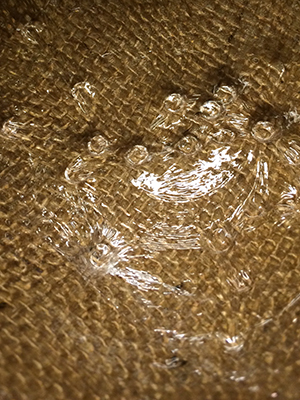
I left it overnight and came back 12 hours later to crack the mold open. The negative part of the mold came off without much work at all, I just hit it lightly with a hammer and it came off quickly. The positive half of the mold was a bit trickier, I had to put a screw into the form and pry it out with a hammer. That only allowed me to put a slight amount of pressed and the screw slipped out. I had to then use the back of the hammer to pry it out. There was a couple of areas that were keeping the positive half of the mold trapped and I was able to snap them off with a hammer. Once the form was out, I was suprised at the level of detail that the form captured. I would love to use this process in the future to cast a larger moon, but I would like to find a natural alternative rather than using epoxy, perhaps wheat paste, and use layers of paper.