MOLDING & CASTING
JILL HARTLEY YOKOTA, AS220 FAB LAB, PROVIDENCE, RI
ASSIGNMENT: Design a 3d mold, mill using machineable wax, cast in silicon and make parts with hydrostone, or drystone. Document process, tooling, materials and machine feeds and speeds.
FINDING THE RIGHT 3D MODEL
I decided to do a mold of a sugar glider. We have two of these inquisitive little creatures in our household and with Easter coming and my family visiting Providence over spring break, I thought it would be fun to make some sugar glider chocolates at AS220 with our kids. Sugar gliders are marsupials from the South Pacific (Australia and Tasmania) and can live happily among humans with a bit of patience and dedication in winning over their trust. They are nocturnal, omnivores and arbivores and love to eat sweet nectares, bugs and plants especially. They also are magnificent gliders and very much exist in 3d space!
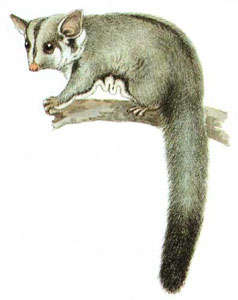
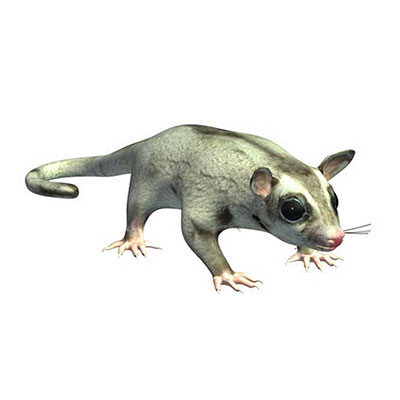
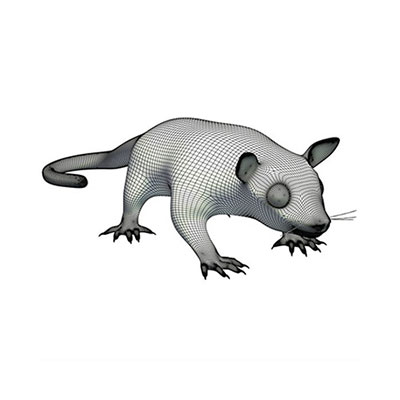
I found some beautiful models online, but after consulting with Shawn about overhang issues and the liklihood of having to do some pretty complex molds, I opted to model something simple in Sketchup instead. These are the models I considered and found them on AutoDesk's website:
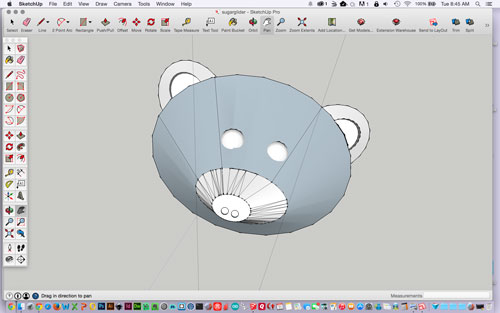
Here is the stylized model I made in SketchUp:
PREPARING FILES FOR OUTPUT
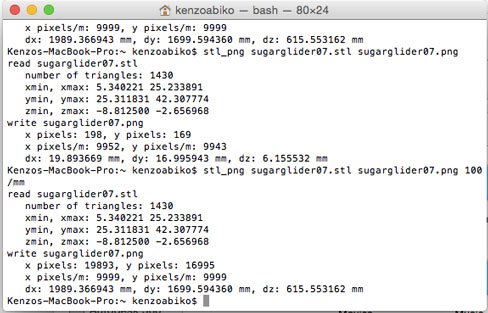
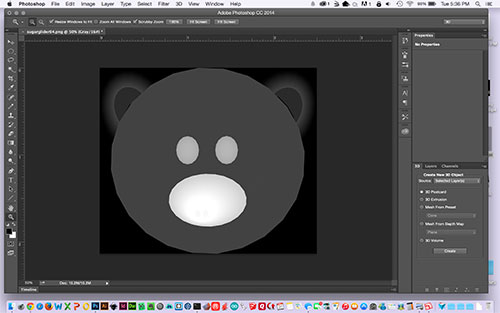
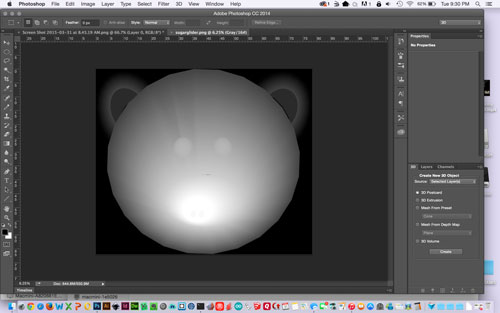
After completing the model in SketchUp, I imported the file into Rhino in order to export it as an .stl file. Shawn's script was used to convert the .stl to a .png file, which was then viewed in Photoshop as a height map. The black shows the distance deepest in the mold and the white shows the shallowest part of the mold, with various levels of gray in between to indicate intermediate cut levels.
MILLING THE MOLD
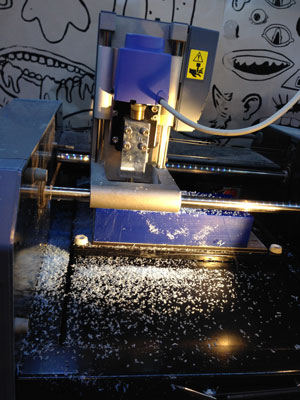
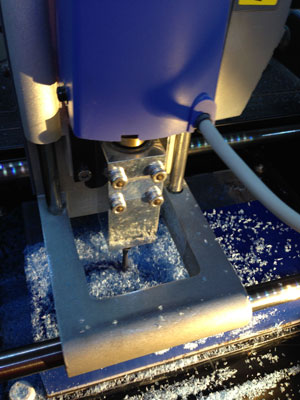
I took .png file to the Modela for milling. A 1/8" ball end mill was installed, the machineable wax affixed to the plate with double sided carpet tape and the device zero'd out using the Fab Module and manual z calibration. The appropriate settings in the Fab Module were specified for the rough cut. The Modella cut the wax into very fine shavings, which were collected to be recycled for future use.
TROUBLESHOOTING
Much to my surprise, after all the shavings were cleared, the finished sugar glider looked like this:
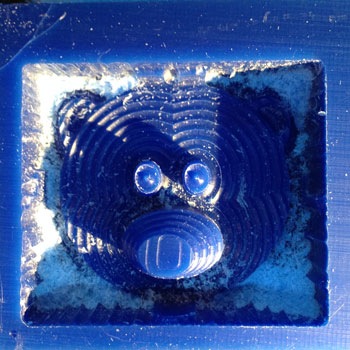
The sugar glider had no cheeks! After some advanced troubleshooting, Kenzo figured out what was going on with the .png file. There were two issues - the model had open faces and also there were rotated normals. I wish that I knew what I did to create these errors in SketchUp, but it wasn't obvious. Kenzo tried both MeshMixer and MashUp to fix the holes, but neither did an adequate job and there were still open faces.
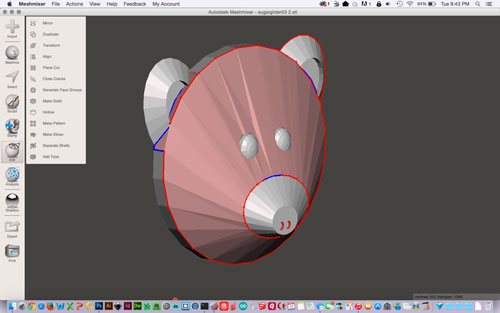
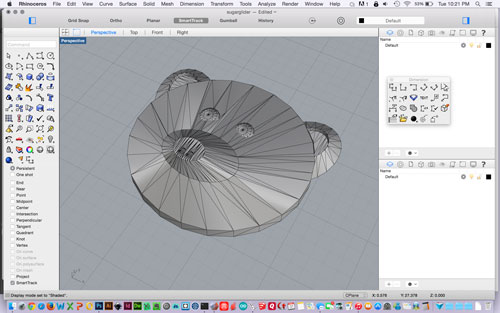
Ultimately, Kenzo used SketchUp to fix the improperly oriented normals and Rhino to patch up the holes in the mesh. In hindsight, I should have noticed that the first height map had too few few gray levels and was very high contrast! This is the corrected Rhino version of the file:
I viewed the corrected model in Photoshop and this time the height map also looked correct:
MILLING AGAIN..
The .png file was imported into the Fab Module and the following settings were indicated for a rough cut:
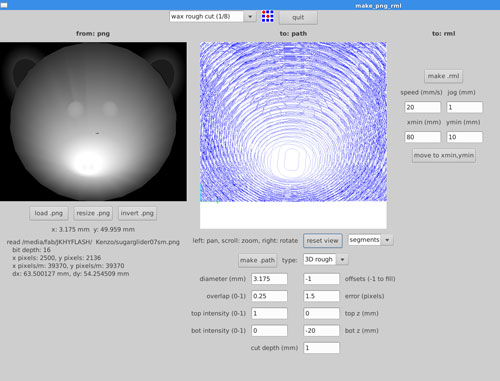
This time the result was much better and the sugar glider had cheeks! Next, the finish cut was done using these settings:
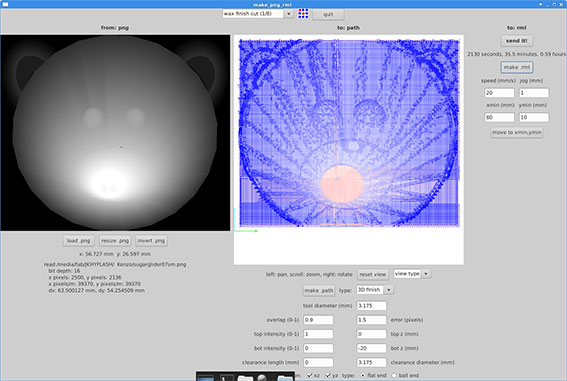
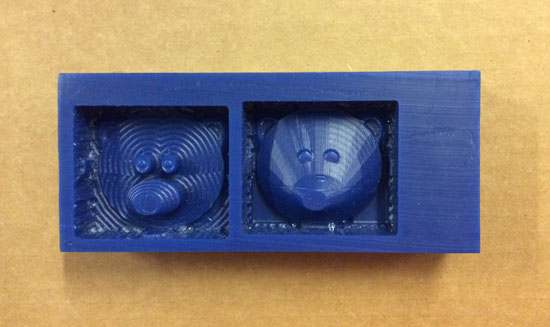
The final result (on the right) was "as expected" this time! The two bears are fun together and both will be used for making casts.
POURING THE MOLDS
The next step was to pour the molds. My plan was to make the urethane/hydrostone mold and cast from the "lessons learned" bear on the left and the food safe silicon/chocolate mold and cast from the "good" bear on the right. Neither the Smooth-On 121/30, nor the Smooth-Sil 940, in our lab were any good so we had to get replacements. The RISD store did not carry the Smooth-Sil 940, so I purchased the Equinox 40 product instead, which is a putty that's applied by hand to the object to be molded.
I mixed the Equinox by volume and then thoroughly by hand and pressed it into the mold for the "good" bear. Next, I weighted out equal parts of the PMC 121/30 and pre-mixed part B for three minutes, per the instructions. Parts A & B were combined and "sheared" to minimize bubbles. I let the mixture stand for 5 minutes before pouring to reduce air bubbles and then poured into the "lessons learned" bear mold. I noticed that the nose on the "lessons learned" bear was a bit high and had to overflow the Smooth-On 121/30 slightly. It quickly began seeping into the top of the Equinox 40 mold, so I made a gate out of stir sticks to contain any overflow.
Both molds were allowed to cure overnight. The release of both molds went pretty well, although I had to use a flat spatula to get the Equinox mold to release. I trimmed both bears with scissors and here is the result:
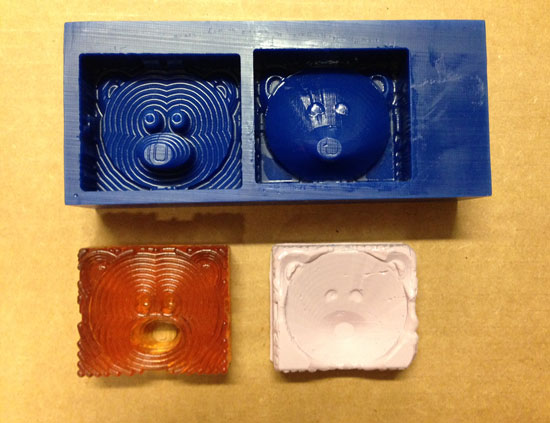
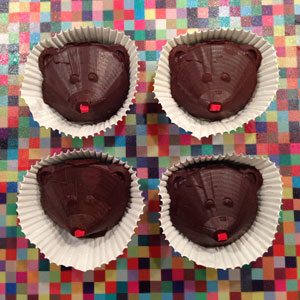
Even though it was optional, I followed the directions and did another cure of the Equinox 40 bear in the convection oven for 2 hours at 175 F. Then, it was time to melt and pour some chocolate. We used dairy-free dark chocolate chips and melted them in the microwave until liquid. I used a little gate I had built with some tape to hold it together, since there were some low points in the mold that would leak chocolate. I put the mold and chocolate into the freezer to expedite the curing.
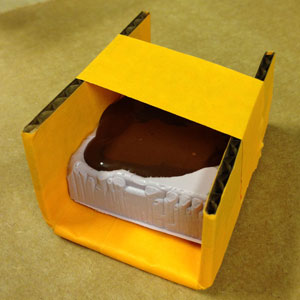
Given the cooling time of 30 minutes that it took to make each cast, we will likely do fewer than 50 of these chocolates for the kids and their classmates. The chocolates de-molded without any problems.
I did a post cure of the Urethane bear for 1 hour at 150F, which was significantly less than the recommended 4-6 hour cure time at 150F, but I started running out of time. Also, I found a useful Hydrostrone video with good information about steamlining workflow and minimizing bubbles when pouring a cast.
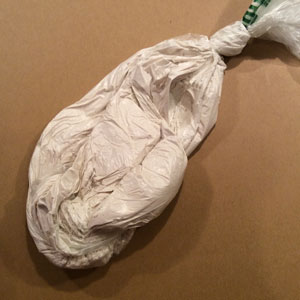
The sculptor used a plastic bag with pre-measured amount of Hydrosone and slowly added room temperature water in the ratio of 3 (hydrostone): 1 (water). He squeezed the air out of the bag and knotted it. Then, he let it sit for a few minutes and then gently massaged the bag to get the contents thoroughly mixed until resembling a pastry bag. He also recommended spraying the mold with dish soap and water solution in order to minimize bubbles. A small cut was made in the corner of the Hydrostone pastry bag and the compound was squirted into the mold and gate. After filling, I gently agitated the mold and the air bubbles came to the surface and dissipated.
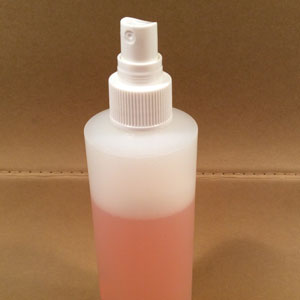
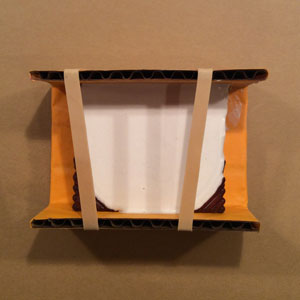
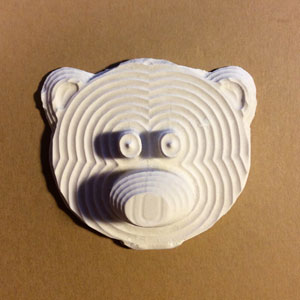
The demolding of the hydrostone bear went pretty well, except the edges were a bit brittle and there was some clean up work to do with a small chisel and file where the hydrostone had overflowed slightly. No bubbles were evident, so the soap + water solution trick appears to have worked very well!
CAD FILES
Here is the SketchUp model of the sugar glider.