3D PRINTING & SCANNING
JILL HARTLEY YOKOTA, AS220 FAB LAB, PROVIDENCE, RI
ASSIGNMENT: Design an object in a 3d program that could not be made using subtractive processes. Scan an object, clean up the meshes and print for extra credit. Provide design files, document process, tools & materials and any troubleshooting.
DESIGN & PRINT 3D OBJECT
I am interested in printed 3d fabrics and how solid shapes can be interconnected to form fluid materials and textiles. Patterns and repetitive forms have always intriqued me. I found many beautiful examples online, including:
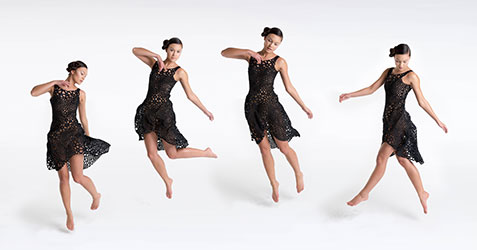
The Kinematic Dress by n-e-r-v-o-u-s systems:
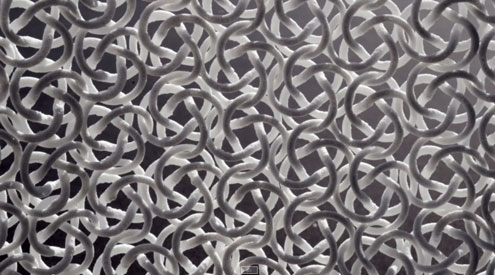
Flexible textiles by the trasLAB at Virginia Tech:
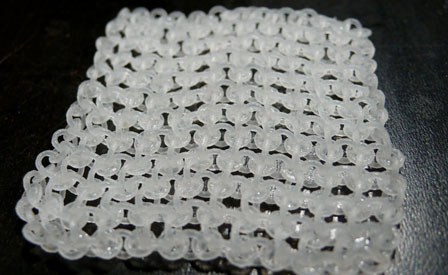
Work done by Shelby Doyle for her final project:
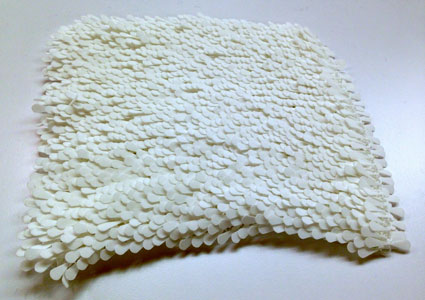
Highly textural and fluid designs from Digits2Widgets:
Since I am a beginner at 3d modeling software, I had to design something fairly basic. I considered the elements of a printed fabric and decided to build a chain, which is also the first component of knitted or crocheted fabric. After designing, modeling and printing a basic chain, my goal was to combine the chains into a rectangular mesh.
I used Rhino and worked with the torus solid shape. I knew I wanted to work with oblong donut shapes, so the first challenge was to figure out what Rhino calls a "donut." I remembered Neil's Antimony demonstrations and that the "torus" was one of his favorite solids and was thankful for the memory jog!
I designed a simple alternating circular and elliptical chain with 4 links. I practiced simple modeling skills in the process, for example creating solids, scaling, moving, copying and navigating the perspective view. It took a long time to get this basic model created, but determination prevails! I saved the file as an .stl in Rhino, opened it in MakerWare, adjusted settings and saved in .x3g file format to an SD card. I used supports and a deck.
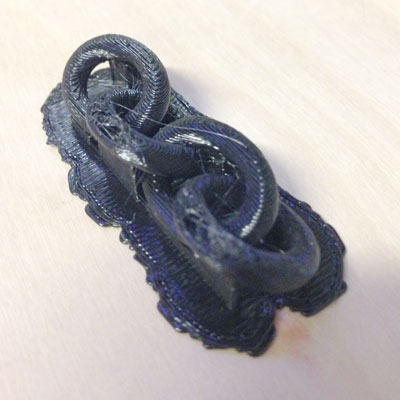
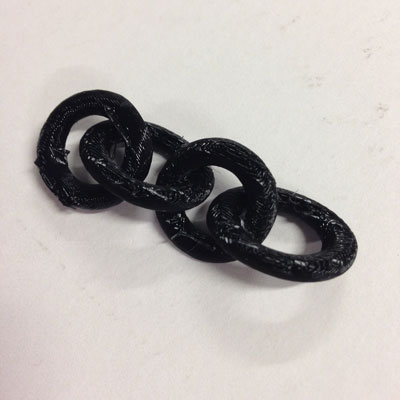
The first print was about 3 cm long and all of the supports broke away pretty cleanly, but the middle two links fused together. These links did not touch each other at the site of the fusion in the original file, so this is an example of the difficulty with tolerances using this printing method. When I tried to break apart the two fused pieces, one of the links cracked and broke. I tweaked the design, gave it one more effort and had the same result.
So, I took a look at Thingiverse to see what other kinds of chains had been made. There's a cool customization chain project that allows one to adjust the size, radius and numbers of links. I also saw some examples using c links that were printed and then pieced together into a chain. Splitting the links seemed like a cheat, but I had every intention of trying it if my joined links didn't work.
Shawn suggested having the links touch the construction plane, so that the object was better supported during the printing process. I went back to Rhino and figured out how to use the "rotate 3d" feature, which allowed me to specify one set of links to be at a 30 degree angle to the surface and the opposing set of links to be at 150 degree angle to the surface.
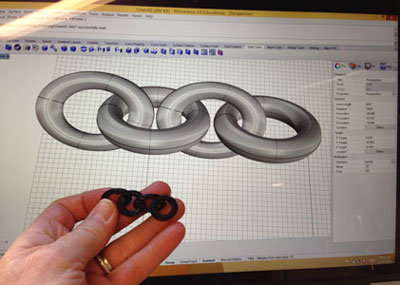
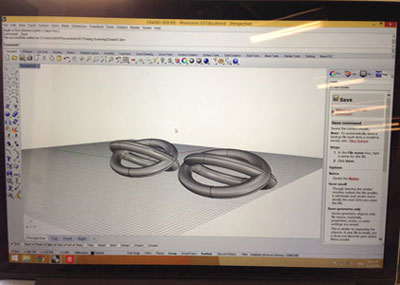
I created a new design using only elliptical solids and also enlarged the chain to be about 6 cm in length and printed again. This time it worked! The links are bigger than I had hoped, but no issues with fusion of parts and it looks pretty clean once supports were broken off and lightly sanded.
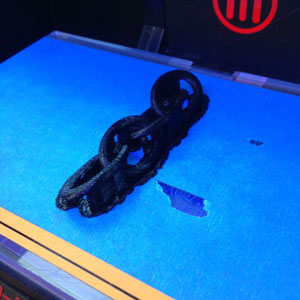
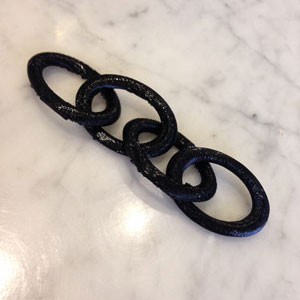
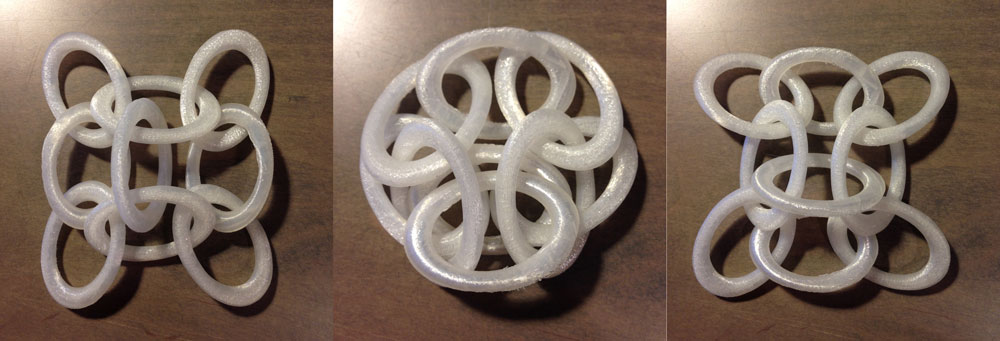
Lastly, I experimented making a mesh out of multiple strands of chain. This was very difficult "by eye" to avoid fusions in all planes and I reduced the chain length to 3 links to make it easier. I joined 2 x 3 link chains with individual oval links and adjusted them in the model, which produced a 3 link x 3 link mesh. I thought the building of this piece by the Makerbot was quite elegant and it felt like excavating a treasure when I pulled the supports and decking away.
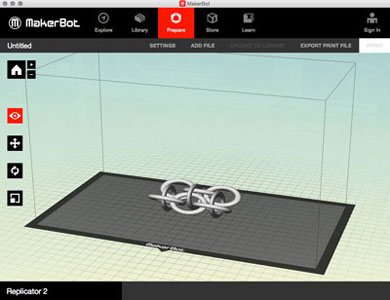
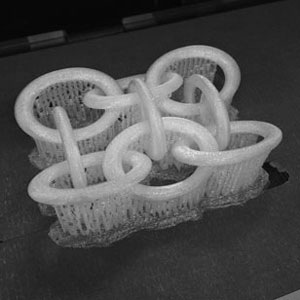
I was very pleased with the final product! I look forward to the day when this kind of modeling is a lot more intuitive, so that I'm not doing things "by eye"!
3D SCANNING + BONUS PRINTING
Next, I used 123d Catch to scan a 3d object. Initially I chose some of my kids animal pottery and tried to scan it with the Sense scanner. There was too much glare from the glaze and the Sense seemed to be pretty fussy with small objects, so I spent more time with 123d Catch.
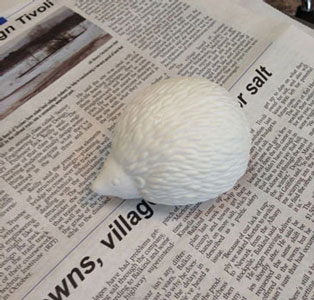
I chose a matte porcelain hedgehog nightlight as my object and used newspaper as a source of noise in the background. I took about 40 pictures total with my iPad and uploaded them to the AutoDesk cloud for processing. I also experimented with a repeating solid green pattern as a background source of noise and marbelized paper. The results were more-or-less the same in terms of the quality of the scan.
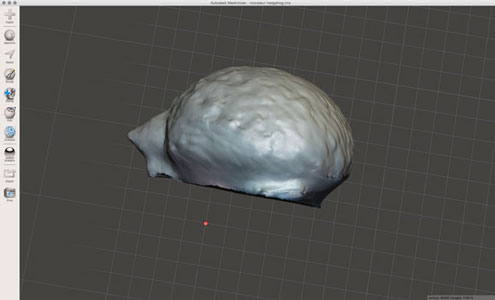
I imported the model into MeshMixer and removed the artifacts using the select lasso tool. The biggest challenge was cleaning up the base of the model. I tried the myriad tools in MeshMixer and found an outdated video that addressed this issue specifically, but the video referenced tools that were no longer included MeshMixer. I removed as much extraneous detail as possible before sealing the bottom, knowing that the print size would be small and that any small artifacts could probably be sanded a bit smoother.
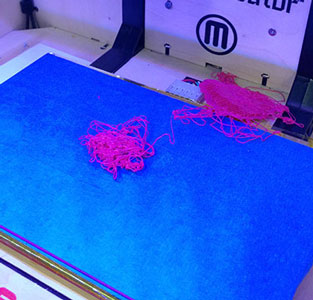
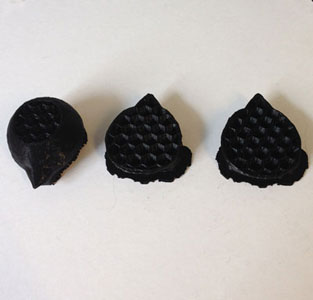
Next, I tried to print the model on our lab's Replicator using ABS... a bunch of times. The first time, the pink filament I used was from the batch we are trying to dry out (but, I didn't know that at the time). Interesting, "splat" pattern! The second time, the filament kinked and the print head proceeded to print on air. The third and fourth times, there were unexplained artifacts in the body of the model that produced jig jagged protrusions in the surface. Kenzo seems to think I used another one of the batches of filament we are trying to dry out.
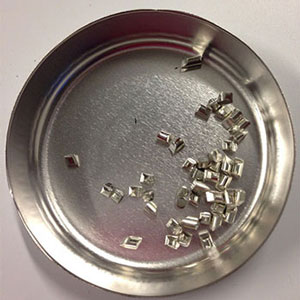
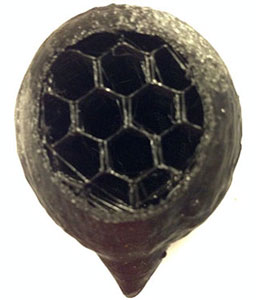
I also added bits of cut sauter to the honeycomb, so that it would be a hedgehog "shaker" and have sound. This was done as a nod of appreciation to Kenzo who made egg shakers and shared with us his method.
The next day, I tried again using the Replicator 2 and PLA translucent filament. With attempt #5 the filament kinked (again) and the nozzle printed on air. My last attempt #6 finally worked!

DESIGN FILES
Here are the Rhino and print files for the chain.
Here are the pictures and scanned files for the hedgehog.
..and the 6.5 hour drive back home to NY with another snow storm in the northeast!
