ELECTRONICS PRODUCTION
JILL HARTLEY YOKOTA, AS220 FAB LAB, PROVIDENCE, RI
ASSIGNMENT: Make a FabISP, describe and photograph process, provide design files if you create a new design.
Select Board Design. I chose Andy's board, primarily because there was a 3d enclosure that could be made for it on the MakerBot.
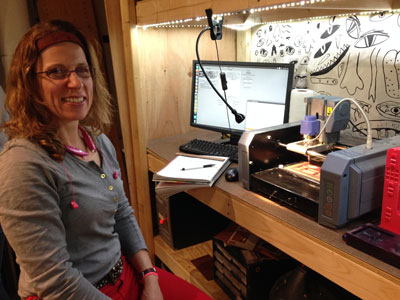
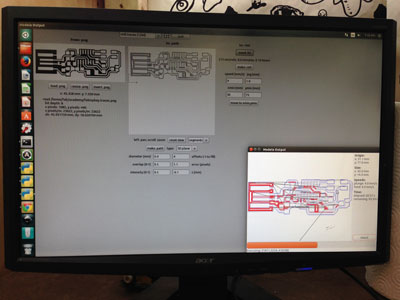
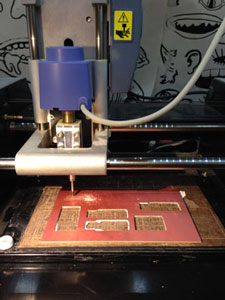
Mill on the Modella. I loaded the board design into the Fab Module, calibrated the endmill and milled the trace file and exterior cut file.
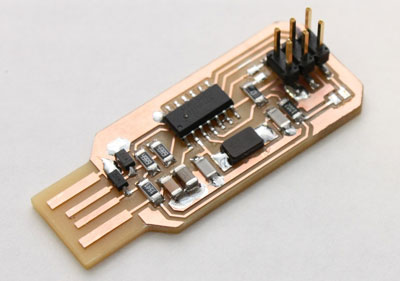
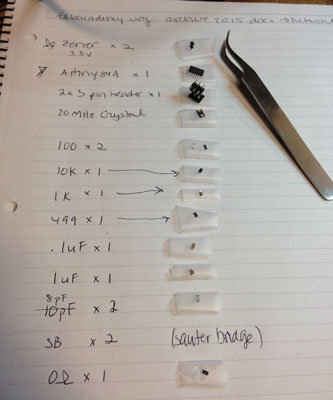
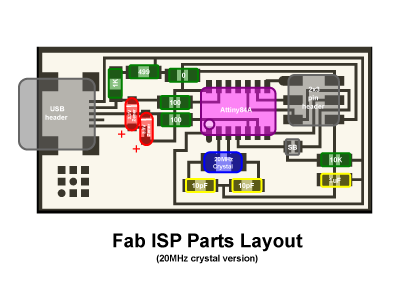
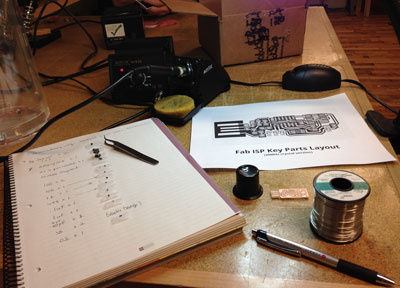
Solder the Components. First, I laid out all the components on a piece of paper with rolled up scotch tape pieces and labels. Then I soldered on the components following an enlarged version of the circuit design. The hardest part was seeing accurately what I was doing with bifocal glasses and magnifying glass and also figuring out the ideal positioning of my hands with a piece of solder and the soldering iron.
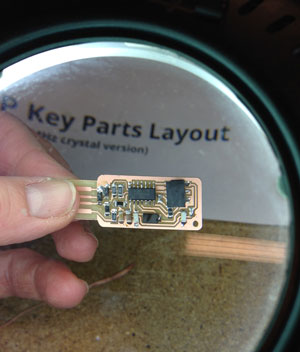
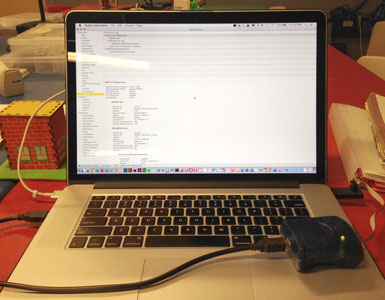
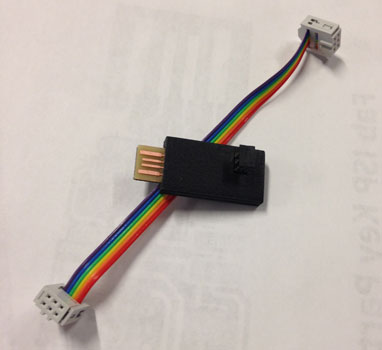
Test the board. Next, the board's connections were tested for shorts using the multimeter. Suprisingly, my board did not have any! Beginner's luck... The firmware was installed onto the FabISP using a programmer and my MacBook Pro successfully identified the board as a USB device with microcontroller.
