COMPUTER CONTROLLED CUTTING
JILL HARTLEY YOKOTA, AS220 FAB LAB, PROVIDENCE, RI
ASSIGNMENT: Make a press-fit construction kit on the laser cutter. Describe and photograph the process. Experiment with the vinyl cutter.
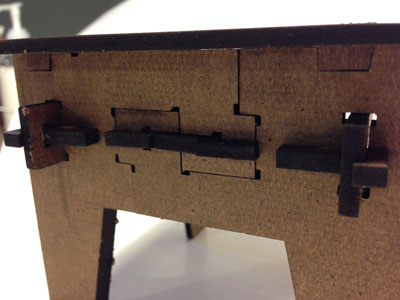
I made a maquette of a step stool that uses all of the standard joints in the WikiHouse toolkit and that also functions as a calibration project. This is a downloadable model from the WikiHouse site. I choose this project in order to have a more tactile understanding of the WikiHouse joint system, which is Japanese in origin and uses tabs, slots, wedges and pegs. The joints in this construction system are used in WikiHouse version 3.5.
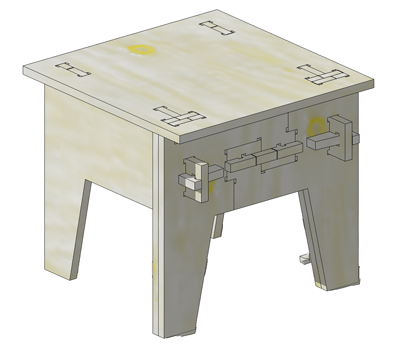
Preparing the File...
The WikiHouse plug-in includes a script to "make this house" for any of the 3D models in the catalog. The script takes a three-dimensional SketchUp file and creates two-dimensional cutting files in .svg format. I created a 12" x 24" page in Inkscape and modified the slot sizes to accommodate the thickness of the cardboard, which was approximately 4 mm. To do this, I used Larry's suggestion and created a rectangle with a 4 mm height and scaled the vectors uniformally until the slot size matched the height of the rectangle. I saved the file as a .pdf and imported it into Corel Draw, where I changed the stroke to hairline and red.
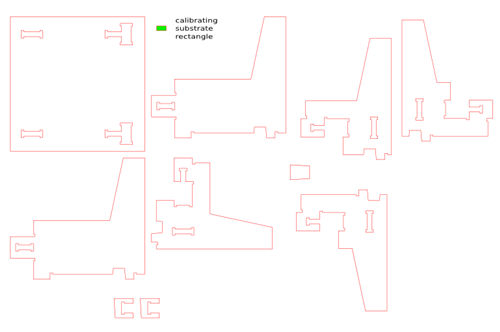
Printing, Take #1!
I did a test print on cardboard using the Epilog laser printer. There were three problems. First, the pieces were out of proportion. Apparently, I didn't scale proportionately. Oops. The second problem was that the small pegs fell apart whenever I tried to insert them into a joint space due to the corrugated nature of cardboard. The third problem was that the "make this house" script failed to output one of the peg styles necessary to complete the project (shown below). Boo.
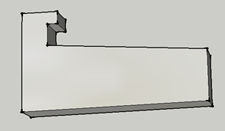
So, I decided to try a different material that would hold its structure when pieces were used as pegs. Larry suggested masonite hard board. I recreated the scaled version of the 2D Inkscape files and calibrated the width of the slots using the thickness of the masonite, which was about 3.8 mm. Next, I illustrated the missing part in Inkscape using the SketchUp model as a visual reference. Finally, I checked stroke size in CorelDraw and printed again.
Printing, Take #2!
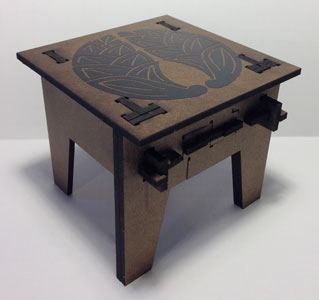
Surprisingly, the peg I had to recreate fit very well! The model assembled beautifully. I had to tweak the size of the wedges and this particular peg a bit to get snug fits. Due to time constraints, I did not use the parametric features of Inkscape to modifty the wedge size. It wasn't necessary for this particular project, as the shape of the wedge was easily edited and duplicated (it is trapezoidal and modified by pixel nudging incrementally). However, I did play with the cloning and parametric capabilities of Inkscape with another model, that turned out to be too ugly to pursue further :)
The black graphic on the maquette is a "kamon" which is the emblem of my Japanese husband's family. It came in handy for the vinyl cutter portion of this weeks homework. I also like that it is a nod to the medieval Japanese joinery, such as the "S joint" on the front of the stool, which is a modification of a traditional scarf joint.
The Final Product...
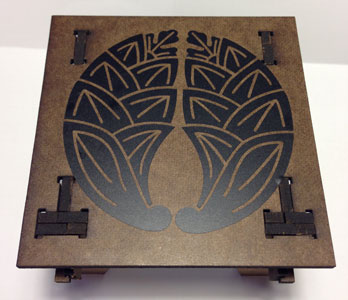
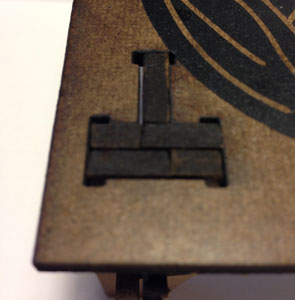
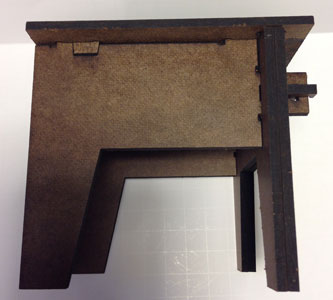
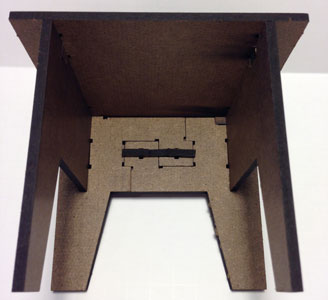
Design files:
Here is the final 2D .svg cutting file.
Here is the 3D file of the calibration stool from WikiHouse.
Here is the Yokota family kamon that was cut on the vinyl cutter.