
WEEK 4 - Electronics Production
Assignments: make the FabISP in-circuit programmer
Building the FabISP!
I've been experimenting with milling through holes pcb lately and I have to admit, SMD soldering seemed really hard... but I was really looking forward to experimenting with it. In prevision of this week's assignment, I unsoldered some old RAM chips and tried resoldering them in place.. I was quite impressed by the efficiency of the long neglected solder wick, my new best friend. I was then more confident at making it through this week's assignment.
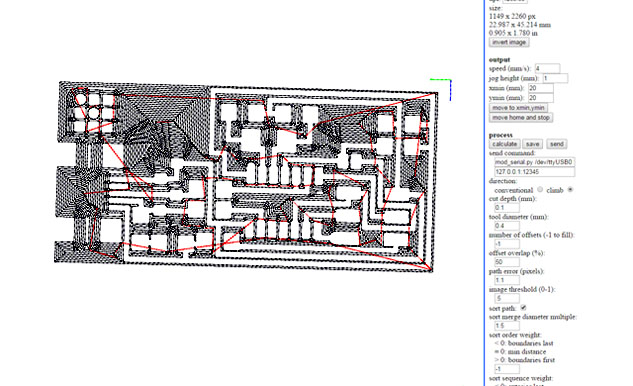
I've also had some trouble using the fabmodules from the beginning.. saving halft-tone pattern for the lasercutter and exporting g-code for the cnc didn't work on fabmodules.org, maybe a missing plug-in, and installing the fabmodules on my laptop didn't work either.. but I simply forgot a little sudo make install somewhere.. but everything seems all right now, online and offline.
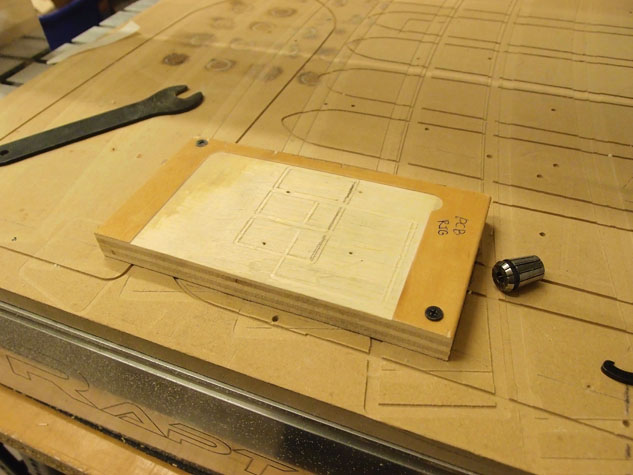
I knew our CNC bed wasn't level anymore. We surfaced it a couple of months ago and we've been experiencing some leveling problem lately. I decided to build a small PCB Rig that I could surface every now and then to make sure everything is precise. Taking a piece of wood that was laying around in the Lab, I screwed it to the table and gave it a little 1/2 inch router love.
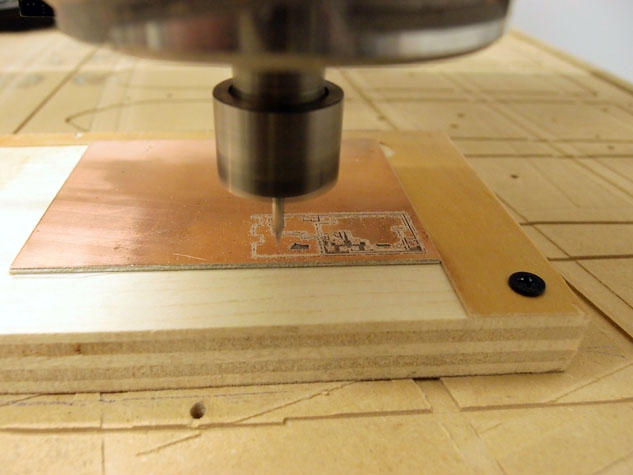
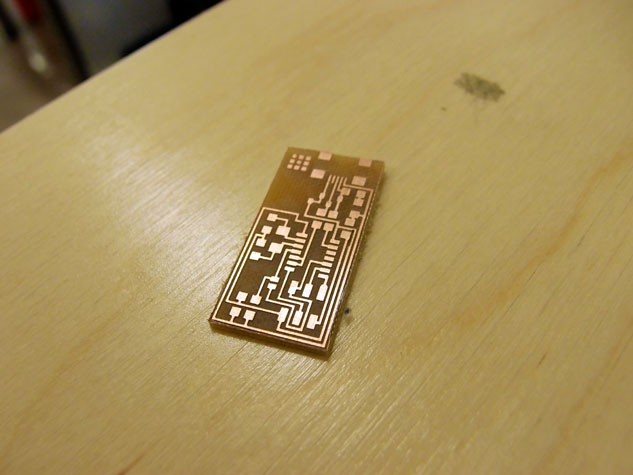
After firmly setting my copper plate with double sided tape, it was time to experiment with cut depth and offsets. My first 3 tries weren't as nice as I anticipated.. Traces tend to tear off the substrate when they become really thin, mostly the mini-usb traces. I also was cutting way too deep into the substrate.. without knowing for sure if it was FR1 or FR4.. I'm guessing it's FR4 so I tried to avoid cutting into it because I know it's some nasty stuff to handle... and it looks like I managed to do just that in the end.
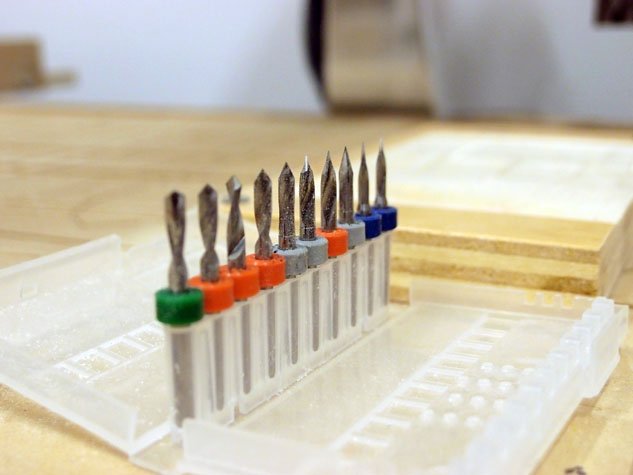
But we have a couple of router bits willing to sacrifice for science.. I used an 1/8 inch 30 degrees V-Bit for engraving.
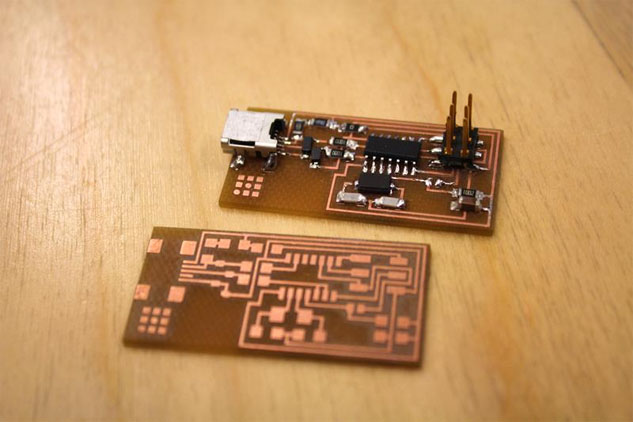
I then ordered everything we needed for the FabISP and some other stuff for the weeks to come from DigiKey. As soon as we received our order, I jumped right back into it. All went well, a dab of solder on a pad, using tweezers to hold the component in place while remelting the dab and then soldering the other side and a second touch on the first side. An hour later, the FabISP was whole!
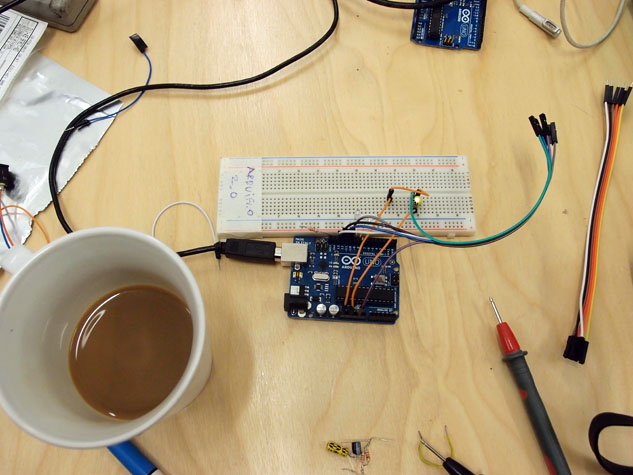
It was time to program that little board. .. But all the documentation talked about an AVR programmer.. which I totally forgot to buy, so I looked around online if I could use an arduino to program it. There's an exemple sketch called ArduinoISP, so I gave it a try... connecting every pins, following the instructions in the sketch... I then used make hex -> sudo make fuse... which led to a lot of errors, debugging and googling...
the Arduino UNO resets when it shouldn't giving a bad chip signature... a 50uf capacitor between the reset pin and the ground solved this issue.
after a lot of research I ended up with that line in the MakeFile:
avrdude -p$(DEVICE) -c arduino -P /dev/ttyACM0 -b 19200
avrdude -p$(DEVICE) -c arduino -P /dev/ttyACM0 -b 19200
It worked!! I made fuse! so I eagerly unplugged everything, unsoldered that jumper and tested it..
I simply forgot that sudo make program line.. all wen't well after that, but I had some non-wet usb connector solder joints which led to some intermitent problems and more debugging but I finally got it to work after resoldering everything.
I've been looking everywhere for something to program with my new toy... but I guess I'll have to wait for next week.