WEEK 16 - Machine Design
Machine Building :: Mechanical Design
::Week16::
Assignment: make a machine, including the end effector
build the passive parts and operate it manually
document the group project and your individual contribution
Marc-Olivier and Raphael

It's time to open those boxes we received a couple of weeks ago and use that laser cutter! The provided files were too large for our laser cutter so we had to use the plans designed for smaller laser cutters... which wasn't as easy to use as we tought it'd be... after a good hour of trial and error, resizing some parts, cutting and testing the file was finally good, the carrier was too high... When we placed it in the in the axis, both the rods and motor shaft couldn't get in there without being stuck at a 10degree angle.. but now it's all right!

Raphael
With the axis assembled, it was time to connect those Gestalt Nodes. FabNetModule, milled and populated using the same settings as usual!
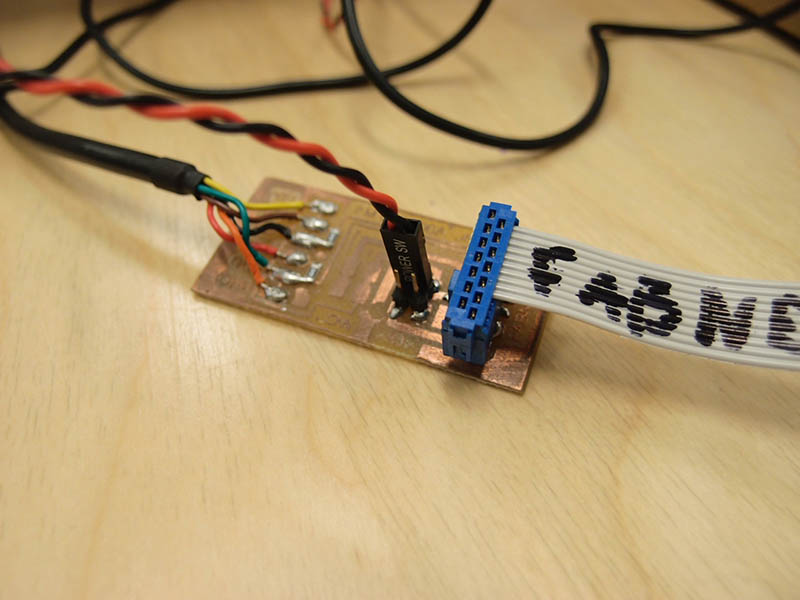
I wasn't smart enough to use Bas' design so I had to stupidly mess with rewiring my ribbon cable so the fabnet module could communicate with the gestalt nodes... This added an hour to the process but it worked... didn't fry any nodes! :)
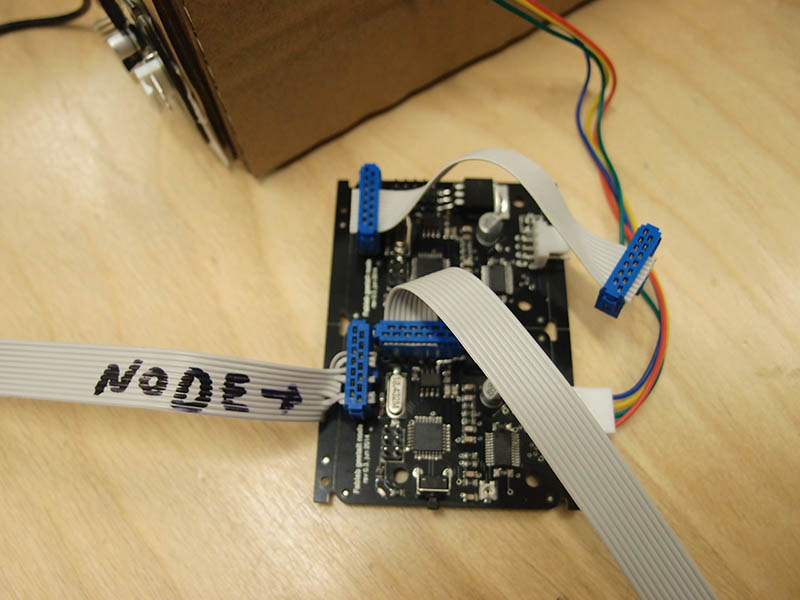
I then seperated the nodes and fixed them to each axis using double sided tape.
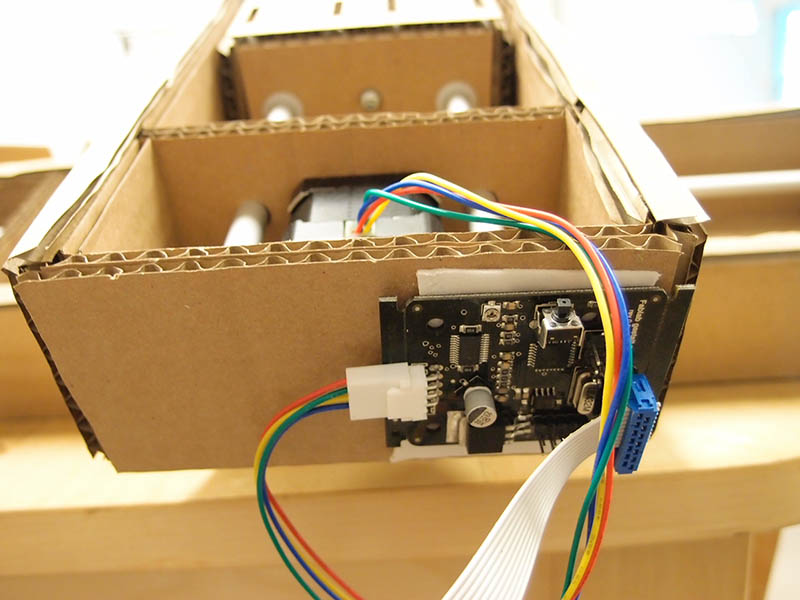
I cloned the pyGestalt repo on my linux computer, everything worked as planned out of the box without having to identify the usb port the device was on. "python singlenode.py" moved the first node in the chain. I liked the sound of the stepper at that point. Many hours of assembly to finally get something moving without any issues. Being carefull not to hotplug the boards, this has been routine since I started messing with stepper motor drivers for 3D printers.. but shortly after this, things started to behave strangely. Couldn't communicate with the boards anymore.
"X axis: Could not reach virtual node"
"X axis: Could not reach virtual node"
"X axis: Could not reach virtual node"
"X axis: Could not reach virtual node"
"X axis: Could not reach virtual node"...
It seems those '.vmp' files held some information that prevented my boards to be used properly, I switched boards every now and then, experimenting at home without the axises using a set of nodes and using the other ones when I was at the lab. Eventually figured out that I could simply delete de persistence file and they would be regenerated the first time the script is launched, asking me to identify each axis by pressing the button on the nodes. But now that I'm keeping my axis/nodes configuration as it is, I see that those vmp files are pretty cool. Having figured that out I could then experiment with the "xy_plotter.py" script.

Mostly these lines. Where all the motion is taking place. Obviously the coordinates are stored in the "moves" list. I've messed around with python a couple of years ago... but it wouldn't just come back to me.
A simple routine:
That way I could use Processing to generate complex txt files with as many coordinates as I want. Here's what I added to the xy_ploter.py script to make it work with my .txt files.
here's the full Python code
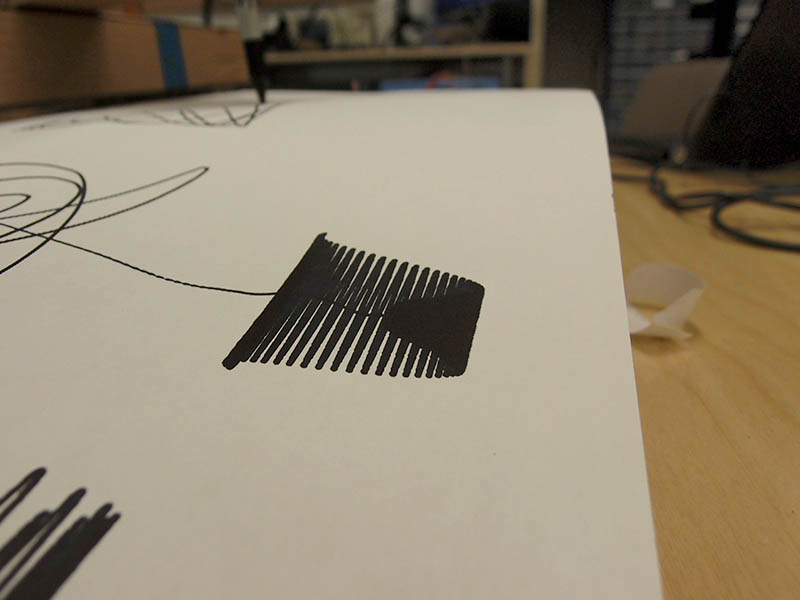
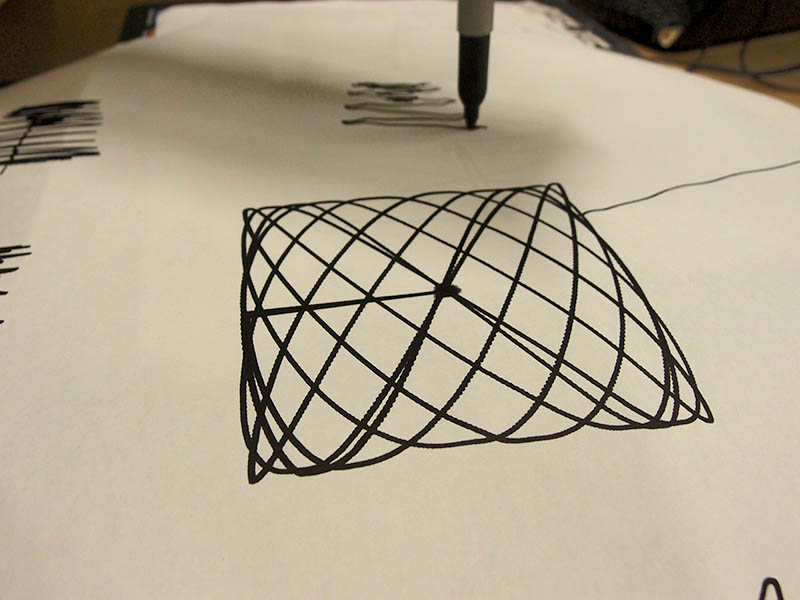
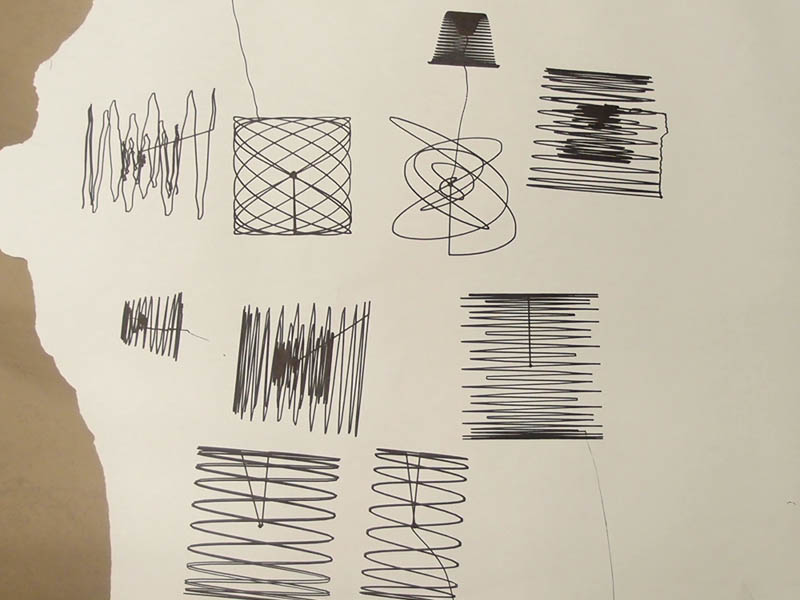
With my txt file reading script I could then move to processing to experiment with different motion. I opted for a basic plotter adding a peice of cardboard to hold a pen down against a peice of paper. Really really basic... but I had a lot of fun drawing some Lissajous Curves. Adding small sin wave to bigger ones to create ripples and all.
