
WEEK 12 - Composites
Assignments: design and make a 3D mold (~ft2), and produce a fiber composite part in it!
Composites!
DESIGN FILES
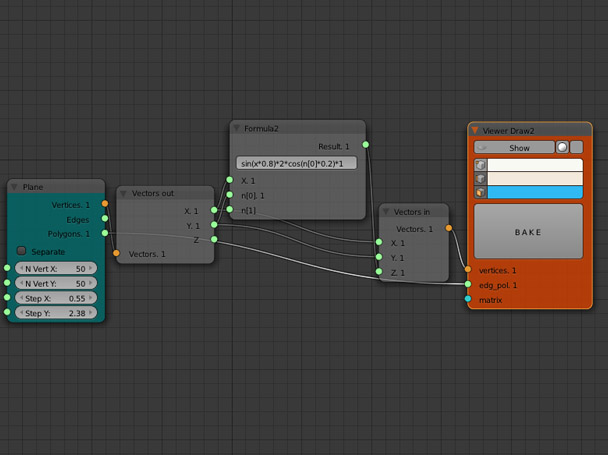
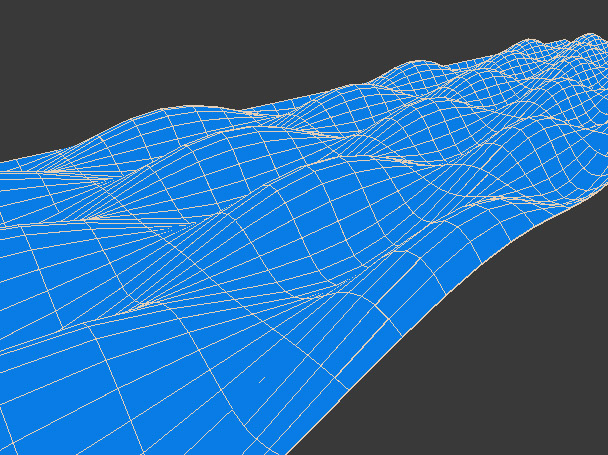
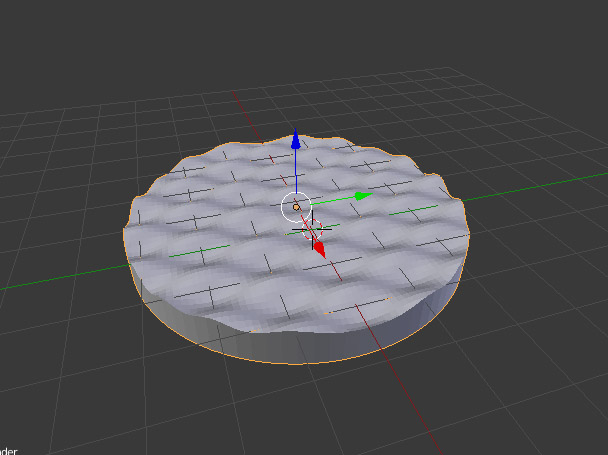
This week, I wasn't really inspired.. couldn't think of anything usefull to make with composites. So instead of thinking too much about it I decided to jump straight into Blender and mess around with Sverchok, Blender's parametric plugin. Generate a plane and do some maths with it. I didn't know much about Sverchok and it's usage but Blendersushi's tutorials are really good to understand the basics. So I went ahead and played with formulas.
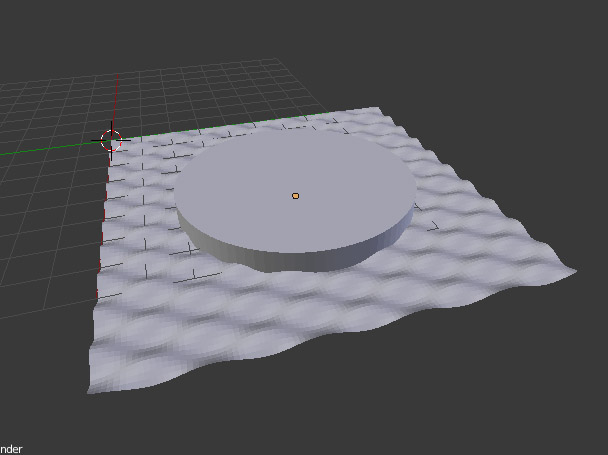
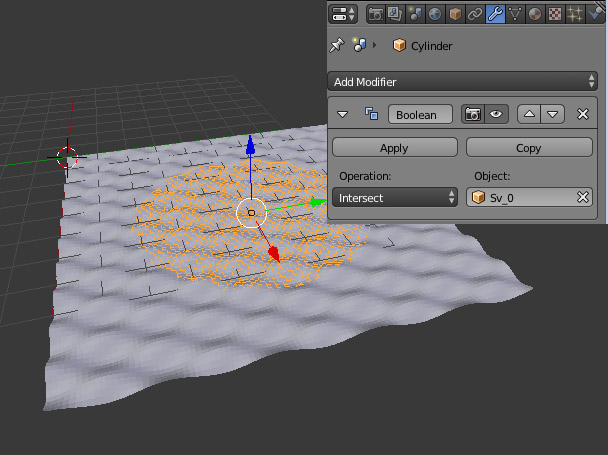
I was happy with that shape so I pressed the "Bake" button in the viewer node to seperate the model from the nodes so I could modify it. I wanted a circular mold so I added a cylinder and applied a boolean modifier to slice my cylinder using the plane I generated.
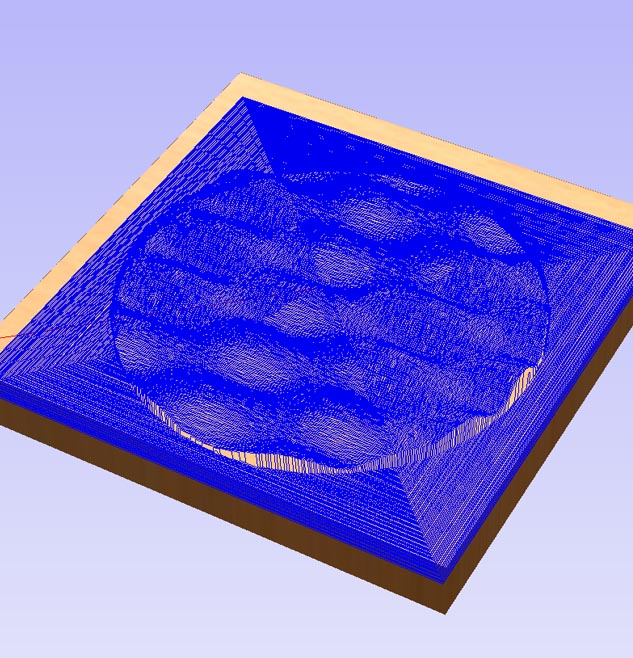
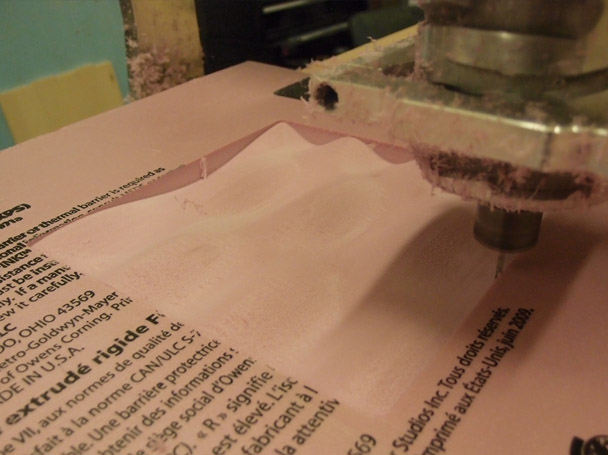
Once the model exported I used aspire to generate the toolpath for the CNC, I used a 1/8inch ball nose end mill skipping the roughing part as I was cutting through foam. A walk in the park for the CNC. I set the base feedrate to 50mm/s and ajusted the spindle speed and feedrate live to get a decent surface finish.

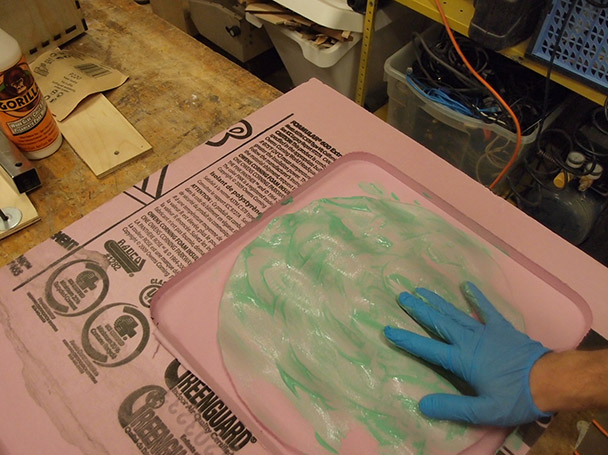
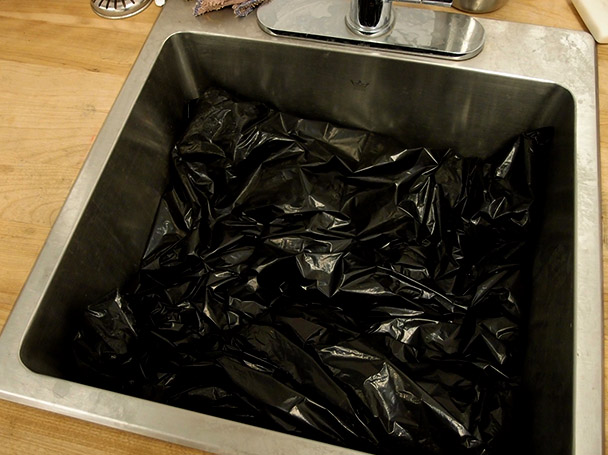
We used Turtle Wax as a release agent applying it on the mold and on our plastic bag that would be filled with water to apply a constant pressure on the mold while it's curing.
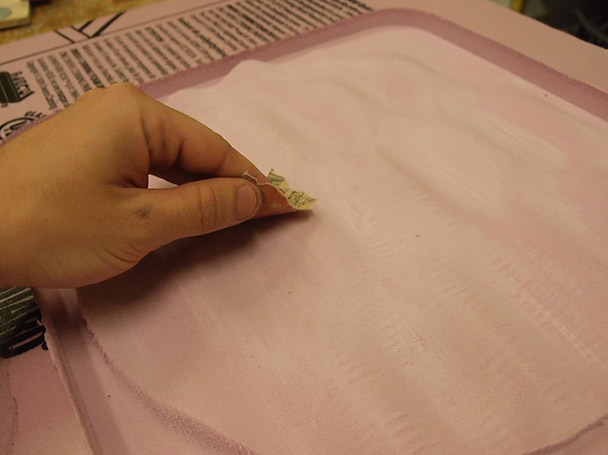
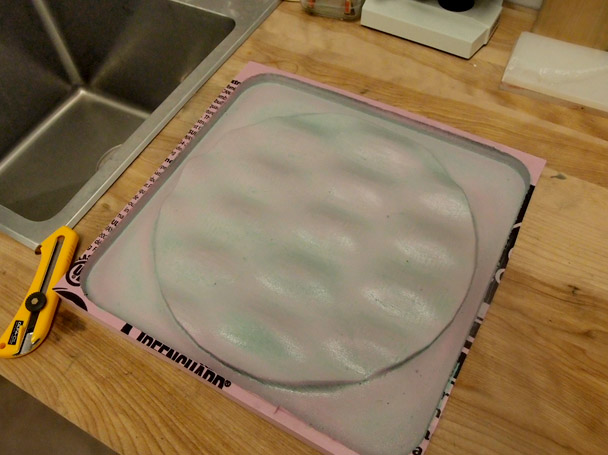
I also cutted the mold so it could fit in the sink.. I didn't want to carry a garbage bag filled with many liters of water around..
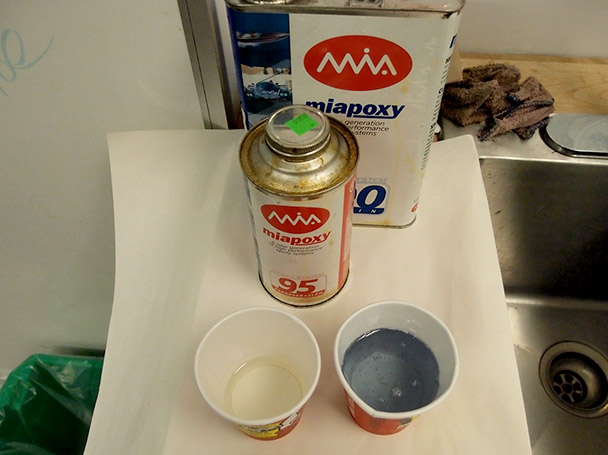
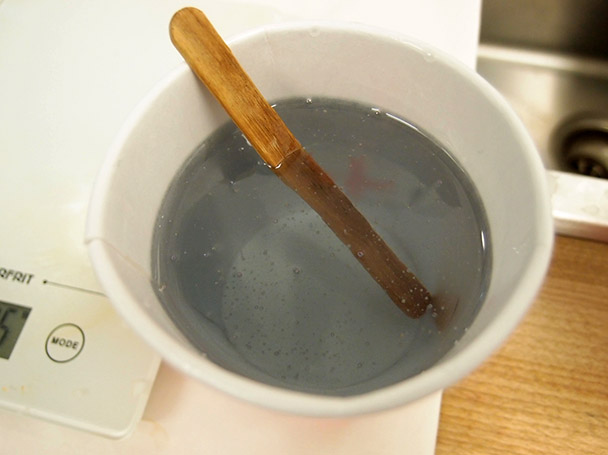
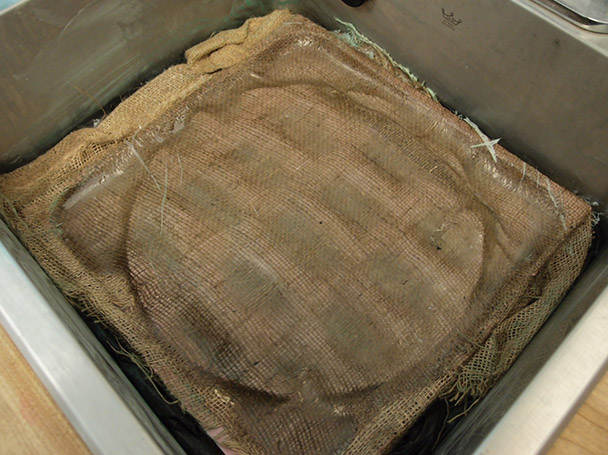
I then mixed the epoxy resin using the ratios as mentionned on the specsheet of the product, 100:26 weight ratio for the resin:hardener or 100:25 volume ration. I used the miapoxy 100 resin and the 95 hardener, which takes around 24h to cure. Equipped with glasses and gloves, I was ready to playing.
24h later!
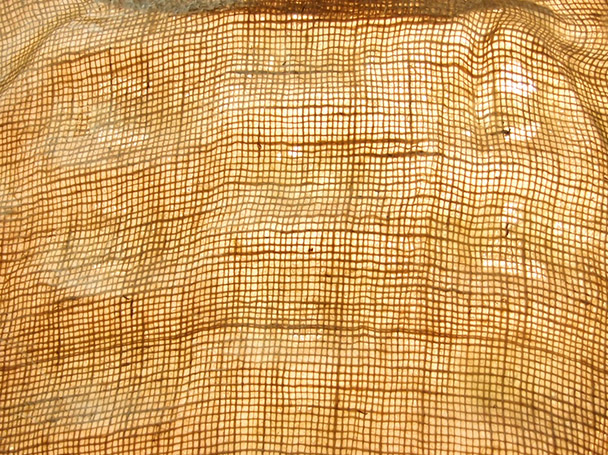
Unmolding
When I was setting the water bag on top of my mold, as it was filling up with water I realized the waxed part was not exactly on the mold so I to move it slightly.. slightly dragging the burlap fiber with it.. creating a small fold in the fiber. I couldn't get it fix it earlier as I there was not enough clearance around the mold and the sink. But here's the final product.
Top
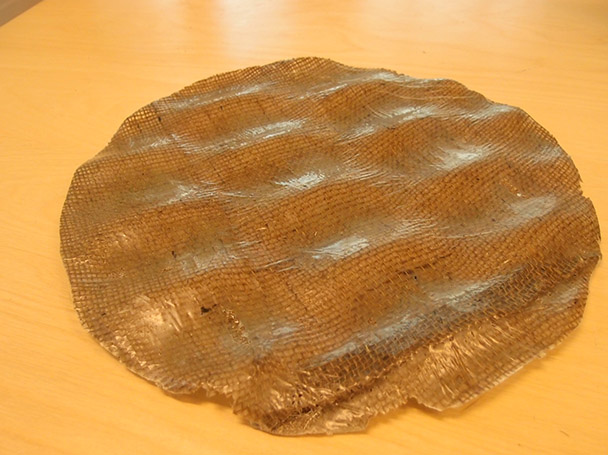
Bottom
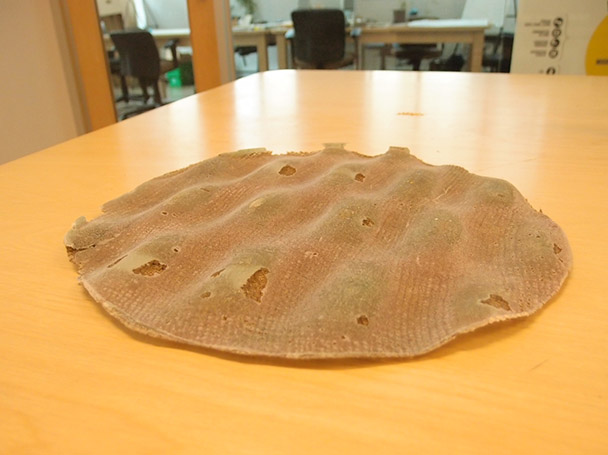
Even though my final part is neither perfect nor usefull, I'm quite happy with this ugly mess, the process is really fun and I can easily see how I could use this technique in my future projects!