This week assignment was to make the FabISP in-circuit programmer and ISP cable.
*All files provided on the navigation menu.
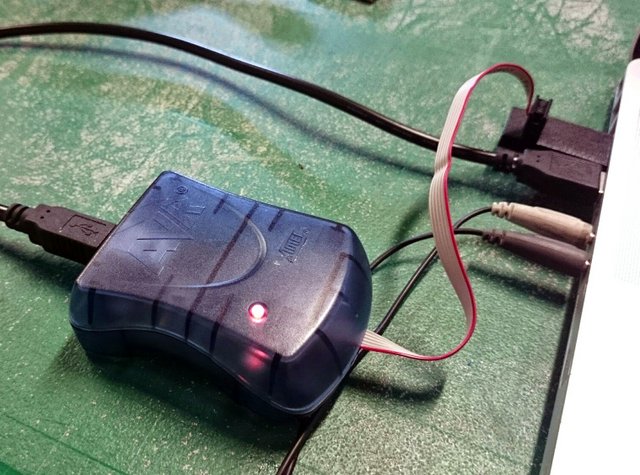
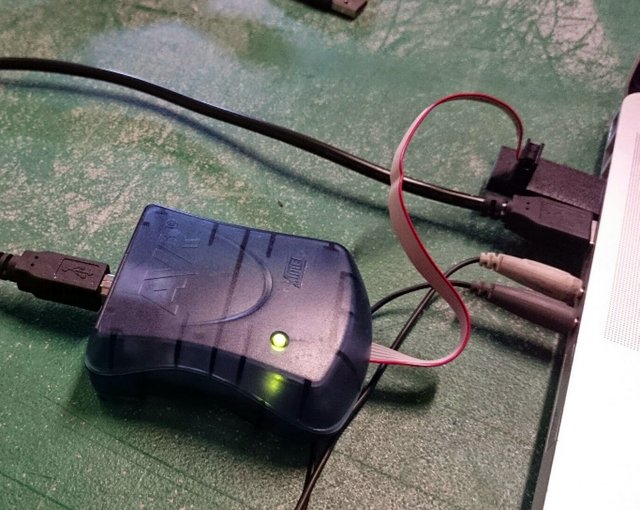
We started milling the board on a Roland Modela MDX20 using the old Fabmodules (not on the browser) that worked fine, than i solder all the components on the board and after that we tryed to program with the Arduino program (on Shawn computer) for that you have to install the Attiny board on the Arduino menu (Here is the Tutorial for that)) we got the firmware, burn the fuse for 20MHz and installed the program. After that we tryed to program another board (one with an LED and a Attiny 45) with the programer but neither the Arduino program nor the computer could find the board, Bummer, i than spend some time trying to find something wrong with the soldering, nothing. On another day i installed the firmware for the Programmer on my computer, resoldered the jumpers and try to install from the terminal, ok some error on the fuse and the computer could not find it, i thougth that was because the chip was already with program, so after that and after checking every solder on the magnifier glass and finding nothing wrong i gave up. Than Nadia the TA start helping me and in 5 minutes she figger out that the firmware was for the Atmel Attiny 44, and we are usign the 84. The fix is easy just go to Makefile file and change the line on the microcontroller for what you are using. Than everything worked, now i could program other boards. I did the blinking let example, simple one, but is a start.
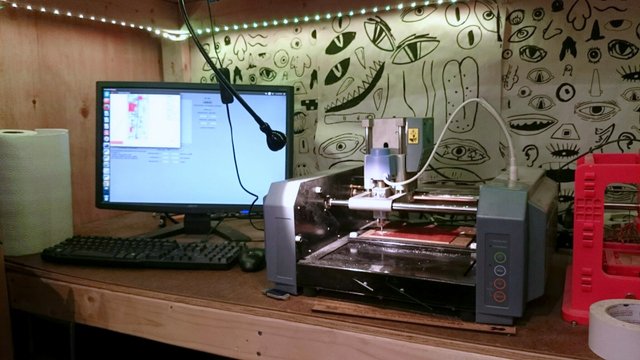
Modela MDX-20, without the protective cover
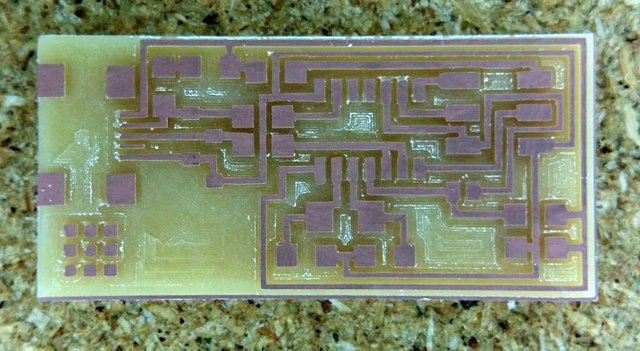
The FabISP outline
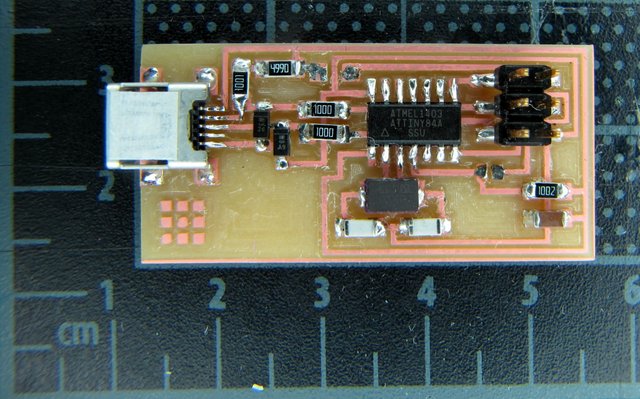
The FabISP board
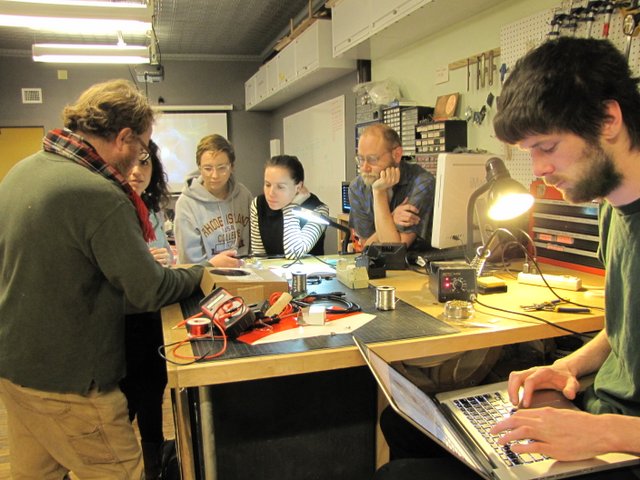
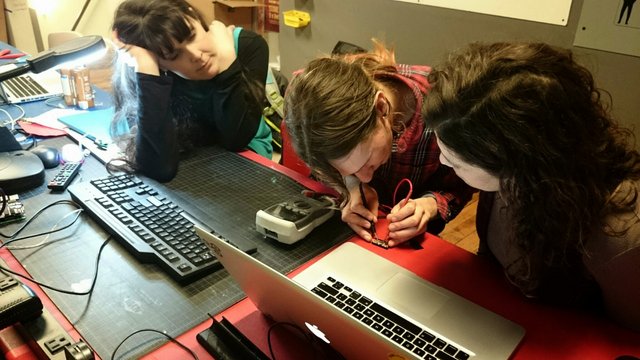
How to soder by Shawn (from left to right: Shawn, Melita, Jenny, Jessica, Matthew and Simon)
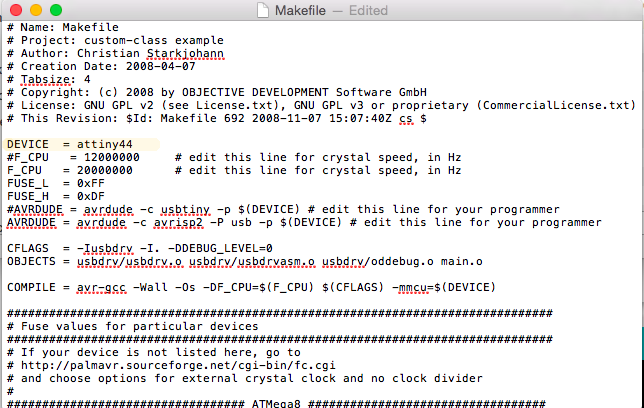
Original text on the Makefile
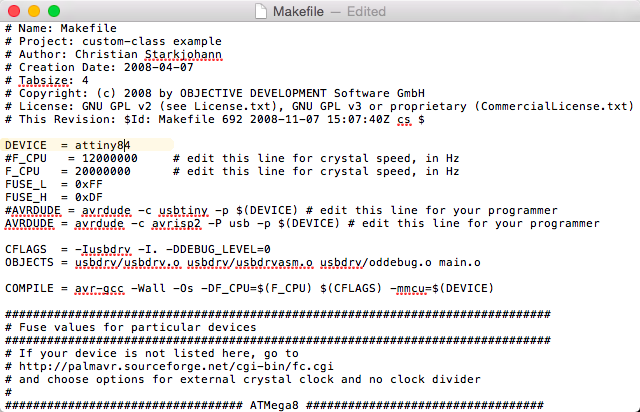
Changed text on the Makefile
The case for the FabISP was designed in Rhinoceros. The first one was to small, i'm usto the precision of the laser and never have printed something that needed precision, so i did a second one changing a little bit the measures, and than i did a third one that fitted perfect, after that we was testing another 3d printer (Replicator) and i printed a blue one. Than i decided to inscribed my cases with the laser (Epilog-s100-p30-f5000). The text: FabAcademy 2015 FabISP Attiny 84a, the 84A is the most important part because it shows the microcontroller that you have change on the Makefile . Here are the files for the case.
First case, no good just a little small, opened it up with the pliers just to see how much, i thing it was like just about 0.5mm on all sides
The bottom part needs to be a little taller

and i removed the protector cable on the final design... (could not print that without a lot of support)
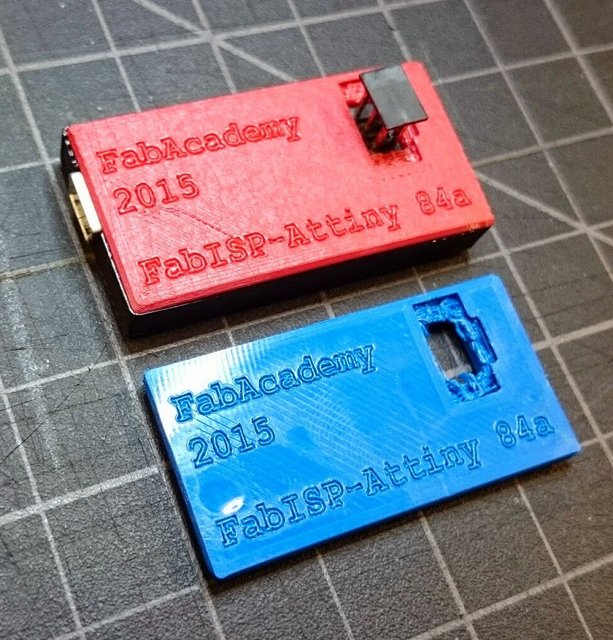
Finished cases with laser writing
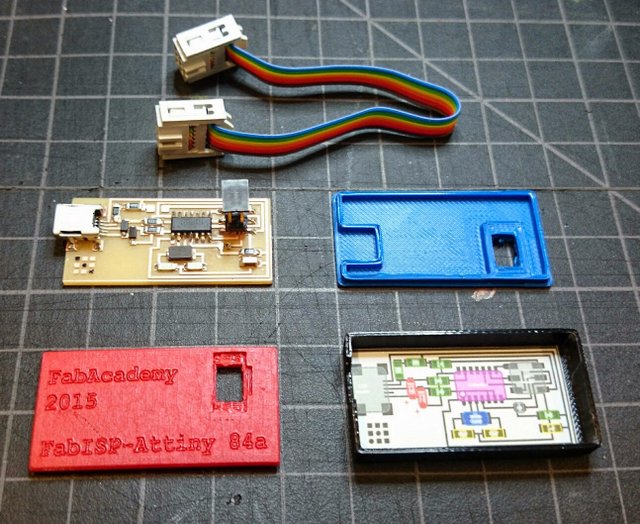
Finished cases with board and IDC cable
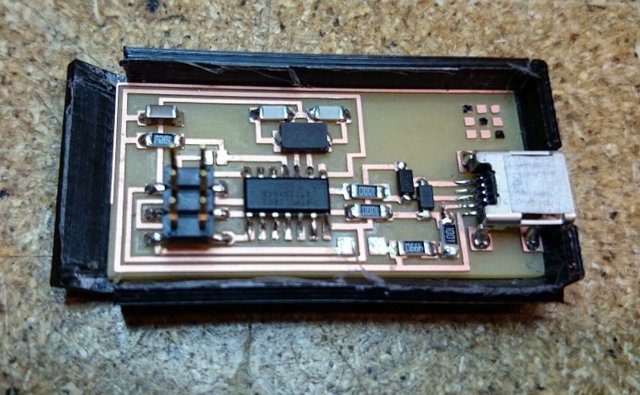
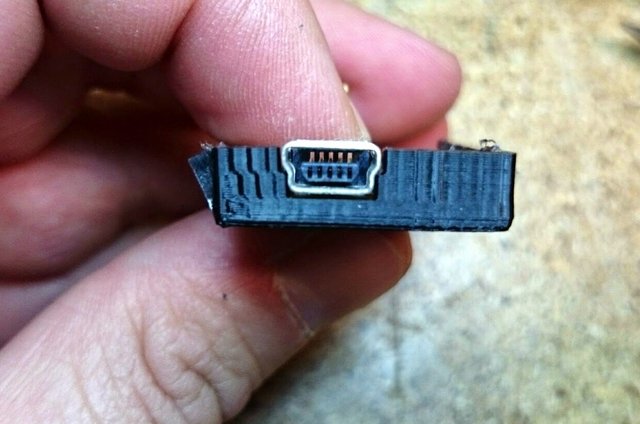
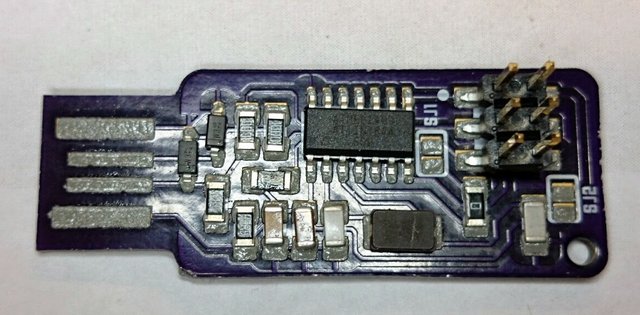
One day i was in the tutorial site i find out another board version, so i got interested in making that board. When i was soldering the board i couldn't find the right on/off switch so i used one that i found in the Lab, the problem with that and i figured out latter it was that the wrong swicht made a bridge over a lot of components and the ground(my computer said that the USB port was consuming to much power)! So i removed the button but in the process removed some traces. I fixed that cutting a little piece of copper for the Vinyl cutter and putting a 0ohm reistor to make a bridge. The board is always on but i don't thing that this is a problem.I tryed to program it but it was not easy and come back with a lot of errors, than with Nadia help i could program it (ok she did all the programing).
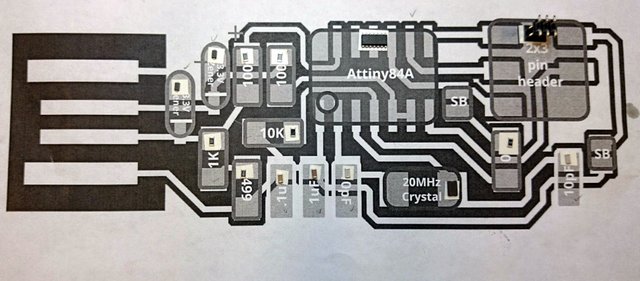
I still don't understand why that version don't have a crystal or a ressonator, maybe it uses only the one inside de microcontroller, but i don't know if is a good thing to put LEDs and remove precision for the information, than a again i can be wrong (i know very little about eletronics and programattion).
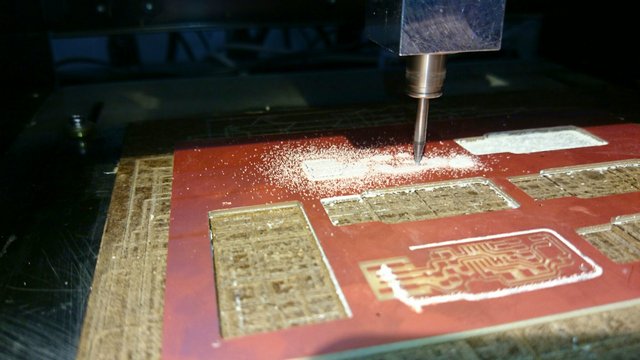
Cutting another board
Maybe that board is near the other...
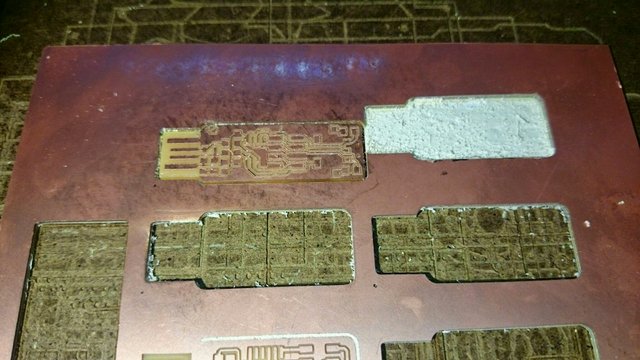
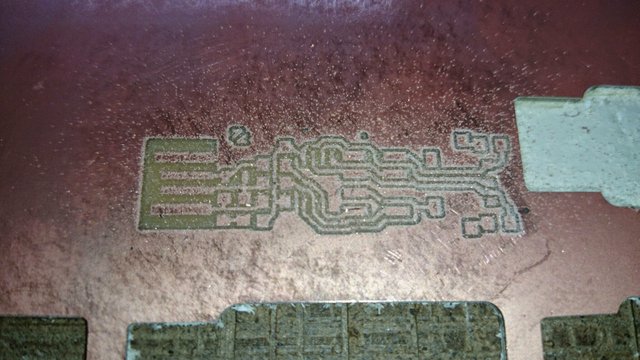
That is what i call precision!
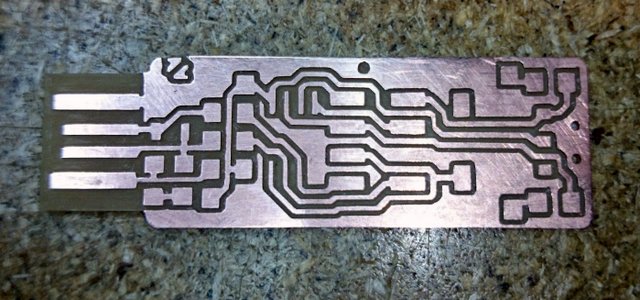
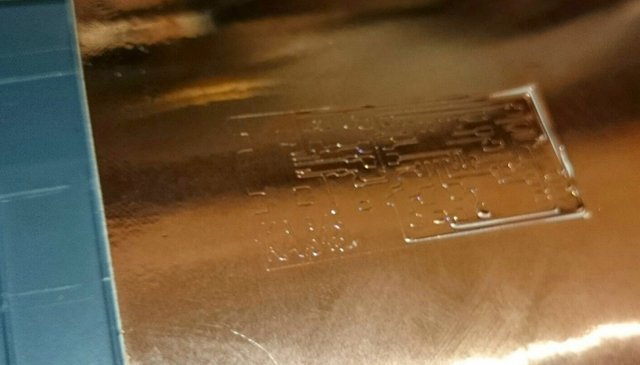
Did the traces two times and scrape between them, perfect board!
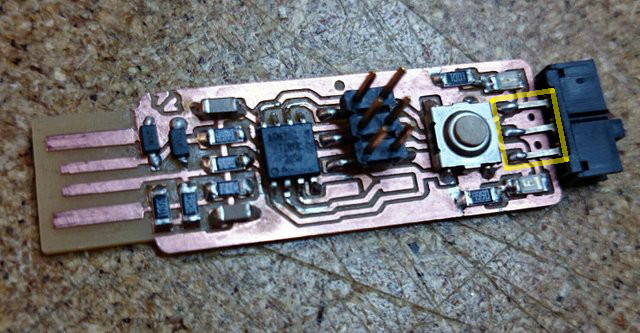
Putted the wrong switch and made a lot of bridges betweeen the traces.
And when i try to remove the switch it removed some traces
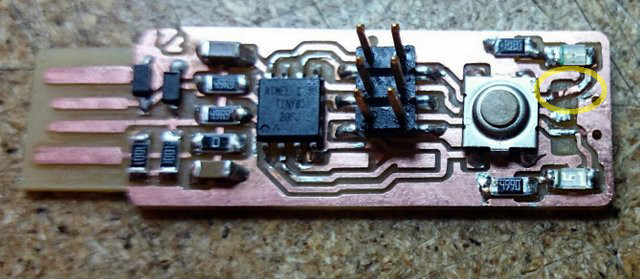
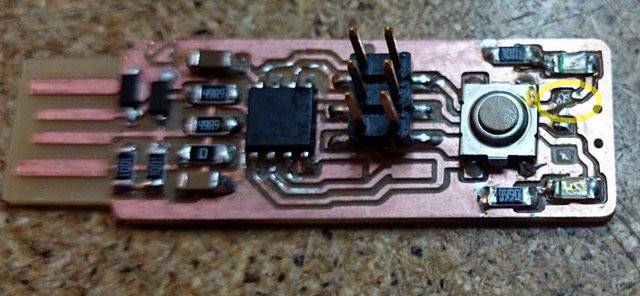
I put a little copper "vinyl" to make repair...
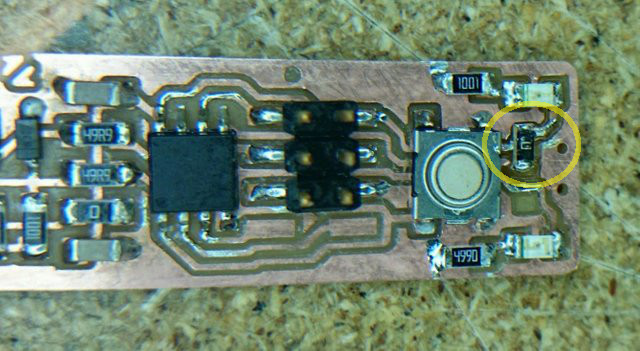
And than i putted a ZeroOhm capacitor to connect everything! No power button the board is always on!
Shawn ordered a board from a board house, it was perfect. I belive he did that because it is easy, don't depended on the Modela, is almost impossible to do unintencional solder briges and the most important We can bake them!
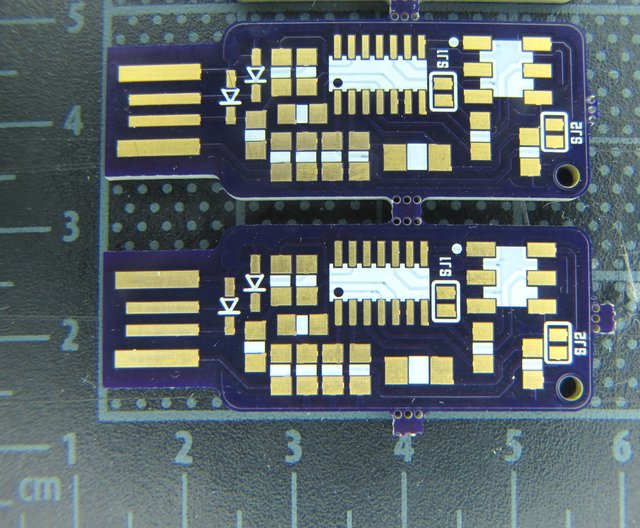
Boards from the board house
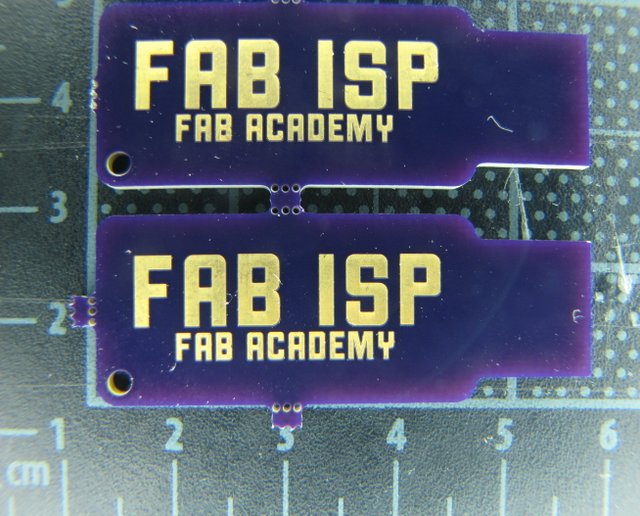
With a logo on the back
Nadia debugging boards ((from left to right: Lara, Nadia, Melita)
So after debbuging almost everybody boards (the main problem was it the USB head), we tryed to bake them. First we got the stencil and the solder paste and apply them, after that we placed all the components in place and than bake the board in the oven (infrared IC heater T-962A) with the wave 3 (that goes to 250 degres for 8 minutes. Voila! Professional looking board! That was amazing to be able to do that in a much narrowed window of time and with better results. And off course the board had no problem programing.
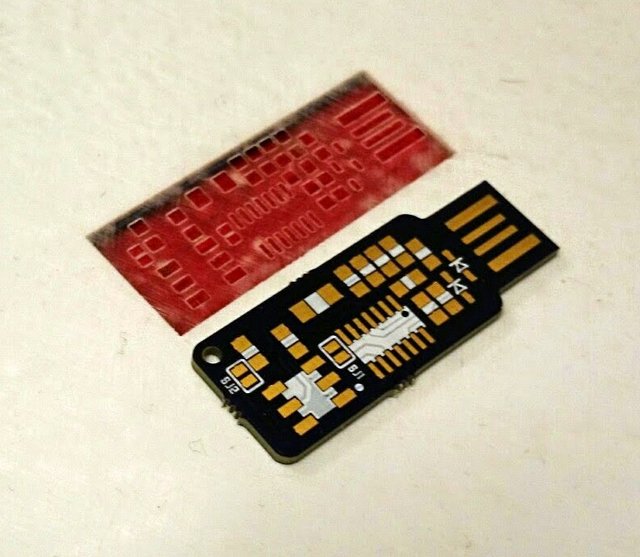
A board and the stencil
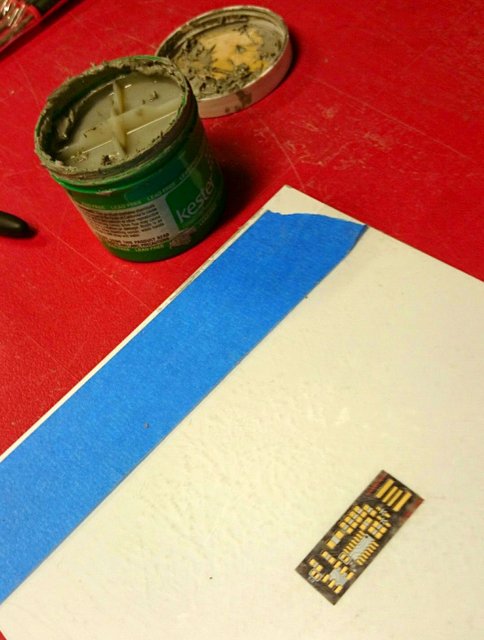
Solder paste, ready to stencil (silk screen)
FabISP key parts (similar to FabISP and FabTinyISP)
The board with the components and the solder paste
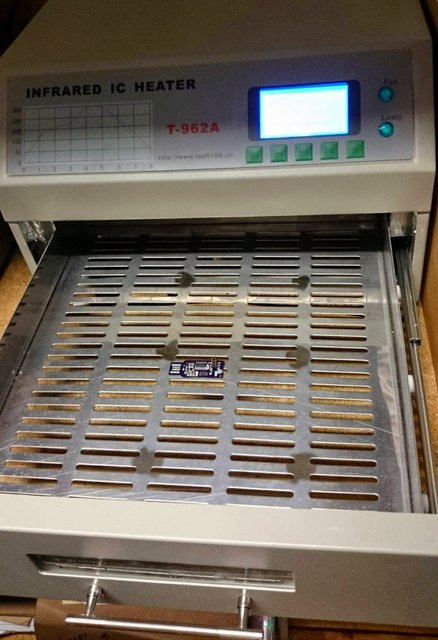
Going in the oven, 250degres
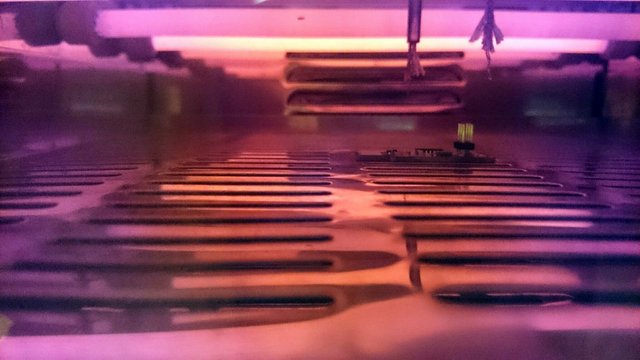
The beautigul oven
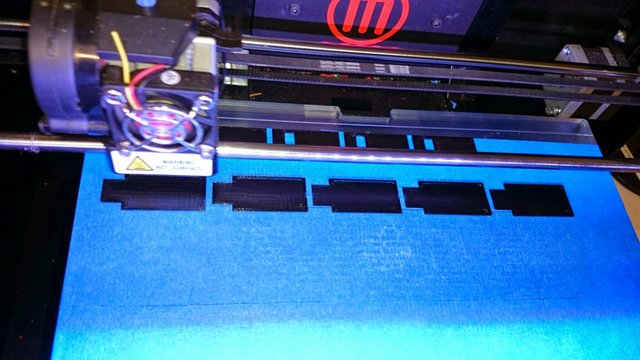
Bach printing a bunch of cases
Wrong!
Wright!

Blink test, remenber to change the Pin to Zero
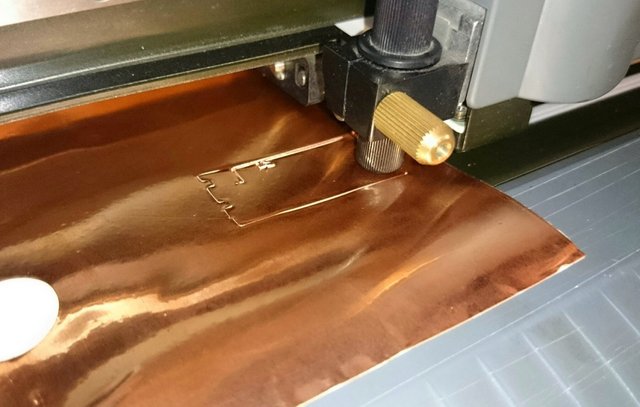
Once i had three working boards i tryed to do one with the Roland Vinyl cutter and i didn't work, tryed differnt aproaches, change cutting settings, change bladde, change the stick back of the copper (with a double-sided carpet tape), in the end i guess the traces are to fine for the Vinyl cutter.
Not enough force
To much force
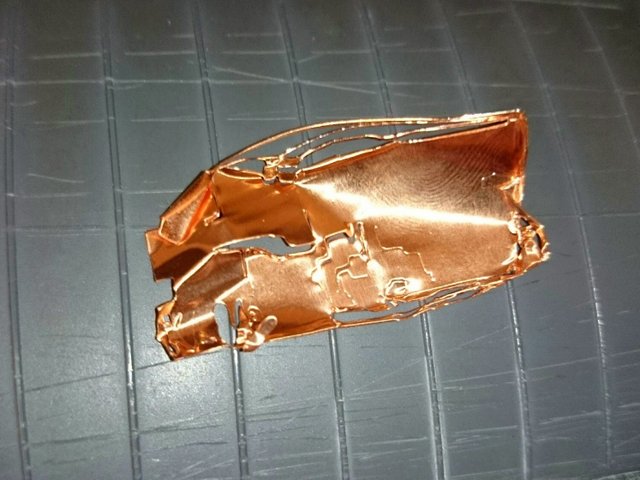
It rip everything apart
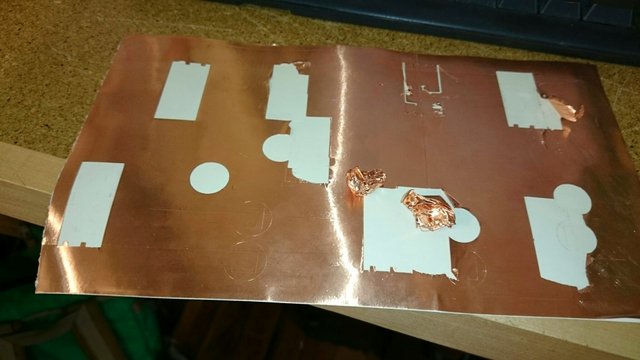
A lot of trials...
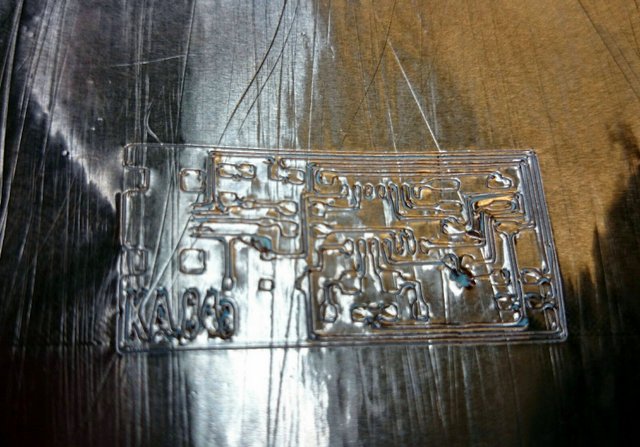
The one that almost got it
I did my first board on wendnesday and on Thursday we had a class with Shawn and Nadia on microcontrollers and eletronics components, i haven't undersand half of it but after three boards i think i'm beggining to undersand a little bit more.

Shawn whiteboard, so maybe he went a little over, but it was nice to understand (not) something about eletronics
Eletronics Production Video Review (at 01:12:10)