This week assignement was to make something BIG!!!
*All files provided on the navigation menu.
This week was another busy week for me. Because i live in Brazil and would not be able to bring my "Big thing" back home i started to think in something useful for somebody here in the US.
In my first week here in Providence i found a room on an apartment. After living there for two days i found out that they (David and Manny my roommates) had a broken dinner table (i fixed that one but i thought i could do a better one).
Two other things that seems to be in favor of making a new table was that they are cooks (and have a small warp table to work) and that they had savage a marble table top from the dumbpster.
So I had a mission and went thru with that, but just legs for the table seemed to easy so i putted a drawer on the design.
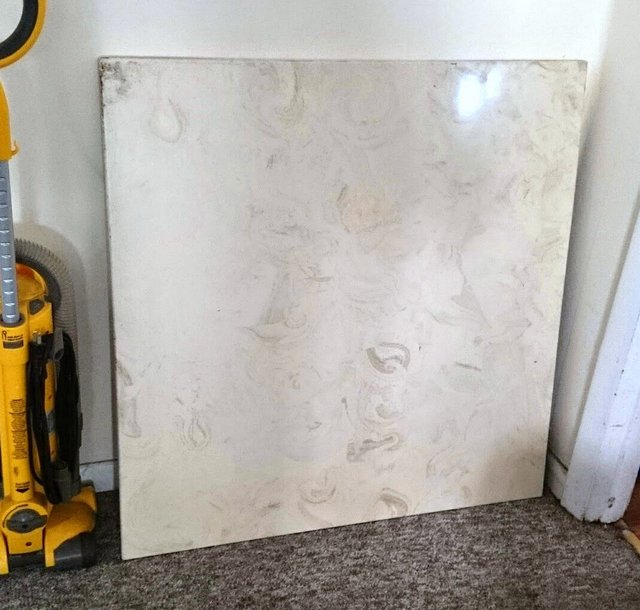
The 91x91cm Marble table top
I made all the 3D design on rhinoceros but made a buch of modifications on Autocad 2D and Vcarve.
I ended up usign three materials: "2x4", plywood and HDPE.
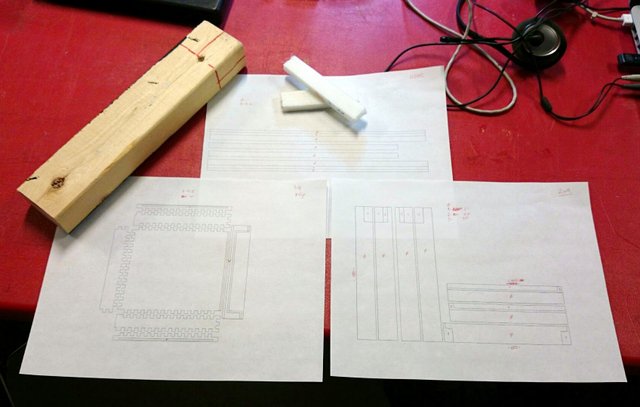
Projects and materials
So this is important for internacional students in the U.S. The famous 2x4 are not actually 2 inches by 4 inches, but every kind of wood appears to be different, and that made all my design be wrong. And i spent quite a wild making the project work again.
I had to cut the "2x4" on the table saw, because we didn't have endmills long enough to do a straight cut. Just pockets.
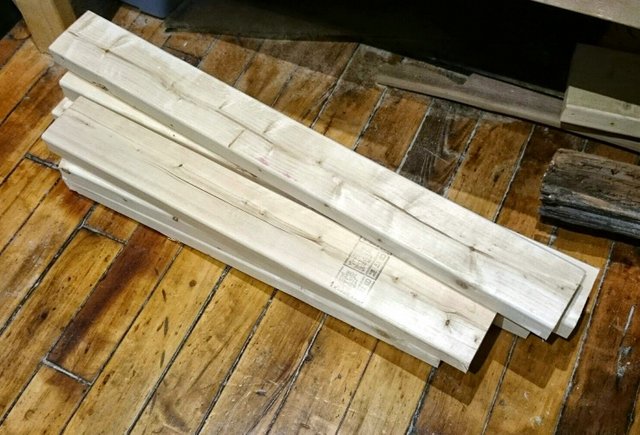
2x4 (not really 2x4!)
After the first milling i found out that the sizes wore wrong. But we (me and Larry) cutted the wood anyway just to find out the right speed and feedrate.
I also made a stress test and found out that my slots wore too deep and that would weeken the legs.
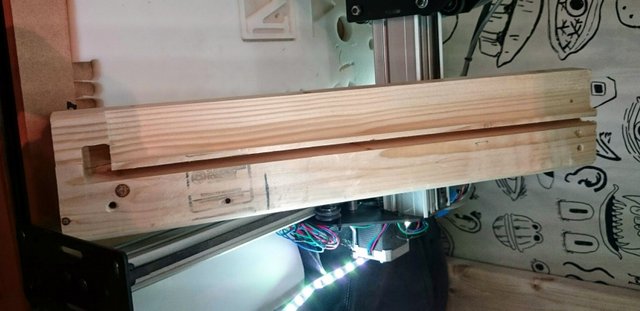
First test, finding out 2x4 are not actually 2x4
Because i didn't want to make holes to hold down the "2x4" Larry suggested using clamps, but for that you have to incress your safe clearence for the endmill. (for that orange one i did 60mm)
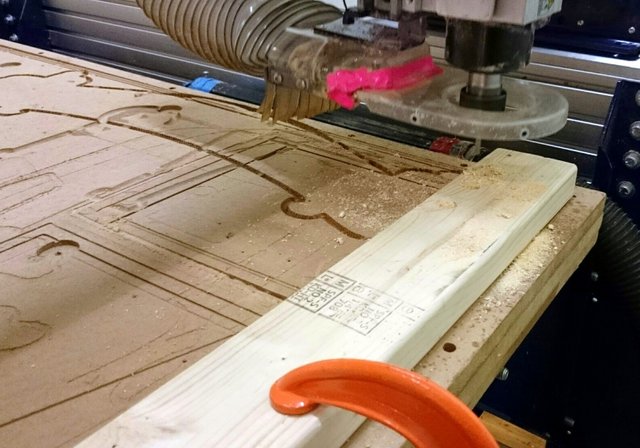
Milling the wood
I don't know why but some circles when you import them from other software to Vcarve are not round at all.
Some circles went nuts going inside Vcarve software
Testing the joins and the screws to fit everything in place
Because the "2x4" wore, even after i mesure them a little different i had to edit the pieces on a table saw.
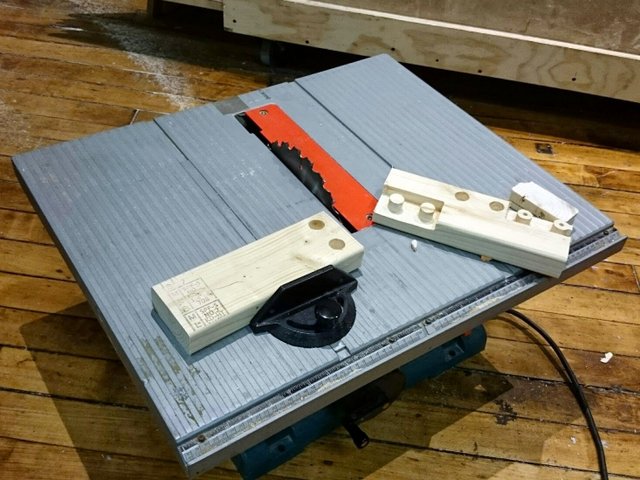
Some offline editing needed
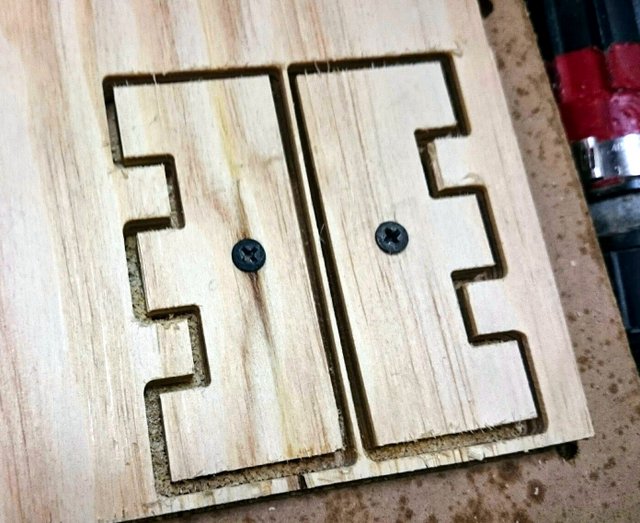
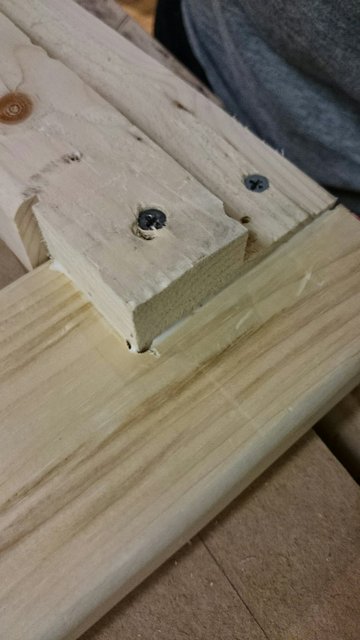
I did a test joint on the "2x4", but found out that they wore to fragile (i did a stress test), so after that i figgured it out that putting a screw on the center would make the joint stronger.
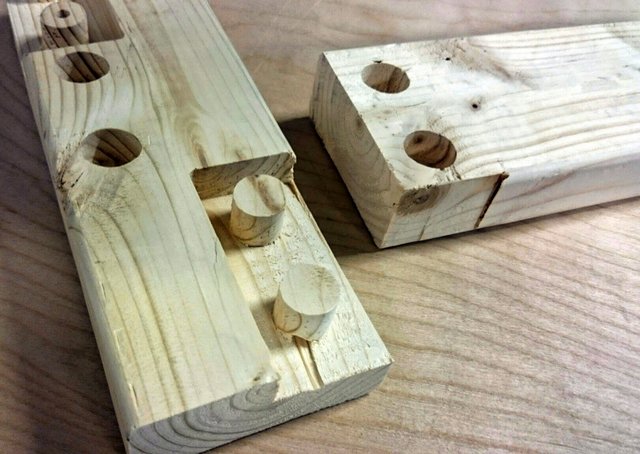
Test joint
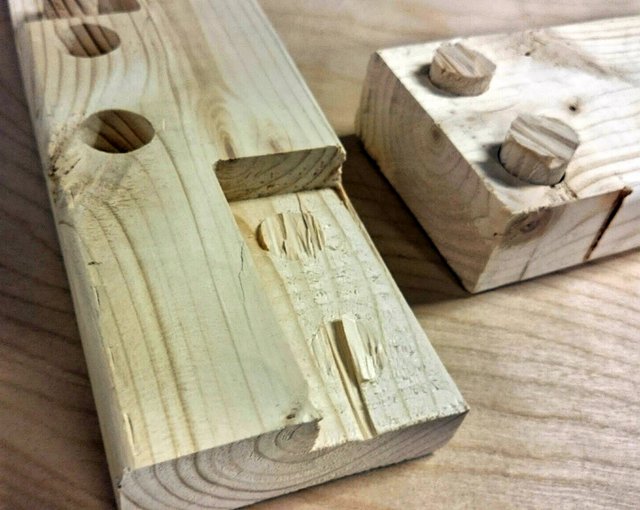
Put didn't survived the stress test
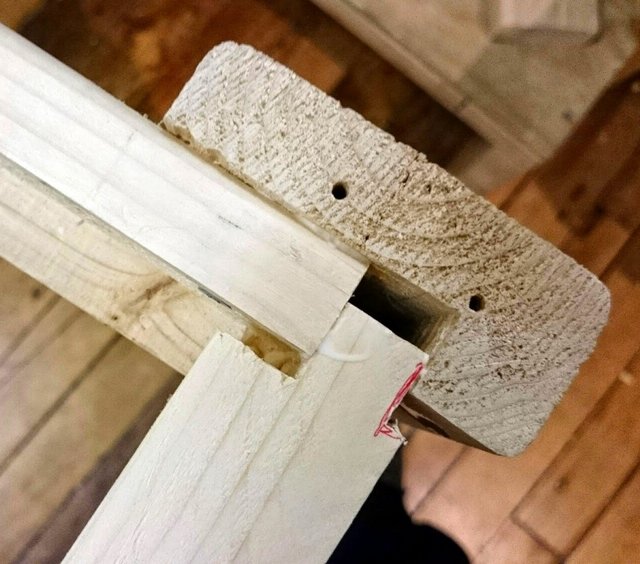
I also did some editing with some hand tools and pre-drilled the holes for the screws just because we have a mount drill and i didn't want to change the endmill everytime i had to drill a hole.
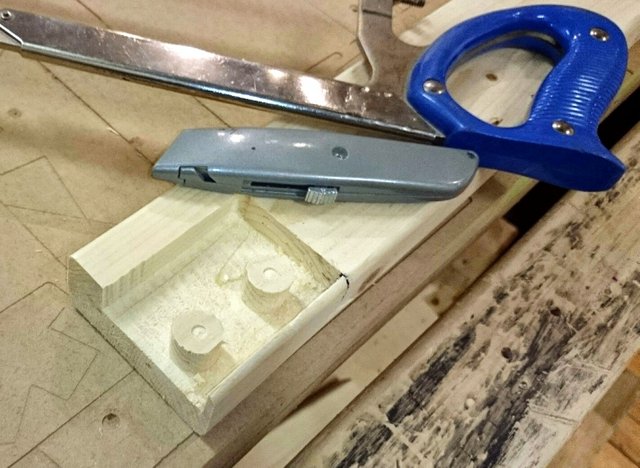
Some more editing...
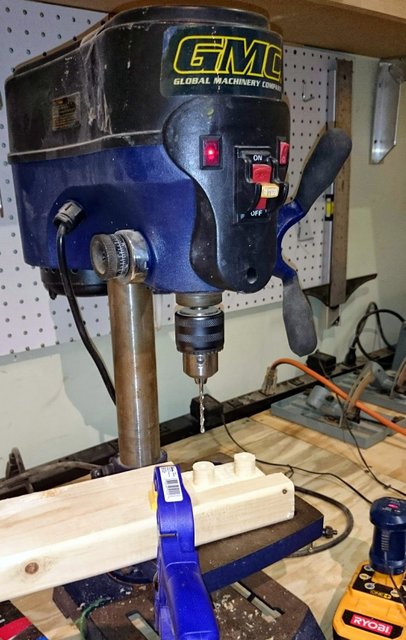
And some small pre-made holes
Wen i finish cutting the "2x4" i found out they whore not the same size, that's because i didn't cut all of them with the same X&Y reference on the CNC. But in the end everything worked ok because one side compesates the other.
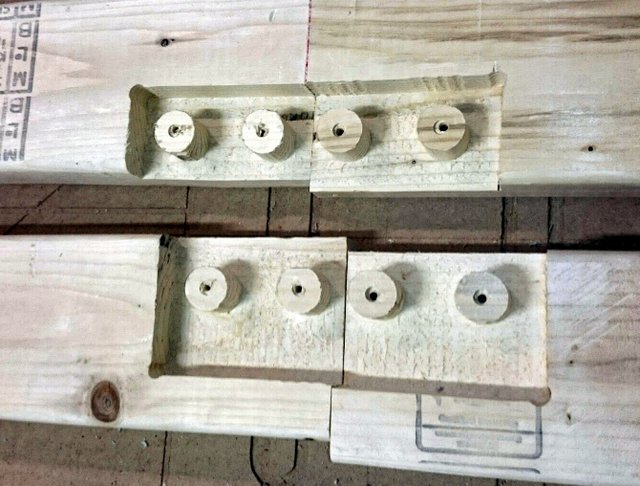
Opss.... something went wrong
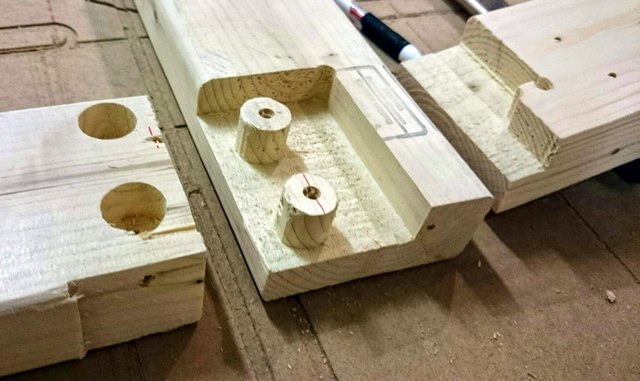
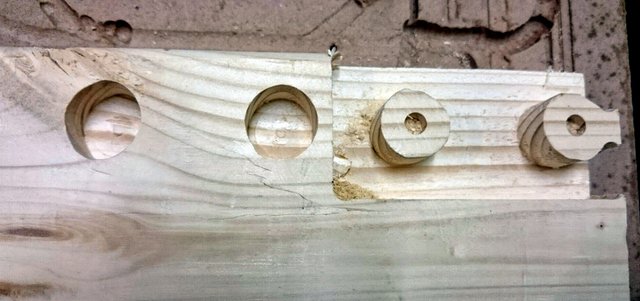
Joints for the "2x4"
The feets
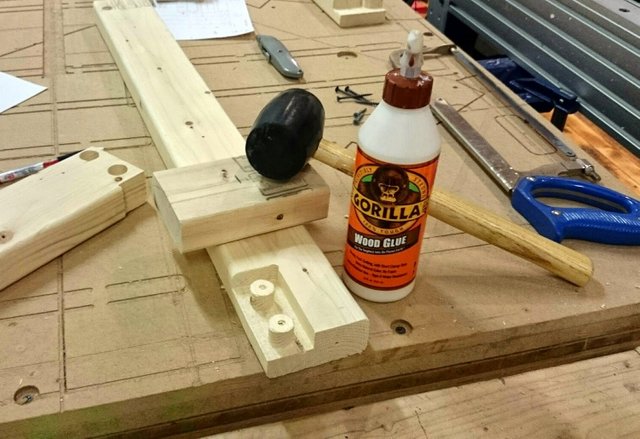
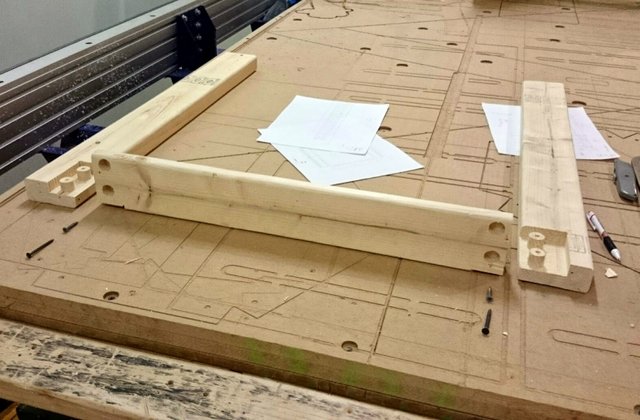
For mounting everything together i used a mallet, glue and screws. And after some small editing with hand tools and the table saw everything fitted together. Really, really press-fitted thats why i used the mallet.
I had some gaps to, for that i used the rest of the wood from the cuts on the table saw, and just glued and cutted them in the gaps.
A mallet is always important
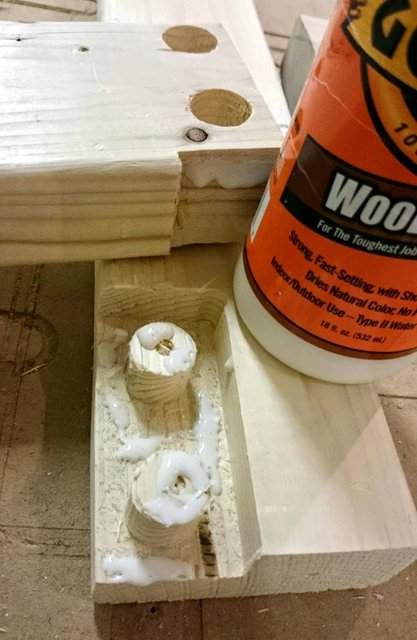
Some glue

Editing some spaces with wood...

And a lot of glue
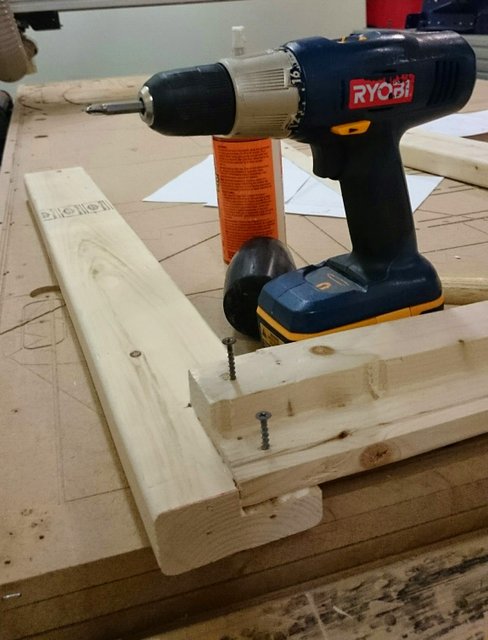
Some screws to ensure the joint strengh
Screws...
Need to fill that
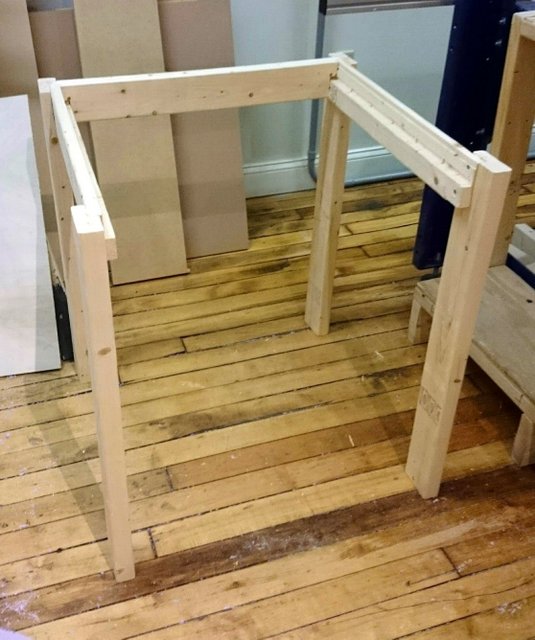
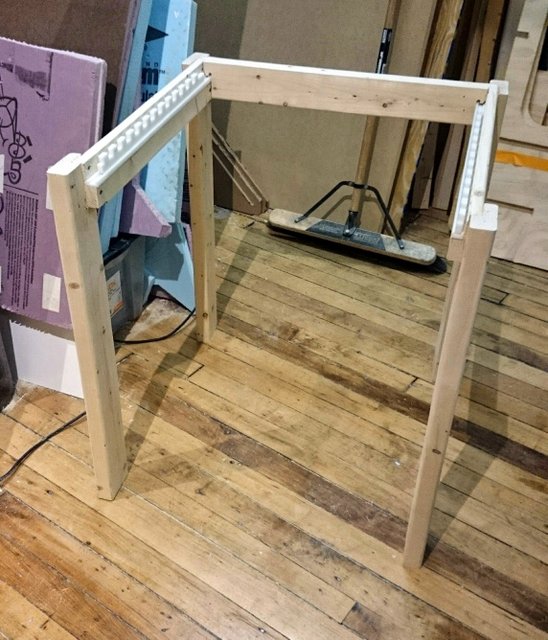
The legs are ready!
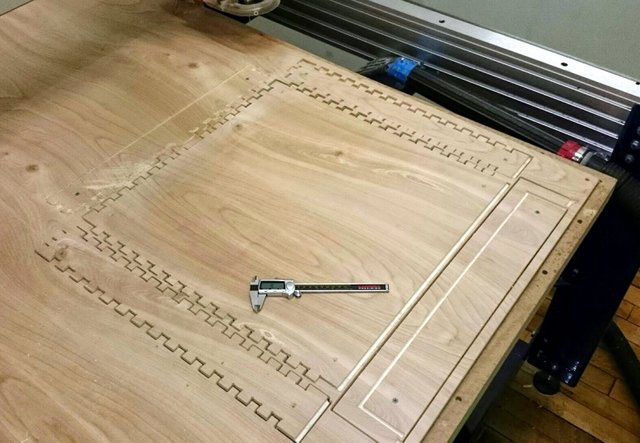
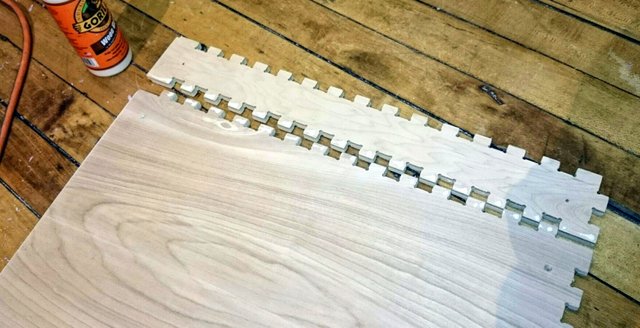
Them i did something like 5 tests in the plywood for a press fit. First i had no dog bones and the pieces wore not flushed together, than the pieces wore to loose and finally the gaps wore just right. Than with that same gap i made all my project and cutted everything in one go. But i think because it was a lot more gaps and taps for the real thing, nothing fitted.
One consideration, if you are going to do a file with the dog bones (fillets) in them don't do it the exactly same size as your endmill (diameter), because if you need to a small offset the CNC will not cut that dog bone. (everything smaller than the diameter of the endmill is ignored)
Other thing, i did all the holes to hold down the plywod, than stopped the machine, then screw the screw and only than made the final cuts, and the pieces wore stable for the final cut.
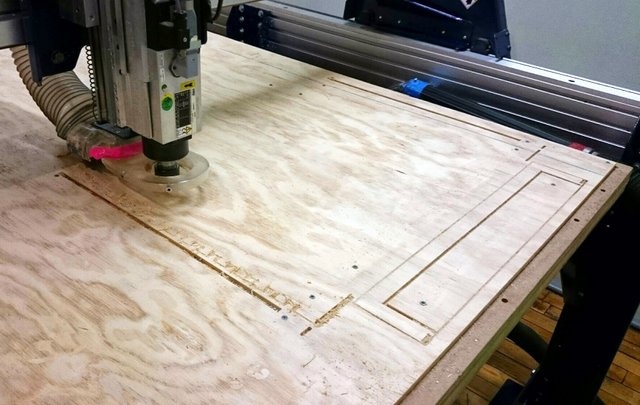
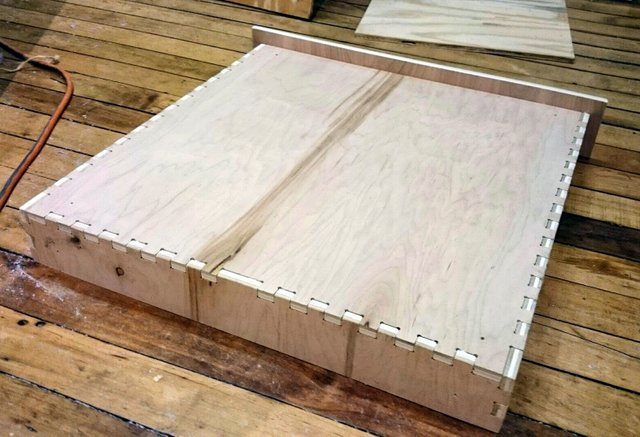
Cutting the drawer (wrong joint sizes)
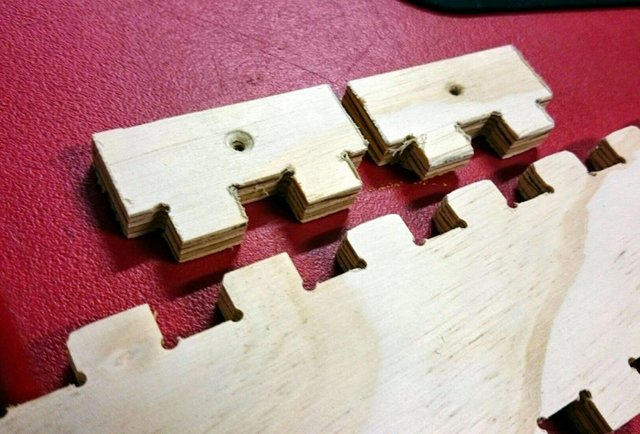
The test and the joints (equal, but didn't work)
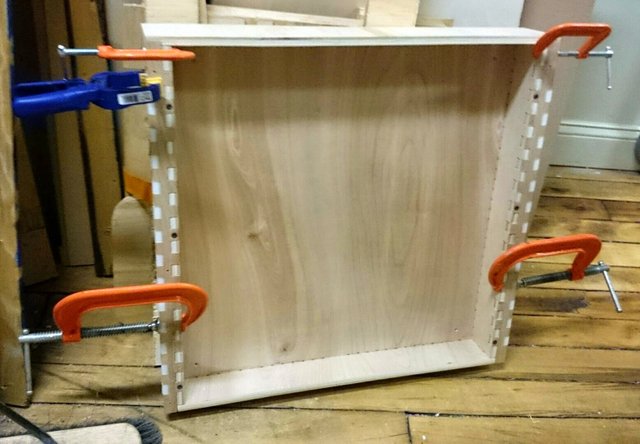
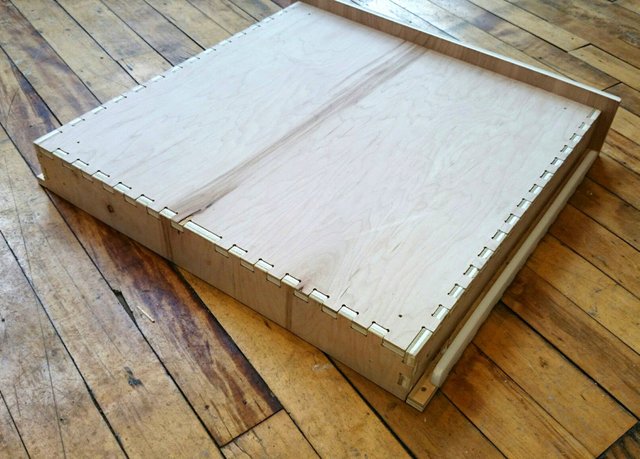
So i re-made my file and found a much nicer plywood and everything fitted beautifully (with the mallet).I putted glue just for security.
The new joint design, works fine
Fitting everything, press fit!
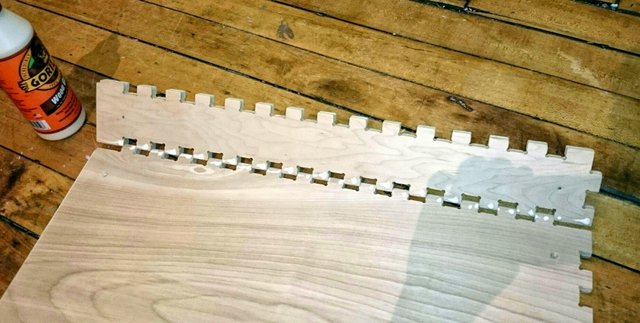
Glue and a mallet
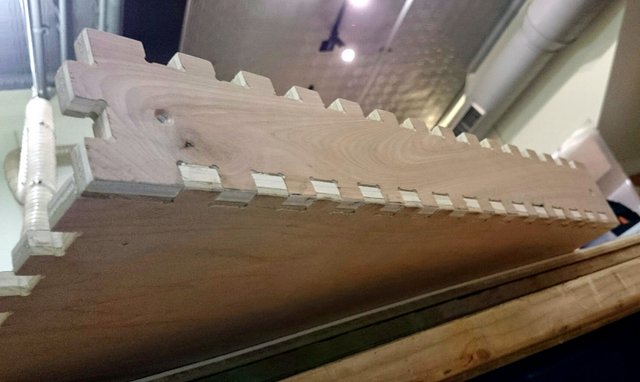
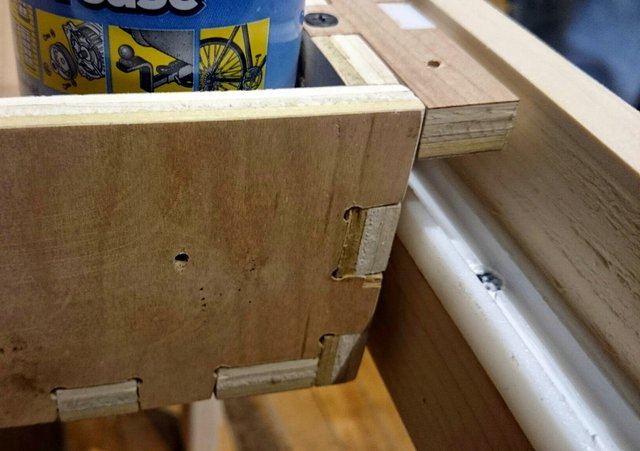
Amazing joints and strong!
The last joint, special front groove

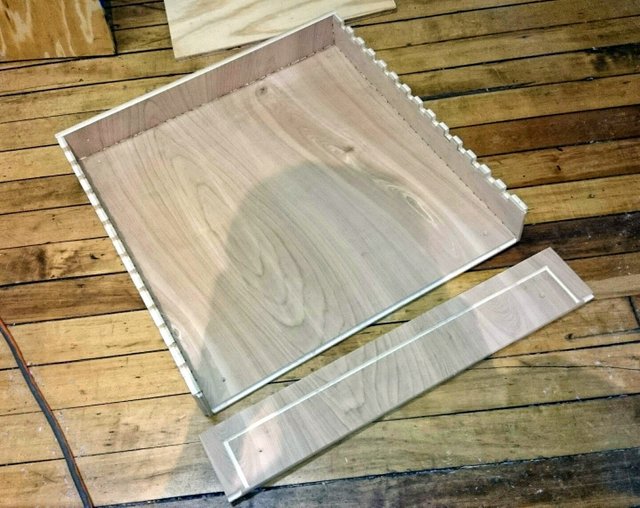
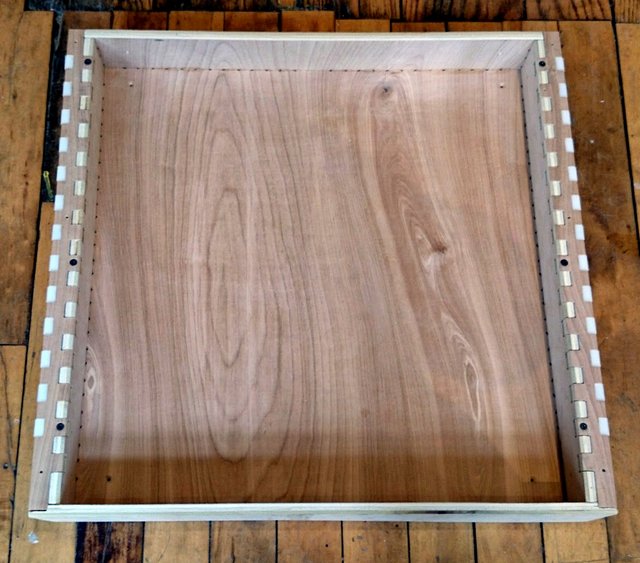
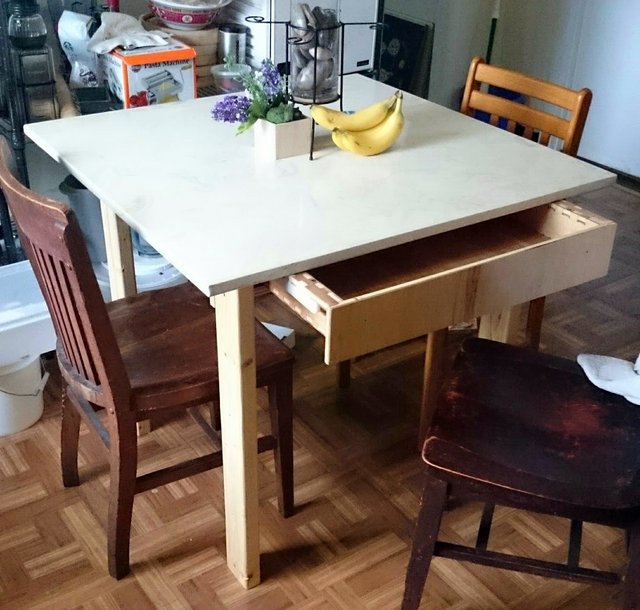
Ready drawer
The bottom, that is beautiful
So for my final and more bald cut i did the sliders for the drawer. It was just an ideia (i had no idea if it was going to work) but in the end worked amazingly fine. And the HDPE is one of the best materials for the CNC is because is so precise and don't melt. In the final i used some grease on the HDPE, but other than that is working fine.
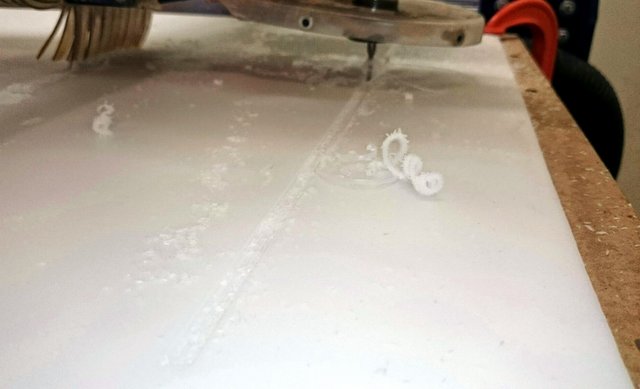
Cutting amazing HDPE
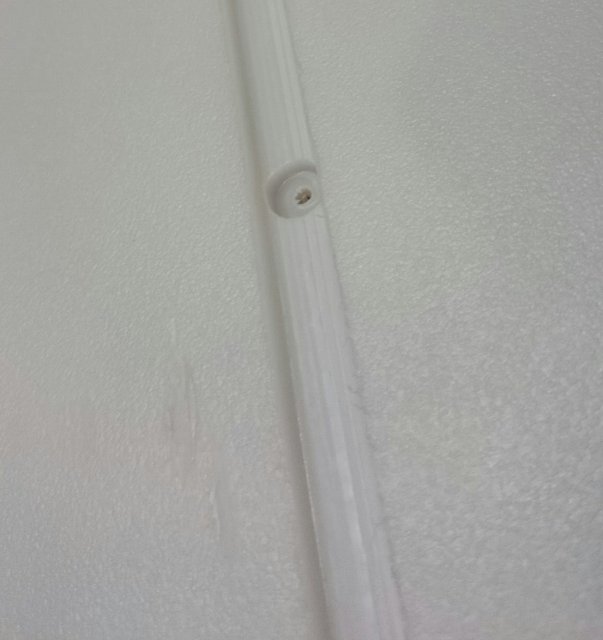
Amazing finish
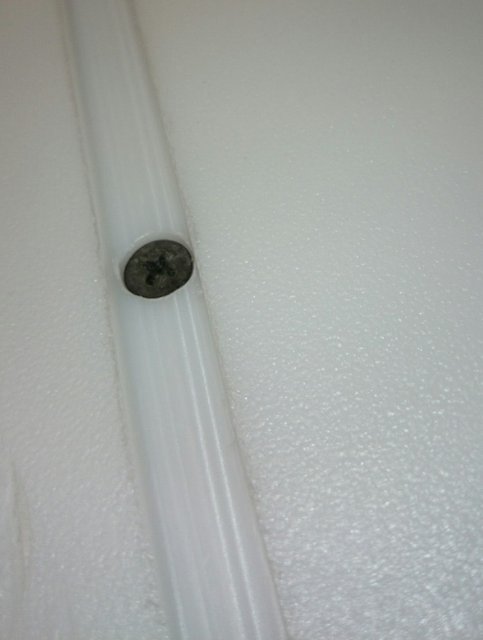
Fush screws
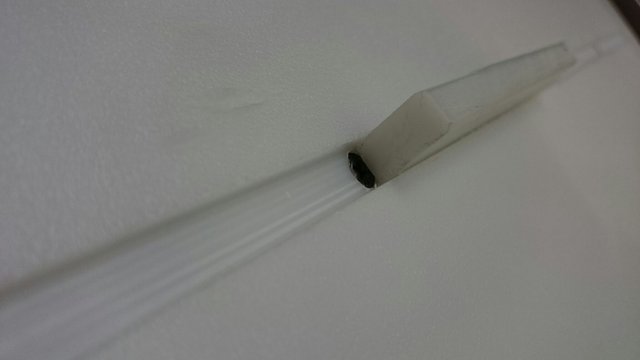
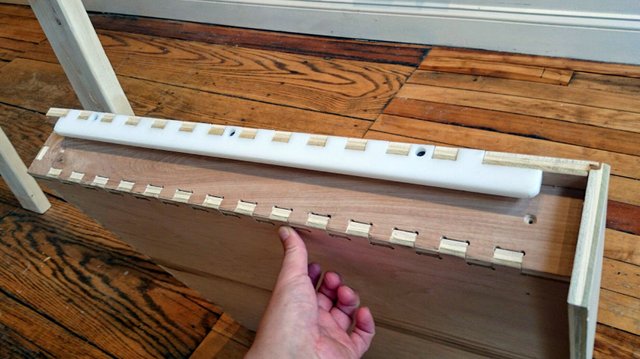
Testing the fit for the HDPE slider
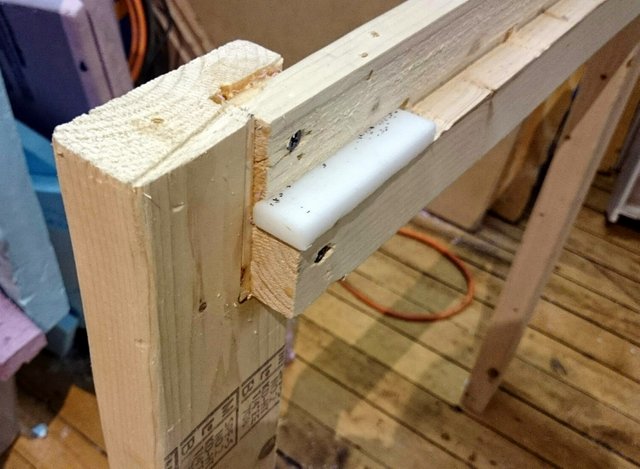
Testing the HDPE fitting in the pockets of the "2x4"

Testing the finish pieces
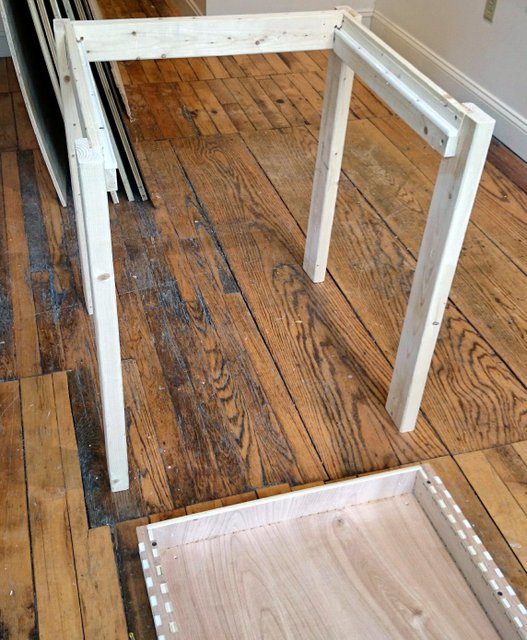
Mounting the sliders
Gluing everything togheter
Detail of the sliders with the drawer
Now i just need to put the marble table top, but the part on the shop is made. Some people said that i need a drawer stop, but i don't know because is such a big drawer that i don't think anydoby will open it all the way.
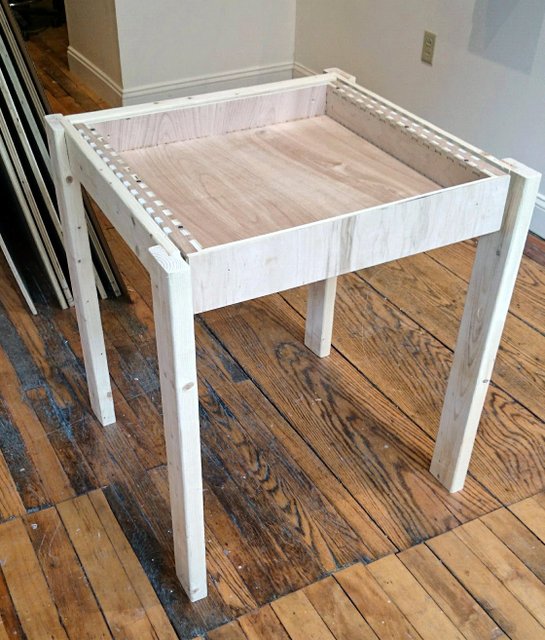
The finish feets!
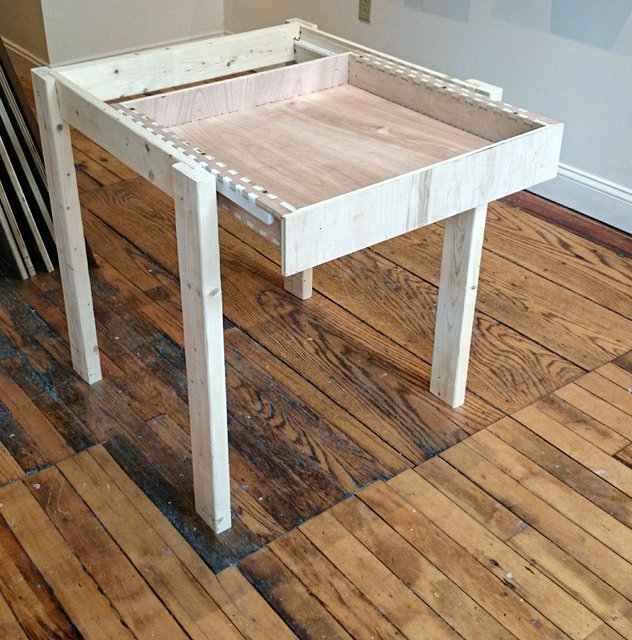
And it works!!
But without stops it falls...
The joints on the Drawer
The side of the drawer with the slides (the round part i did with a sander)
The bottom

Painting everything with polyurethan
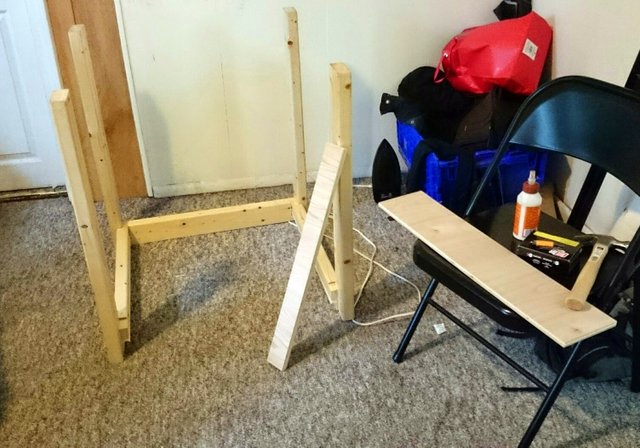
Reforcing the table legs
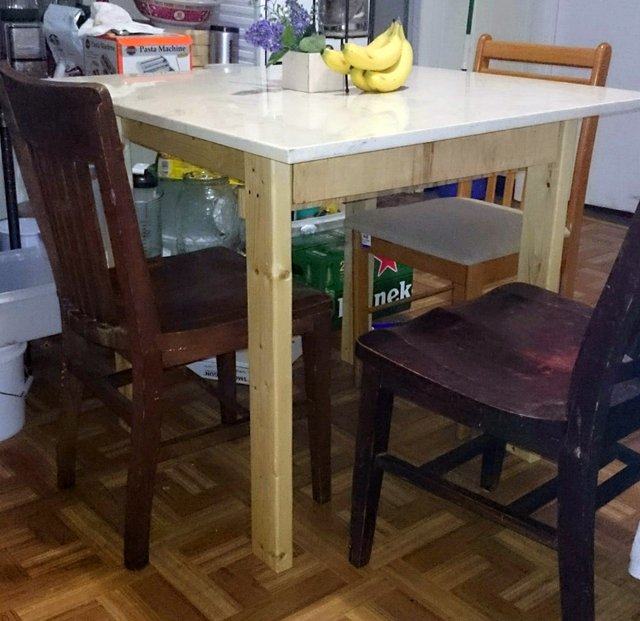
The finalized table
The finalized table at home
I also did a big egg shaker on the 3d printer for Bert (As220 founder). And it shakes!(like those from the 3d printer week).
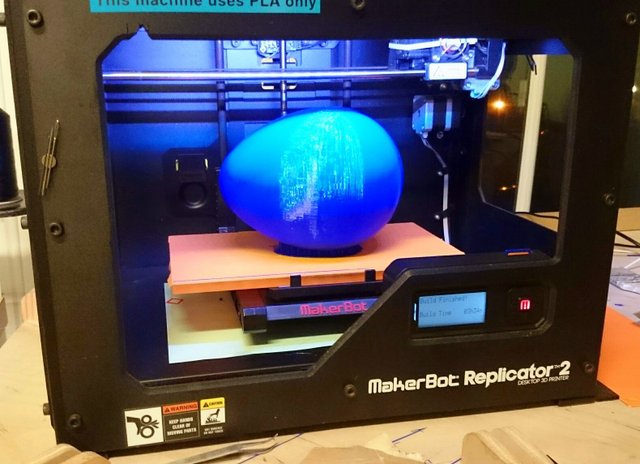
Printing the BIG egg!
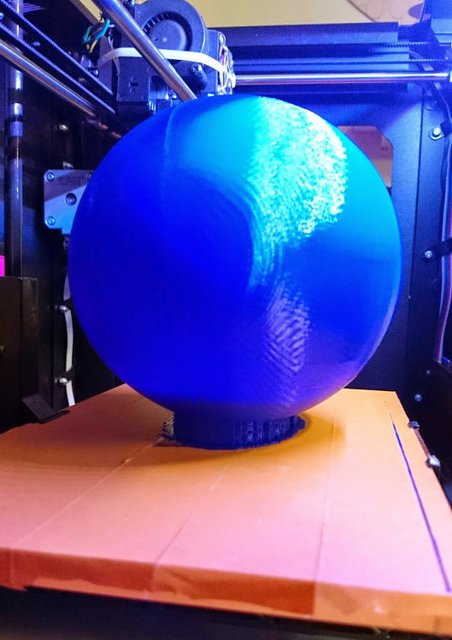
The color is amazing
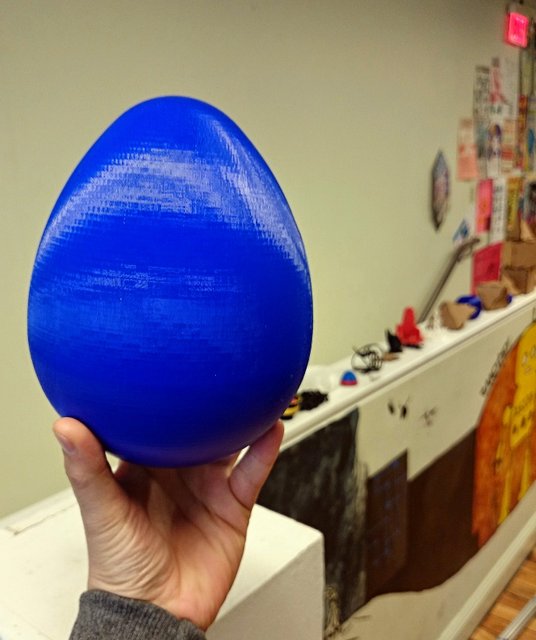
Hand for scale!