This week assignement was to design and make a 3D mold (~ft2/~929.0304cm2), and produce a fiber composite part in it.
*All files provided on the navigation menu.
This may seem odd but this was one of my favourite weeks, for one motive i got to really feel i could do "almost" anything. When i was young i got a wood Skimboard, and started to play with it in Toque-toque grande beach, in the north cost of Sao Paulo, Brazil (where my parents have a house since before i was born!). Then i got a resin Skimboard from ZAP Skimboard in the U.S. and let me say it was a big present because it was almost impossible to find this kind of board in Brazil, but one day my sisters friend broke the board, and that made me try to fix the board (without success) but this always bored me, and i was always curious about that time i tried to fix my board... than a couple of years later i tried to make a board from foam and resin, but used the wrong kind of foam (to soft) and resin (to maleable). This made another failure.
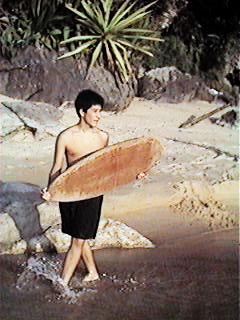
A photo from 1998, me and my firs Sonrisal (Skimboard)
And than we come to this week, i was prepared to make a simple drawer for my final project, but Shawn and others encouraged me to make the board. So i said ok to myself, let's try ONE more time! I already got all the design in my head and all the process, but haven't thouhgt about using the vacuum bag.
The first thing was to find a good piece of foam (isolation foam) big enough for a board, i found one but i had a shape carved in it, so i designed my board taking the size of the foam and this carve, and in the end it turned ok. Then we got a donation from Nadia of Burlap sacs, so i cutted them and put overnight with some weight so it was more flat.
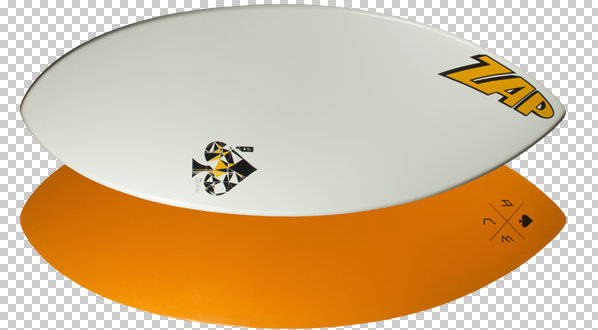
The second thing i did once i got the material was to design the board, i got some tips from websites about the Rocker (the raised tip of the board)and got the shape of the board from ZAPskimboard website, just got a photo of the Ace board, putted on Rhino and drew on top of it.

The ZapSkimboards model (Ace) I used as "inspiration"
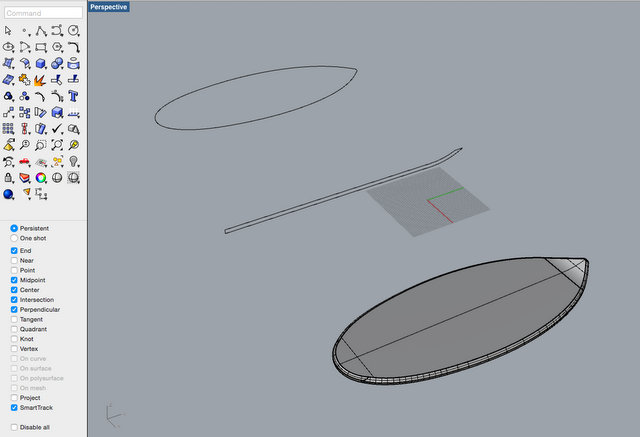
I modeled on rhino using several techincs but one of my favorites is to use the "fillet edge" to make the rouded edge of the board, so i didn't need to sanded. Then just for fun i rendered the model with a texture and a back image of sand and sea.
Modeling the board on Rhino (file available)
A render of the skimboard, with the Burlap texture!
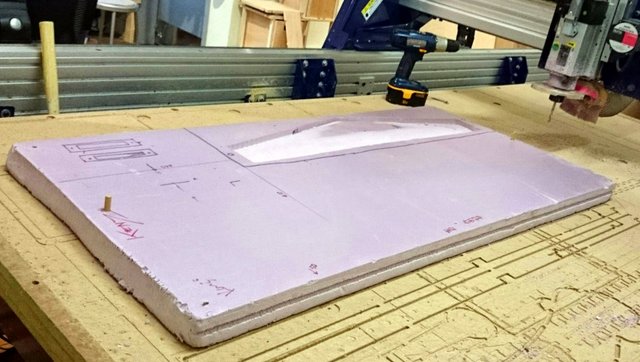
Then i opened the STL file on PartsWorks and started to ajust the settings for cutting the foam, one thing i figgured out about this process is: you always beggin to mill, see that is to slow or to fast or something stop it, changes the settings and beggin again and again...
As Larry (the T.A.) teached me i used two dowels to position the foam on the bead of the Shopbot, this allows to make a two sided piece/part (you put two holes on the axis of the model and then you center the endmill to the center of your part). After you mill one side you just flip the foam and fix it again on the board with the same dowels, then you mill the other side.

Putting the registration dowels

Securing the foam
For each side i used an 1/4inch flat endmill, and made a rough and finish cut with 50% of overlap. One problem i found is from time to time the foam melts on the tip of the endmill and makes another point, so when you are milling materials soft as foam this new point actually can mill the foam, and it leaves behind deep lines on the foam.
Rough cut the bottom with the Shopbot via PartsWorks

Finish cut of the bottom, with the lines
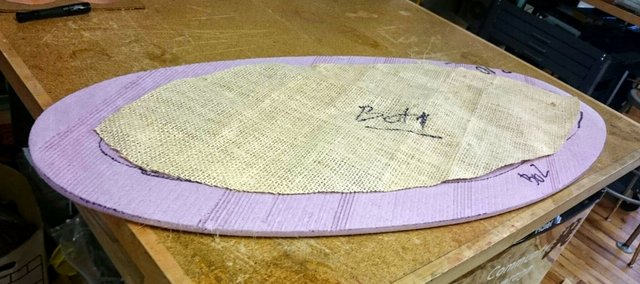
Once i flipped the foam i got so curious about the alligment that i actually cutted the boarder of the foam to check if the top and the bottom where aligned. One thing i notticed i had made the tabs to small, so once the profile was cutted i just cutted the tabs and the rest of the foam and hot glued the already half milled board to the bed of the Shopbot, it worked out good the only thing you have to do is beeing very careful to remove the board from the bed.
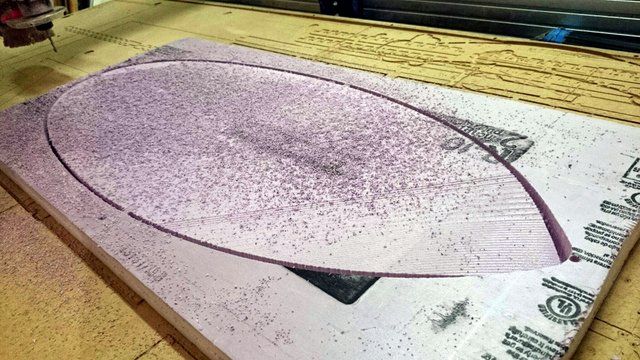
Cutted the border to see the aligment
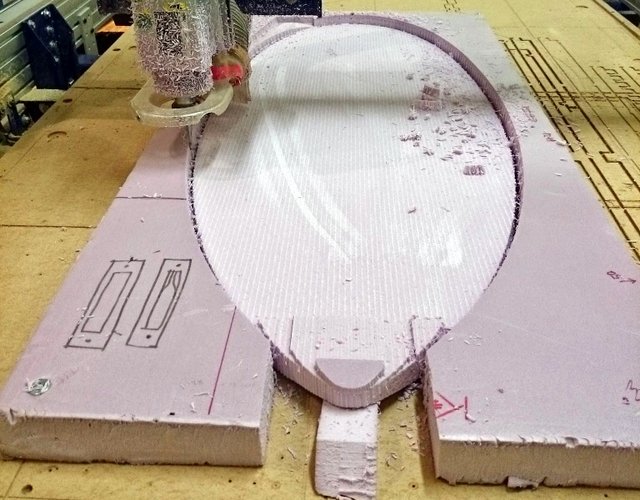
Rough cut the top
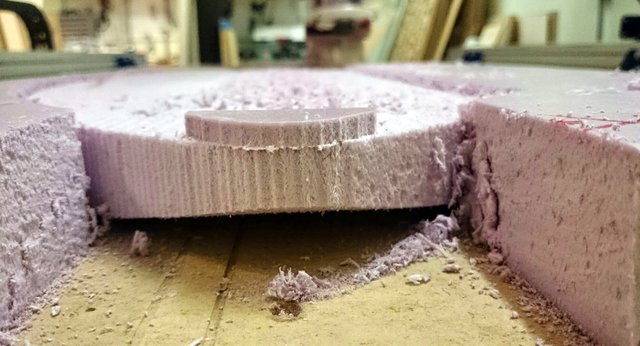
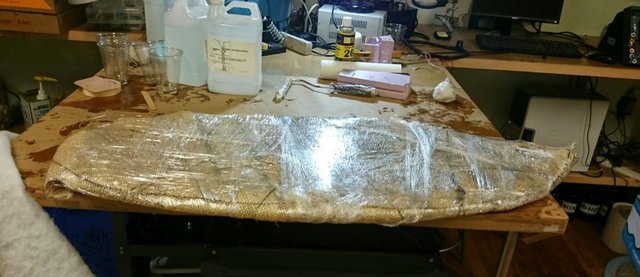
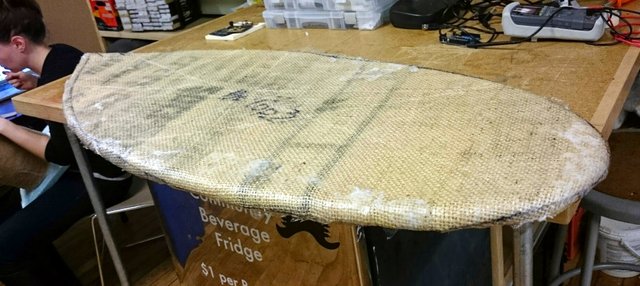
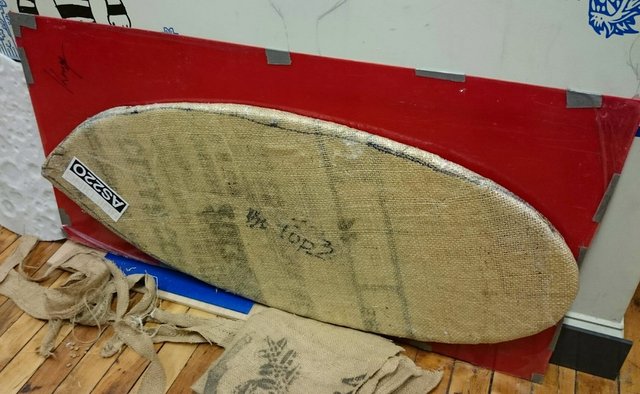
In the end i got the foam core of the Skimboard with perfect with a rough finish that is good because it will allow the resin to stick more in the board. The only problem is that the core was to delicated, one thing i thought it was going to be a problem, but in the end was ok.
Finished foam top
Finished foam bottom with the lines from the melted plastic on the endmill
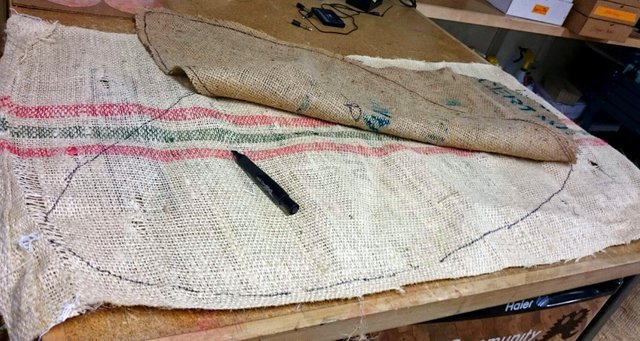
The final preparation was to pre-cut te Burlap (already pre-pre-cutted the night before and rolled so it was without folds). I did three layes of burlap on top and two on the bottom. For the top i cutted two pieces the exact size of the top and one with 5 cm of border so it could wrap the other layers to the foam core (i also cutted V shapes on the entire boarder so it didn't overlayered the bottom). Then i made two bottoms, one the exact size of the bottom and another smaller (minus the boarder of the final top layer).

Pre-cutting the burlap
Pre-cutting the burlap, with different sizes for the top and bottom
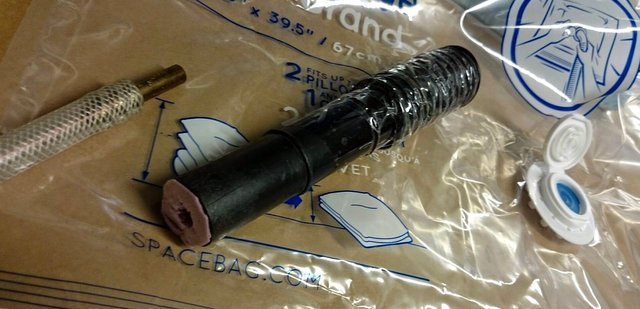
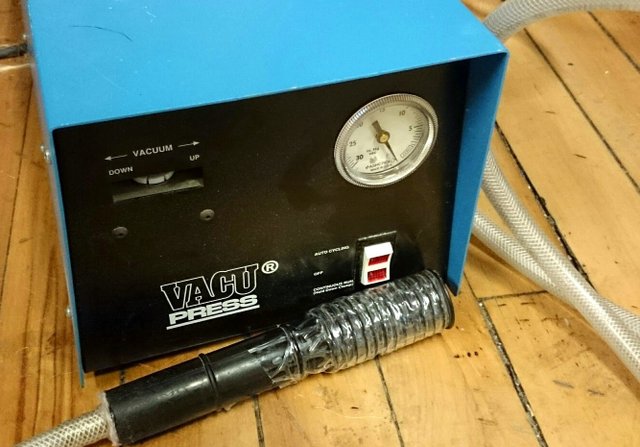
I also got the vaccuum pump and adapted the hose on it to fit the nozzle of the plastic vaccuum bag we got, just a little foam a little hot glue and some tape. With that setup we got the Vaccum pump to give us 25in.HG of vacuum.
Adapting the hose for the vaccuum bag
The Vaccuum pump
Testing the vaccum seal on the vacuum bag
So i got all thing setup to make the composite: the core, resin (epoxy), fiber (burlap) bleeder, breather, bag and pump and began the mesy process. I had seeing some videos of fiber glass on youtube but didn't know that the burlap would not stick on the foam core. So after thinking a little bit decide to make the top, wrap it with plastic, put on the vaccum bag, leave there to cure just a little and then make the other side.
All this layout to apply the resin and the fiber (Jenny doing her poligonal bowl)
Then because my board was to big i got help from Jessica, and after some failed attempts to put the plastic wrap arround the board (because the burlap kept falling off) she had the briliant ideia to put some string around the board, so we did that and them were abble to wrap with plastic and put on the vaccuum bag. Leaving a big mess and using 4 cups of 400ml of resin.

The After mach, Jessica helped me wrap everything
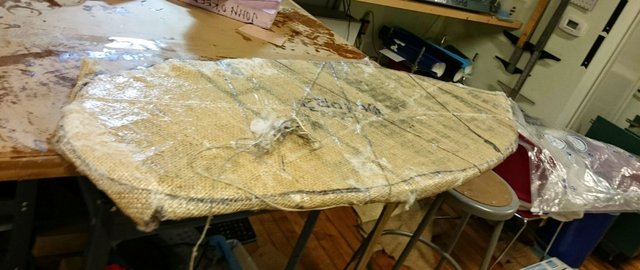
Just the 3 top layers and waited to cure a little bit
Removed the string to put the bottom layer
After some time (3 hours) i removed the board from the bag and because the resin was not totally cured it sticked everywhere and i could not remove most of the plastic wrap because the resin would stick to everything. Now the burlap with the resin was sticking more, but i could not make the last layer of the top to wrap around the board, because the burlap is to thick, so i got a hot glue gun an beggin to glue the burlap with resin dirrectily to the foam, i got burned but i worked. Then i did the last to sides of the bottom, put more plastic wrap with the help of Matthew, more breather and putted in the bag aggain. Maybe because it was sticking to the bag it got a rip and i tried to use tape do close it but i don't think it was a good repair because the next day the vaccum was gone...
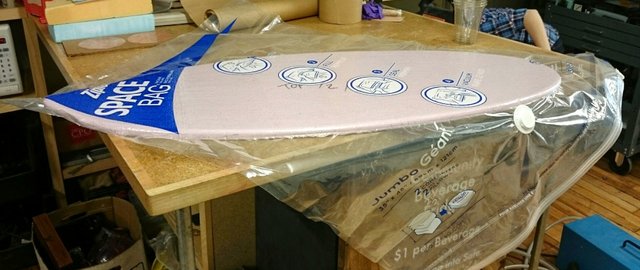
After applying the bottom layers (2) and putting in the vaccuum bag again i lost vaccuum in the night
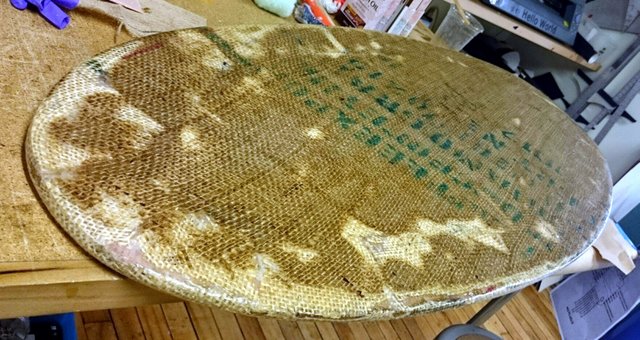
Next morning i removed the board from the vaccum bag and removed the breather and some of the plastic wrap, this time it was not sticking as much and the resin was totally cured. One thing i would change though is putting a ticker plastic wrap because it sticks just a little bit, enough to rip it, and you have to spend a lot of time removing it, almost as the weaving process.
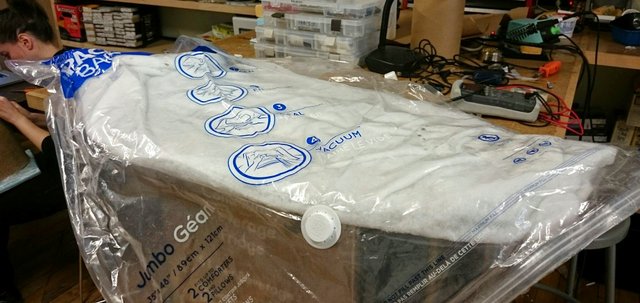
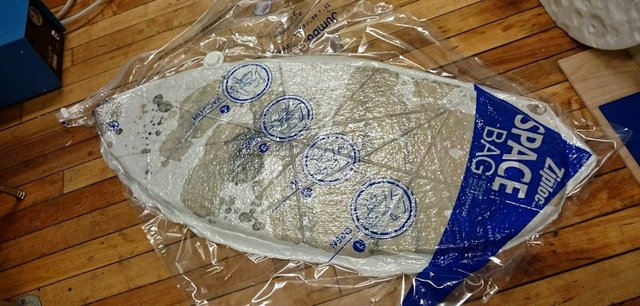
And the final board! I toook a lot of time to remove all the plastic wrap
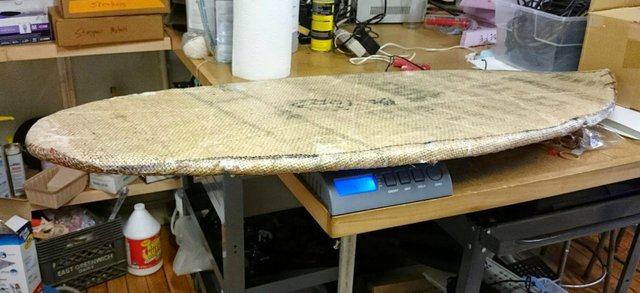
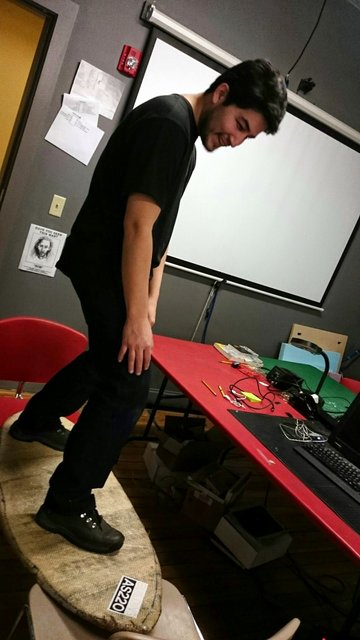
In the end i weighted the board and it was asround 3.25Kg, i researched and found that a professional board is 1.5kg and a wood board can go to 9Kg, so i think mine is very good. And also did a resistance test and the board can hold an adult without breaking!
Weighing the board 3.25kg
Testing the resistance of the board
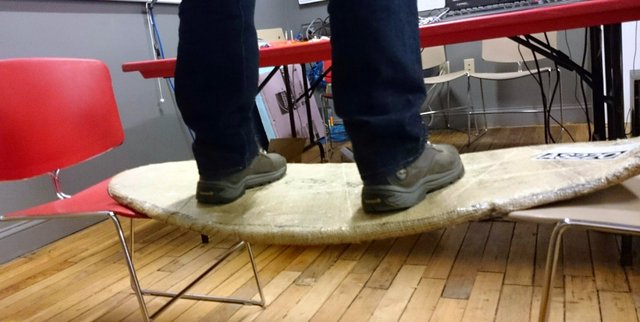
And it holds a young human being
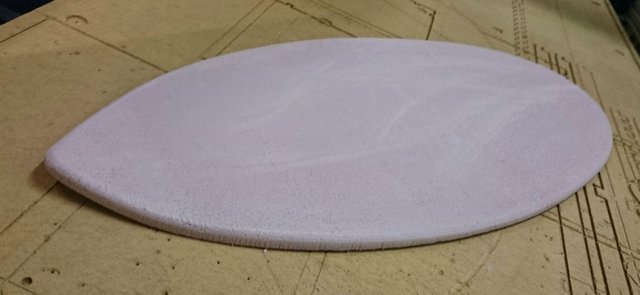
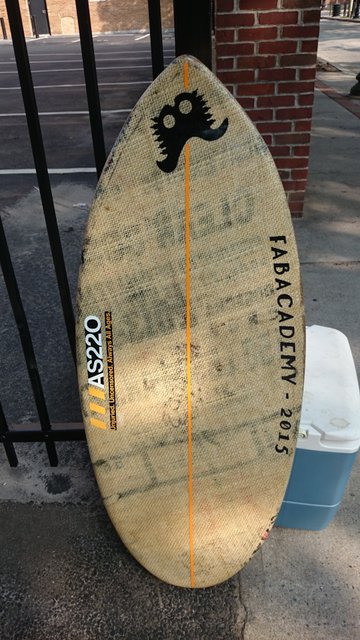
The "finished" board

The final step is a process called "glass", you sand the board apply put more resin, waits to cure, and then repeat the process untill you have a really smooth surface. Maybe because the burlap is so rough i will not be abble to "glass" the bottom without adding to much weight so i will try to cut a sheet of plastic and glue on the botton with resin so it is really smooth.


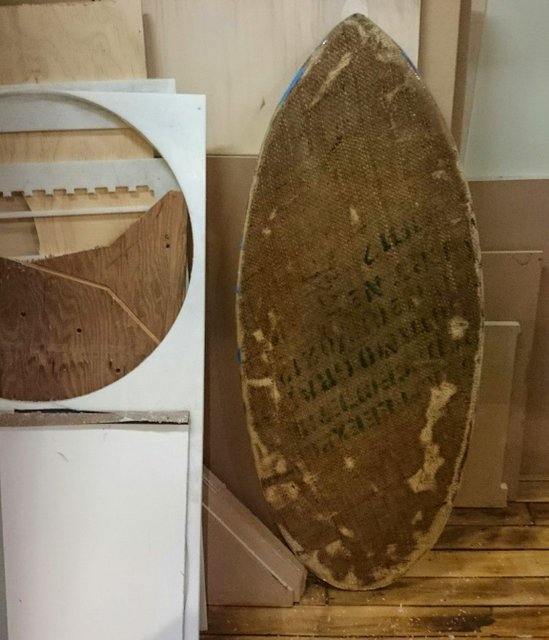

The FINAL Skimboard
Composites Skimboard Video Presentation (at 01:06:40)