MACHINING

GROUP WORK
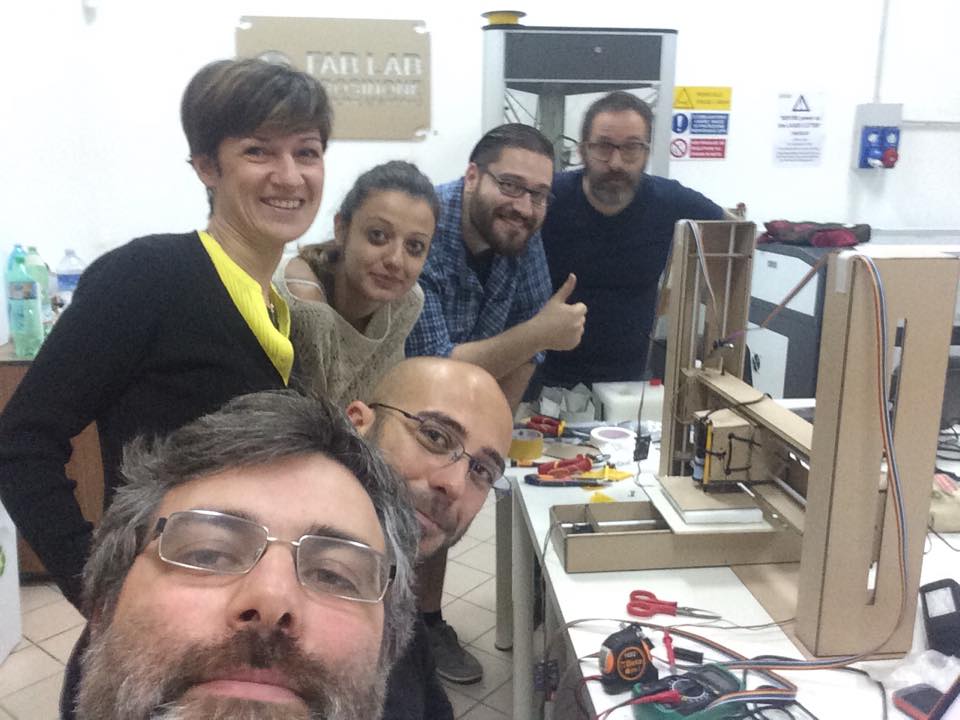
During this assignment we all six students in FabLab Frosinone Officine Giardino had the opportunity to work together. I find it very useful because in my experience as FabLab Roma Makers project manager I could see how difficult is for a lot of makers working together.
At beginning my duty was coordinating the group during the organization phase, in which we decided kind of machine to realize and we share the several tasks to be accomplished.
After a couple of days during which we studied and analyzed a lot of machines and the Gestalt system, we choose to build a styrofoam 3 axes machine, even respecting the idea that FabLab Frosinone had not yet a machine like this.
The six tasks we found out are:
- Mill the control board, solder it and connect the nodes.
- Design the 3-axes system.
- Lasercut the body with cardboard.
- Design and realize the tool.
- Study and compile the py software.
- Compile a web interface to control the machine.
I was assigned to the last one, but indeed we agree that each of us had to lead his task, taking part into all of them and collaborating with the other students.
 WEB INTERFACE
To realize the web interface I used html5.
Massimiliano Di Bitonto and me studied the communication system of Gestalt, that uses as commands of the nodes a series of functions called by a local address.
It means that you can target the function you need by a browser, addressing to “http://127.0.0.1:27272/“ where 27272 is a defined local port.
The commands we use are:
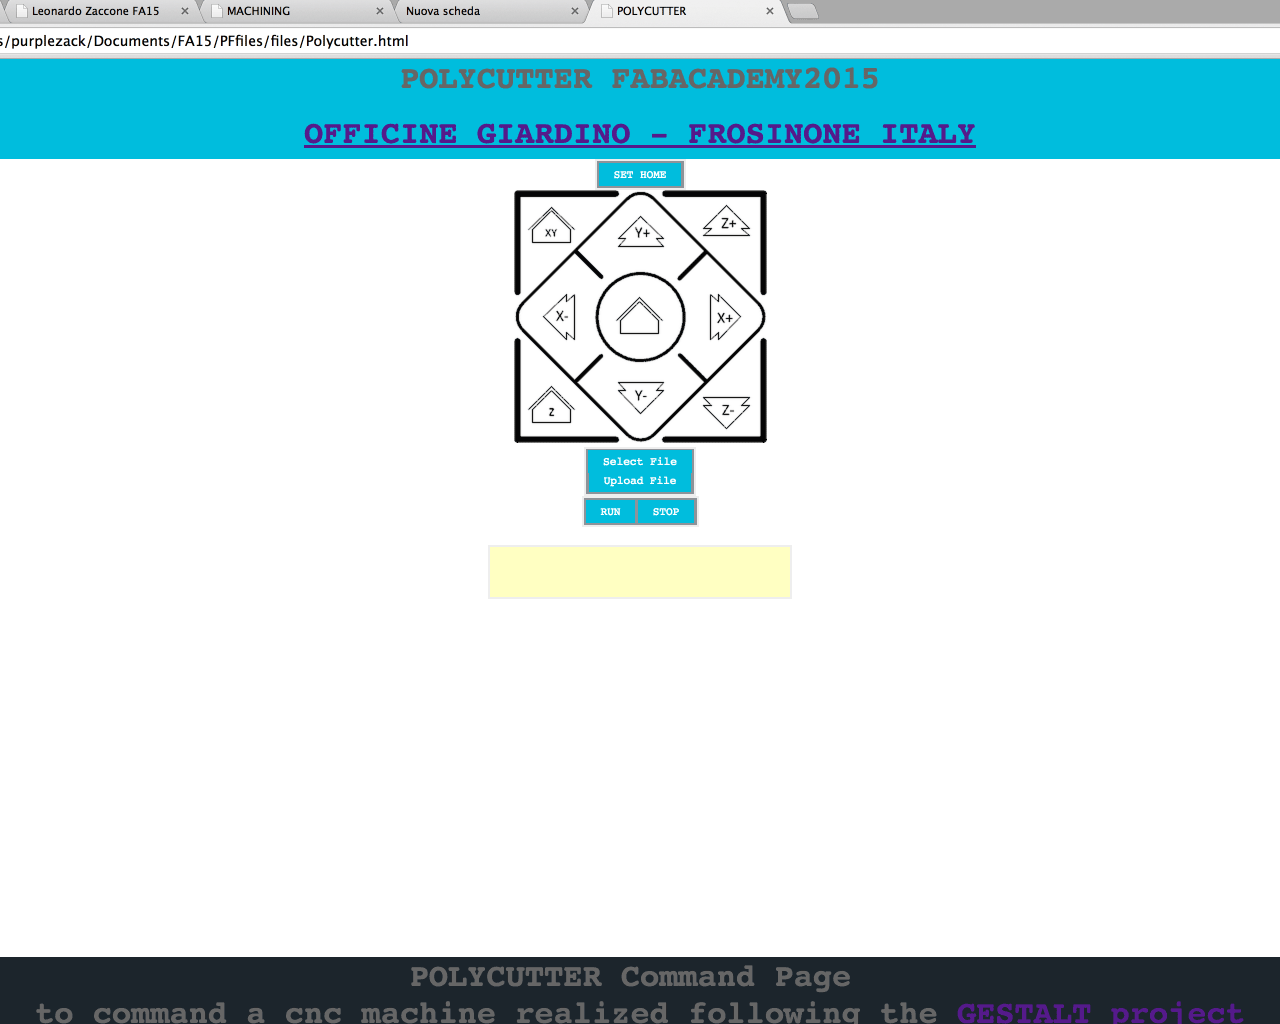
I projected 3 graphical elements, the HEADER, introducing our FabLab and the machine, the BODY, with the control panel based on an embedded png representing the x,y,z scheme, and the FOOTER, linking to the Gestalt project.
For the control panel I projected 3 structural elements, a responsive area for the axes control, responsive buttons for the general control and a response frame to which target the sent addresses.
 To realize the responsive area I drew a square representing the 3 axes and 3 home (global, x and y,z), then I embedded the png converting it in a base 64 text line using this convertor.
In this way you could upload and use this interface on a controller without file system too.
Using “map" and “area" functions, each area was transformed in a button referring to the correct command address. Adding the target to the response frame allows the interface to call the address page without leaving.
To realize the responsive buttons I assigned a style to the button function and then I inserted it in a simple targeted referral link. To upload a file, according with Massimiliano, I used two “input" function, "file type" to select it and "submit type" to upload, inserted in a "post type form" linked to a .php file realized by himself. The "file type input" has a preassigned style that I modified inserting it in a label after calling it off with the command “style=display:none;”.
At the end, during the last sunday in which we completed the machine, I doubled the “z” value in the command addresses adding a fourth value, because we used two motors to control the z axis.
Here’s the html file .
- Maker: Leonardo Zaccone
- Date: 02/03/2015
- FabLab: Frosinone, Italy