During the casting and molding week I wanted to make a stand to hold a bike, to be able to replace the back wheel with a generator. I wanted to implement this in my final project and composites would be a good way of producing it: strong and light weight.
I've used a composite of jute (burlap) and epoxy on a cardboard core. So I didn't make a mold, but left the cardboard in the final shape.
design and make a 3D mold (~ft2), and produce a fiber composite part in it
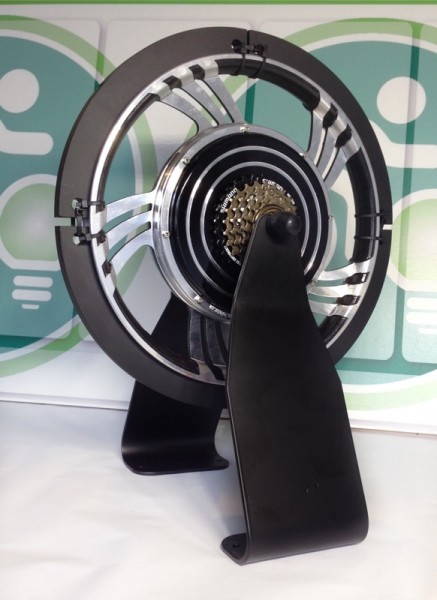
I've based my design on the concept of Eco Charger of the Green Micro Gym. It is a two-part stand, that holds the axis of the generator and bike frame.
I used Rhino to design the shape I wanted to make. You can see the STL on the right. Originally I wanted to implement holes for the axis of the bike and generator, but these small details wouldn't work with the composites technique with a cardboard core, so I'll have to drill the holes afterwards.
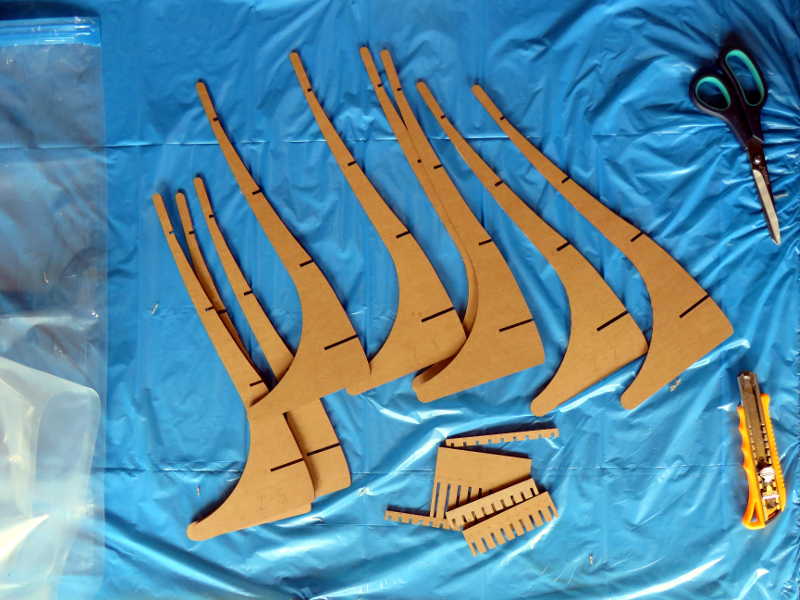
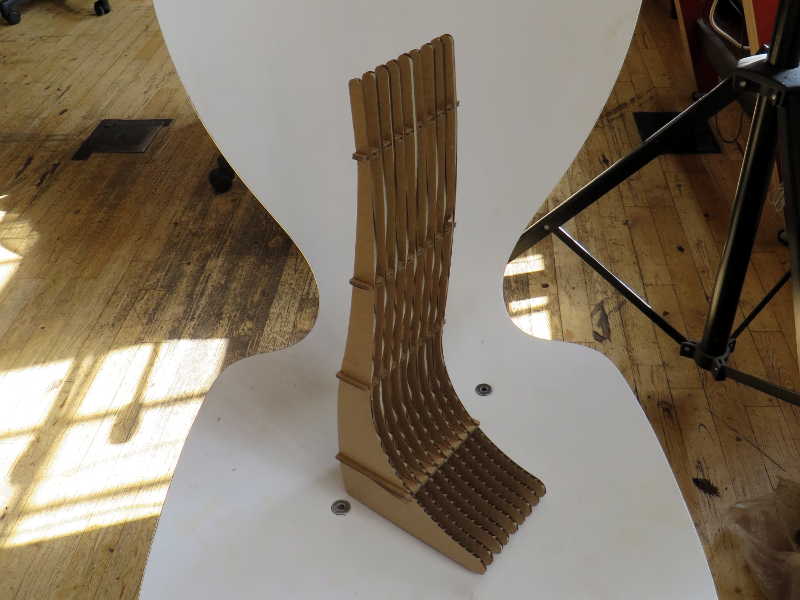
STL fileAfter designing the 3D shape I converted the .stl file to a press-fit cardboard shape with 123D Make.
I nested the files from 123D make, so I'd only have to use one piece of cardboard instead of two. I used 3 mm cardboard, cut at speed 8, power 100 with our laser cutter.
Cutfile Cardboard (nested)
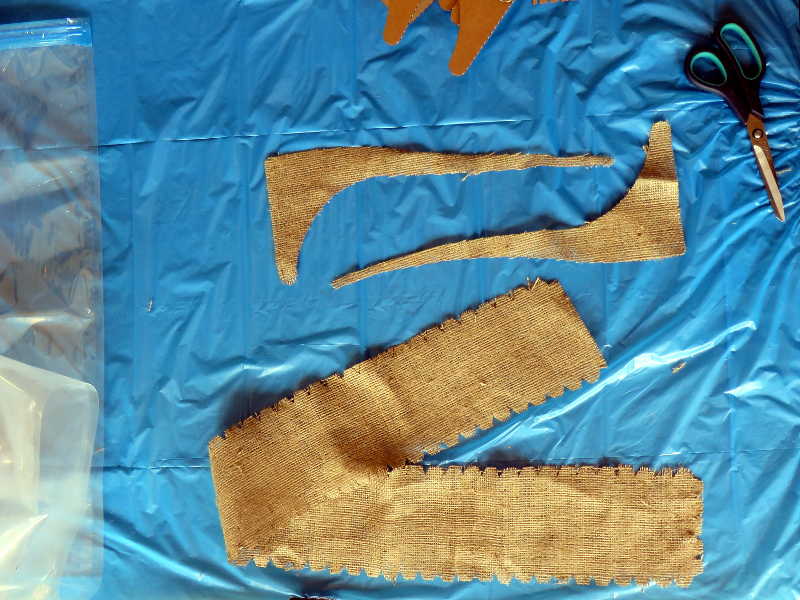
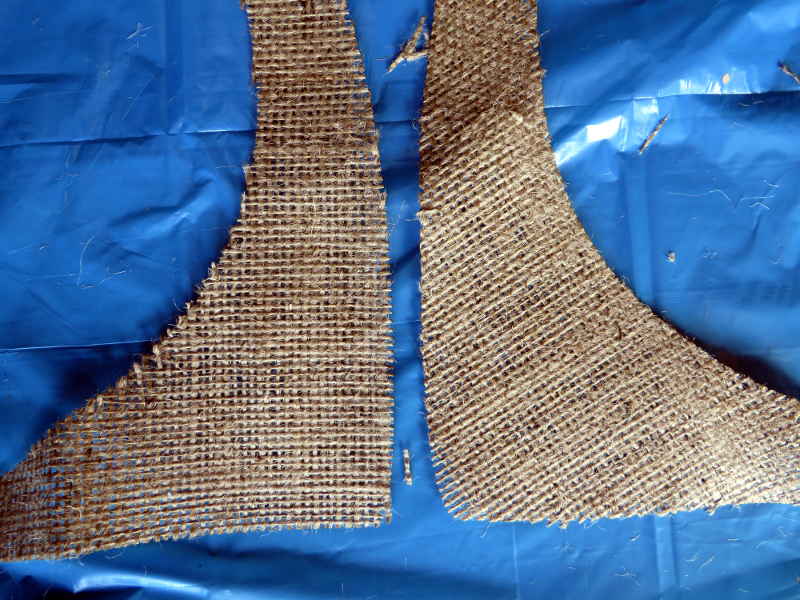
For the cutting pieces of fabric for the composite I used the laser cutter. With Rhino I unrolled the shape into a developable surface and added some tabs to ensure overlap between the different layers of fibers. I'm going to use 5 layers of fiber. I cut 2 of the 5 layers with the thread of the fiber in the opposite direction. Alternating layers with the fibers in a different direction strengthens the composite.
Cutsheet Jute
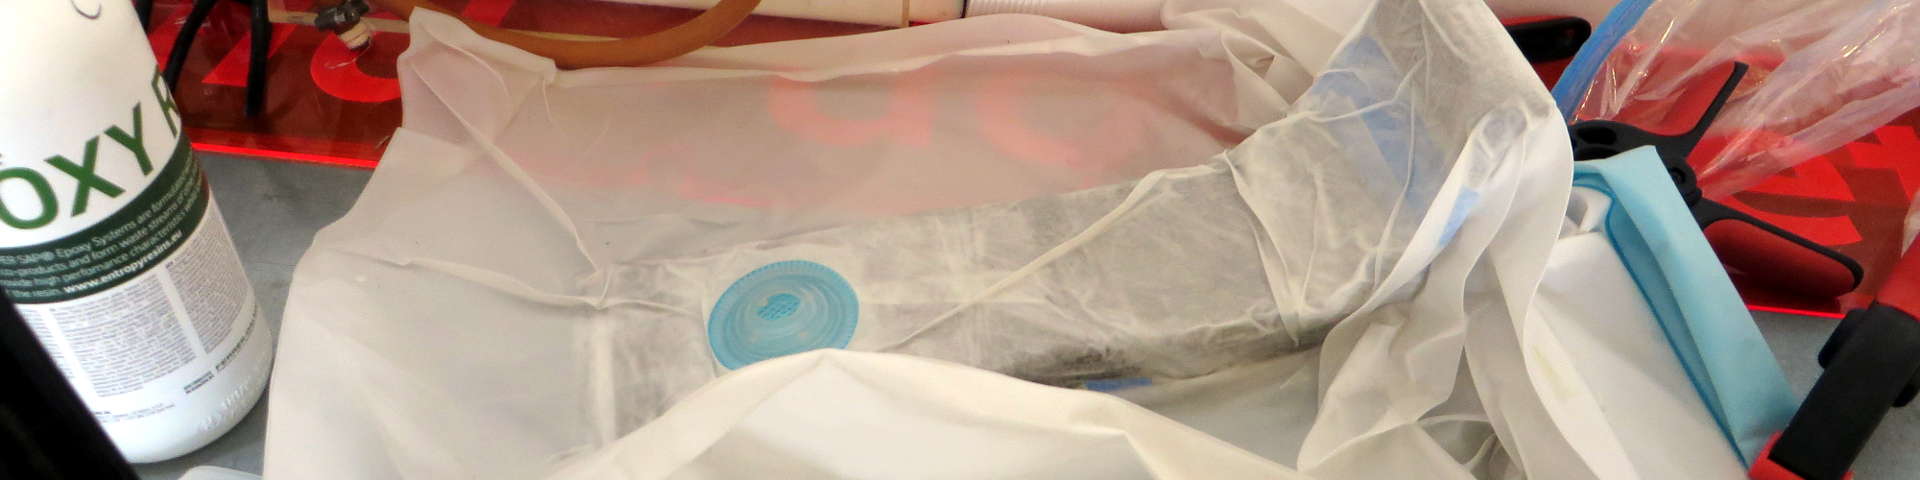
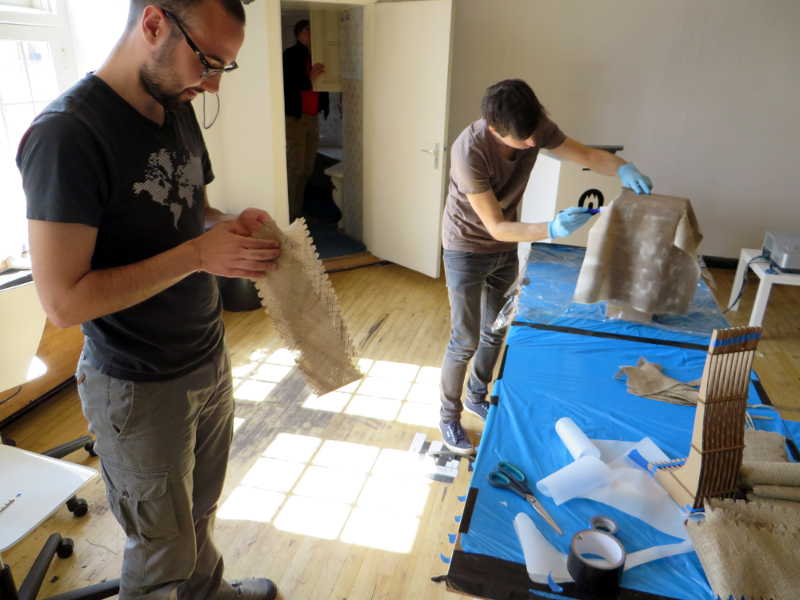
Now the cardboard core and the pieces of jute are done, the composite can be made. We opened all the windows and covered the tables with plastic wrap. We used Super Sap epoxy for the composite. We mixed the epoxy with a couple of students together, to limit waste.
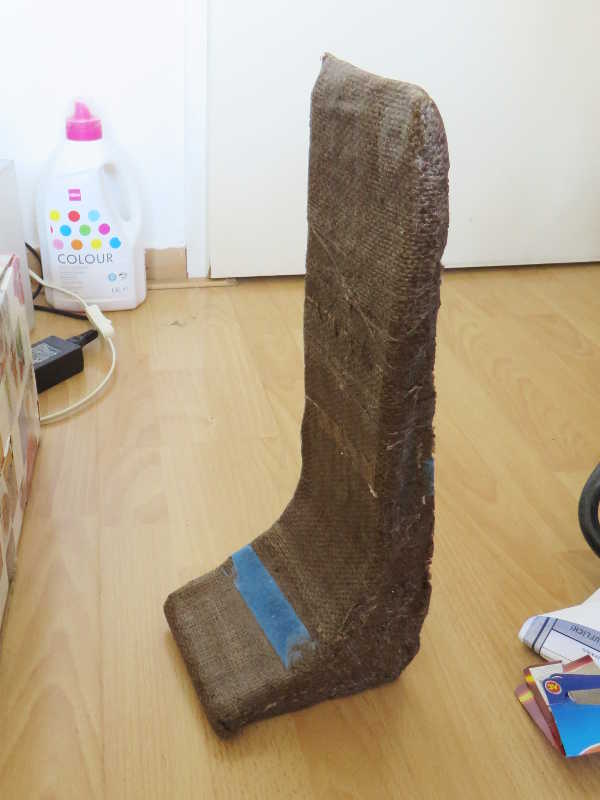
The layering was much harder than I expected. The impregnated layers of jute didn't really stick together and also didn't stick to the cardboard core. This made it very hard to cover the cardboard core: when I had to flip it over to put the jute on the bottom, the jute from the top would fall off. I had to fix the pieces in place with some yarn, but this didn't lead to a very smooth result. In some places the jute would accumulate while other parts where not covered well. Finally I cut some strips of jute to bind the layers together. This kept it together well, but the layers underneath were uneven, so the result was still a bit bumpy.
For making the vacuum we a vacuum cleaner and used vacuum bags bought at the household store. I used baking paper and cling foil to prevent the composite from sticking to the vacuum bag and a foam breather to allow all the air to get out off the bag.
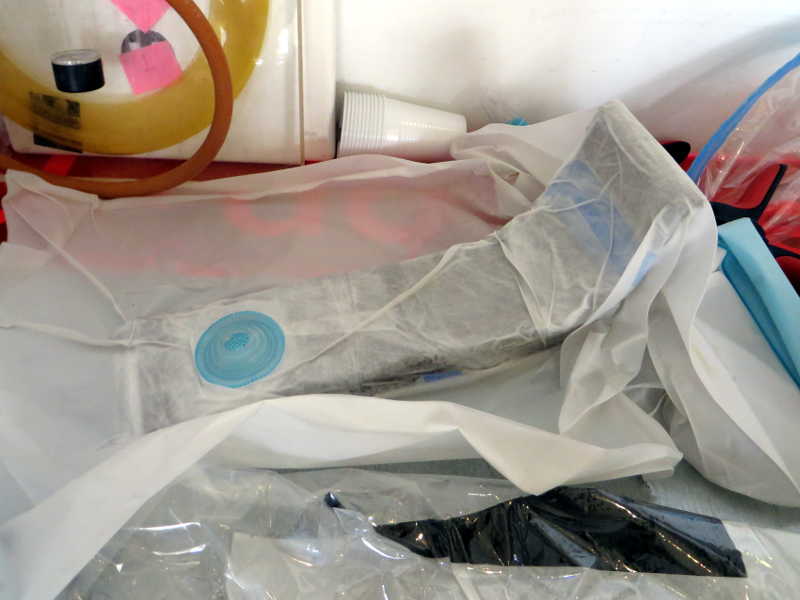
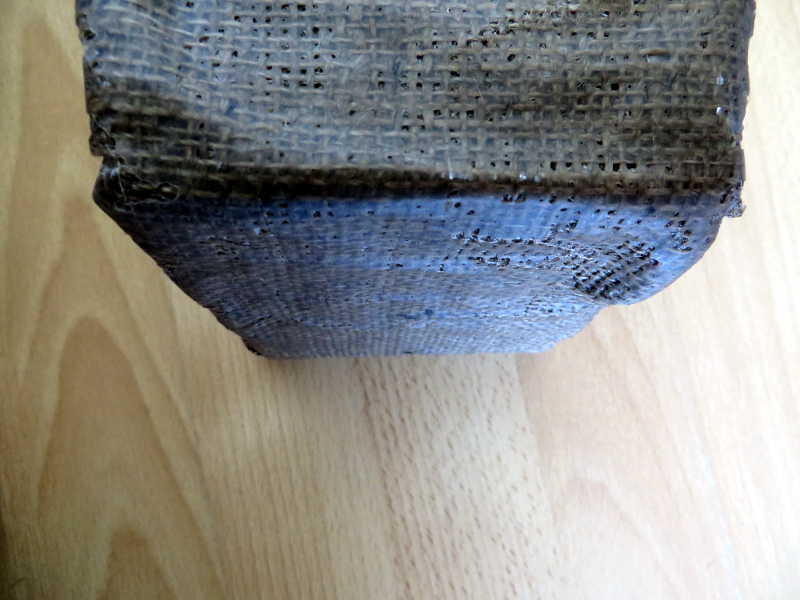
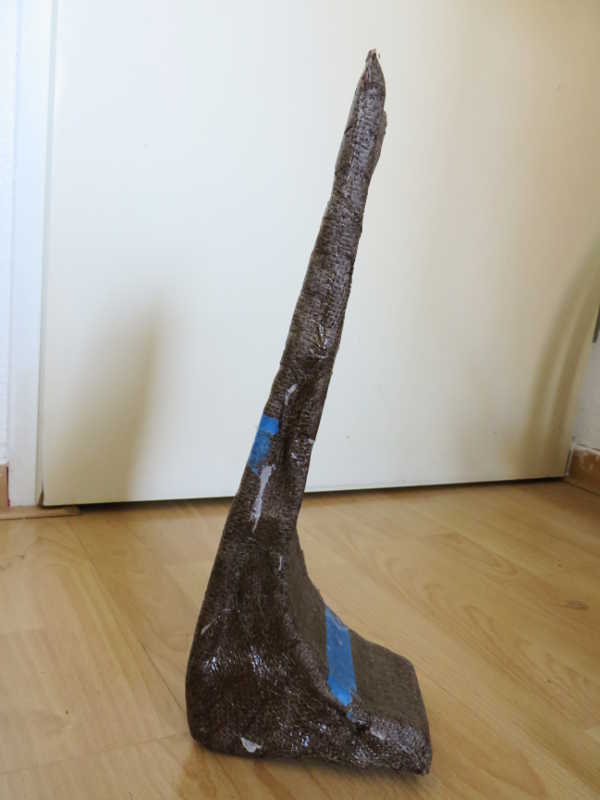
After curing for 24 hours, we could all unwrap our composites. It cured well and felt very strong. The result was uneven at the sides, the vacuum had pressed all the excess jute to the sides, but for this isn't problematic for the structure. The bottom has a bump as well, also because of the vacuum. The bump on the bottom makes it bit unstable, but I could sand it off. Next time I would put the shape upright, so the bottom is on a flat surface to prevent bumps.
The blue things on the shape are pieces of tape I used to keep the baking paper in place, these need to be peeled of. I would like to do a pressure test, so see how strong it actually is, I think it could hold a bike with a person easily.