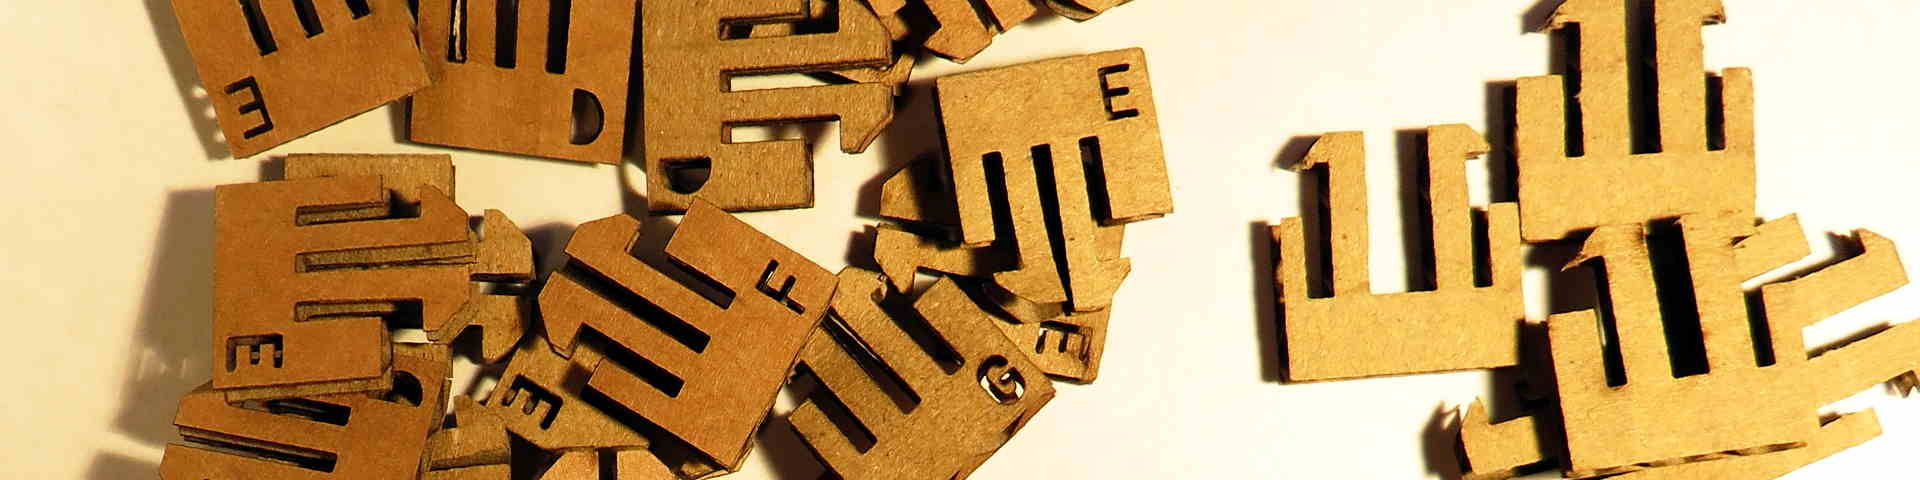
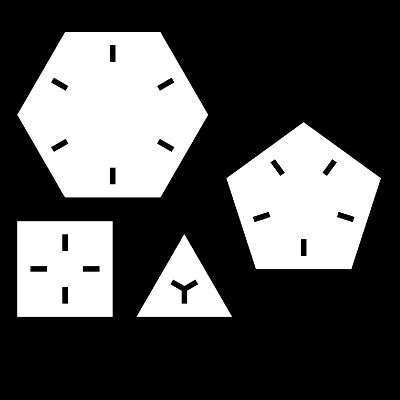
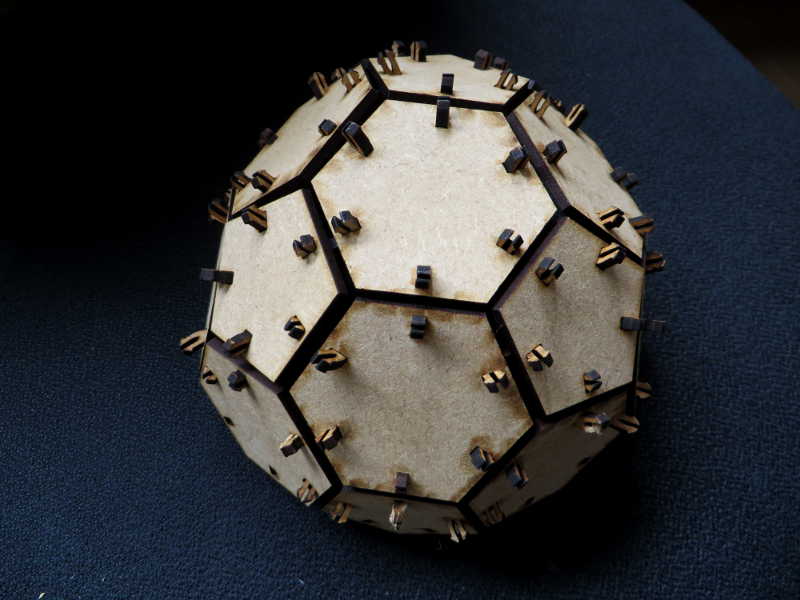
This week we made a press-fit construction kit from cardboard by using the laser-cutter. I wanted to try and make a construction kit wich could build polyhedra by connecting different kinds of polygons (hexagons, pentagons, squares and triangles). As you can see in the wikipedia-image of this polyhedron exists of hexagons and pentagons.
I wanted to connect the polygons with a connection that snaps, so it stays together well. Also, it is hard to connect the final polygons if you use a system in which you have to slide the final piece in sideways. However, making this kind of connection with cardboard was quite hard, so I switched to MDF.
Assignment
assignment: design, make, and document a press-fit construction kit
Design
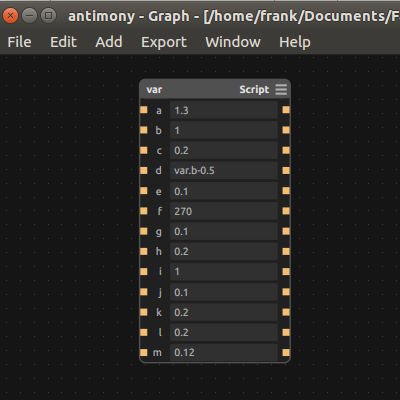
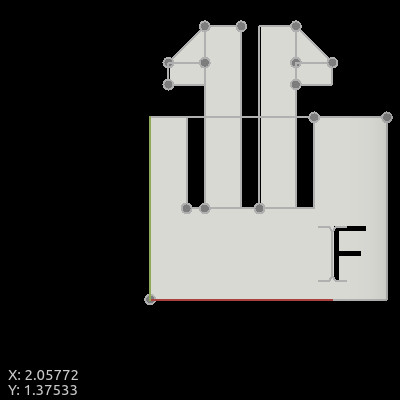
I used antimony to make the layout for the pieces. In this program you can easily change some parameters to adjust the measurements of the design. In the screen shot on the left you see the 'Script-node' which has all the variables I could adjust.
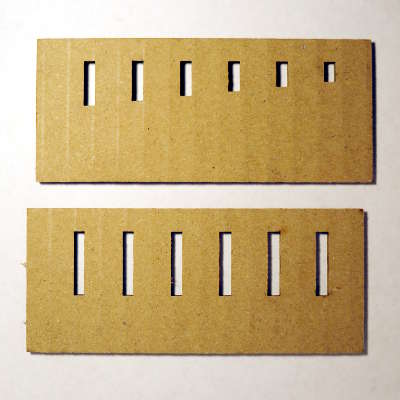
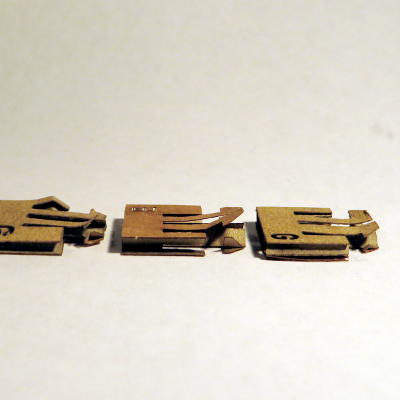
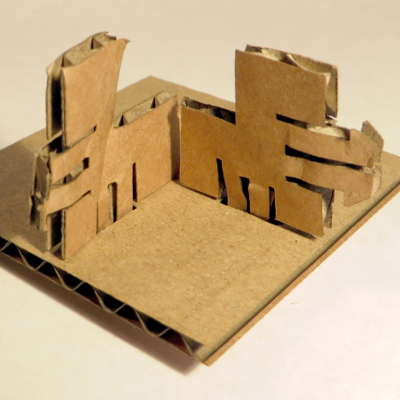
Carboard
A good fit
Finally I found a piece and a slot that seemed to have a perfect fit which I am going to use to make the connection between the polygons. As you can see, the connection holds well:
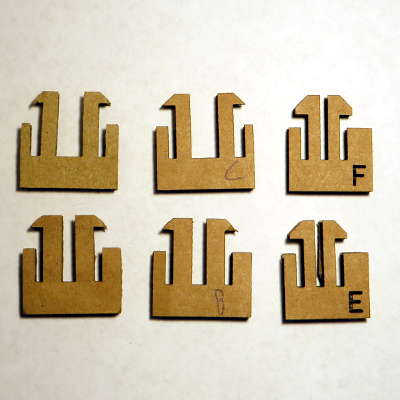
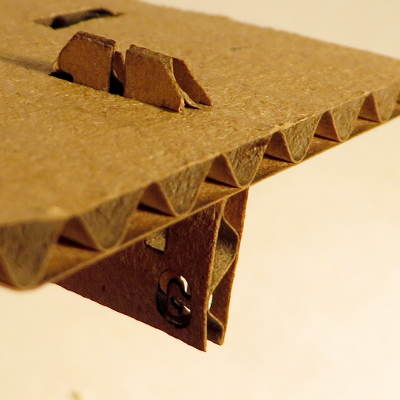
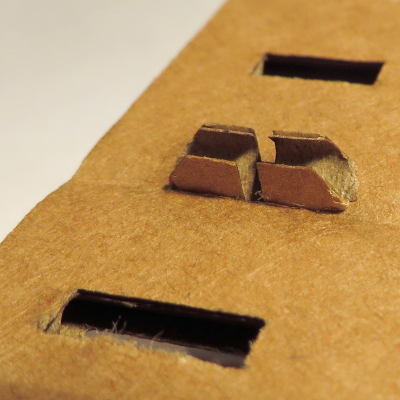
Not so good fit.
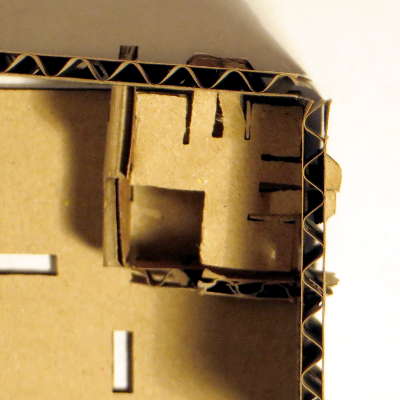
So the next test was to see if the connection would work with the polygons, but that didn't work as well as I hoped it would. The direction of the waves in the cardboard make big difference in the strength of the small pieces. Since I am making an angle with the pieces, the ends can't all be in the same direction.
As you can see, the ends wrinkle and become shorter. That is I think, the main reason it doesn't work as well as with the earlier tests, even though the dimensions are the same.
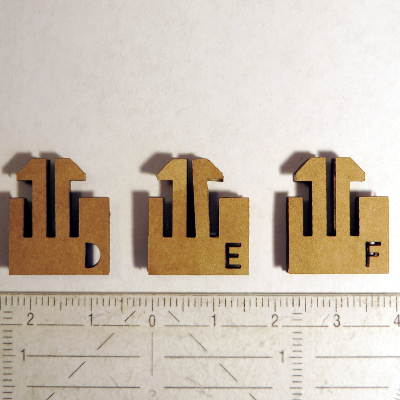
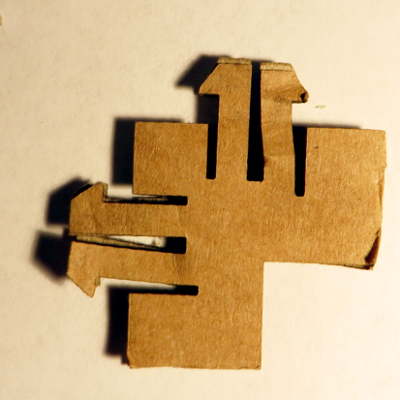
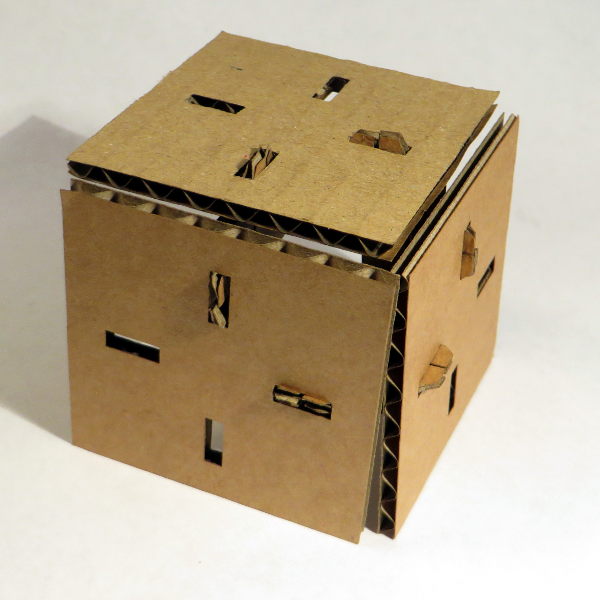
Limits of cardboard
So I think cardboard just is not ther right material for this type of connection. It might work better if the whole piece is scaled up, but then we would also need a lot more cardboard to assemble the polygons.
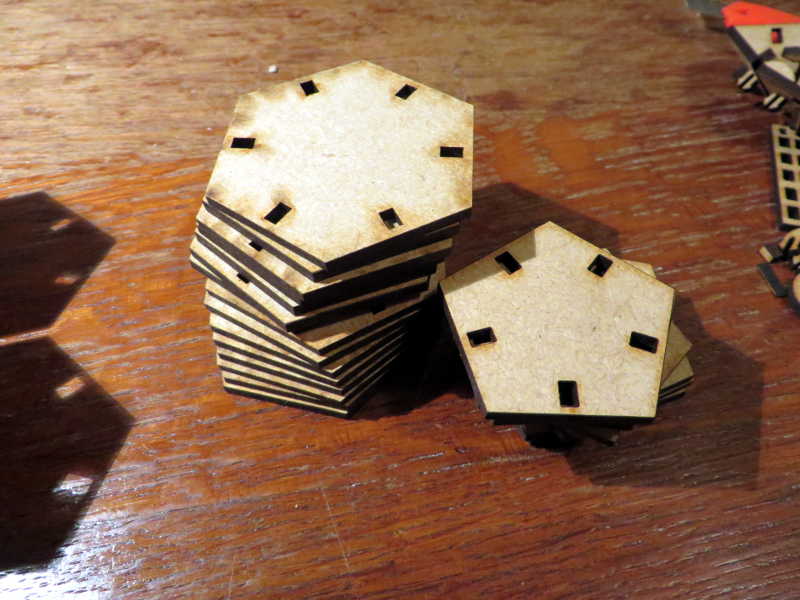
MDF
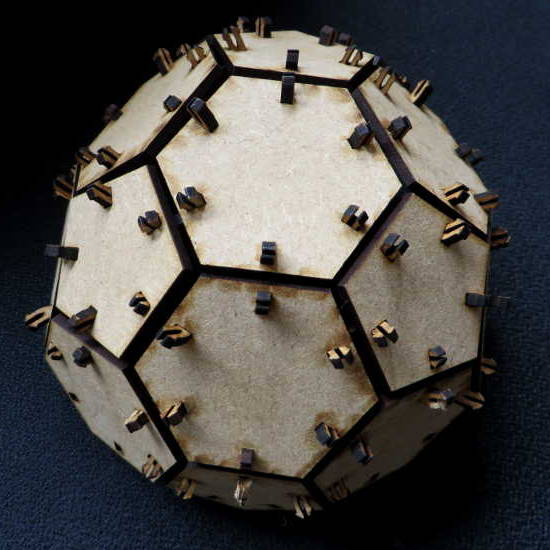
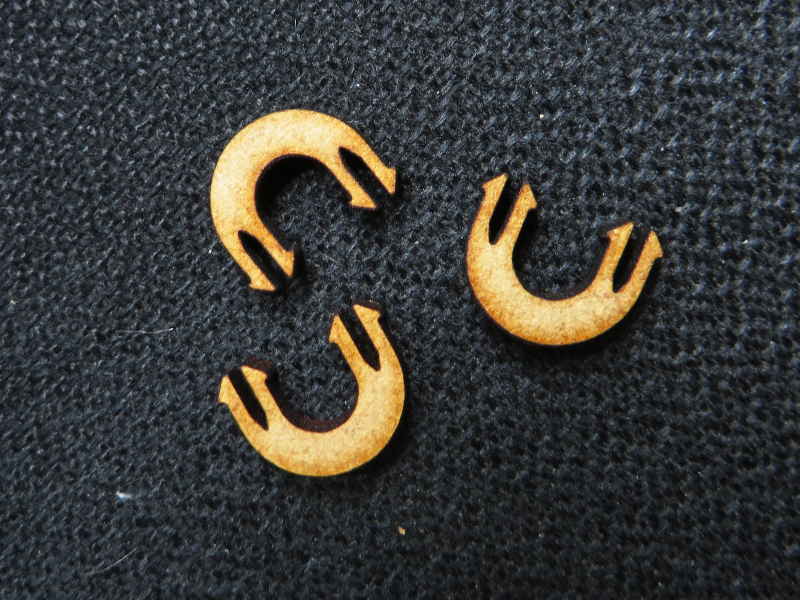
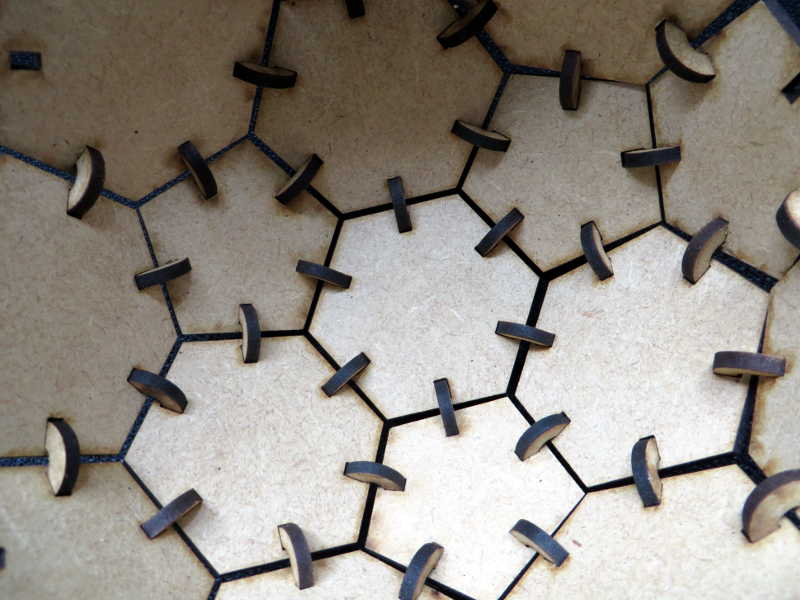
After the cardboard I starter working in MDF. I redesigned the clips and made them into half circles. Now they can connect surfaces at any angle under 180 degrees. So now you can create all Archimedean solids and Platonic solids. I've assembled it into a truncated icosahedron, the classic shape of a football.
I had some troubles with the parametric design of the clip in antimony and the workflow from InkScape to Illustrator. I was using inscape on my laptop to make the cutfile, but due to a bug in the program the measurements were nog stored in milimeters like the document properties stated, but in inches. Therefor all my previous lasercut clips were larger in real life than they were in all my files. I decided to redesign the clips in Rhino with the Grasshopper plugin, now I can save directly to a Illustrator file I can use on the lasercutter.