My plans for this assignment are:
The idea for this week is first make a simple shape piece just to learn how to work with this new technic, so i decided to make a Bike Support, which will be very useful in my house right now.
Design
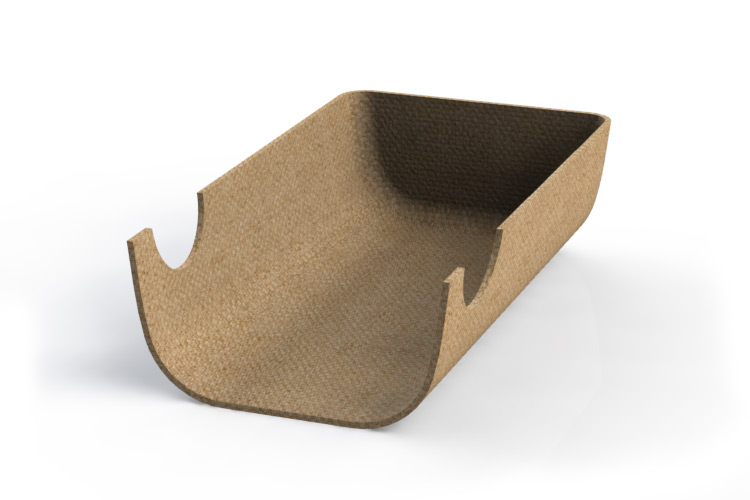
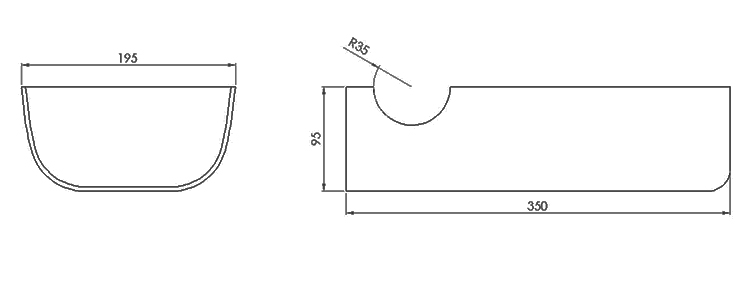
Software used:First I designed the piece in Solidworks, because in my opinion is great to have a project tree and the possibility to change it as much as you want. The first version had some big dimensions like 300x370x100mm, but after designed I had a look in the polyurethane foam blocks that were available, so I decided to make it smaller to fit in one block, instead glue two or more pieces and wait until it become glued. At the end this is how my bike support looks like:
Mill
Software used:Then after that I made the CAM program using RhinoCAM.
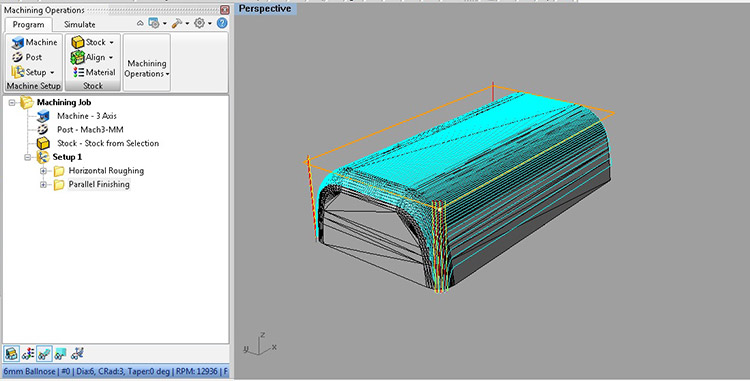
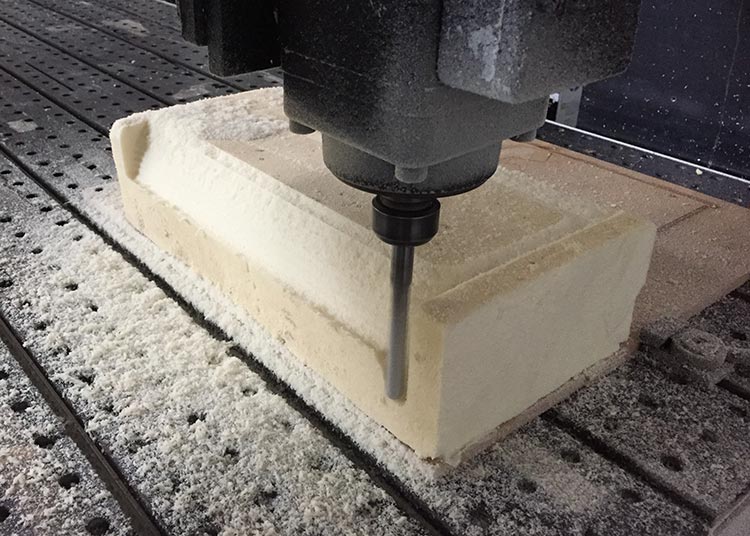
I used two cut strategies, first the Horizontal Roughing with a 12mm ball nose milling bit. And then the finishing with a Parallel Finishing strategie and 6mm ball nose milling bit. As my cut depth was 90mm I made this job on Precix router, because the ShopBot doesn't support this height.
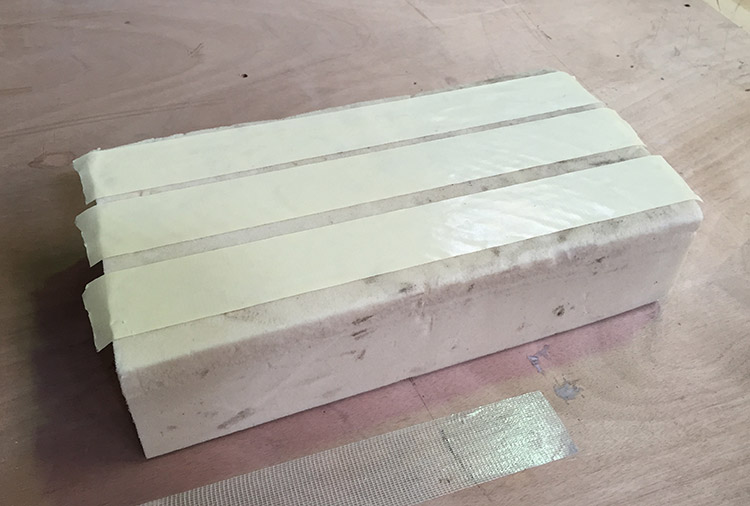
So I fixed my polyurethane block to mill with double side tape:
Then I milled it:
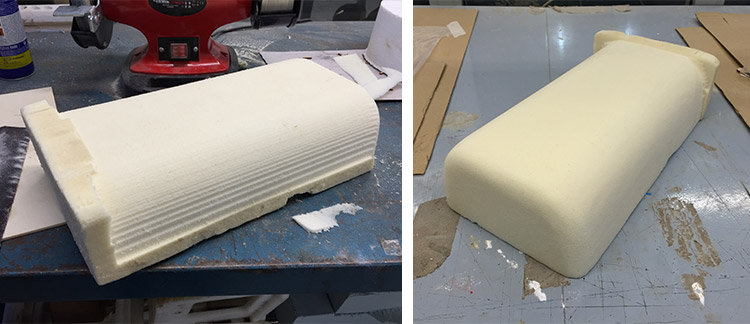
As this material is very easy to shape with sandpaper I decided to make the finishing by hand, instead wait a few more hours to get a better finish milling. The pictures below shows how was the piece when it came of the machine and after the hand finishing:
Making the Composite
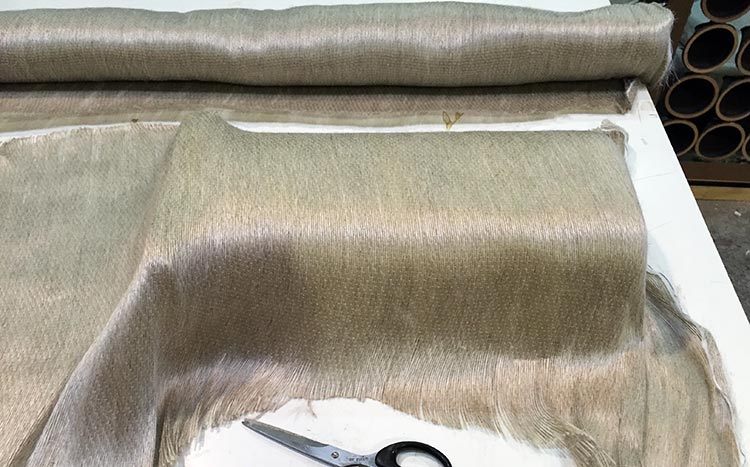
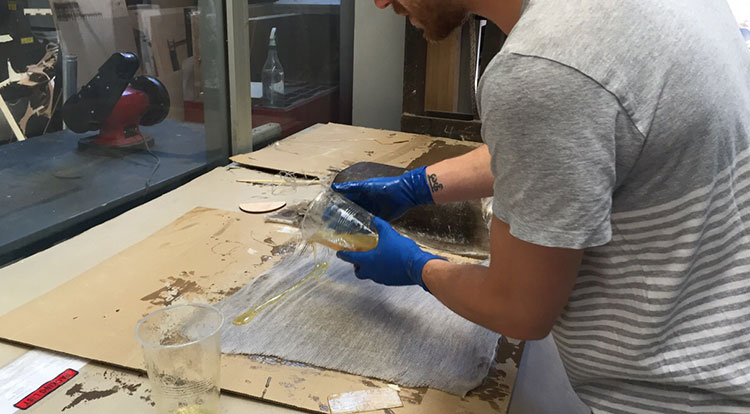
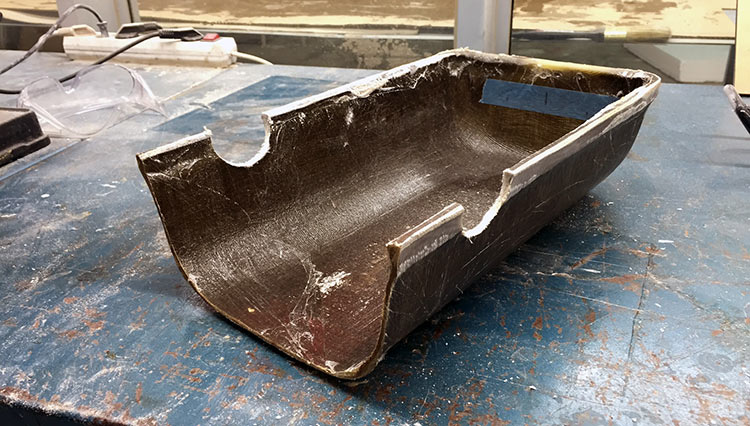
I decided to use as fiber the Burlap, which looks nice and seems that will give me the hardness that I need to hold my bike.
After that I prepared the layers in Vacuum machine. Here you can see how was my composite setup:
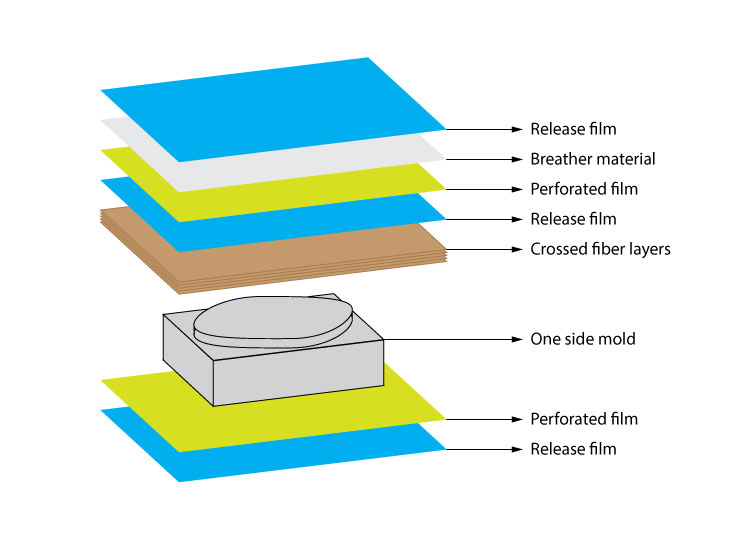
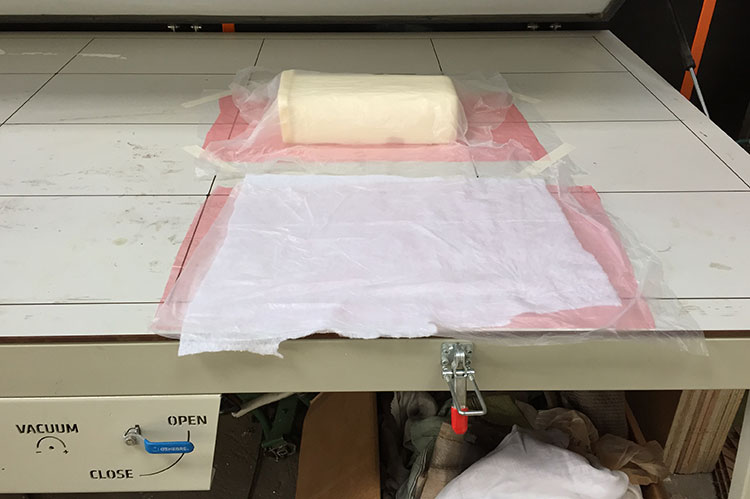
I made 6 layers of Burlap and to do this I prepared 800g of epoxy resin. At the end I only used 700g, but actually I don’t know a method to calculate the exactly quantity.

Here are some tips that I learned during the process (in my case Burlap + Epoxy resin):
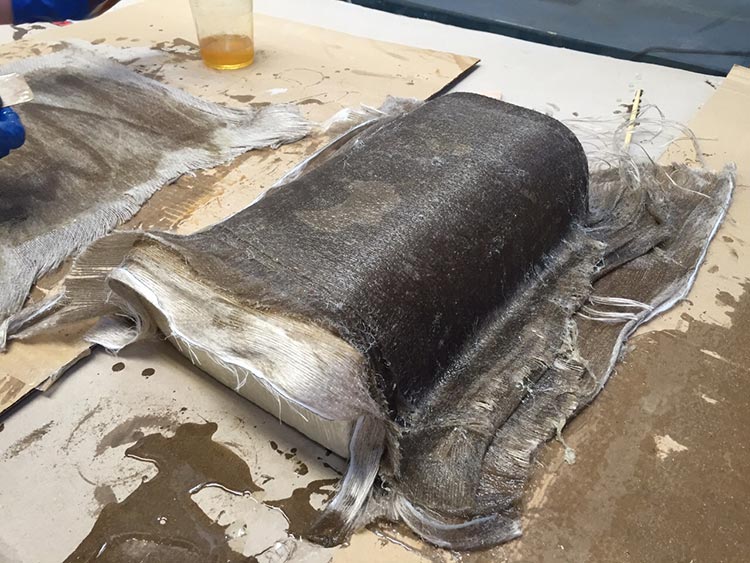
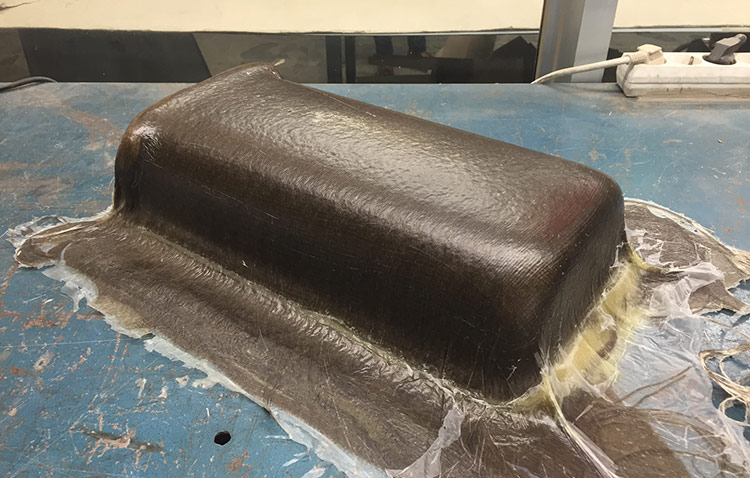
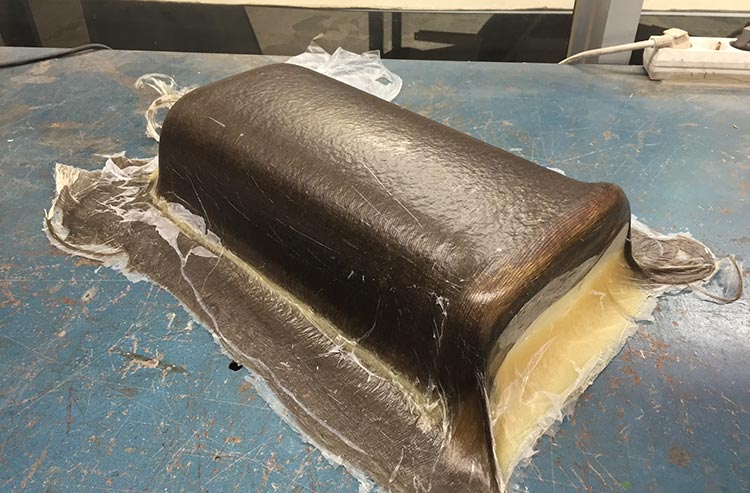
Then I left the piece 6 hours in vacuum:
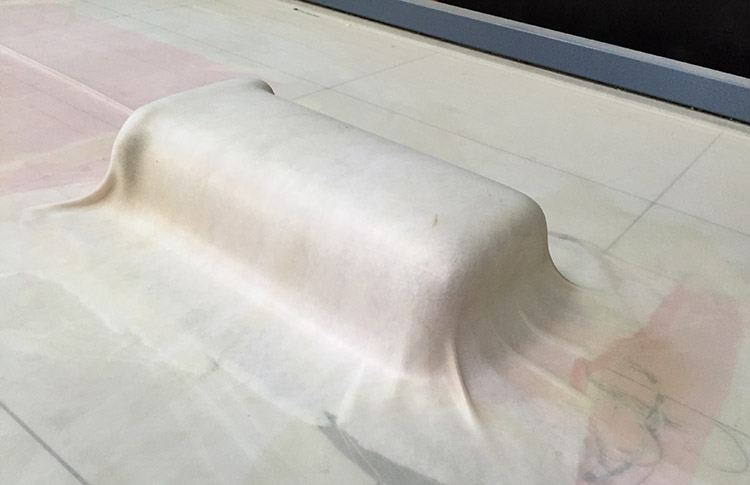
And this is the result:
| File | Material | Machine |
|---|---|---|
| Bike support model | - | - |
| Mold model (STL for milling) | High density Polyurethane | Precix 11100 series |
| ← week 11 / output devices | week 13 / networking and communications → |
|---|