
Assignments
"design and make a 3D mold (~ft2), and produce a fiber composite part in it".
Designing and cutting the mold
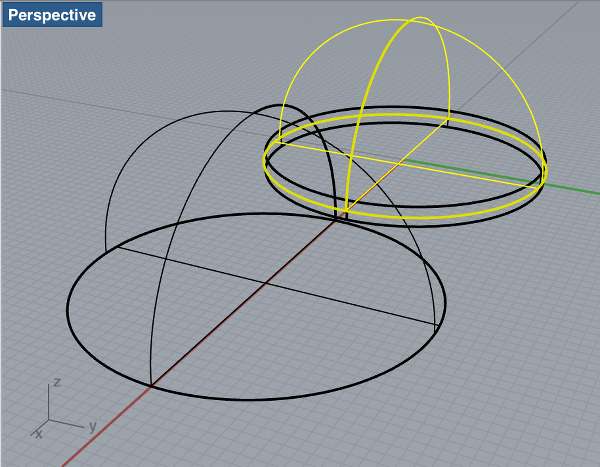
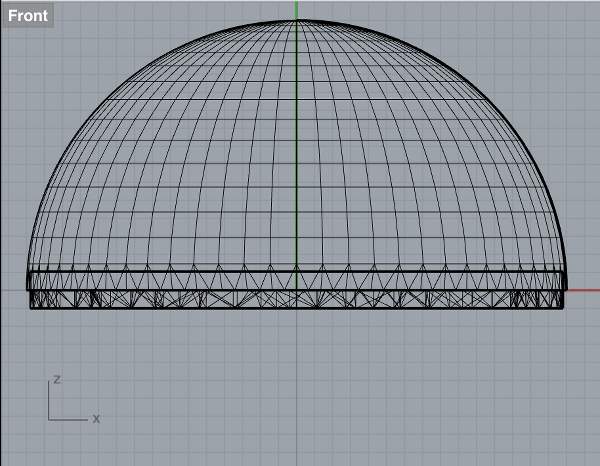
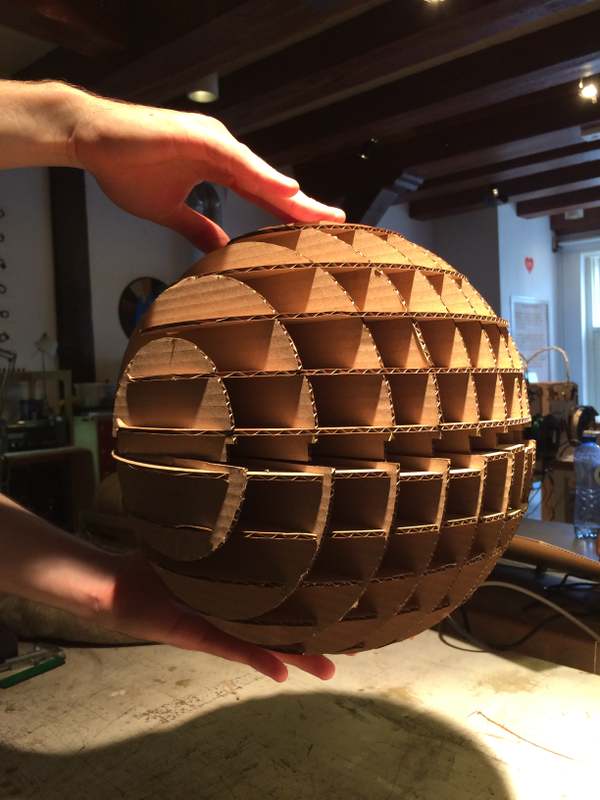
April 24 / This week I want to test whether the composite technique would be useful for my final project. Since there are some size restrictions involved in this assignment, I'll set out to make a 30cm diameter ball that is hard inside but soft to the touch outside. I'll also try to make the two halves so that they fit together but can be taken apart as well. In Rhino this was a pretty easy task, cutting a sphere in half, making a cilinder just short of the diameter width that portrudes from one of the halves and will hold the other part in place later on.
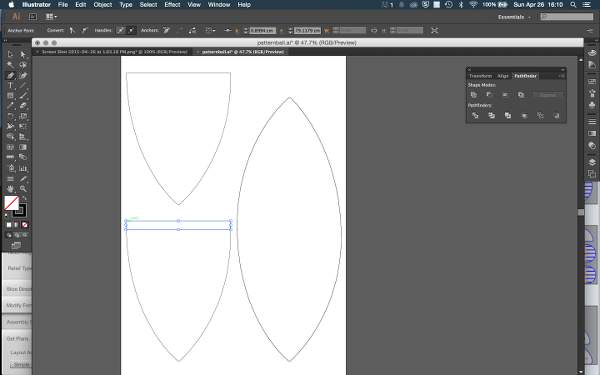
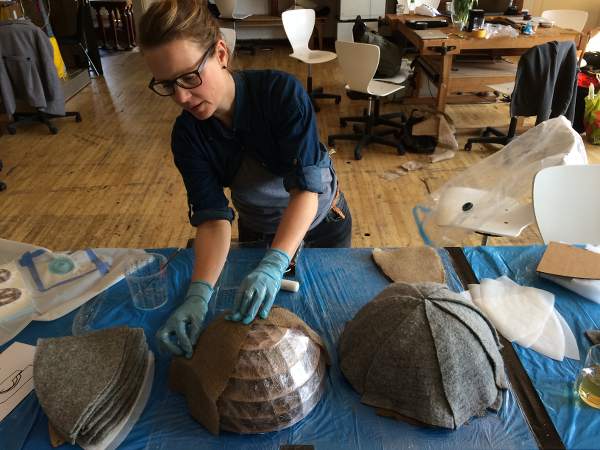
April 26 / Due to the Kingsday national holiday tomorrow, the lab opened on a Sunday today. How peaceful and quiet! Designing the connection of the two parts, I already had to take the thickness of the material into account. At home I found an old, thick wool blanket which which I could wrap the sphere twice. I decided to use the jute available in the lab as two inner layers (opposite grain direction) for tension. Holding the four layers and pressing them tightly together with a caliber, I came to a 5mm material thickness that I applied to my design. During local class, our instructor Mickael Boulay mentioned AutoDesk's 123DMake, free software with which you can turn mesh objects in to constructable press-kits that can also serve as moulds.
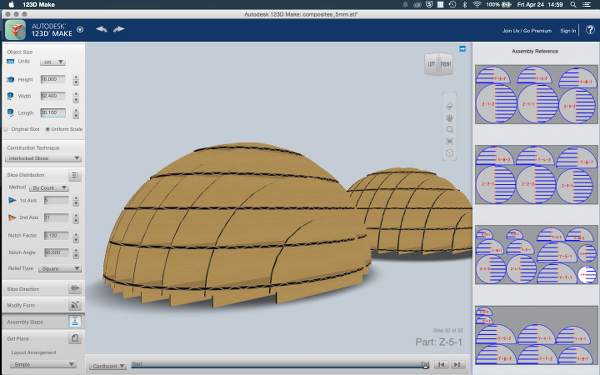
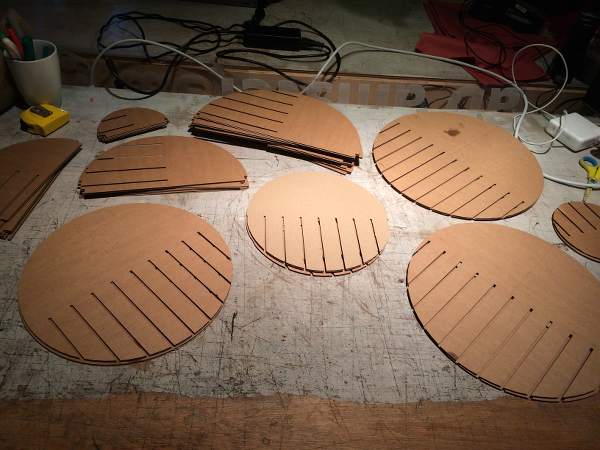
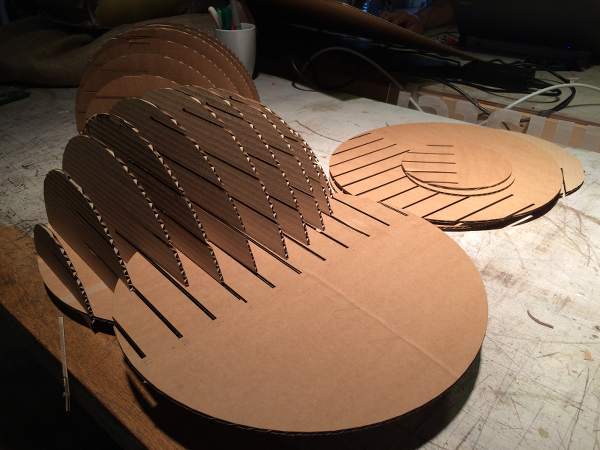
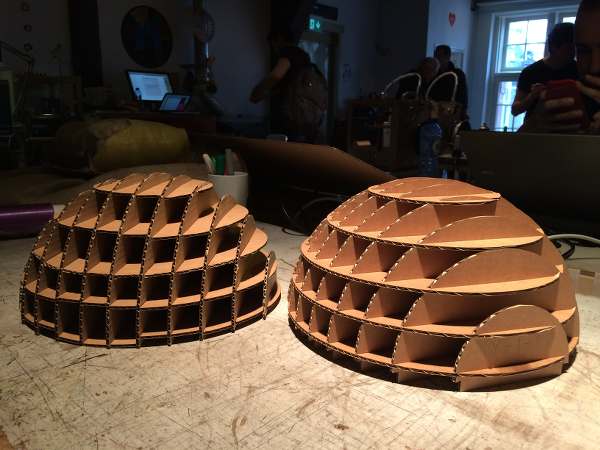
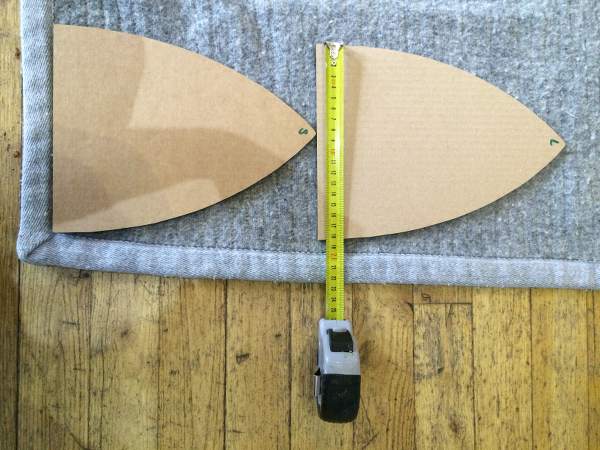
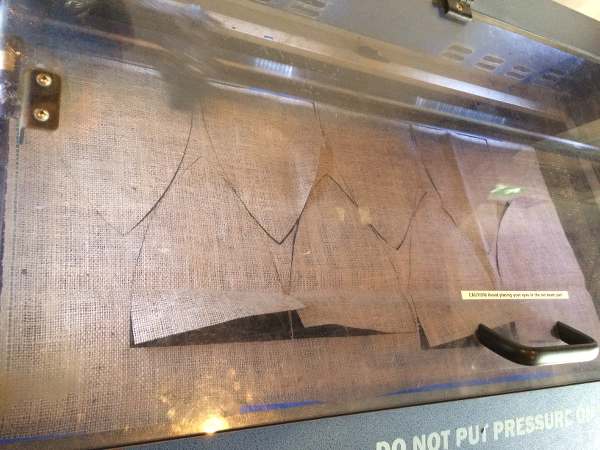
I imported the .stl files I exported from Rhino into the program and fiddled with the settings until I could laser the two half spheres from four cardboard sheets.Construction was a walk in the park as identifiers are engraved on the parts that match the 123DMake construction instructions.
 ..................................................................................................................................................................................
Layup and vacuum bagging
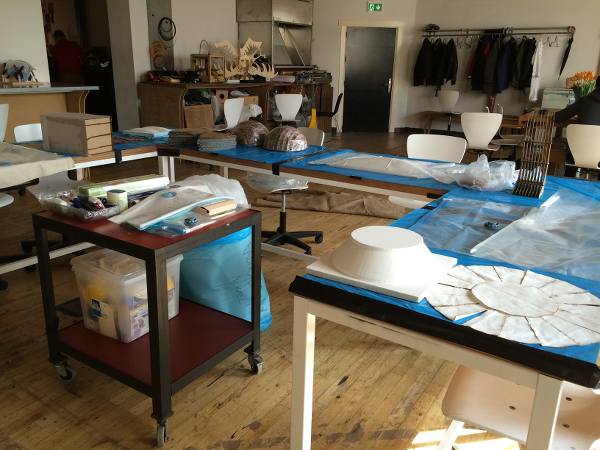
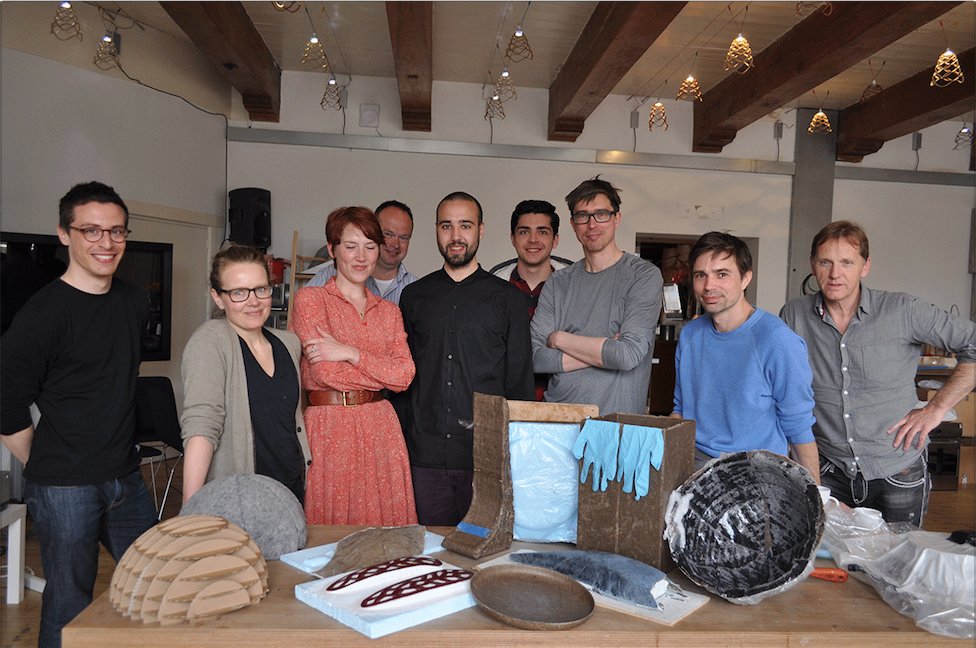
April 28 / The MakersGuild room is all prepared for our composites session today!
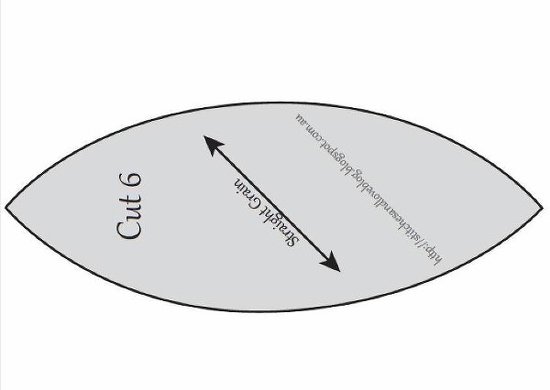
I found a pattern for textile ball-making online and scaled it to the size of my sphere, to cut out the pieces of wool and jute that I would use for the layup.
To save resin, we decided to do the layup 'en groupe' and share the resin so that hopefully none would have to be thrown. I soon found out that I was using by far the most resin since the thick wool of the blanket is unbelievably hard to saturate. Also, the pieces of cloth are heavy and want to slide down the vaselined cling foil very much, which made it near impossible to create a smooth surface. After one ply of wool and two of jute I finished off with a ply of wool that was impregnated on one side only, to keep the softness of the outer layer. For the second half sphere I decided to skip the inner layer of wool and start off with the jute straight away, the finish with the wool. Due to the soft outer layer, I saw no need for a breather on top. During an earlier test vacuum session on the mold alone, I learned that putting a connecting breather under the two parts helps the vacuum also reach the back of the part that is furthest in the bag.
Surprise: Cleaning away the pots of resin, Mickael discovered that at least one of us had been mixing epoxy with the wrong hardener. Since we've all been sharing resin and left-overs, there's no way to know who used the faulty batch. After several phonecalls to the Super Sap people, Mickael found out that this particular combination of epoxy and hardener basically had never been tested, so results could go either way. We will find out tomorrow when we unpack our composite surprises!
..................................................................................................................................................................................Unmolding
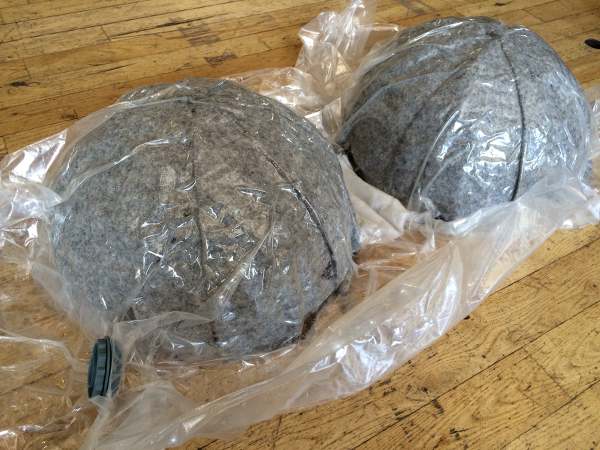
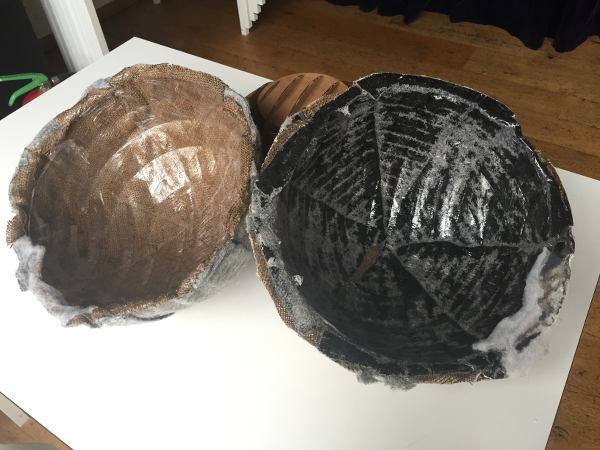
April 29 / As part of the local review today we unmolded our composite parts. I was sooo glad to notice that the parts felt hardened through the plastic of the vacuum bag, and still soft on the outside. The vacuum had pulled some of the resin through to the outside, which made the wool feel bristly in some places. Very surprising to me was that I could pull the cardboard mold out of the composite part completely intact.
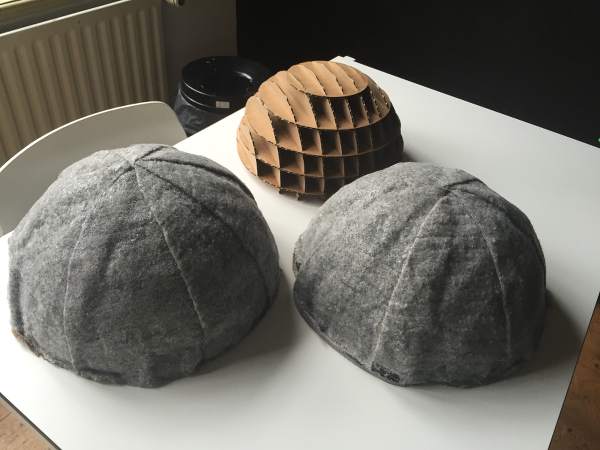
Next, I noticed a huge difference in weight between the two parts; I put them on a scale and measured approximately 1200 grams for part 1 and appr. 500 grams for part 2! That's a difference that seems to comply with the 600ml of resin that went into the first layer of wool of the first part. This one is super strong, the inside feels like bullet proof glass. Like Neil asked me during the lecture; no problem to stand on it. The second part that has only two plies of jute and one half-impregnated plie of wool is still slightly flexible.

Some conclusions
My original intentions to have the parts fit into eachother failed badly, since the plies were much thicker and heavier than I estimated. Neatly folding them around the inner edge I created was impossible. Even if I could have, the resin trickling down has caused the bottom edge to be thicker than intended. If I would attempt this again, I would make a two-part mold that leaves just enough room for the thickness I need. Also, although nice to the touch, wool isn't a great choice for a composite like this. It doesn't add fiber and sucks up so much resin that the object will become very heavy.
Resources
The composite family :)