


Assignments
"make something big".
* NOTE: There was a plan A: I started off in March / April to make a large living hinges mirror frame. I spent 3 Shopbot sessions on trying to bend a piece of plywood full circle, but I didn't manage within the timeframe of the assignment. I didn't return to the 'something big' assignment until half June, when I realized that I wasn't at all looking forward to working on the mirror frame again. That seemed like a bad way to finish the assignment, so I decided to change the plan to something that I quickly became quite exited about and actually looked forward to making. See the documentation below!
..................................................................................................................................................................................Plan B, modular city (Utrecht, the Netherlands)
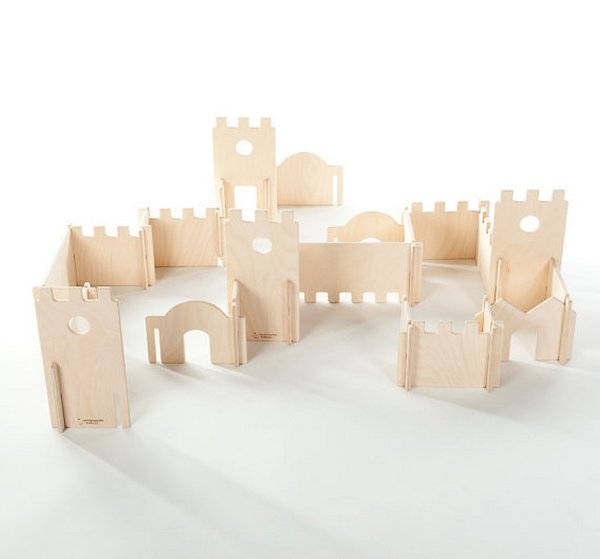
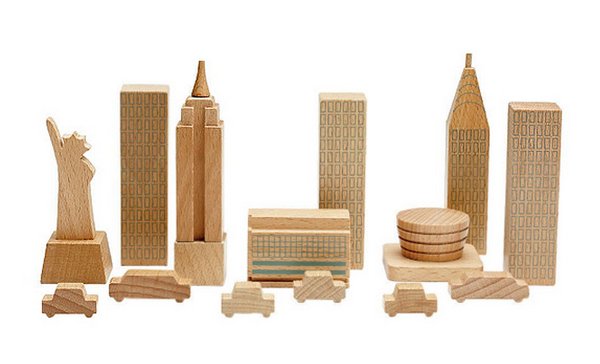
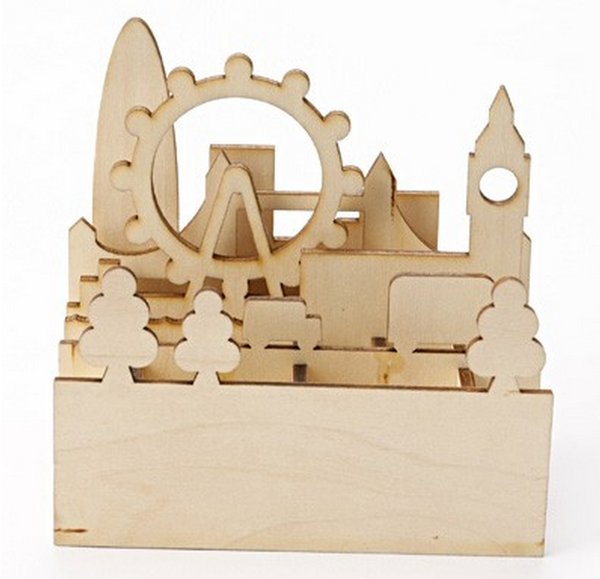
June 15 / Already a long time I've been impressed by the modular toys by Manzanita and Muji, and now I saw the chance to make a unique set of toys using symbols and landmarks from my own city of Utrecht.
One of the most famous children's book writers and illustrator of Holland is Dick Bruna, inventor of the famous Nijntje figure (Miffy). He lives and works in Utrecht and three of his buildings will find their way into my project;
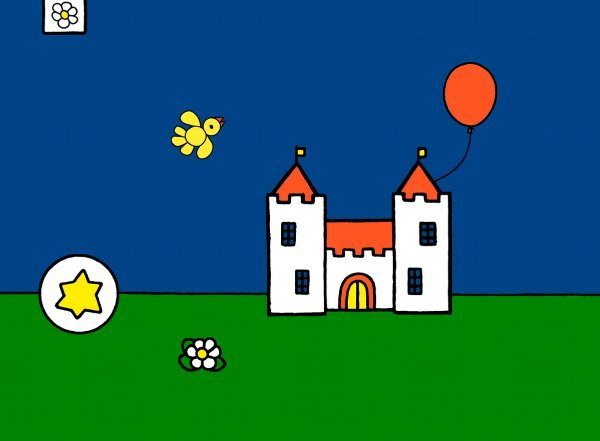
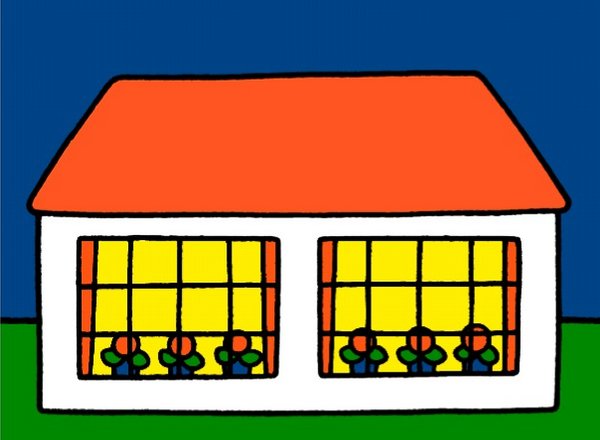

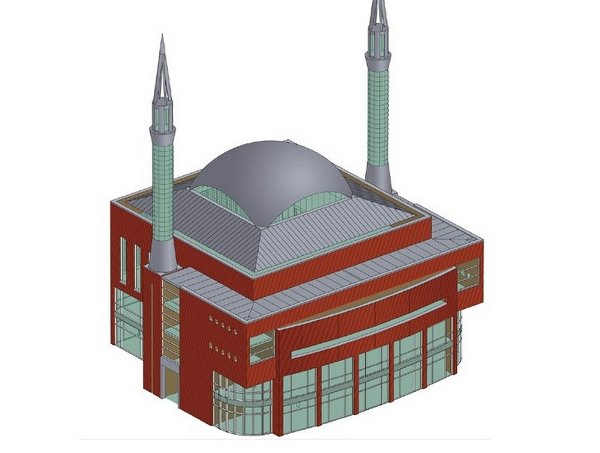
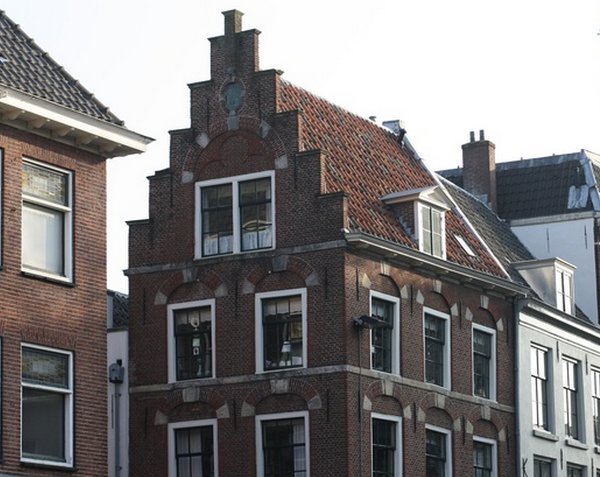
...as well as three landmarks of Utrecht, the Dom tower, the new Ulu Mosque and the 'staircase' canal houses.

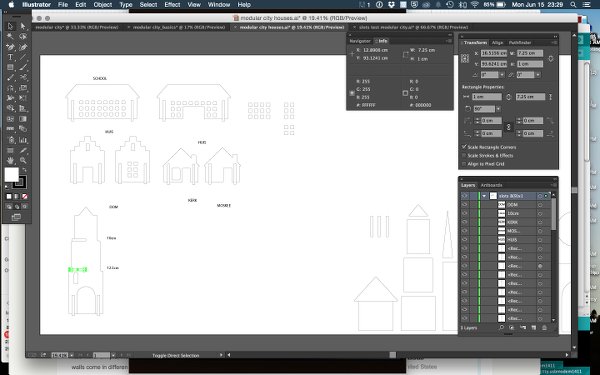
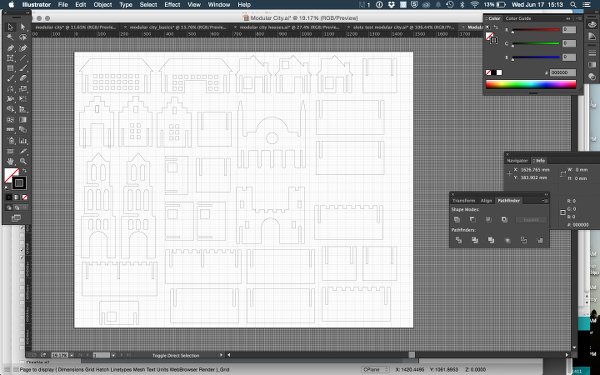
In Illustrator I started sketching the basic shapes to build most of the structures with. This assignment taught me a lot about Illustrator and 2D design in general. For instance, I discovered the additive and subtractive functions in pathfinder that were amazing for this project. As I learned by now, I tried to keep all parts and instances of the designs handy (save to a second file before combining, etcetera) to do quick troubleshooting later if needed.
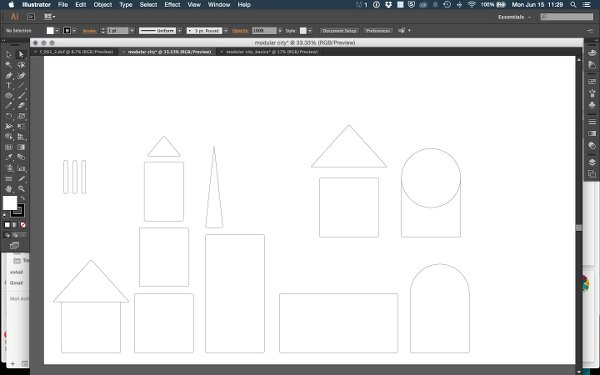
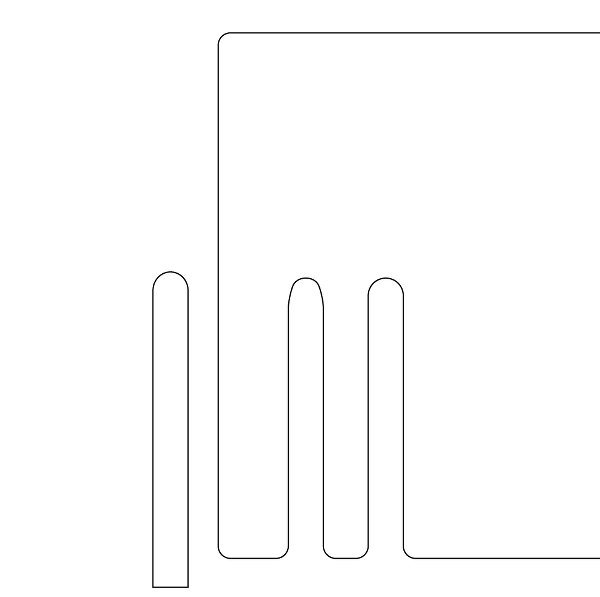
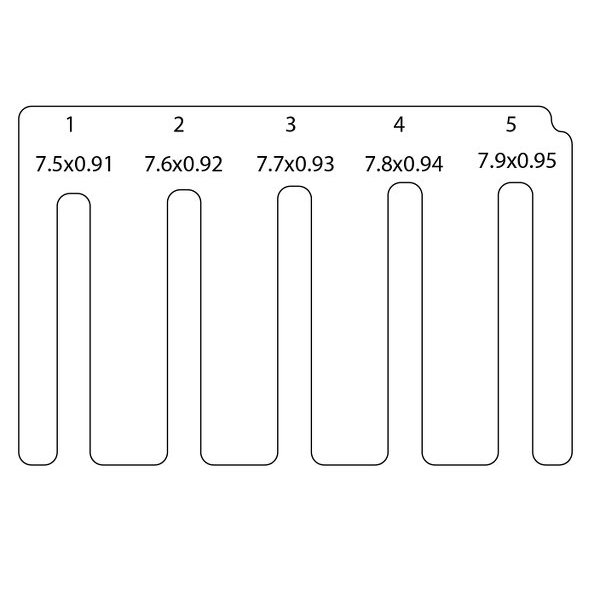
June 16 / I couldn't place the slots in the pieces until I had tested them for the fit on my Shopbot-day. The parts should be easy enough for a kid to (dis)assemble, but not be unstable or move while assembled. I did place the pieces that I'd later substractively create the slots with in the design, so I was sure I left enough space and wood around them. I designed a test piece with slots of various width and length which I could run first.

 ..................................................................................................................................................................................
Milling the city
June 17 / Setting up the Shopbot for the job. I used the following tools, materials and settings;
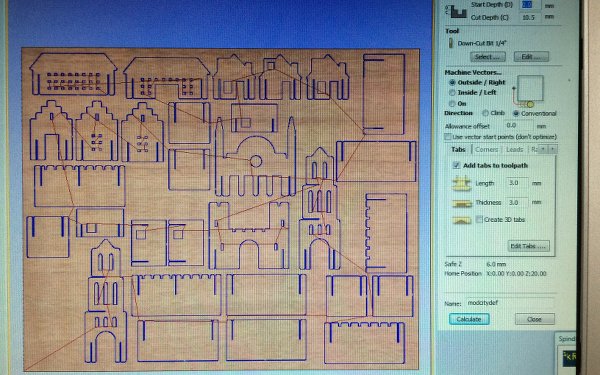
After drawing the drill-holes on the wood in Partworks (so that I'd continue to see them in my document when placing the city-parts), I ran the drill job and secured the wood to the sacrificial layer. Changed end mill, calibrated the axes and first ran the test job. I found that slot nr 5 was perfect in width, and that I'd best make them 7.55mm long. (Indeed I took the first picture when the parts weren't positioned correctly yet, if you spotted that :)
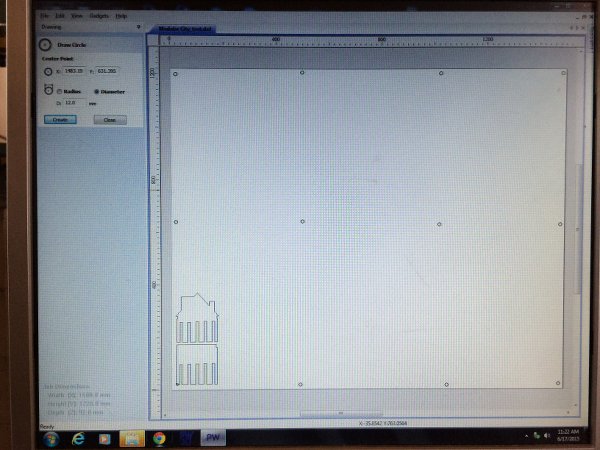

Adjusting the slots in Illustrator and adding them to the houses and walls took way more time than I thought, a parametric solution would have been great here. Also, as I'd noticed with the test, the .dxf files exported from Illustrator do not import in Partworks. I had to load them in Rhino for Mac, fillet all the corners again, and then export as .dxf again. With two hours left in the day I finished, loaded and placed the parts in Partworks (closed a whole bunch of vectors!), put the tabs in and ran the whole job.

Just a quick test;

And after several days of sanding....


Resources