Output Devices
This weeks class of Fab Academy 2015 was about creating and programming electronic output devices . Last week I went to the Sounding Textiles | STEIM workshop to learn about making microphones and speakers in Textiles as part of this weeks objectives. So this week I wanted to create my own Class-D headphone amplifier with Attiny integration for tone generation. The intent it to use it with the hand made speakers made at the workshop.
To quote Prof Neil Gershenfeld:
In reference to Class D Amplifiers “This is the fun one”
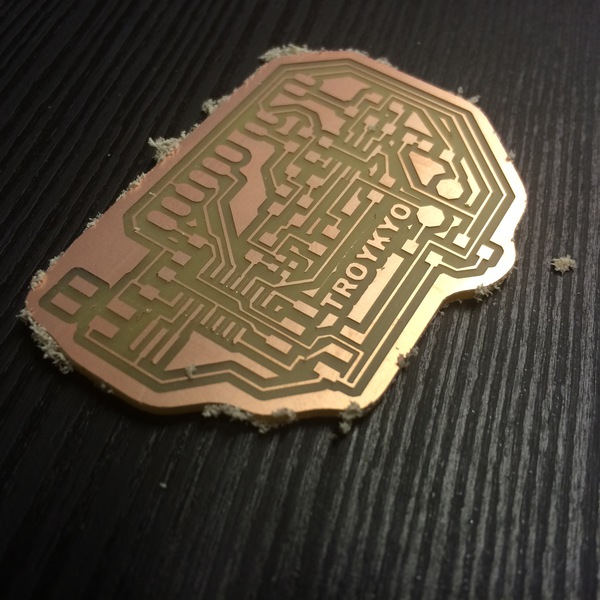
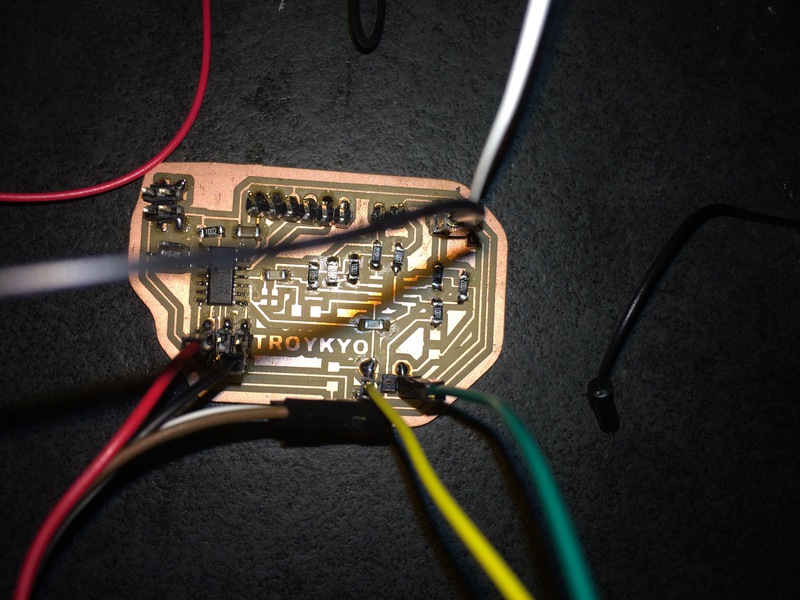
Board
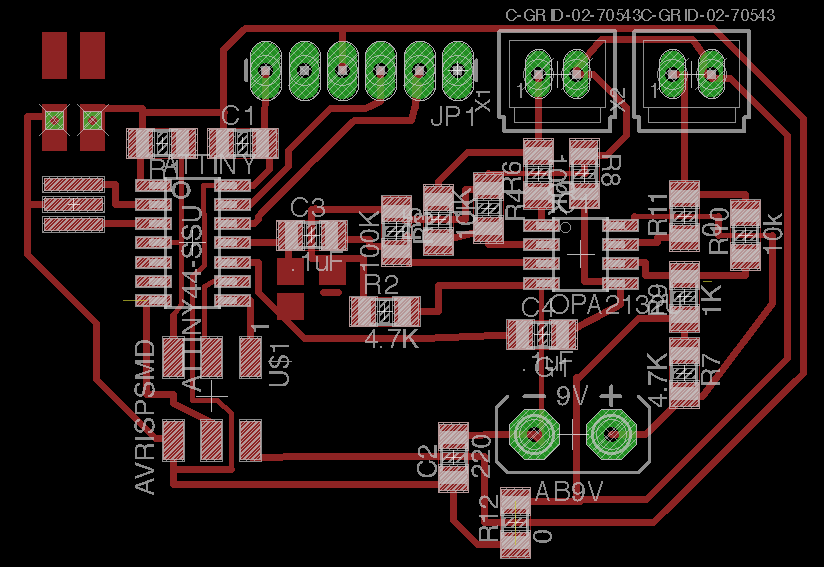
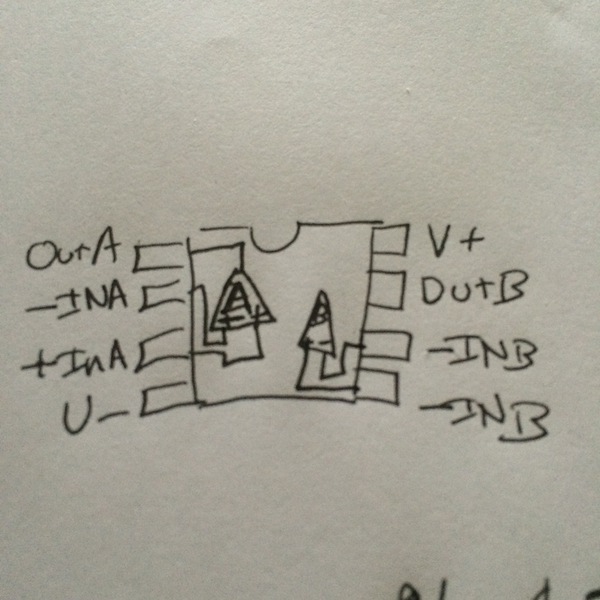
I wanted to recreate the class D amp I used in the Steim workshop last week. I just laid out the circuit in Eagle when I once again realised using the opamp dayasheet that the pinouts are different then the ones in the eagle library. I made the necessary adjustments and worked out the class D Amp.
Code
I modified the base code that Niel made. I adjused the code to emit varying square waves that the Atari Punk console usually creates. It's facinating to recreate a hardware circuit in Software on an Attiny. It took a few trials to amplify the output in software but in a few hours I was simulating the Atari Punk Console with ease.
Materials
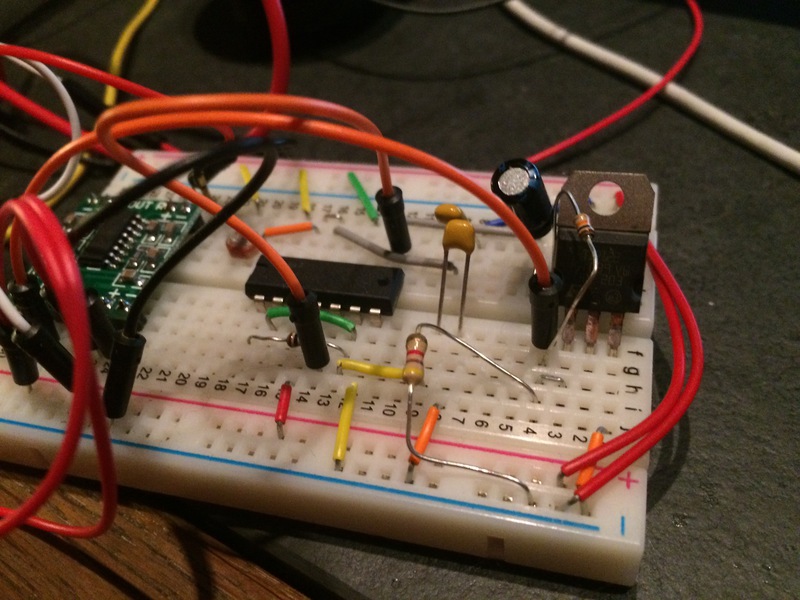
We experimented with conductive and resistive materials as we looked into making and sensing sound with textiles. Here is a list of some of the things we had available. We used the Atari Punk Console 556 timer to create a square wave and experiment with our sensors. Mika and Hannah gave insight into their past experiments and we got started.
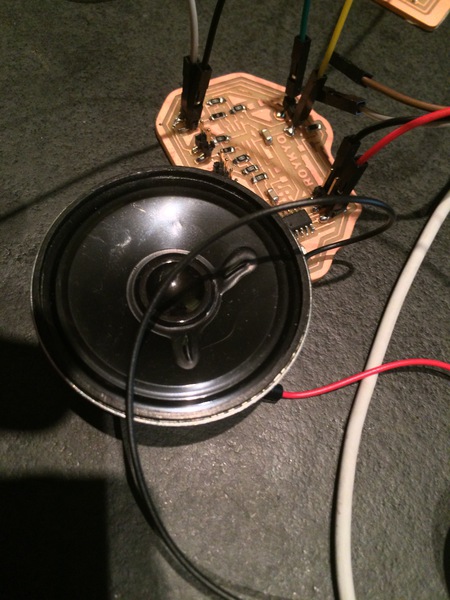
Speaker
To get going quickly I coiled an enamel copper wire around a Lilypad Arduino holder I designed and started looking at the output. I was very impressed at how much force could be created as seen in the video.
IMG 7382 from Troy Nachtigall on Vimeo.
Using the speaker from last week I wanted to build an amplifier. To get going quickly I coiled an enamel copper wire around a Lilypad Arduino holder I designed and started looking at the output. I was very impressed at how much force could be created as seen in the video.
Conclusions
Using the same element as an actuator/sensor, Input/Output is fascinating and while I am new to working with sound this is an exciting circuit. Audio is brand new to me and it was a great exploration into how to vibrate things at levels that make noise. If I have more time I will return to the code but its supply side time management here.
You can find all my source files here: Output Design.