Machine Building
This weeks class of Fab Academy 2015 was about machine building. This is the team building week and requires all of the members of the lab to come together to make something great.
To quote Neil Gershenfeld and Nadya Peek Stress is press, Strain is Pain. … Given this machine that you guys are going to be building we already made some assumptions.
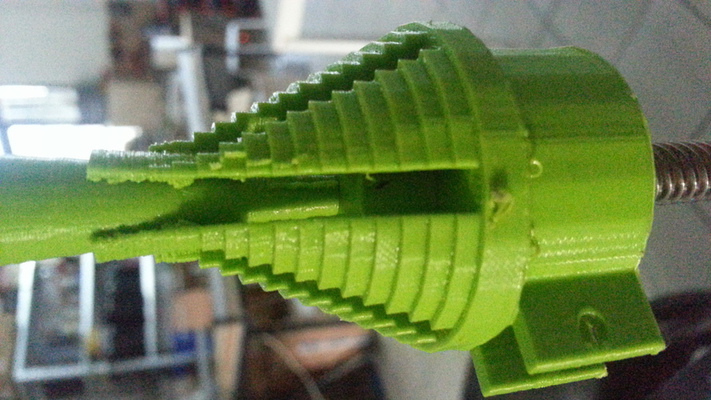
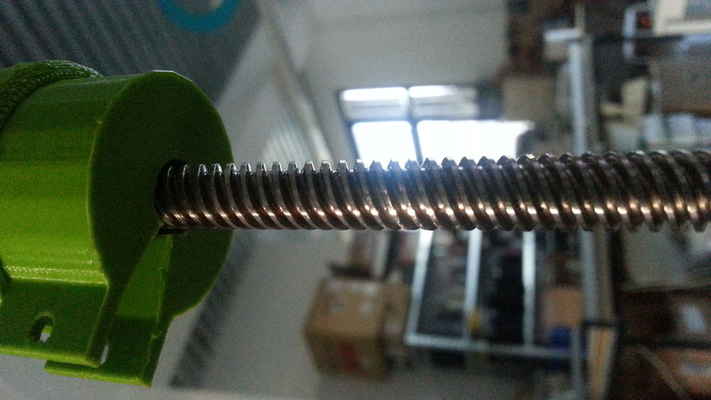
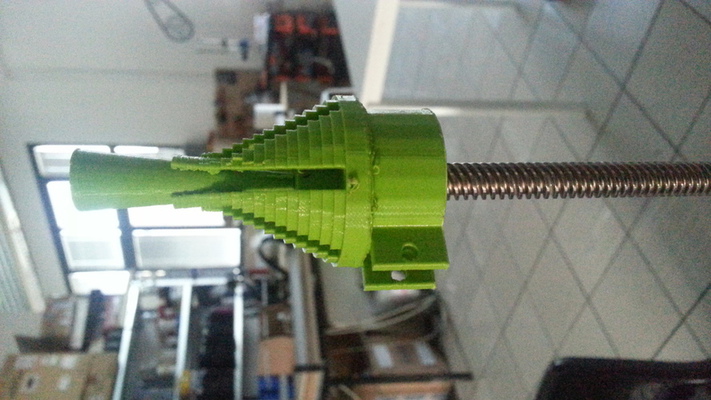
The Machine
Fab Lab Cascina is famous for people getting married, so we decided to make or very own amazing ring milling machine.
The Electronics
I am located in the Netherlands which is a long way from Pisa so my fob was the electronics design. After a brain storming meeting with Fiore we decided to use the Pololu - A4988 Stepper Motor Driver Carrier breakout because it has adjustable current limiting, over-current and over-temperature protection, and different step resolutions. These use the A4988 and here is it’s datasheet. This was not a chance choice. I recently finished creating a stepper control board from scratch and they are very delicate. I fried one of the A4988 drivers the third time I turned it on. (Blue smoke of death style.) There is a new, profound, appreciation for the Electronic Engineers in my life. I started with the motor stepper board I created for my final project and modified it for the machine that we are all building together.


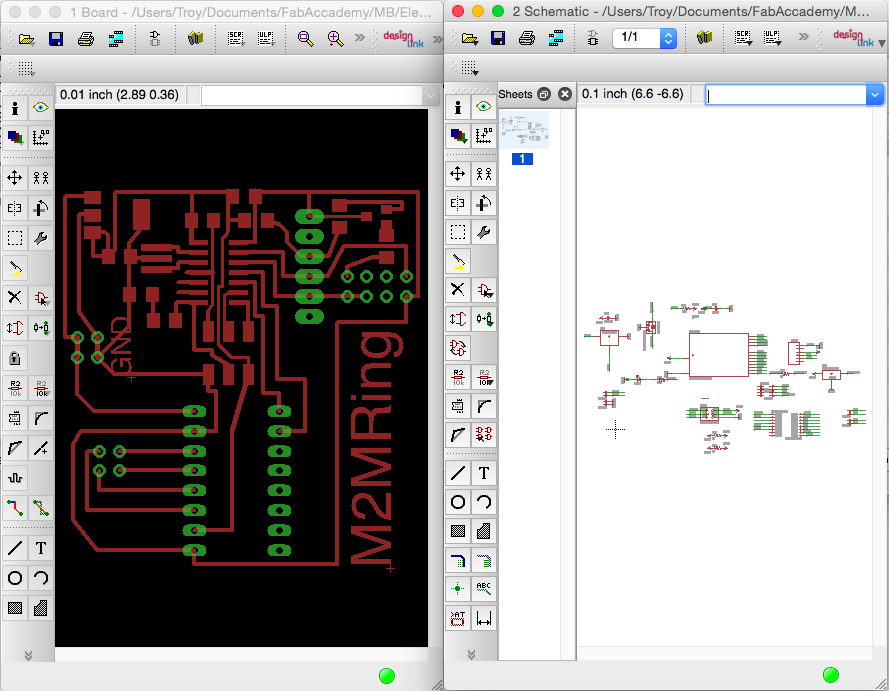
Like so many components the Pololu - A4988 does not exist in any library so I had to fake it real. 8 pin headers were the key and I'll have to manually check the spacing in illustrator later. I had to spin it a few ways buy I found a really nice position for it on the layout. Everything else was a cakewalk except the regulator. The REG Ldo 5V 1A SOT223 LM2940IMP-5.0CT-ND that we used is a very tricky little component. As you'll see in the datasheetLM2940(-N, C) a the input and output are exactly opposite of the regulator that is in the eagle library. No fear, I've seen this before. Never trust a regulator, go read the datasheet. If you download the eagle file the component may seem backwards, but there is a reason for that. In the upper right hand corner I left the circuit for the ESP8266, If we want to make the M2M wireless one day the circuit is all ready to go. I uploaded all the files and emailed my group mates. I hope our M2M machine is amazing.
##InterfaceAs I still needed to complete my Interface I made the interface for this as well. I am following the tutorial [Python Web-based Serial Console using WebSockets](http://fabacademy.org/archives/2015/doc/WebSocketConsole.html) written by [Fiore Basile](http://fibasile.github.io/) to finish this assignment.
I ran **sudo pip install pyserial tornado multiprocessing** to install the needed software on my Mac.
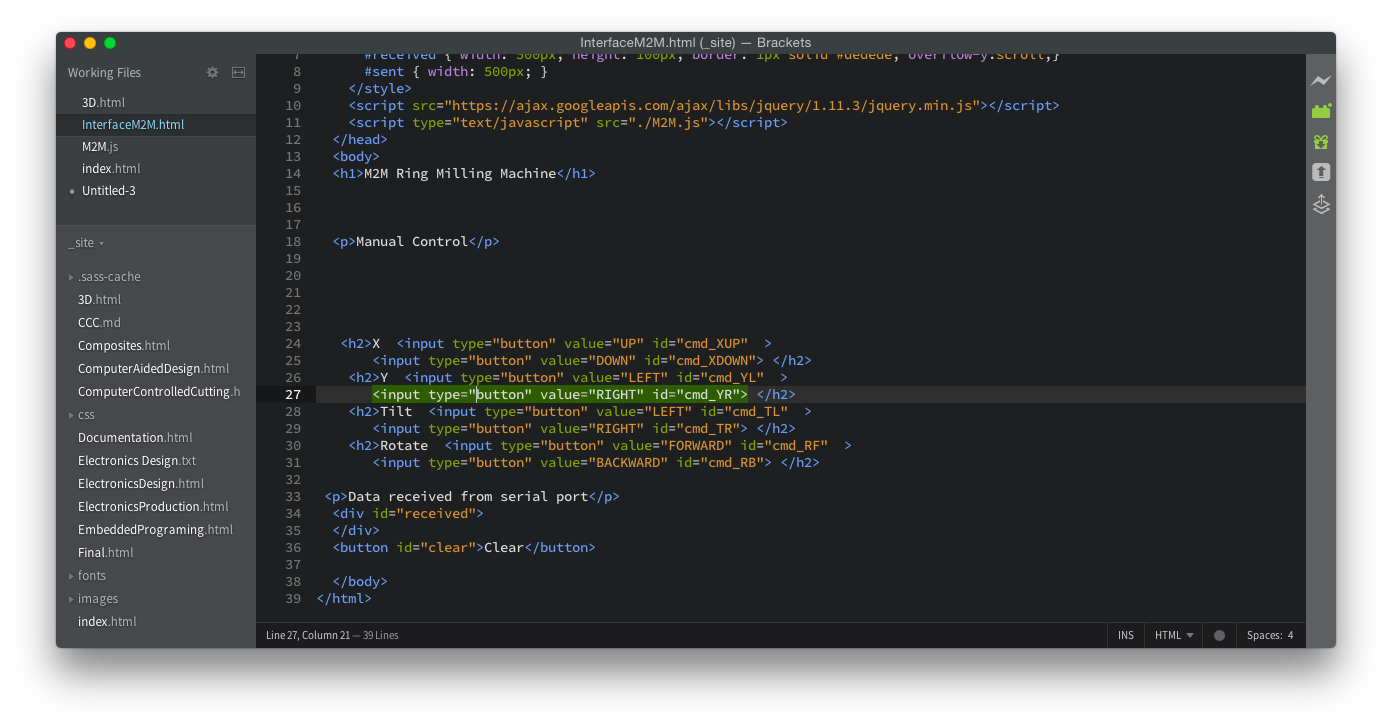
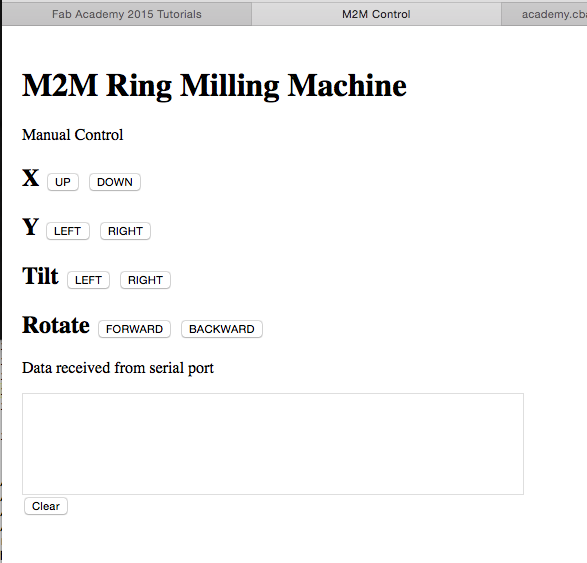
First I created a basic HTML site. M2M Control I don't remember how attach data in buttons and have to go back and look at that. The Javascript is contained in M2M.js
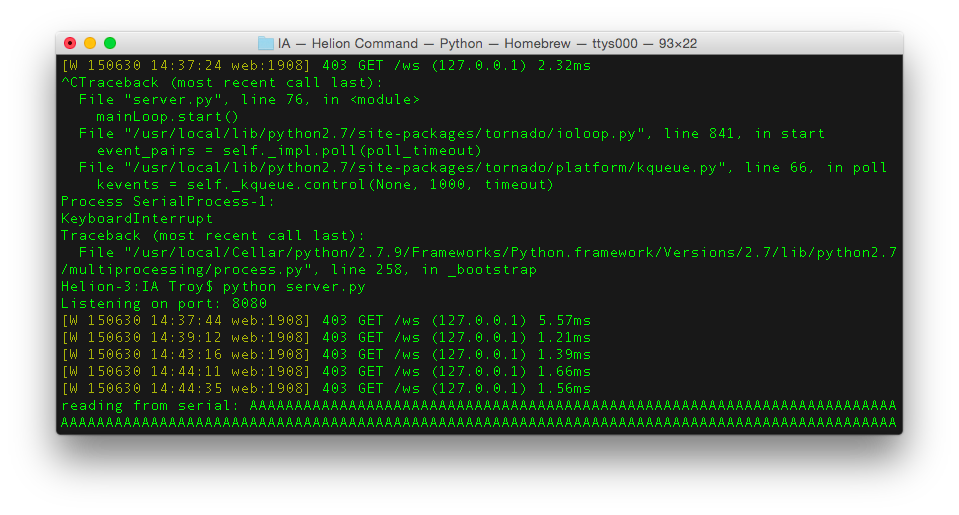
I followed Fiore's instructions and enabled the Tornado Server Tornado Web Server.
I attached it to my fabduino and the only difficulty was configuring serialworker.pyc to my fabduino. cu.usbmodem411
It worked, so I created the buttons and made the calls in the javascript. You can see the code on these two page [M2M Control] M2M Control and M2M.js.
Next I made some small code for the Fabduino and the Stepper motor shields that takes simple commands from serial and breaks them down to their specific motor control board. Nothing special, but it does the job. I am out of time for this week, but I think I made the mark.
You can find all my source files here: Input Design.
Conclusions
This project took a lot more work than I expected but it really solidifies the machine to computer relationship. Code took some work, but I am better for it.