Input Devices
This weeks class of Fab Academy 2015 was about creating and programming electronic input devices . I went to the Sounding Textiles | STEIM workshop to learn about making microphones and speakers in Textiles as part of this weeks objectives
To quote Prof Neil Gershenfeld:
Next is by far my favorite sensor which is step response. You can use this to measure resistance, capacitance, inductance, position, pressure, proximity, tilt, humidity, acceleration… You can use what I’m going to cover now to make touch pads.
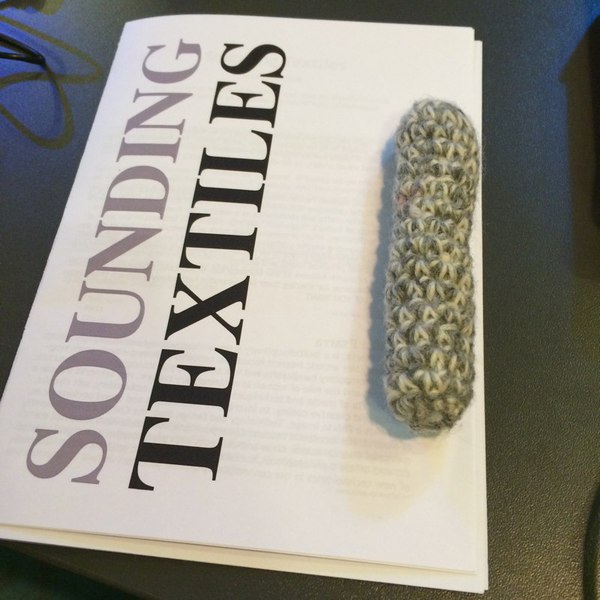
I traveled to Amsterdam this week to attend the Sounding Textiles | STEIM workshop held by Mika Santomi and Hannah Perner-Wilson of KOBAKANT and Afroditi Psarra. We used conductive Textiles and magnets to explore new ways of making coils to use as sensors and actuators such as Microphones and Speakers.
Circuit

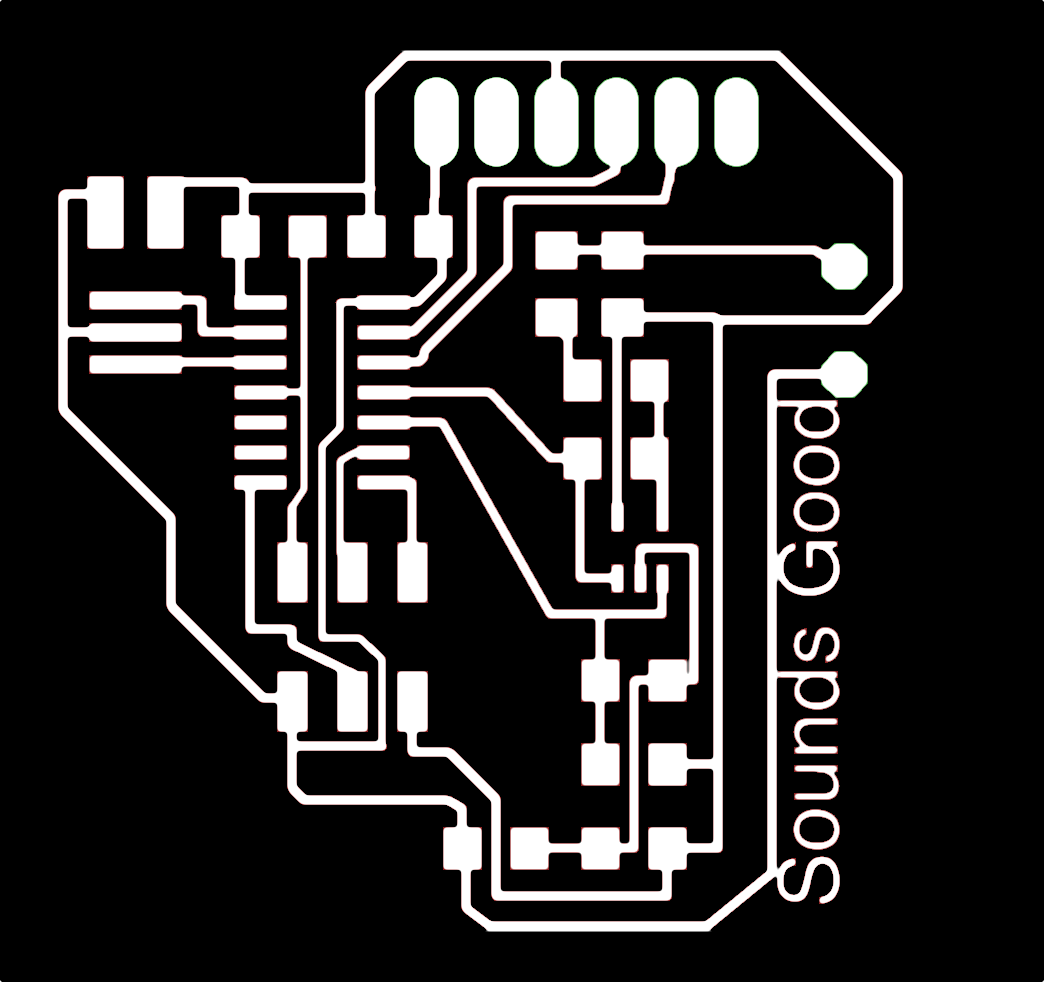
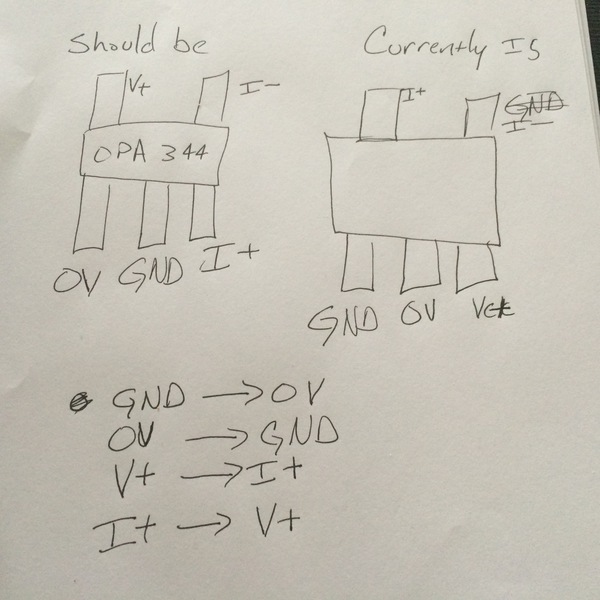
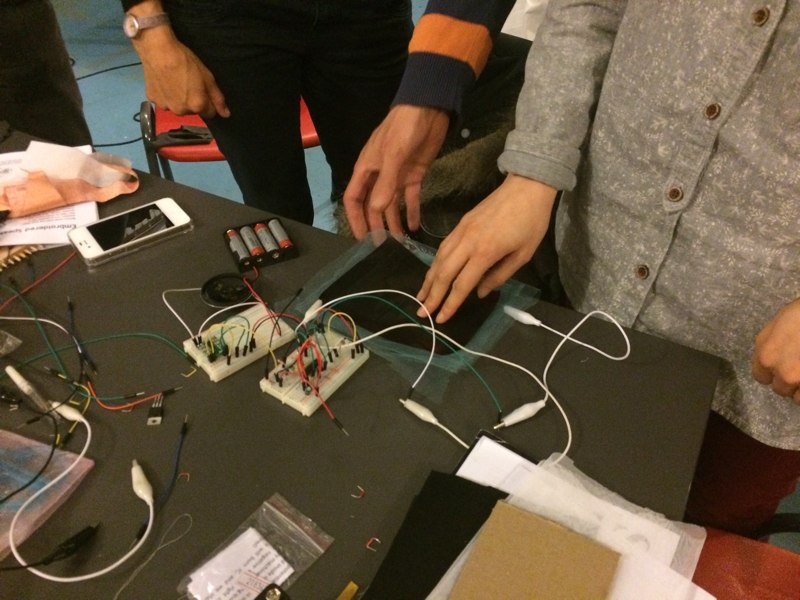
I want to create an input mic that can be used to observe values in the serial and how they correspond to the sound's we are makeing. The circuit to operate these sensors needs and ADC input for the resistive sensor and an amplifier for the speaker/microphone. I used eagle to produce the board and milled it on the Rolland. The Board design was a little thin around the edges and that requires later fixing when stuffing the board. The amplifier, like most regulators, has a different pinout layout which I found on the datasheet. I corrected it and finished designing the board.
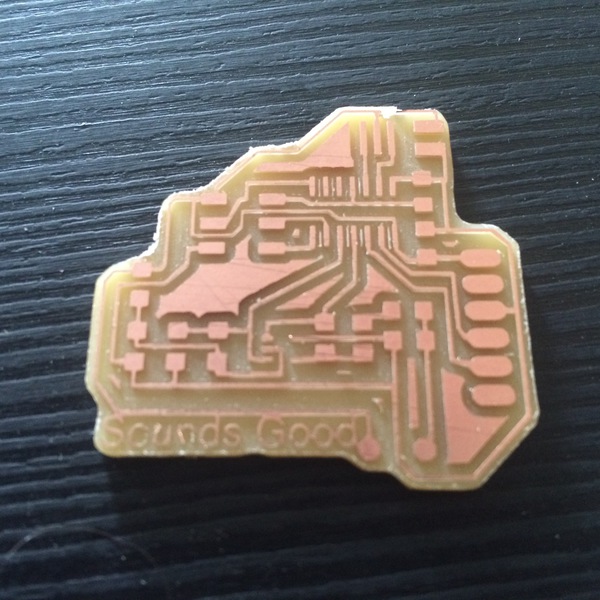
Stuffing and setting the fuses went well.
Code
I made some small changes to Neils code to adapt it to the board I made and how it formats the serial output. I am loading the code and observing the levels on the serial console.
Materials
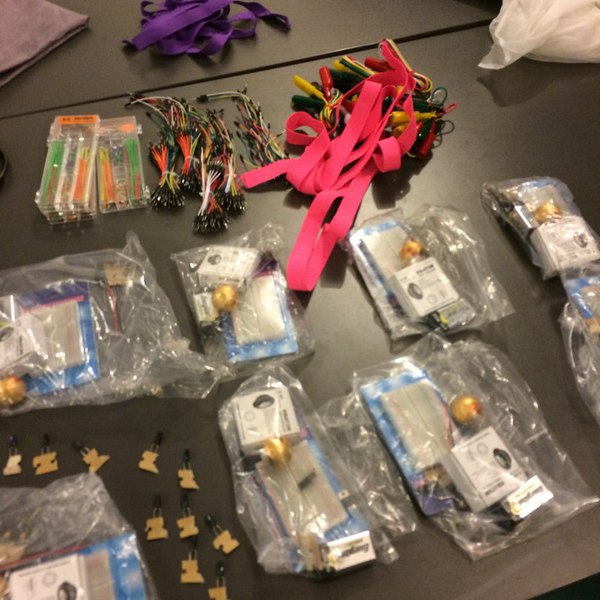
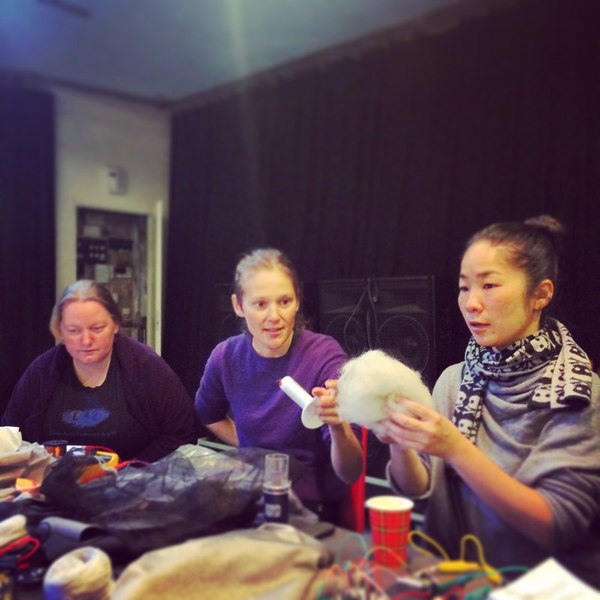
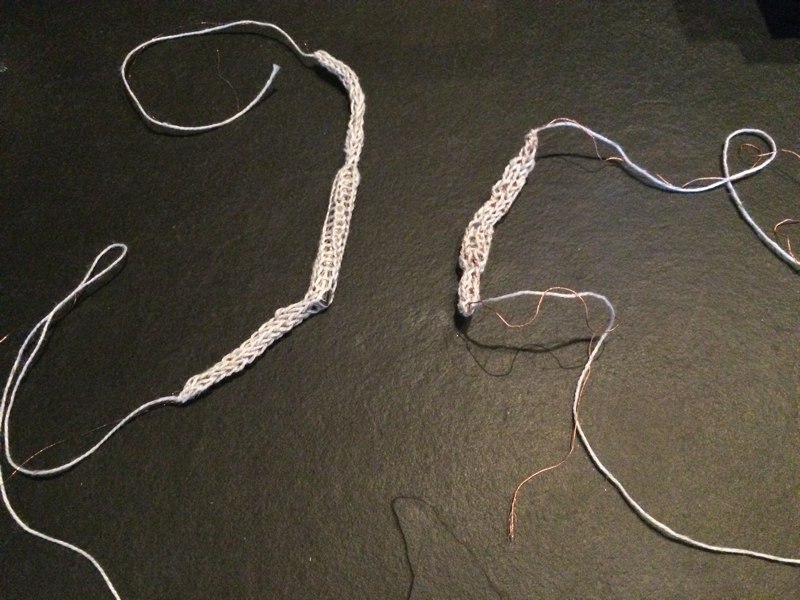
We experimented with conductive and resistive materials as we looked into making and sensing sound with textiles. Here is a list of some of the things we had available. We used the Atari Punk Console 556 timer to create a square wave and experiment with our sensors. Mika and Hannah gave insight into their past experiments and we got started.
Speaker
Input Sensor
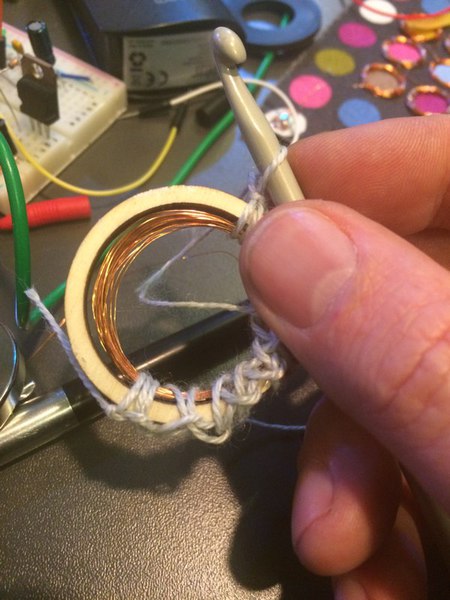
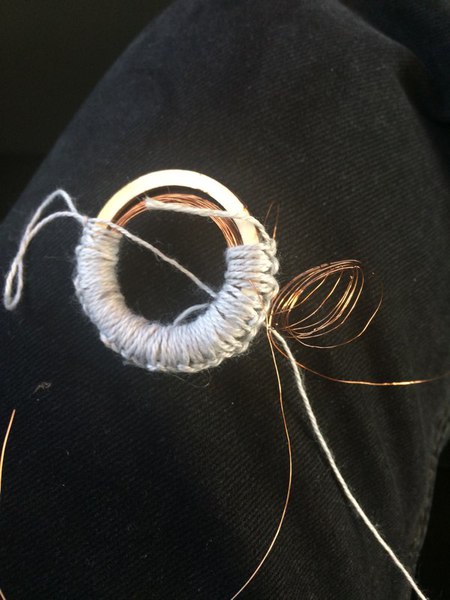
At University we are looking into ways of building outputs that can also be inputs. What I set out to make were speakers and tactile sensors that can be read from the same pin. My first experiment was a wooden hoop I cut on the laser cutter. I made a coil slightly smaller in diameter and them crocheted a resistive yarn around the coil and the hoop. Once attached well I used a tapestry technique for filling a circle to pull the coil towards the center. The result was a taught resistive sensor that was also the sounding diaphragm for the speaker output.
I attached the speaker and the resistive pressure sensor. You can see the fun that ensued in the following few videos.
Sensor / Actuator from Troy Nachtigall on Vimeo.
IMG 7365 from Troy Nachtigall on Vimeo.
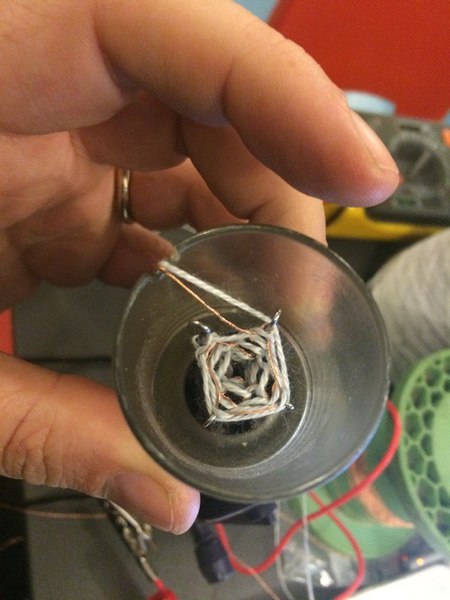
I tried to create a more industrial version with a stretch sensor that integrated the copper coil and magnets but the volume is miniscule.

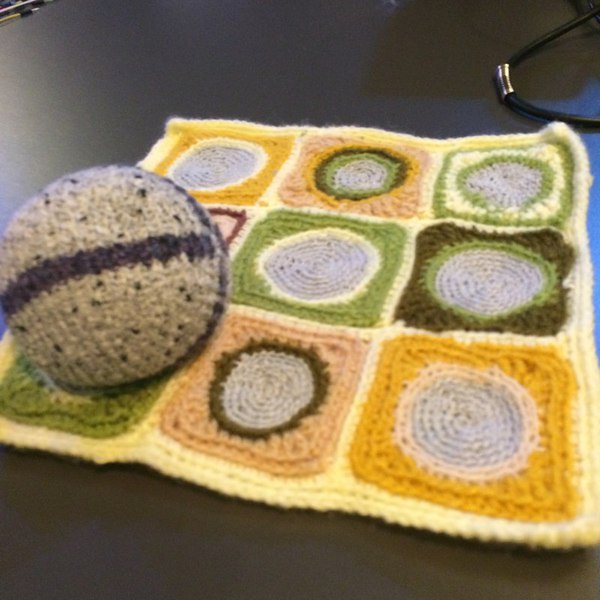
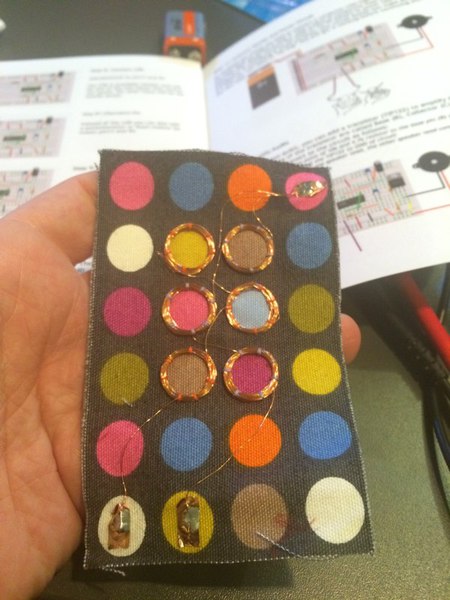
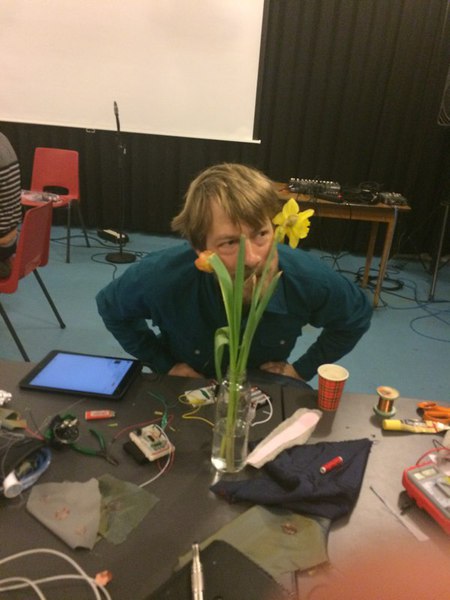
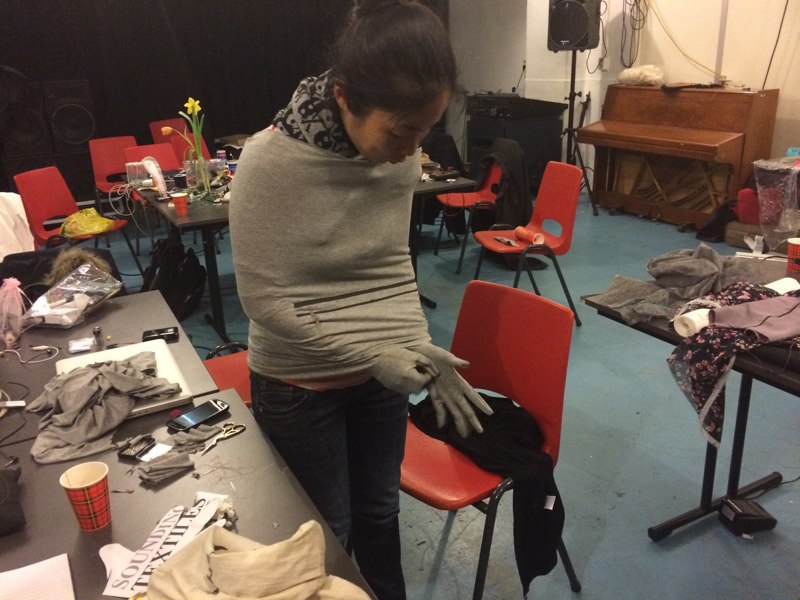
Here are a few pictures of what everyone else made. The flowers were particularly interesting. The pressure sensor on the end uses Eyonix and Velostat and is particularly sensitive. (This is really interesting because textiles tend to be sensitive only in certain pressure ranges.)
Conclusions
Using the same element as an actuator/sensor, Input/Output is fascinating and I can’t wait to make it better and finish a circuit. The cicuit was challenging due to the different pin out in the amp, but it's done and programmed and I am watching the serial scroll by.
You can find all my source files here: Input Design.