David Montenegro
FAB ACADEMY 2015
Final Project | Assignments | Download | About | Contact
02_18 Electronics Production
On wednesday 02.18.2015 we’ve got the fourth online lesson with Neil Gershenfeld.
The next lessons can be found on the Fab Academy account on Vimeo.
Here some tutorials FabLab Using the modela to Mill PCBs
For this week the assignment was
make the FabISP in-circuit programmer
(more informations can be found at the bottom of this page)
Set up
I referred to this tutorial. It’s complete and clear.
Making circuit since here has revealed quite simple.
It consist substantially of 4 steps: mill the board, solder the components, test the circuit and upload the firmware.
Every single step is quite simple, but requires a lot of attention because of the tiny dimension of what we use. For this reason setup, in my humble opinion, is the most important part of the job: if well done can reduce drastically mistakes and fixing.
Milling
With the fabmodules it’s very easy to use the MX-20, but you have to keep in mind just few things:
-
set correctly the board at the base to have always the same height so the mill can work properly.
-
pay attention at the sound: it has to be constant and not too loud; if too loud check all the milling set up process.
-
you’re making a prototype, just one piece: don’t be hasty and you’ll make it just once (or maybe twice, not more).
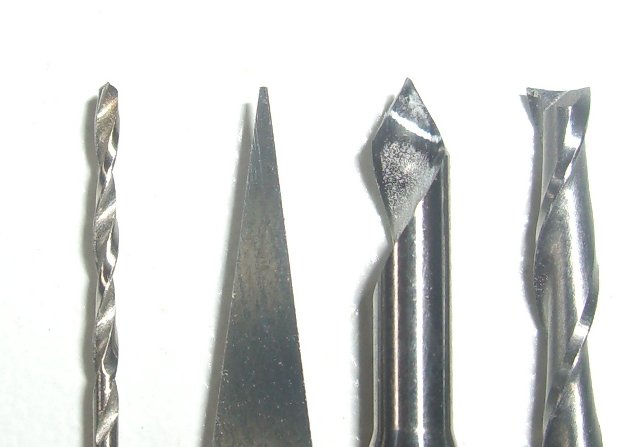
The milling process is divided at least in 3 parts: etching, drilling and cutting.
The Fab Modules uses a hi-res (1000dpi) monochrome image to generate the path; the first thing you have to keep in mind is that IT WORKS JUST ON THE BLACK AREAS, so for example if you want to drill a hole the hole has to be black on a white background.
To make the etching of the traces you have to use a 1/64inch (0.4mm) end mill while for the cut and the drill you need a 1/32inch (0.8mm) one.
To generate the path (nevermind if its an etching, cutting or drilling) you have to define some parameters:
- the dimention of the mill (and so the process you’re going to do)
- the XY origin
- the number of external offset you want to make; put -1 to remove all the copper and leave just the traces.
- the Z origin, but you have to set it manually: before to start milling lower the mill pushing the button “down” on the machine and stop at some mm over the board, than loosen the grain, let the end mill touches the copper and than tighten the grain again.
For a good and safe work you don’t have to modify default settings for speed, plunge rate or anything.
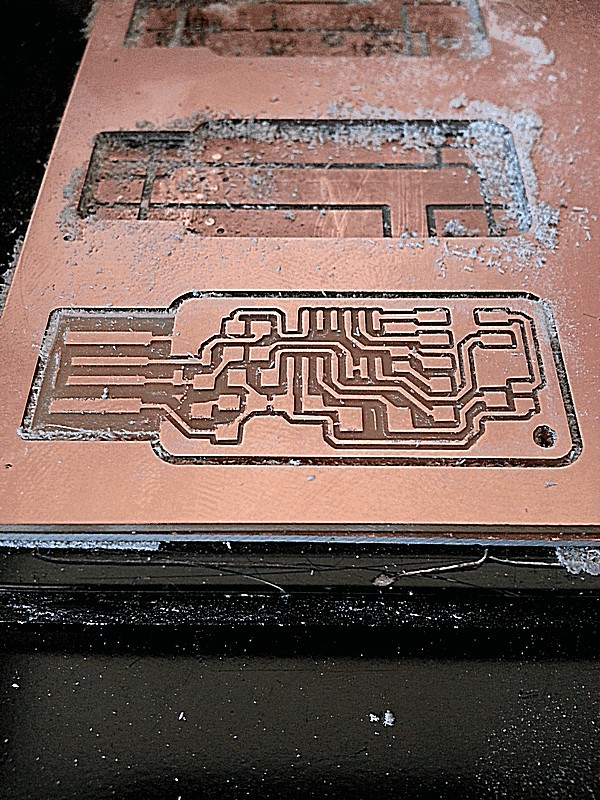
Taking my time for the set up this has been the result at the first attempt. Not bad.
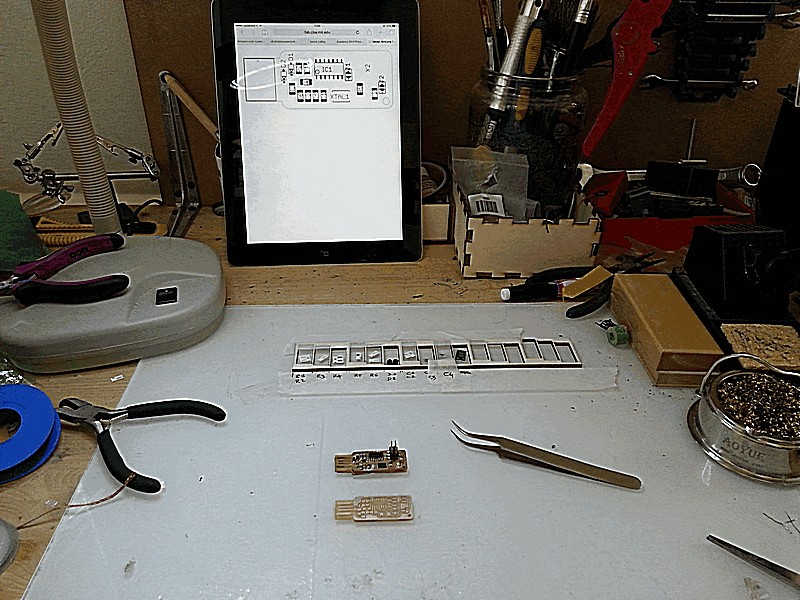
Soldering
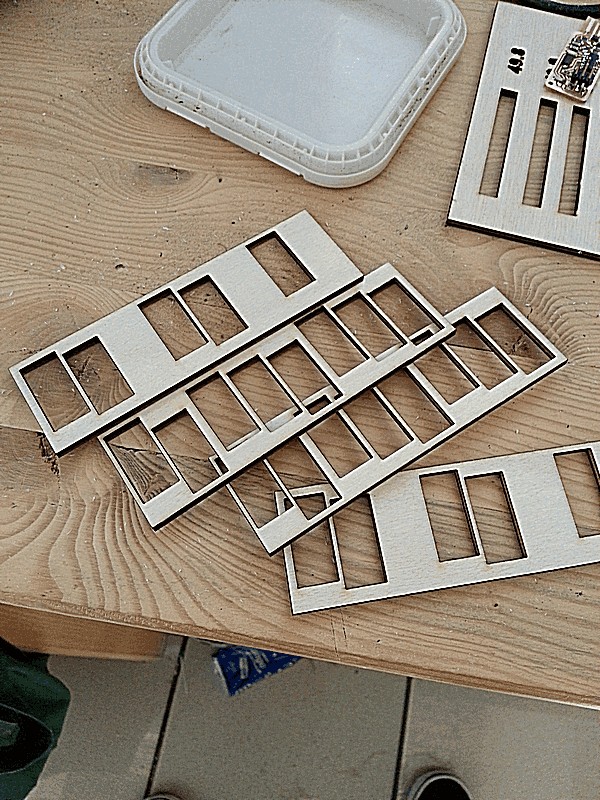
One more time set up comes first. Instead of search for the correct component from the blister every time I searched once at the beginning. To not mix components I’ve cut some slots to label with the relative component’s code.
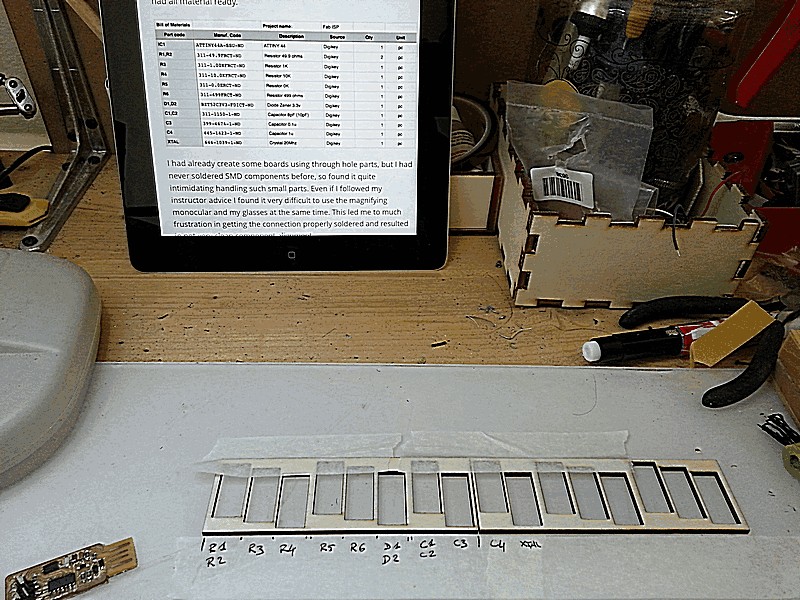
This method may be useful if you have a lot of board to solder and you don’t want to search every single component each time, but it doesn’t make much sense to make just one single and simple board.
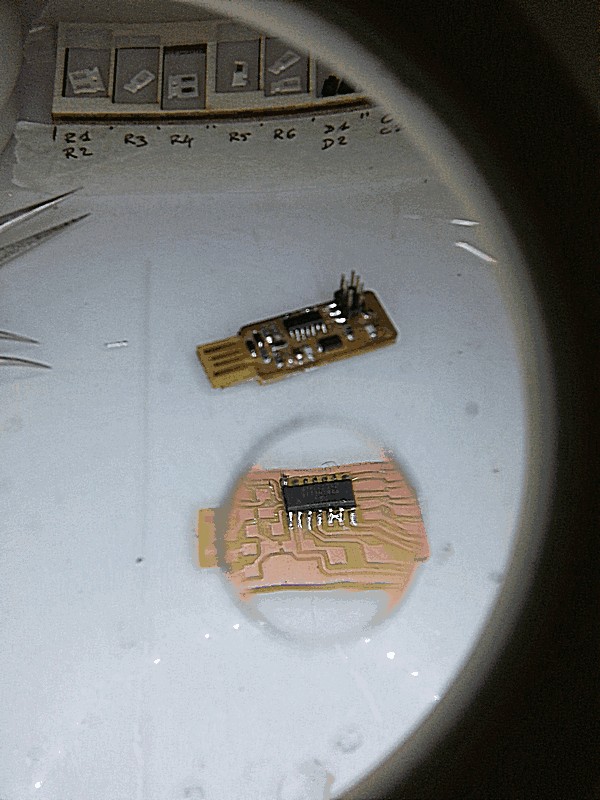
The bare solder of 1206 component is quite simple: first put a droplet of solder on one of the pads of the element; that, using the tweezers, put the compinent over the solder, adjust its position and use the solder iron to melt the solder to hold the component in position; now solder all the pins taking care that the solder surface is bright, otherwise you have a “cold soldering”: it doesn’t conduct and he component sooner o later will detach and probably will be lost.
Upload the firmware
To upload the firmware on the FabISP I need another ISP programmer to bridge the FabISP with computer trough a 6pins ribbon bus.
I used the firmware used by Andy.
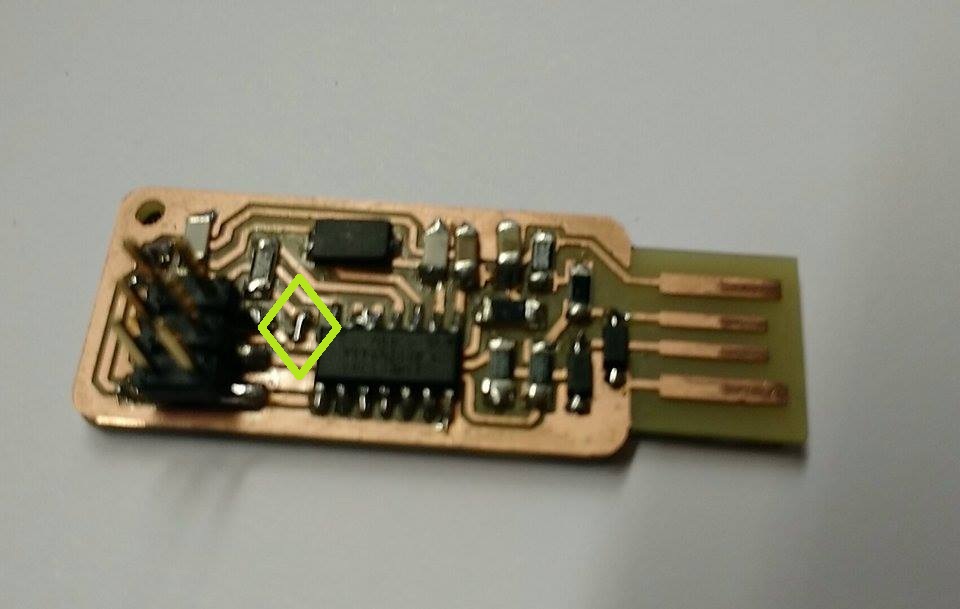
What I’ve done
This

That’s it.
Note
To program this FabISP you have to solder a jumper but on this version you have two jumpers; you have to solder the one closer to the micro-controller, not the other one near the keychain hole. If you solder the wrong jumper you simply wont be able to program the FabISP.