Molding & Casting
For this weeks assignment, I want to mold some rubber feets for my speaker. I have allready made a design in solidworks. So all I need to do is to make i setup for the shopbot. I will do this in solidworks. The files I have used can be downloaded here and here .
The process
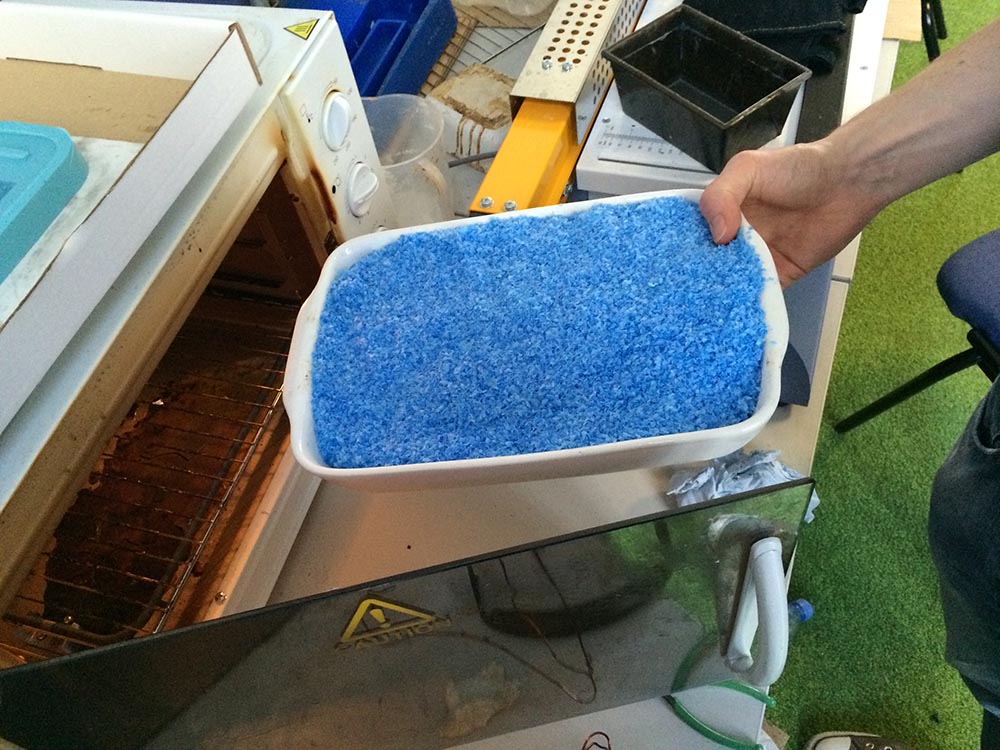
First i had to make a block of wax, I did that by melting allready used wax in the owen, it took about 30 min.
to do so. I had to take in mind that the block schould be a certain thickness so my foot could be milled from it.
I made the milling program in pathwork 3D. Most of the roughing was made by a 10 mm end mill and the finishing was made by a 1/4" ball-nose.
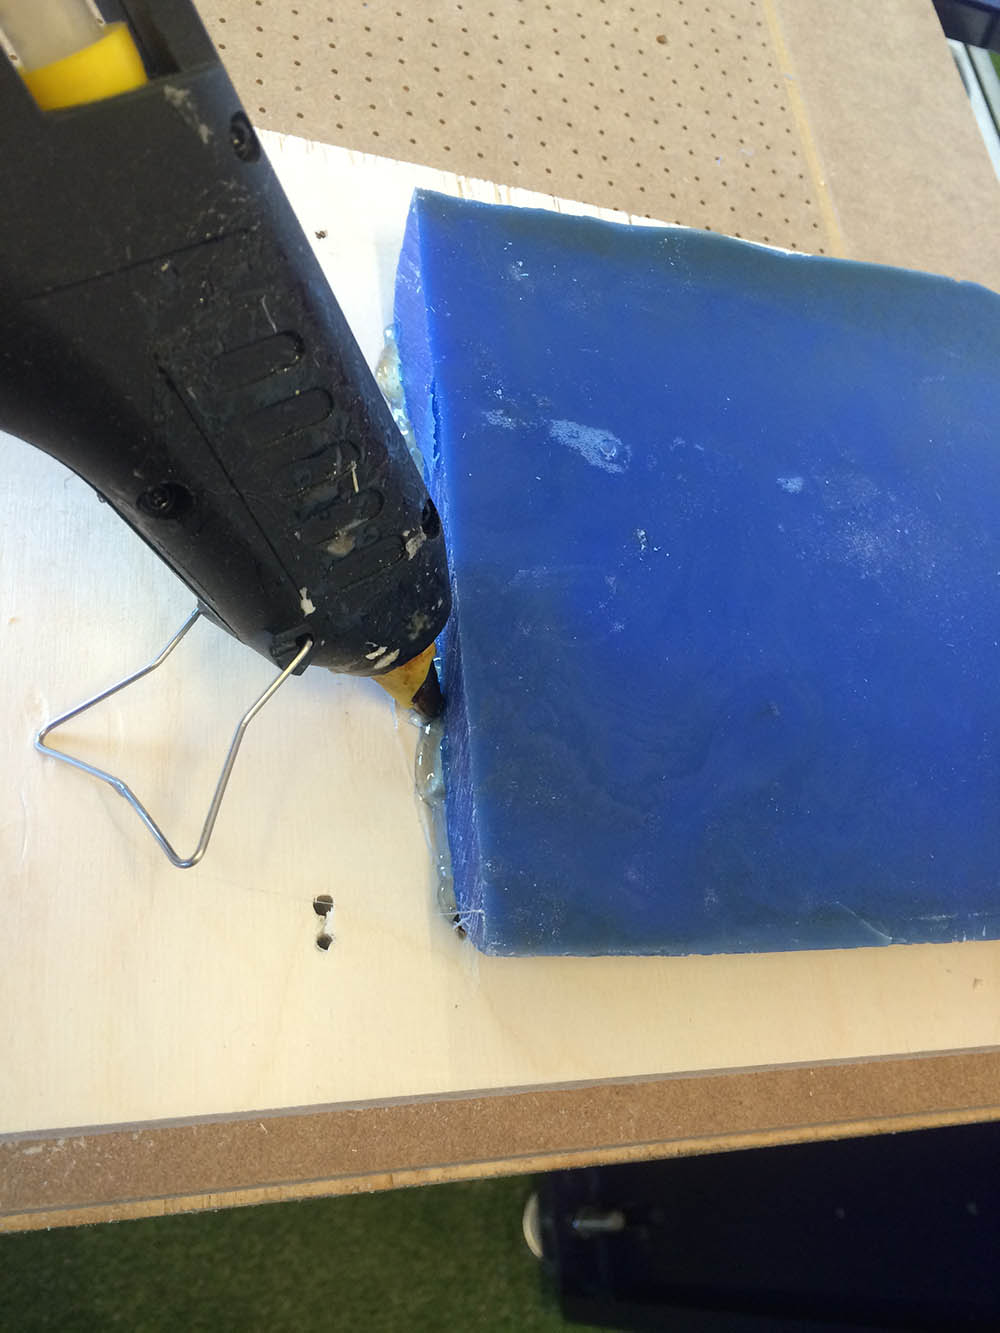
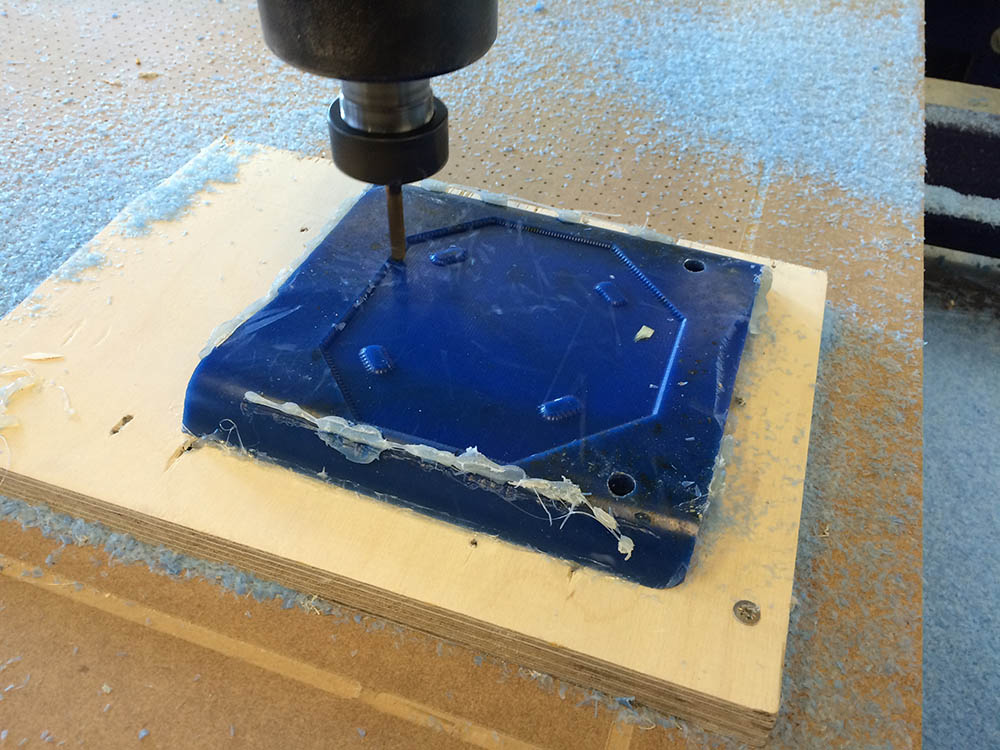
I had to mill the part from two sides to get the design right. Here the block of wax is fasten to the milling-bed with hot glue.
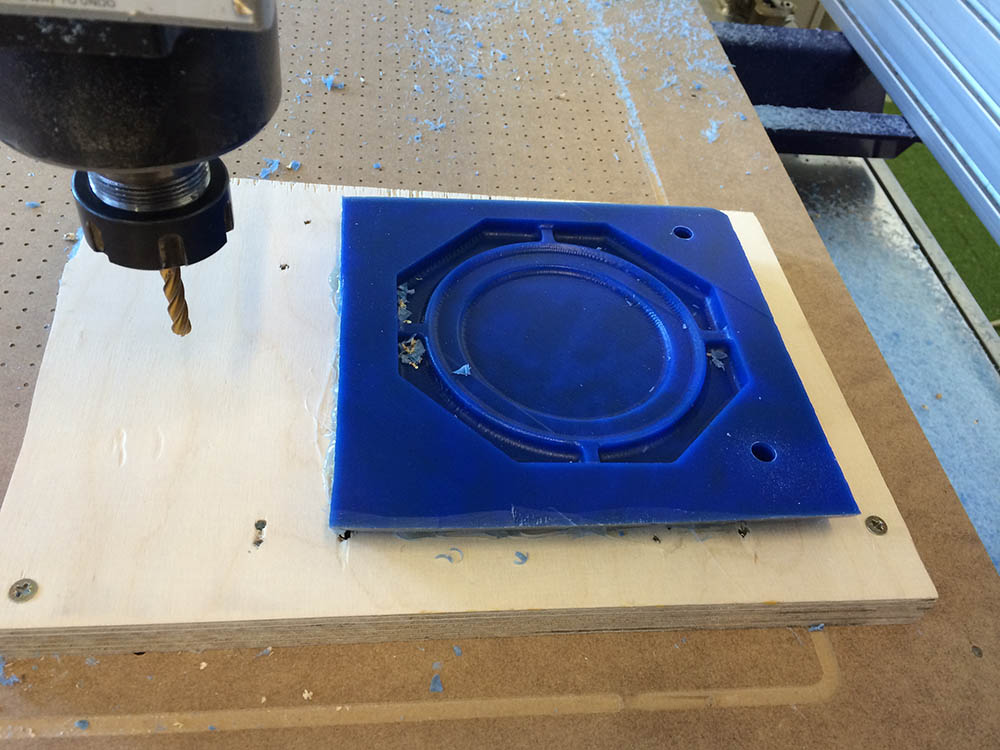
After milling one side of the part, I had to flip it around. When you do that, it is important that you can get the
part in the same position. One way to it, is to drill at least two holes the whole way through and into the bed. In this picture, you can
see that I have drilled two holes too the right of the design. the holes are precise the same distance from the middle of the desisgn in the
Y-direction. Therefore when I turn the part around I can place it in the same position by putting some 8mm dowels in the part and fit them into the holes in the bed.
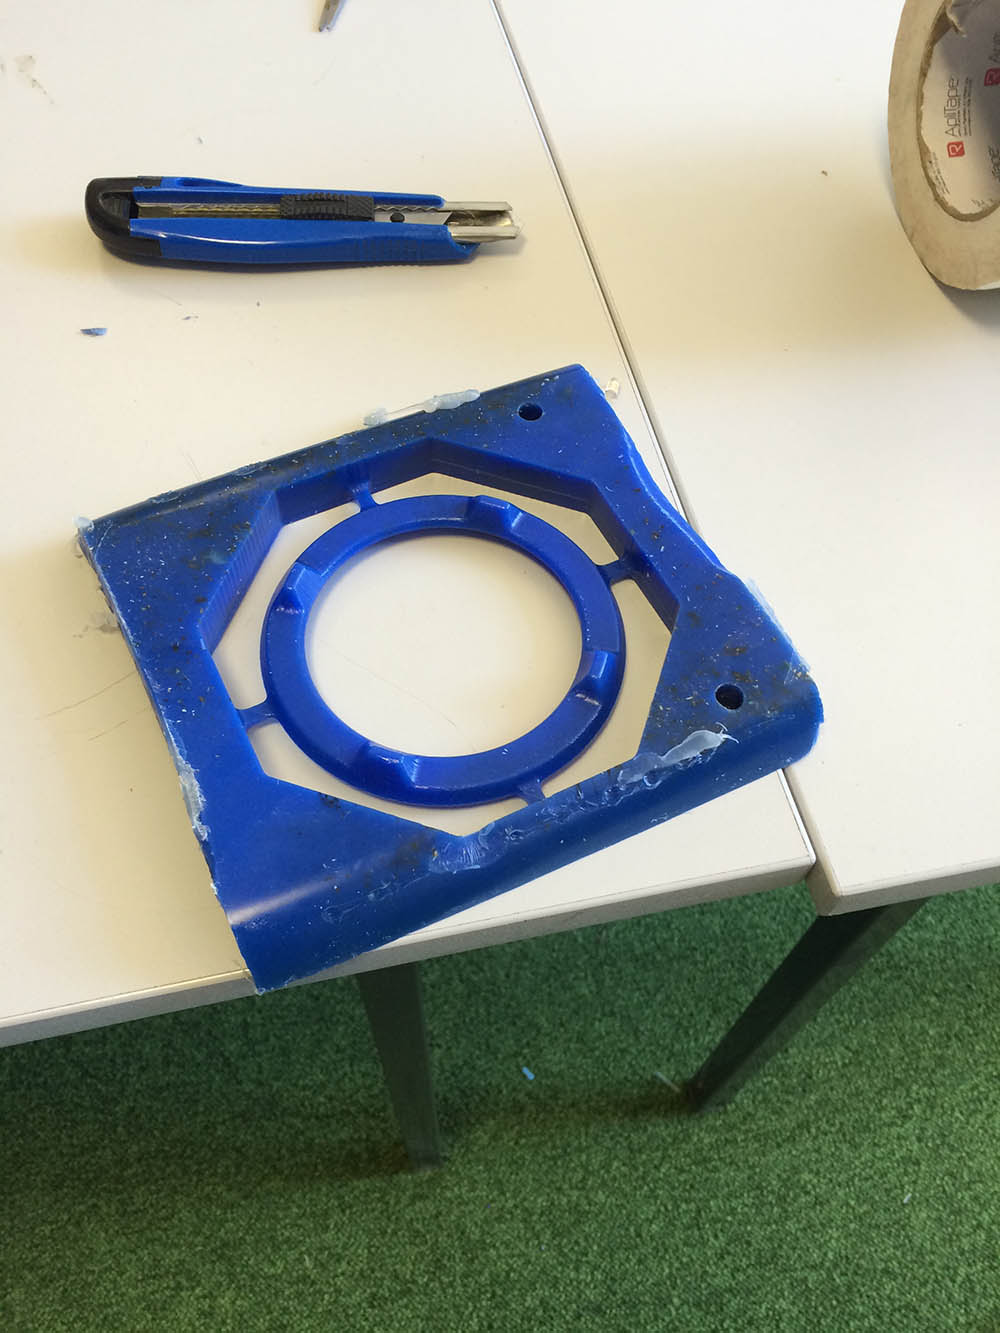
When the part was turned around, I milled the other side.
As seen in the picture, the milling went well, and the part have a nice finish.
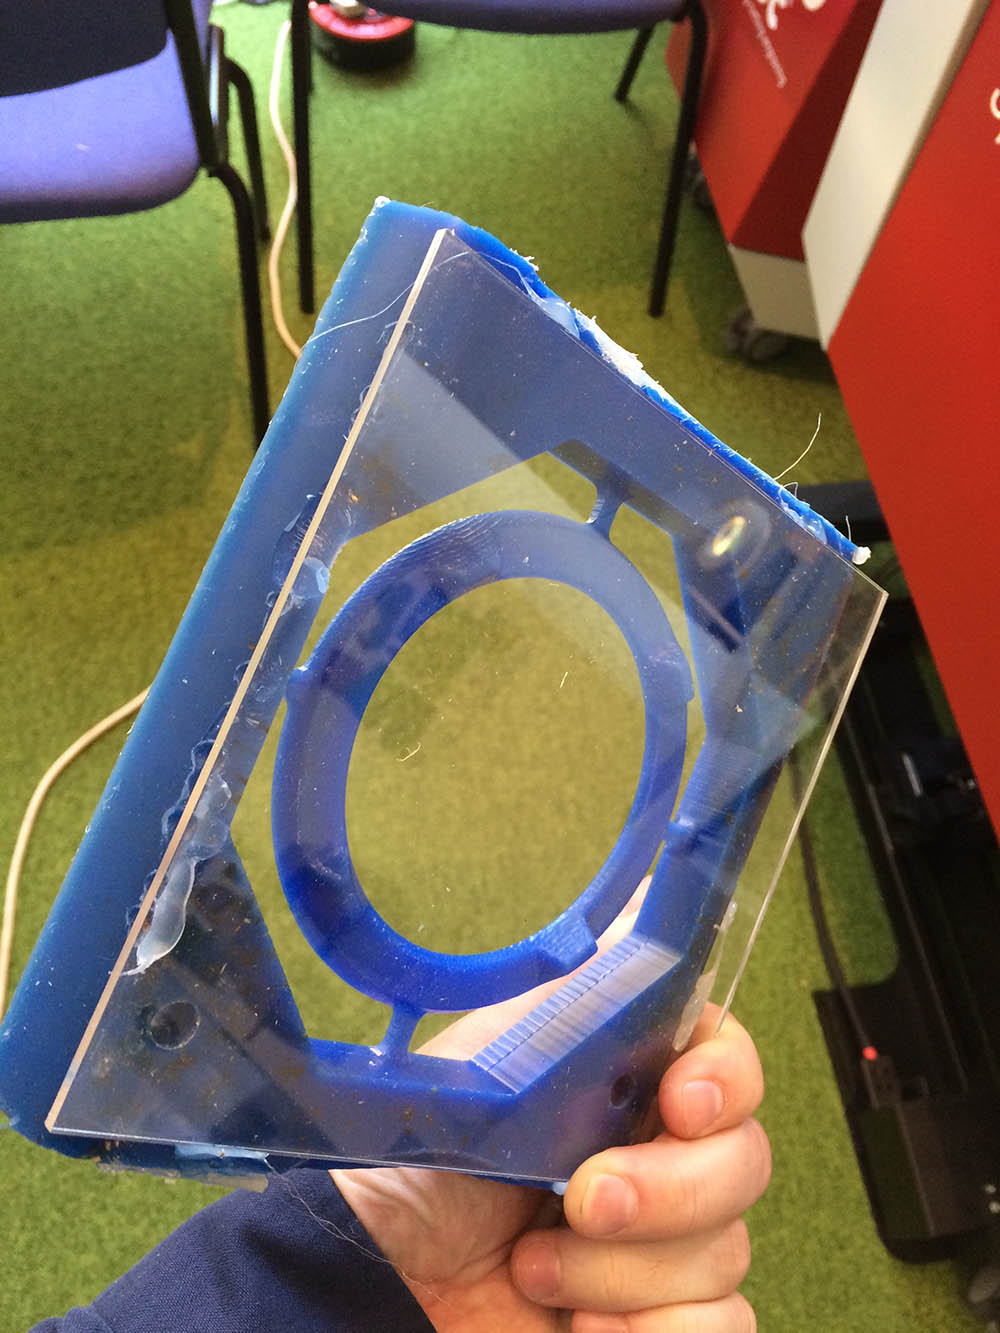
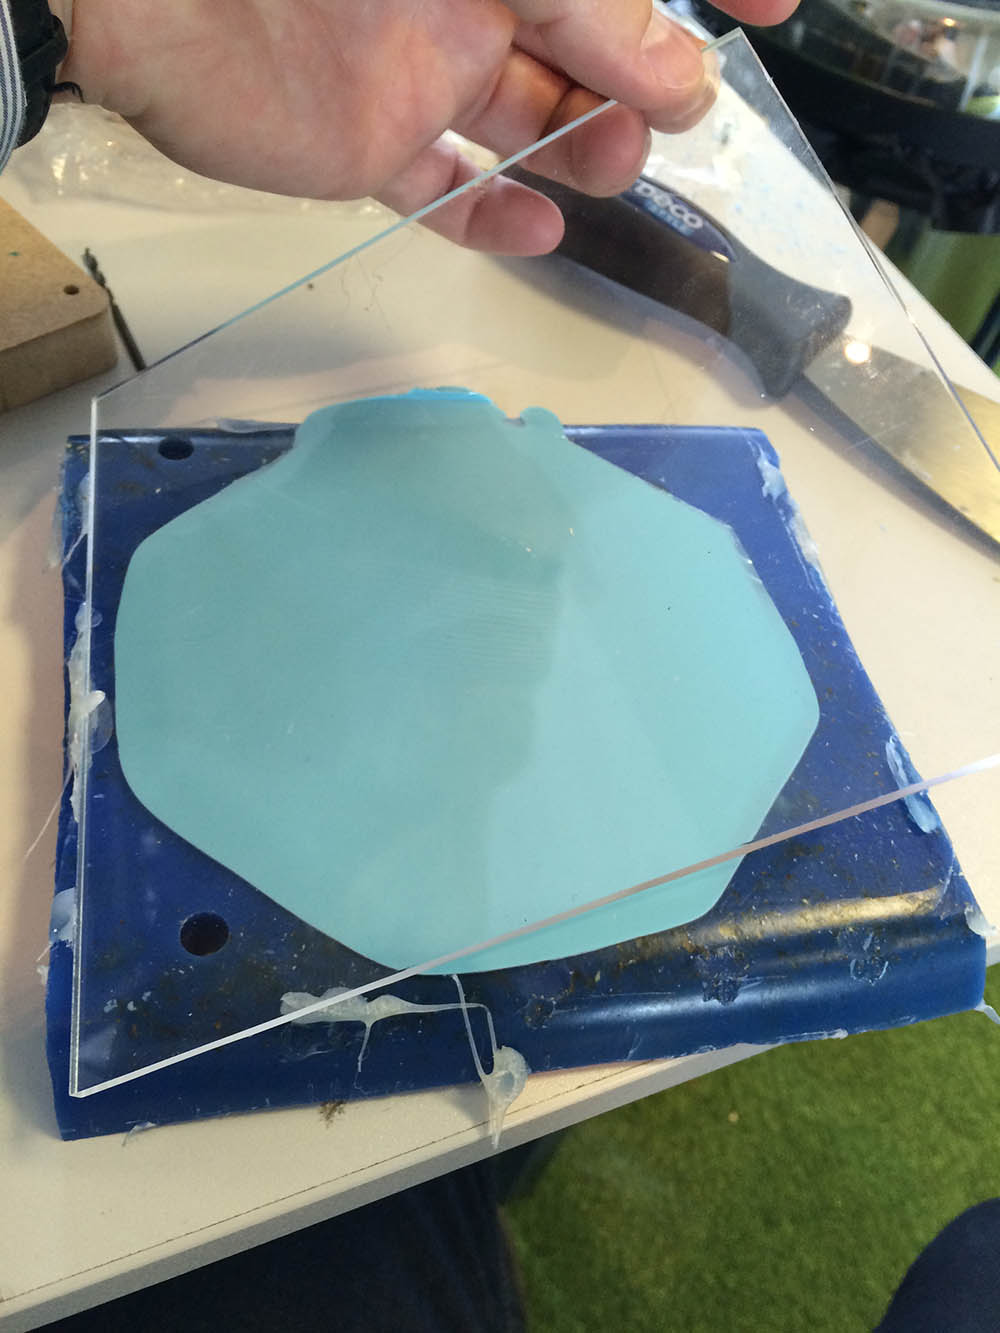
Next step is to cast around the part. To do that I had to close one of the sides. I used the lasercutter to make a nice square acrylic plate.
The material I used too cast the mold, and casting the part was OOMOO silicon rubber. It is easy to mix, but a bit messy.
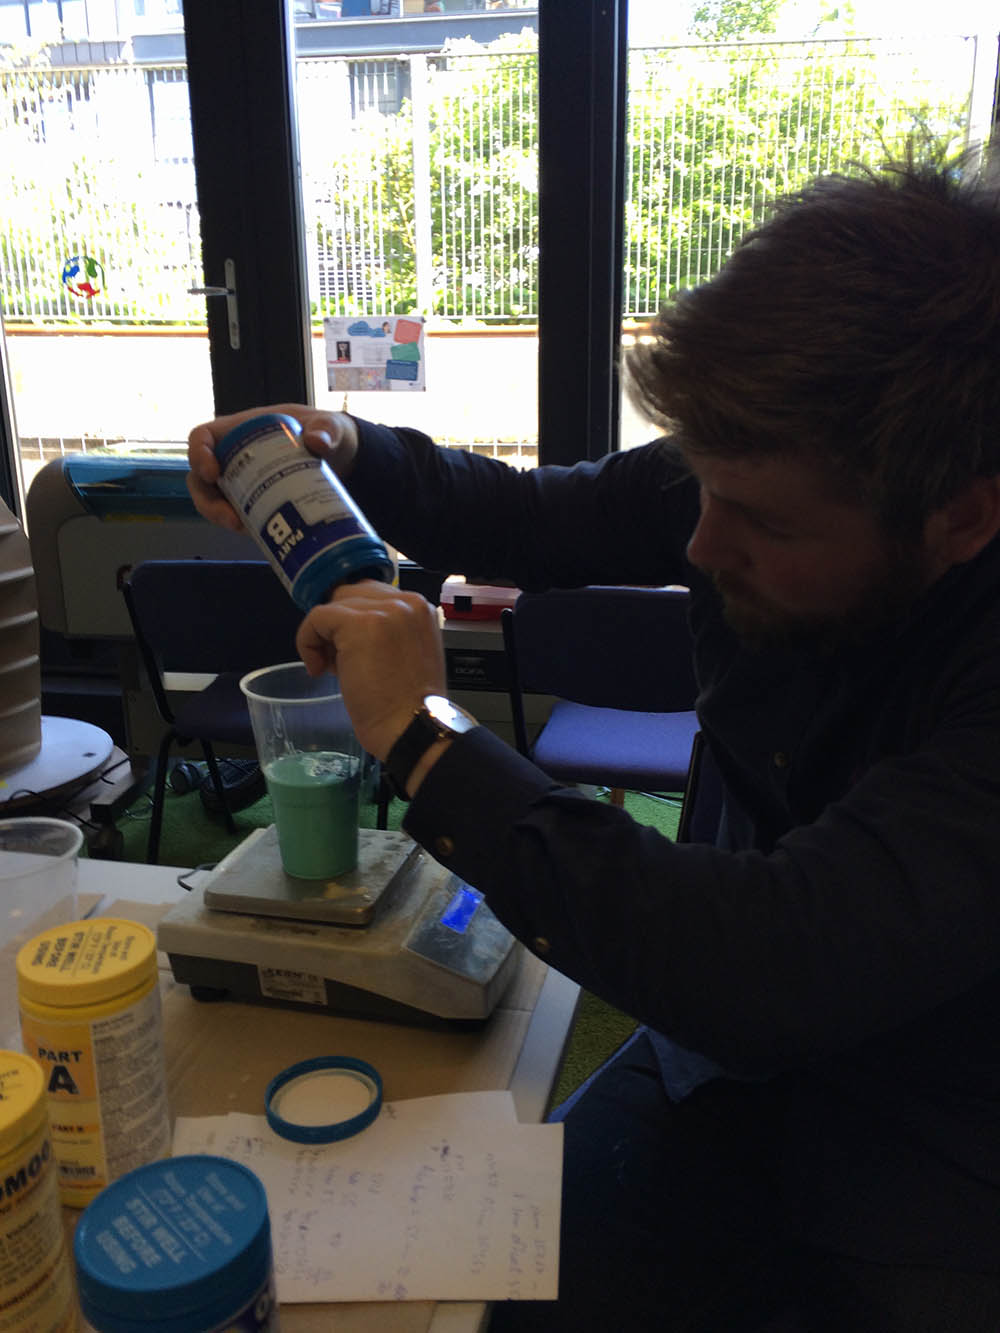
I was not sure if the mold was water tight, so I made a little bowl out of tinfoil, if it should leak.
I gave the silicon one night to settle, less time could do it.
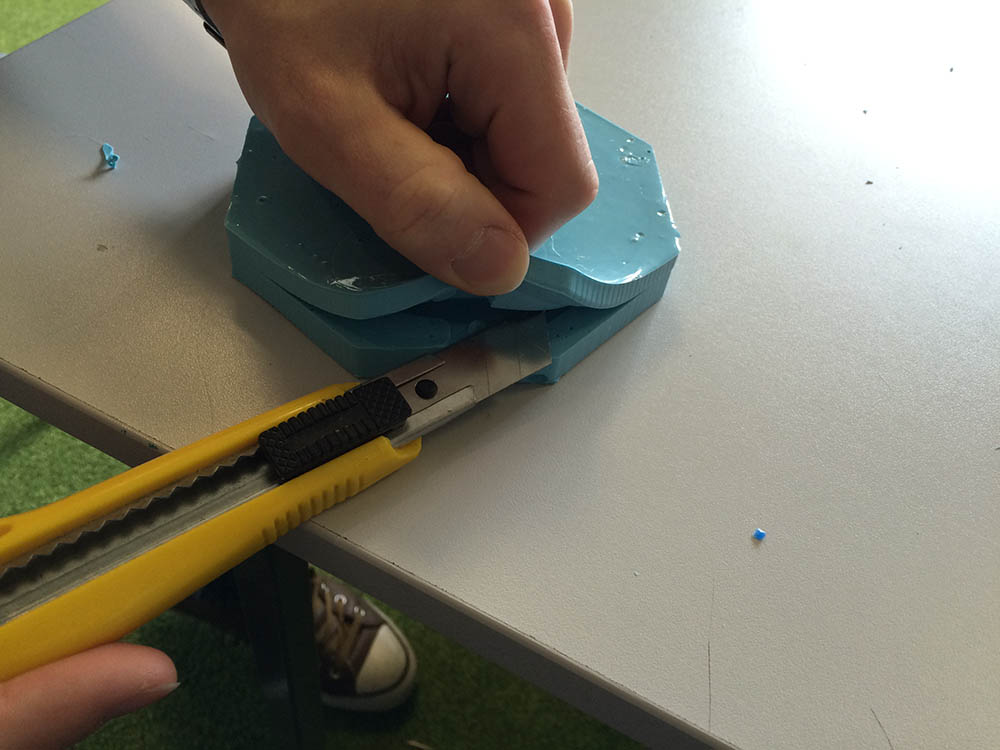
To get the silicone free from the rest of the part, I used a knife to cut the taps.
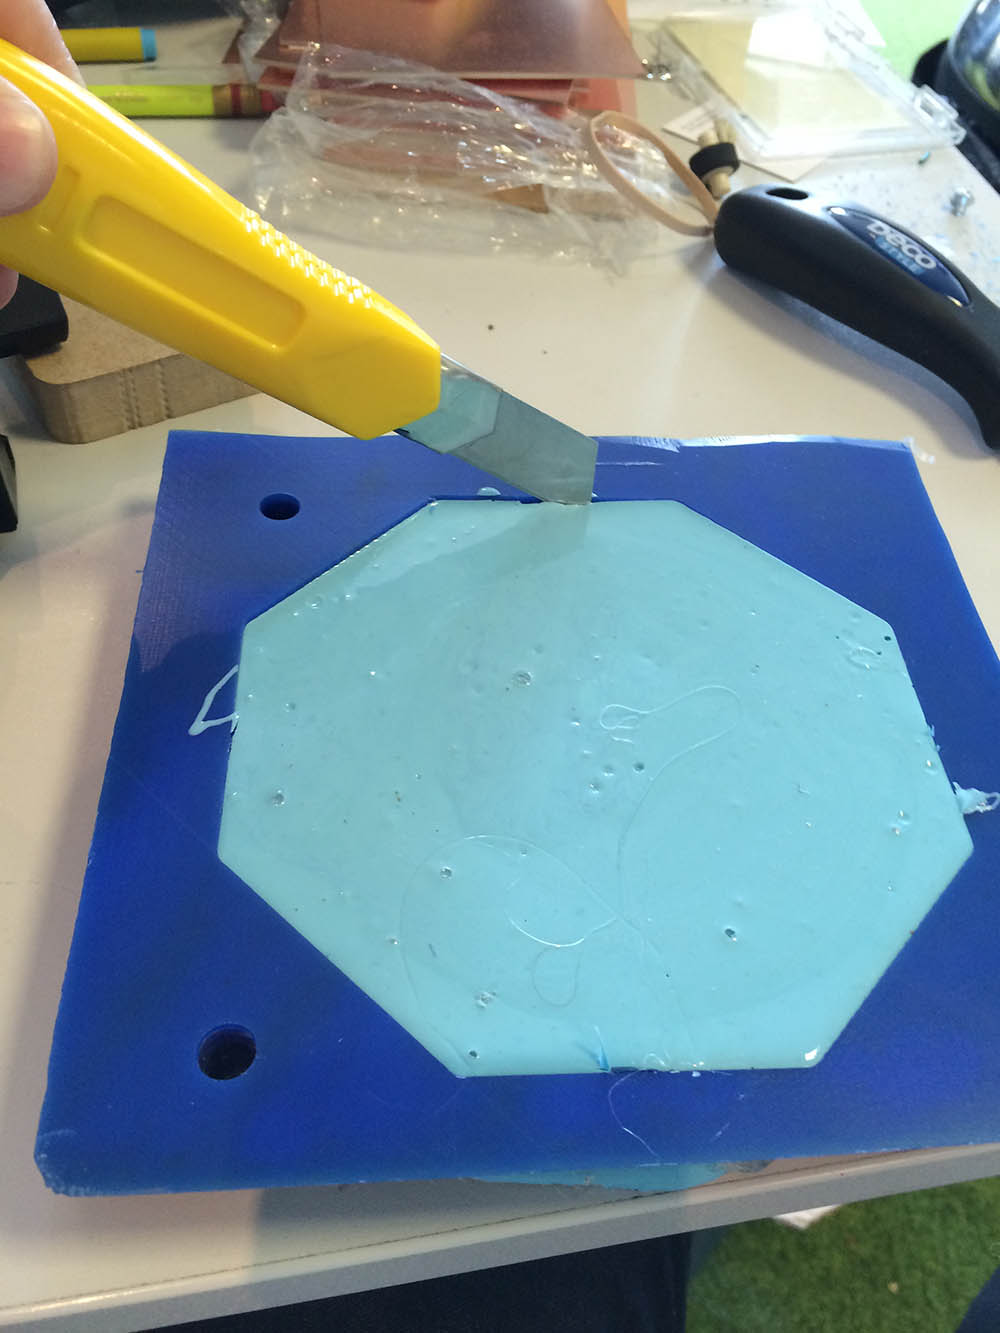
The silicon had settle well.
Next step was to cut the wax free from the silicone mold. I had make sure in the way i designed the foot, that it was possible to do, by just making a straight cut the all way around, as seen in the picture below.
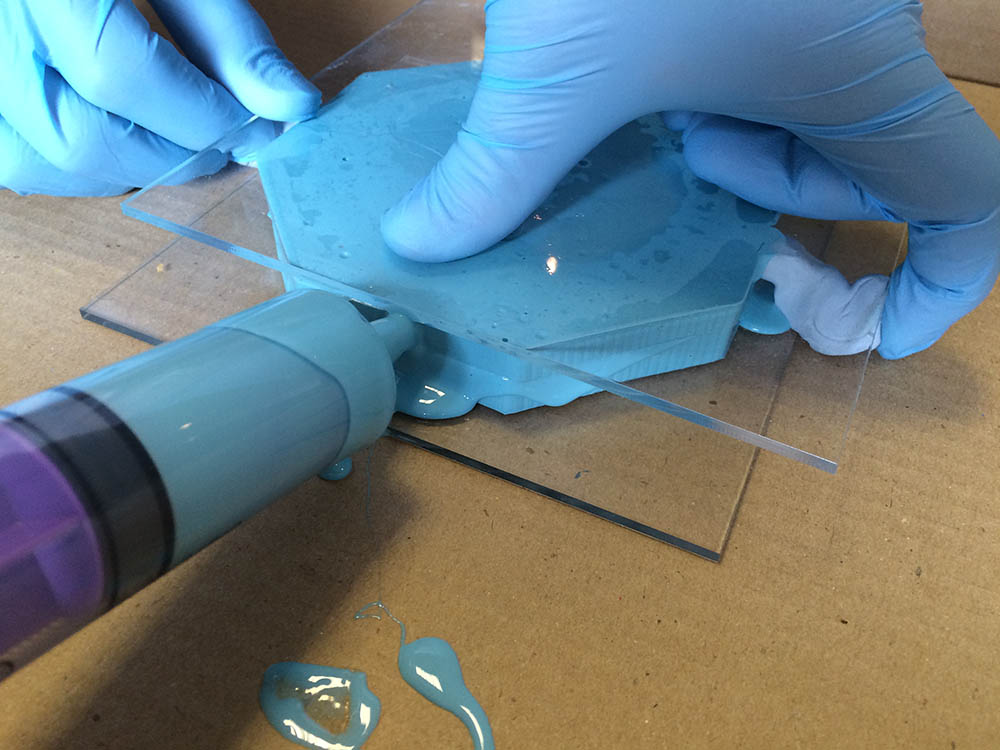
Now it was time to cast the foot it self. because I am using the same silicone material for both the processes,
I had to spray the mold with a release agent, that would make it possible to separate the two parts.
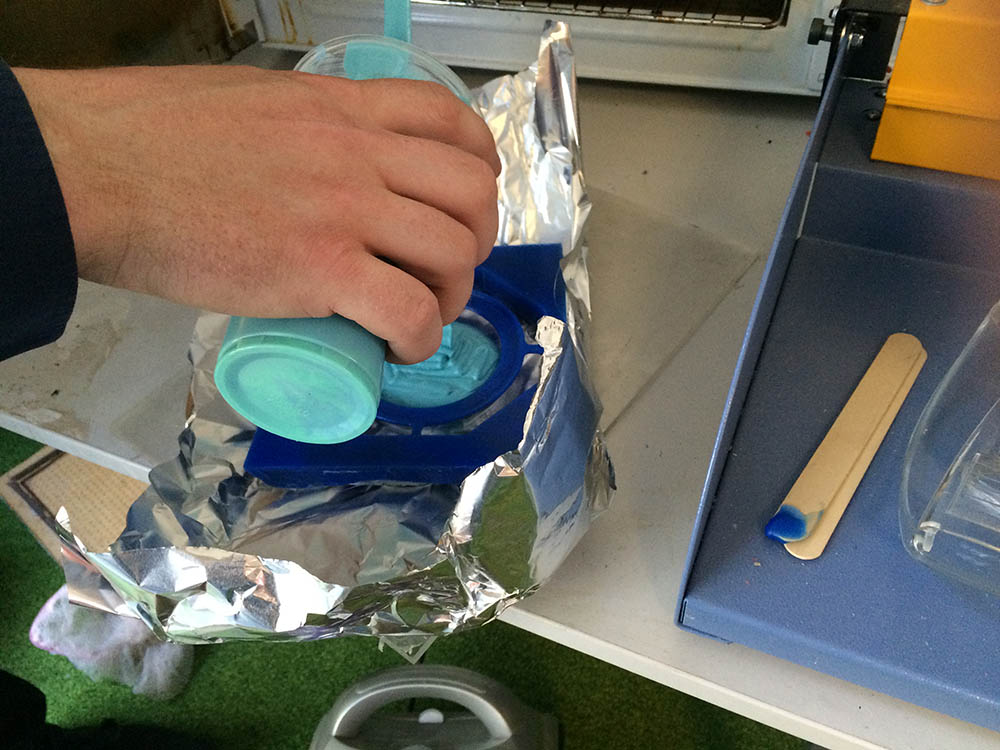
to inject the silicone I used a syringe. I injected the silicone through one of the holes left behind by one of the taps.
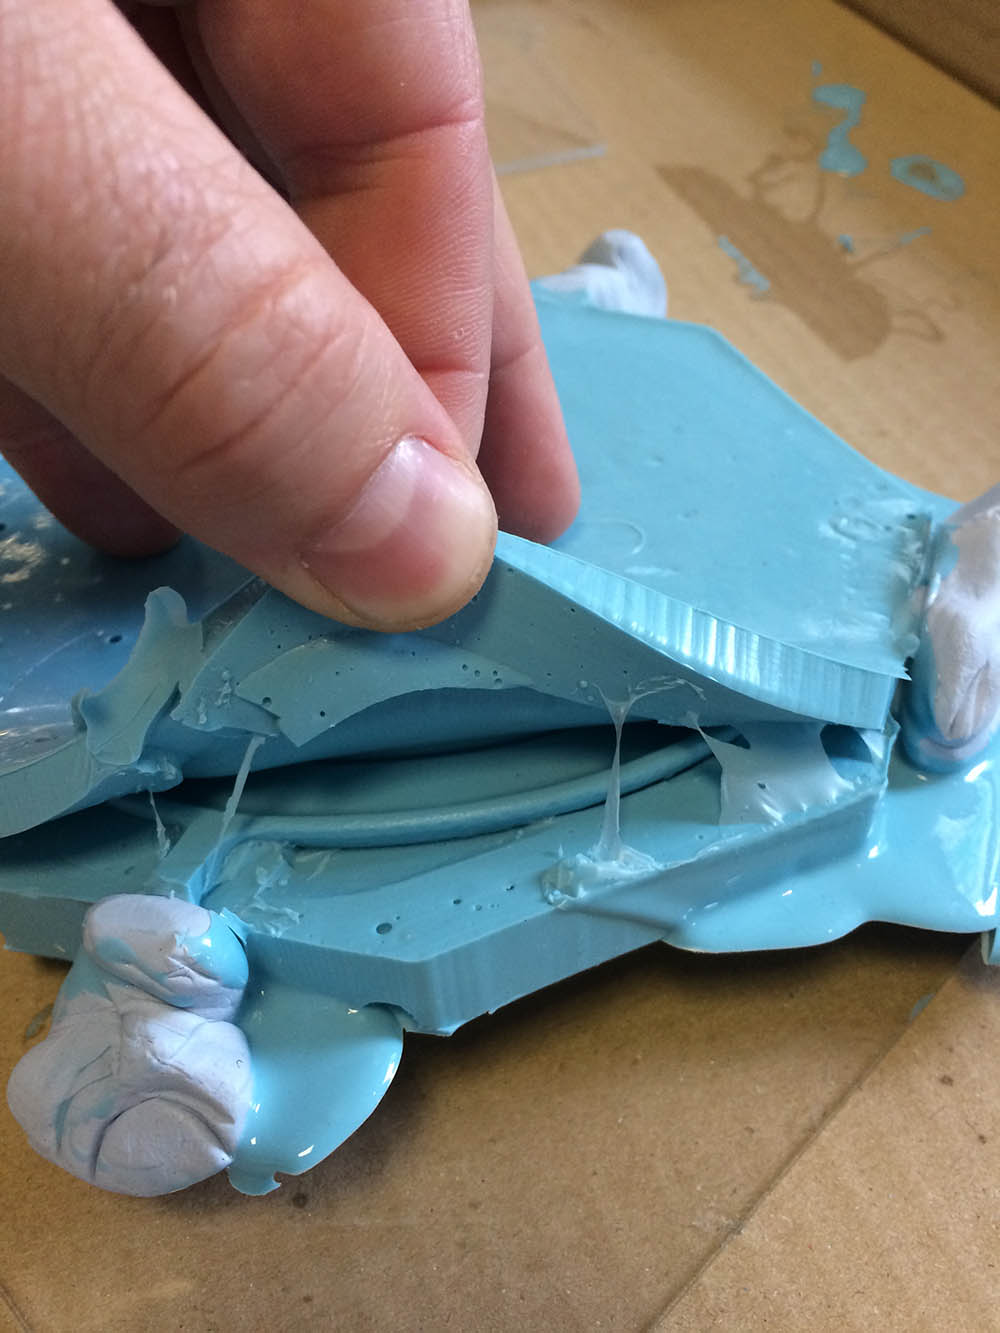
When the material started to come out from the other three "tap-holes" I blocked them with sticky tack.
I added a little pressure with one of my failed concrete speakers and a acrylic plate to divide the pressure.

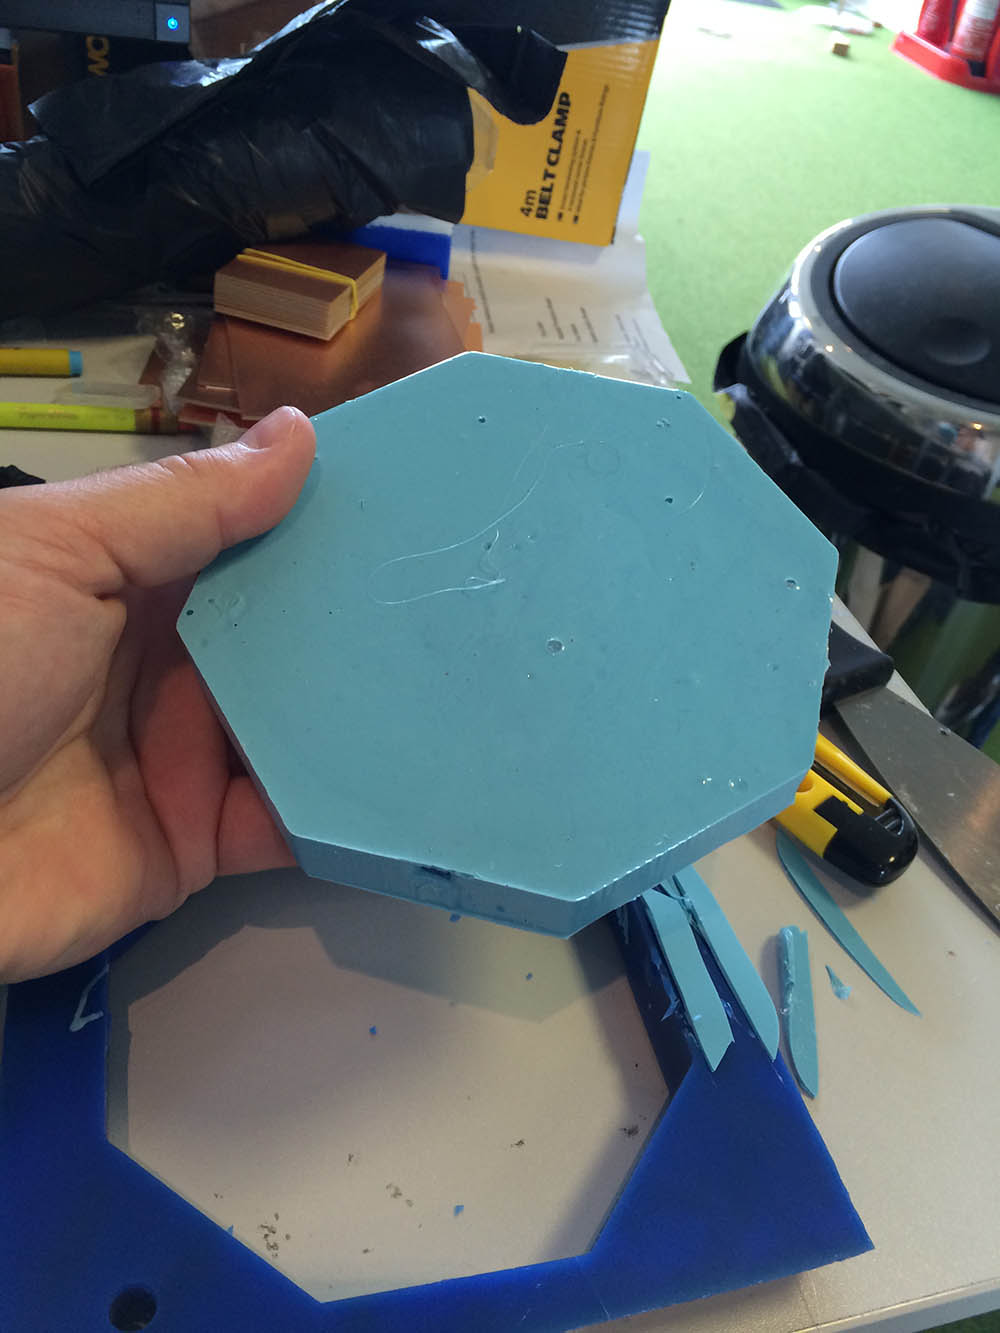
Two hours later it was time to take a look at the result.
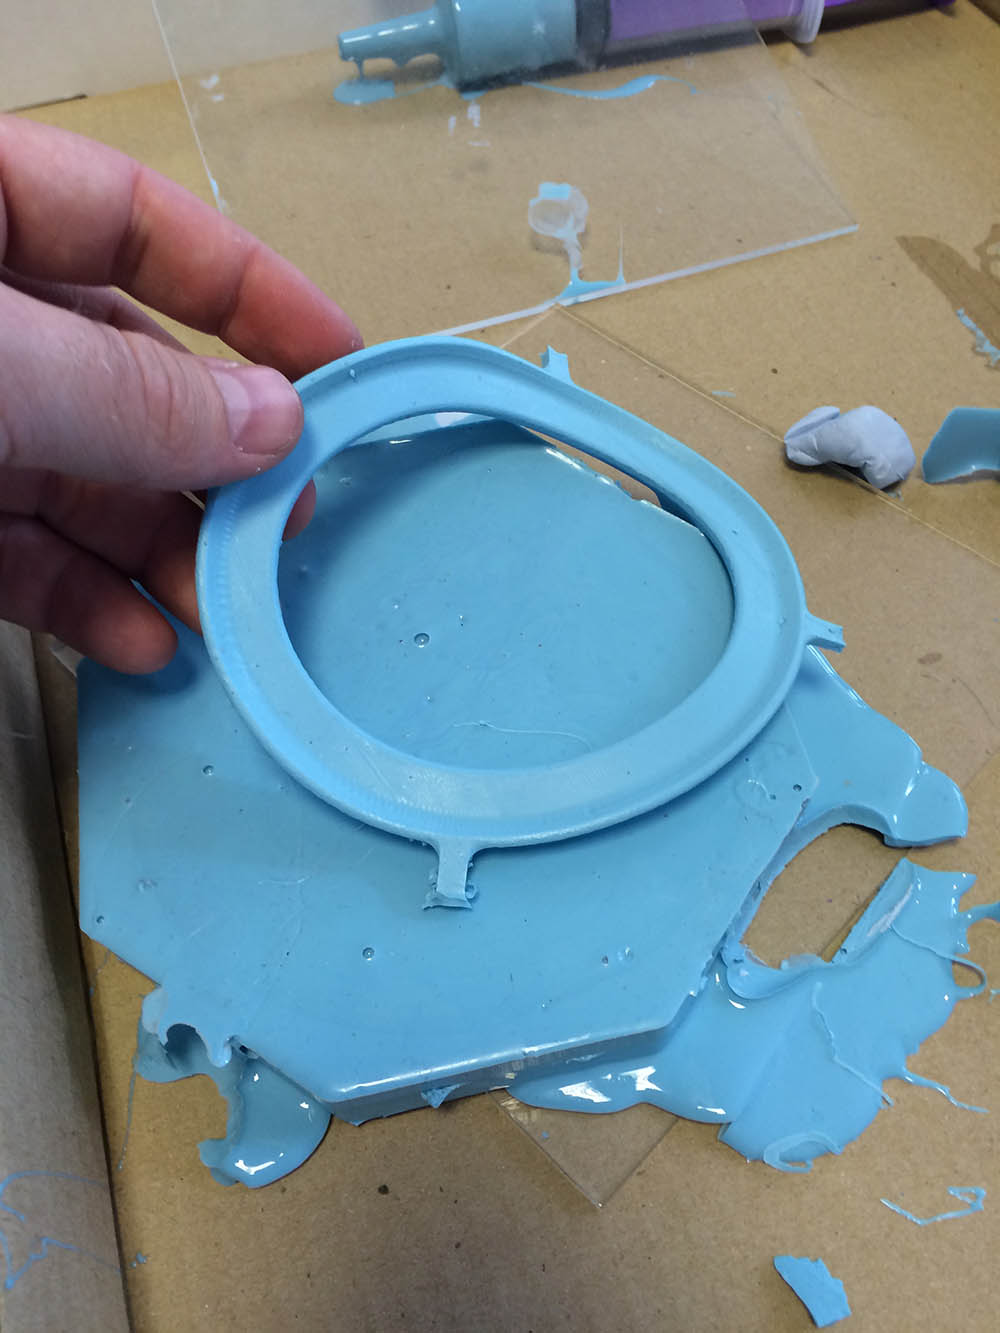
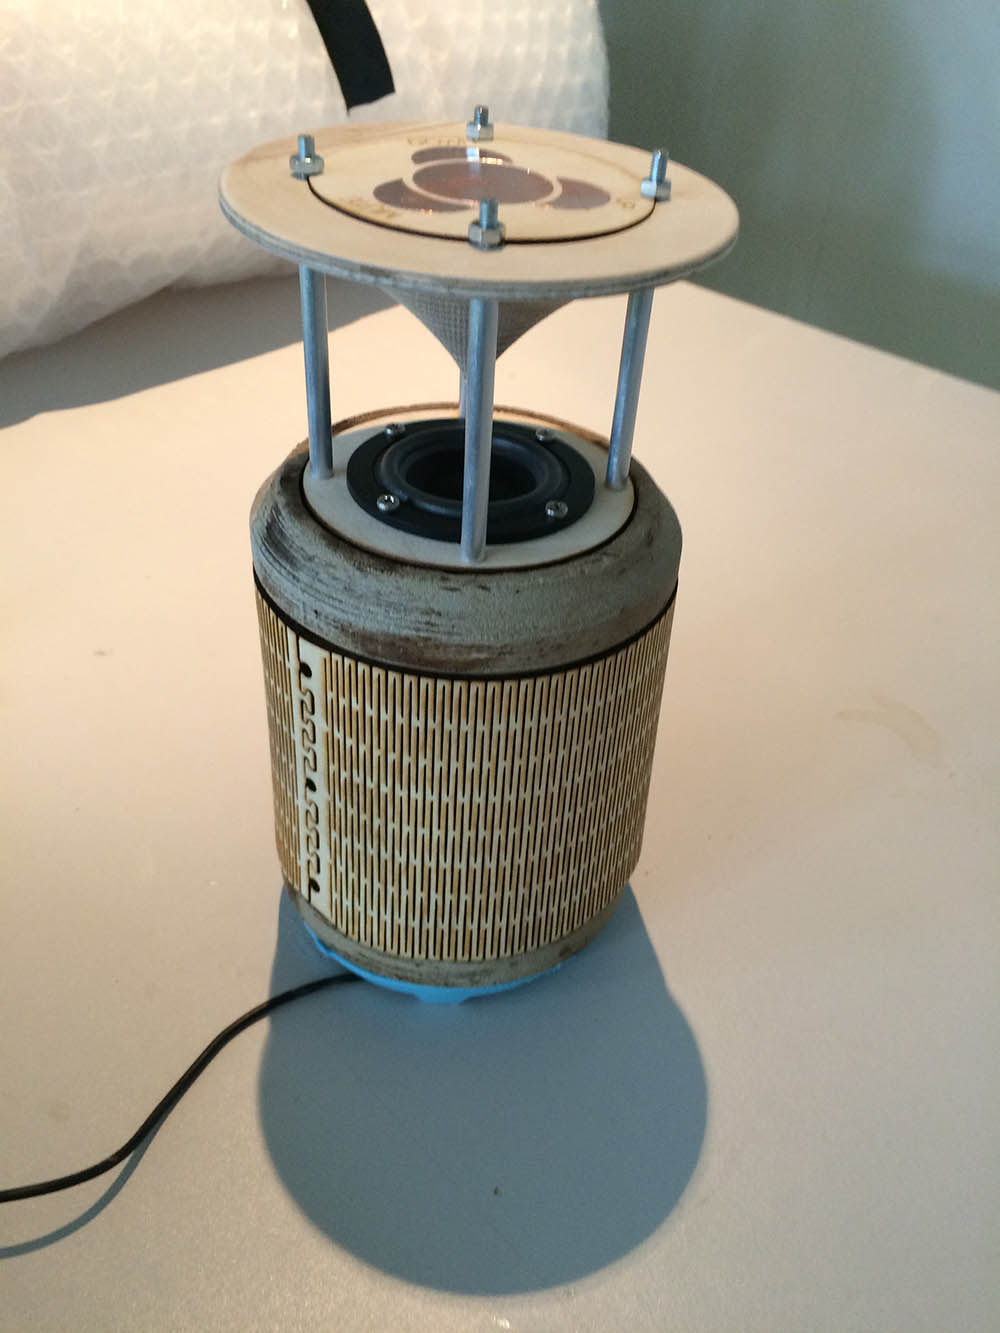
The reason why I wanted to make rubber feets for my speaker, was to alleviate some of the vibrations. I like the result, maybe it would be better to use a material there is a bit harder,
because this silicone is really flexible and makes the speaker whopple. I would also prefer black in stead of blue:).