Week 09 |
Molding And Casting - March, 25th 2015
U Turn |
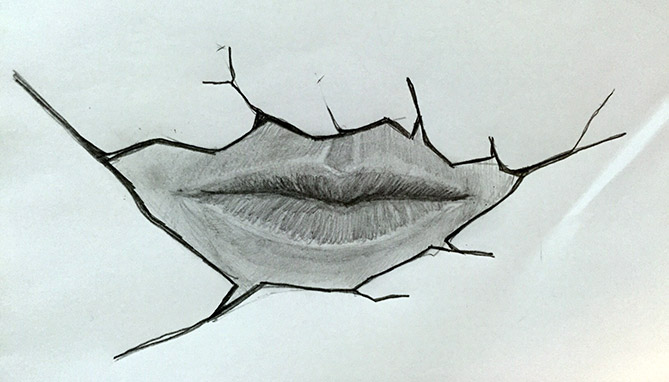
After a busy week that took us a lot of work to accomplish something big, molding and casting were a relatively simple and quite fun tasks that we had to develop right into Easter holiday break. while developing assignments during weeks, I began to rethink my final project. With the pre initial idea conceived, I sought some references that had much to do with what I thought, and I started to sketch out what to do next. Breaking the Wall
| ||
Shaping |
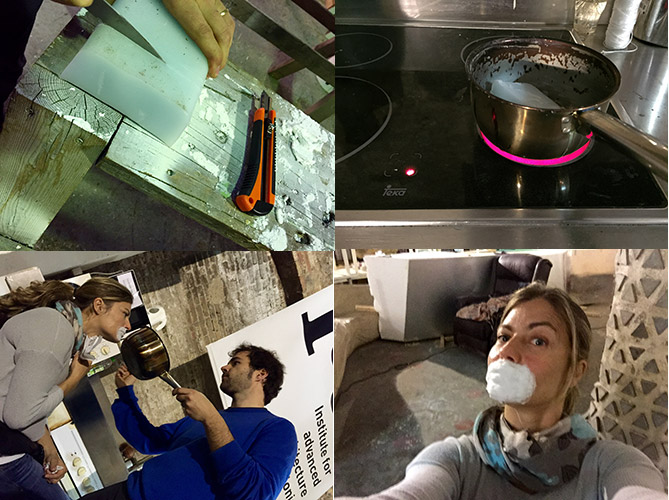
To give birth to my idea, I decided to use a special material that we have available here. Flexwax is used by sculptors and makeup artists who creates hyper realistic masks. When it is applied to the desired surface such as faces and bodies, brings to life all the details perfectly. The Process
| ||
Next Step |
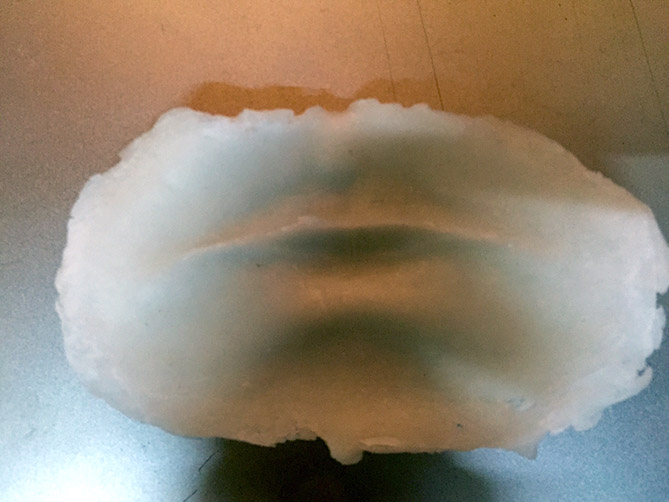
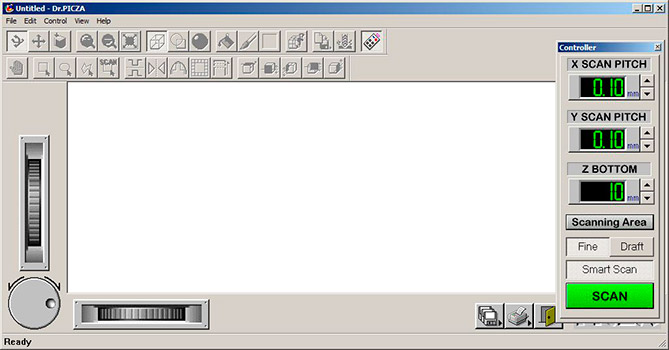
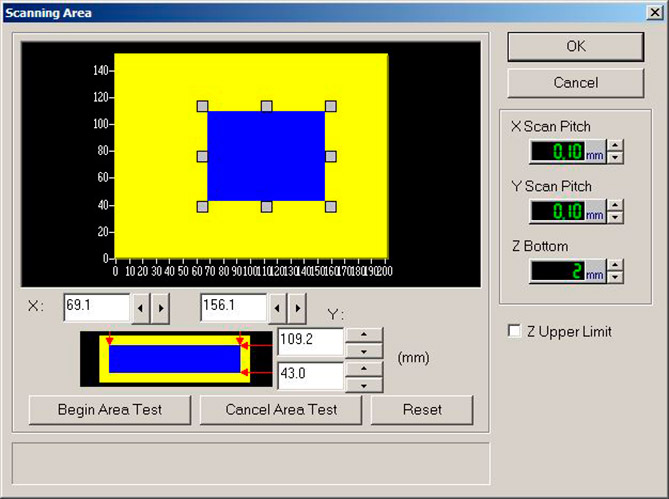
The first part of the process was ready. It was made of over 6 wax layers applied to my lips and took about 10 minutes waiting to dry. After removing it carefully I scanned the mask at the milling machine beginning with 0.1mm resolution. After figuring out that scanning the piece could take more than 36 hours, I've tried a different strategy and I've changed the resolution to 0.2mm which proved to be very efficient with satisfactory results. Cast in Wax
Scanner Settings
Working On It
| ||
Preparing To Mold |
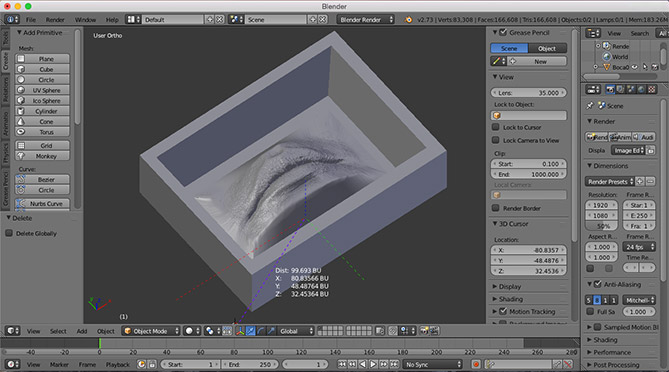
After several hours of scan I opened the lips design in Blender to leave it ready and finally produce the mold. Adjusting
|
Milling |
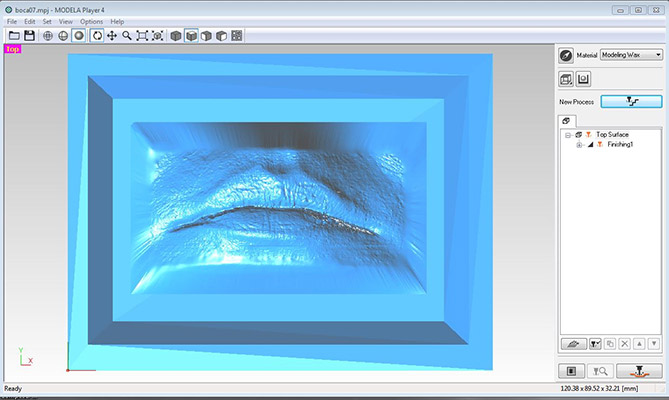
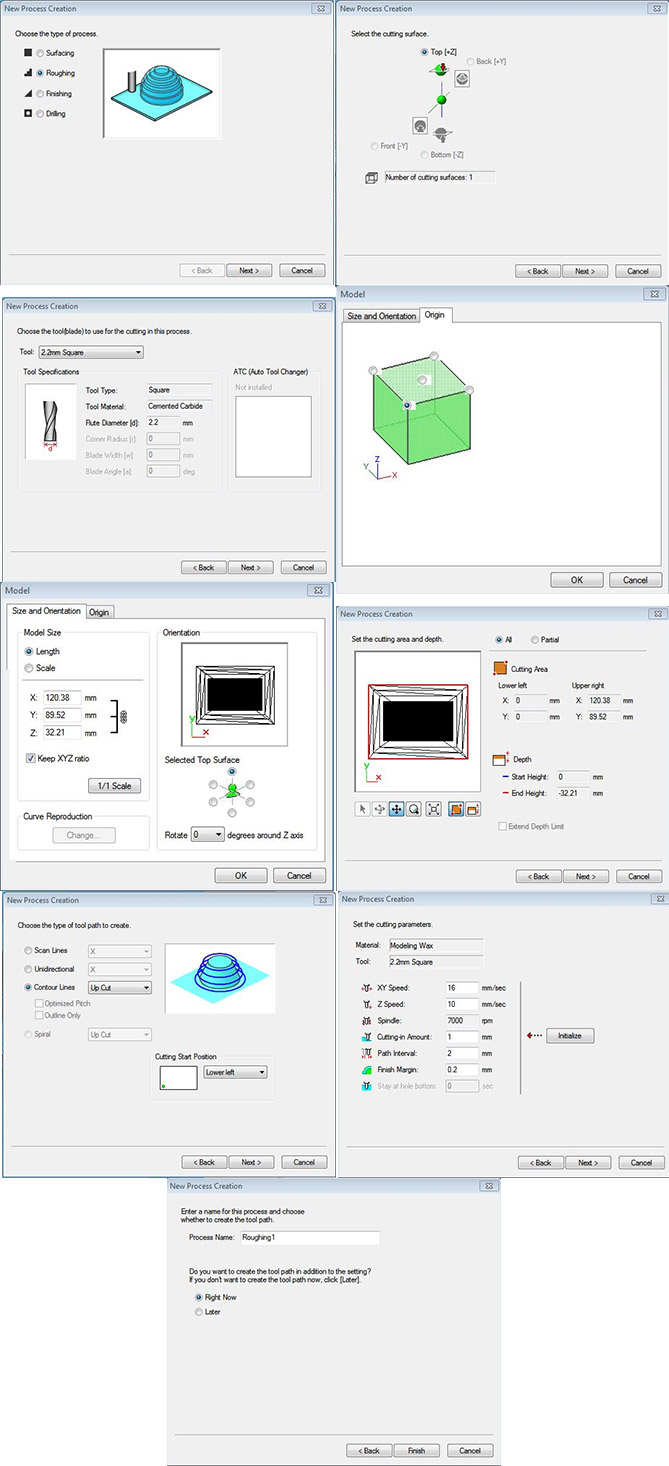
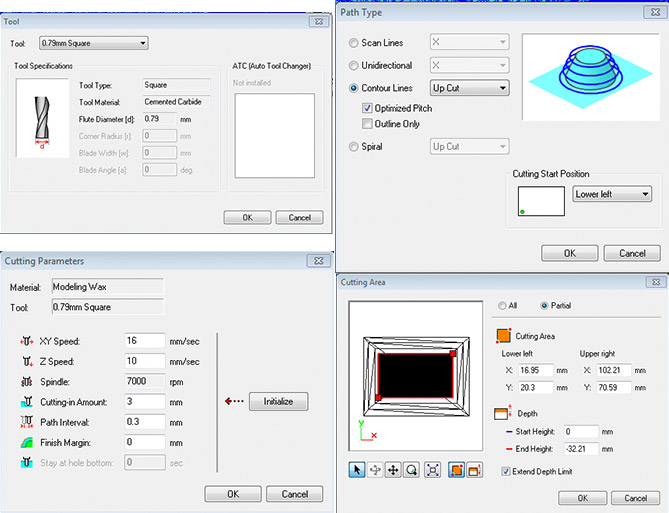
After saving the file in STL, I opened it in Modela. Before starting to cut the wax block, I had to ensure the correct measurements at the file (that would fit within the specific area). I've then changed the mill bit according to initial task (roughing 2.2mm drill) starting process on the computer. Roughing would remove most of the wax leaving it free to make the final detailing. Roughing
Settings
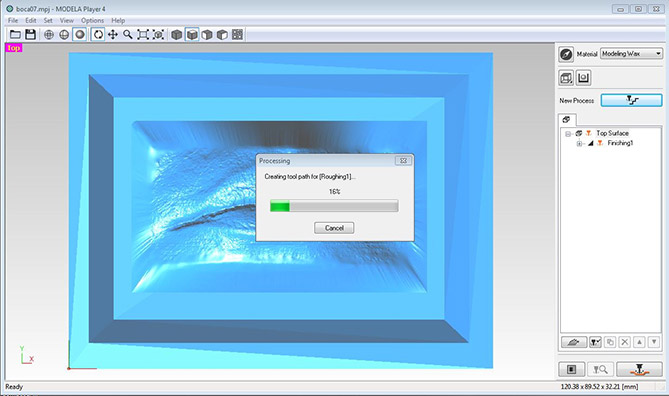
Processing Milling Roughing
|
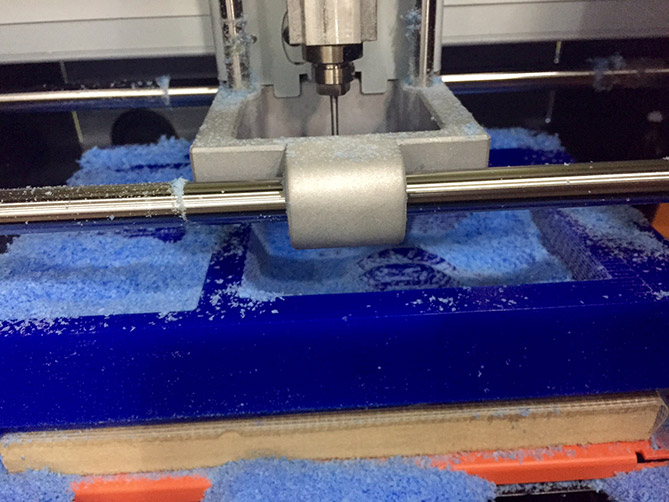
Milling |
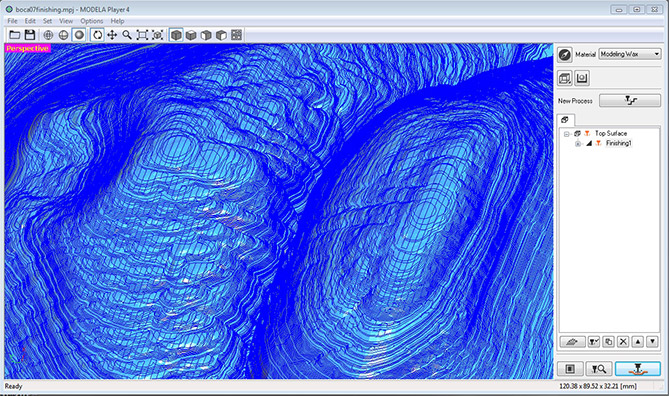
After dueling me with the Fab computer which insisted on turning off when it started to generate the code for about four hours, I decided to install the Modela Player 4 in my computer. Good and bad decision, because it made me lose time to at least upload part of my website this week while it was working during the night, and making me waiting more than 36 hours to finish what it supposedly could be done a little faster. I made some few mistakes, and the most disastrous of them was not having paid sufficient attention to the cutting parameters and forgetting to change the drill diameter to 0.79 mm to conclude the step which made me lose another day... Finishing
Settings | ||
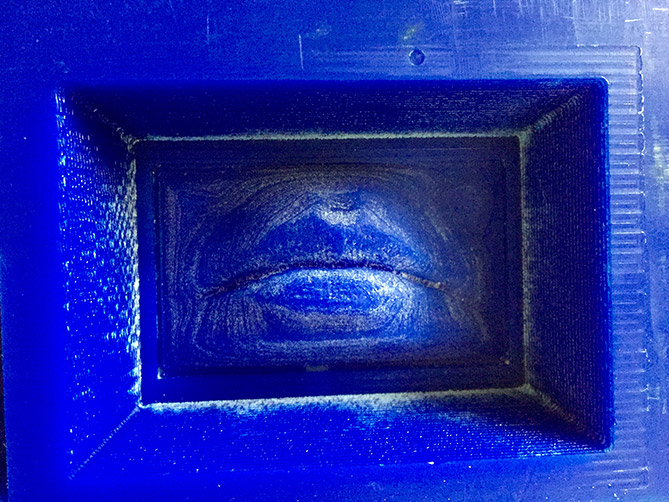
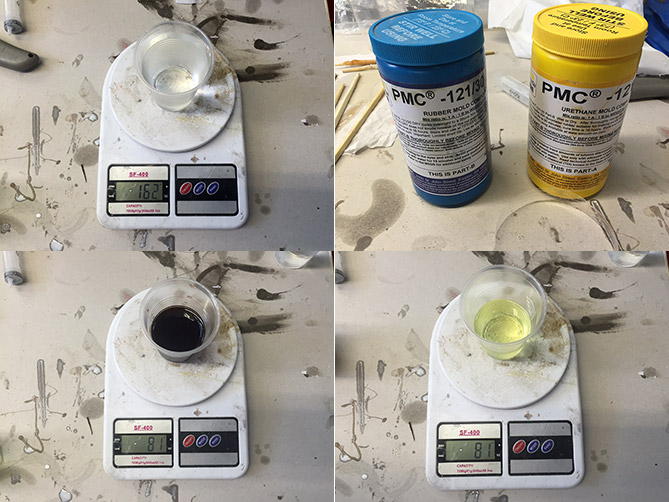
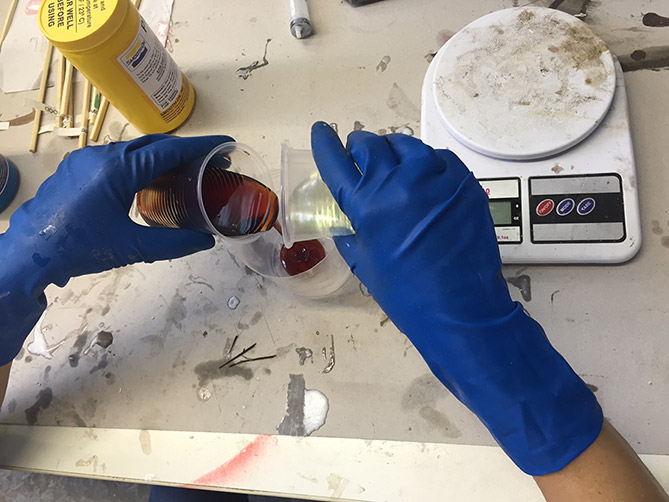
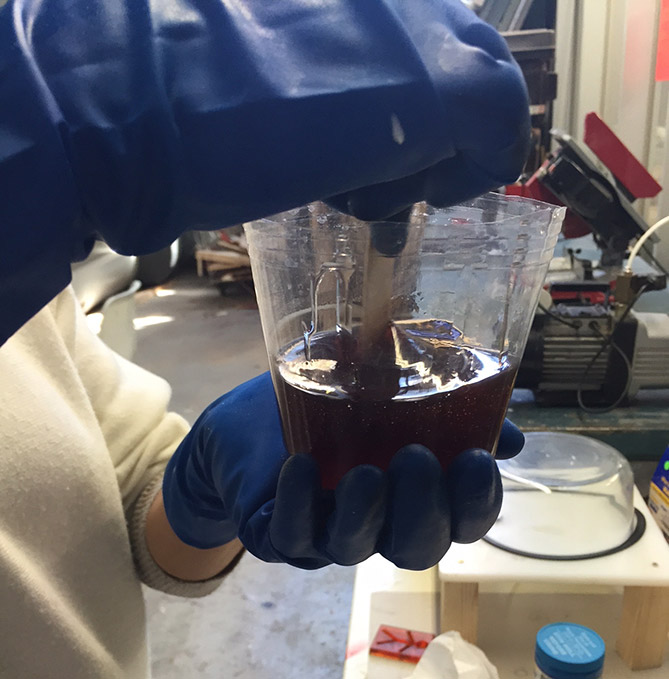
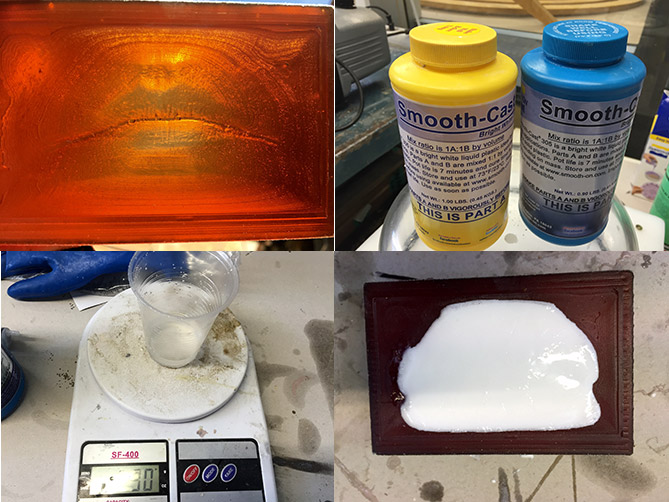
Almost There |
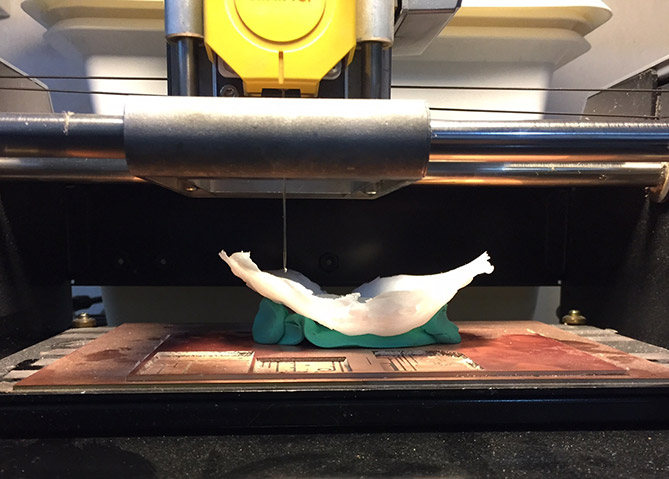
Two days later I finally could see my piece cut into the wax and ready to receive the "magic mix" that would provide me endless joy to watch that mouth like not a virtual object now. Something real, which I actually made. Four steps more and I'm done. First: clean it carefully; Second: Mix ingredients with great precision. The material volume that fills the mold must be divided into two equal parts; Third: remove all bubbles using vacuum machine, even if it takes long enough to almost sleep above the mold; Fourth: Wait for more 12 hours to see it ready!! Must Clean... Being Accurate Pacience Mixing Carefully Wonderfull Bubbles |
||
Facing a Ruthless Reality (Of Forgeting Micro Details) |
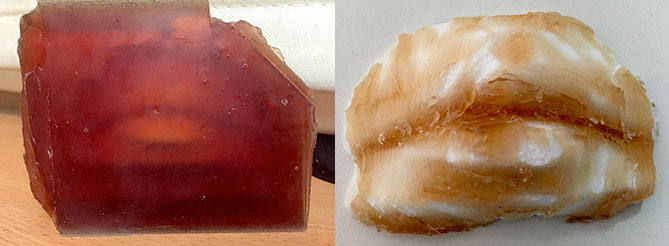
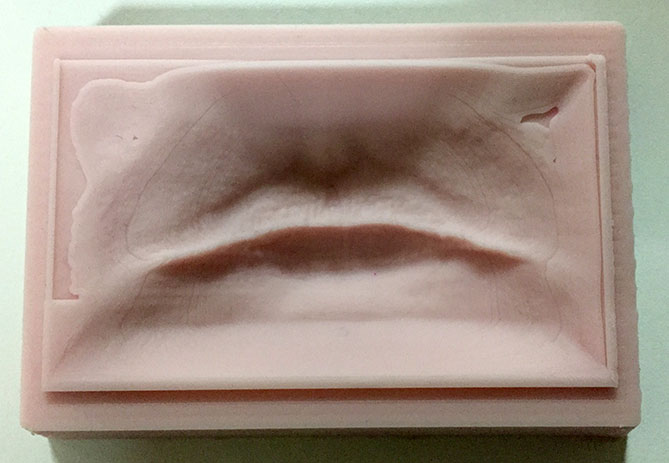
Everything was perfect, resulting in an excellent mold. It came out without bubbles, with high definition lines, exactly as planned. However, at the last round, which was finally place the mixture to shape the piece, I didn't realize that without spraying the mold with a nonstick layer could ruin all my work. And that was exactly what it happened! So I made another attempt , which came out full of bubbles, because I was trying to get rid of them all and the mixture was very thick due to the time I left in vaccum chamber. I'll try again. Just give me a little more time... It Could Be Done! Unfortunately It Did Not Work... | | |
Starting All Over Again |
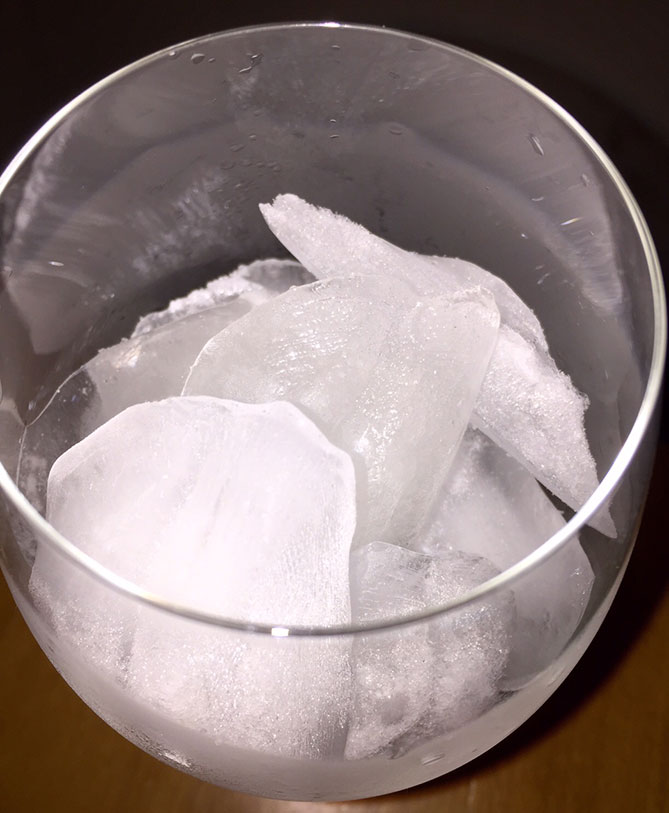
After the disaster piece that came out, I've tried again using two different technics. First I made the same process, and as a result I had another time a perfect mold to cast. The second attempt I made silicone casting with food safe material, and this also came out perfectly. I didn't have enough time to make something tasty yet, so for now I only have some iced kisses! Maybe Some Chocolate? Or Something Refreshing ?
|